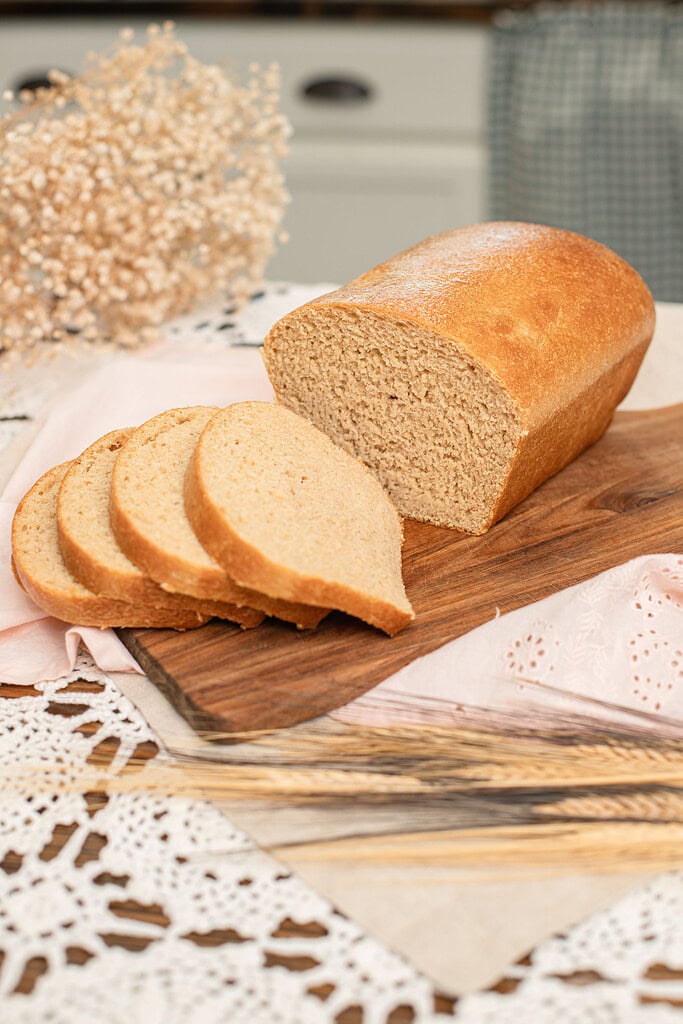
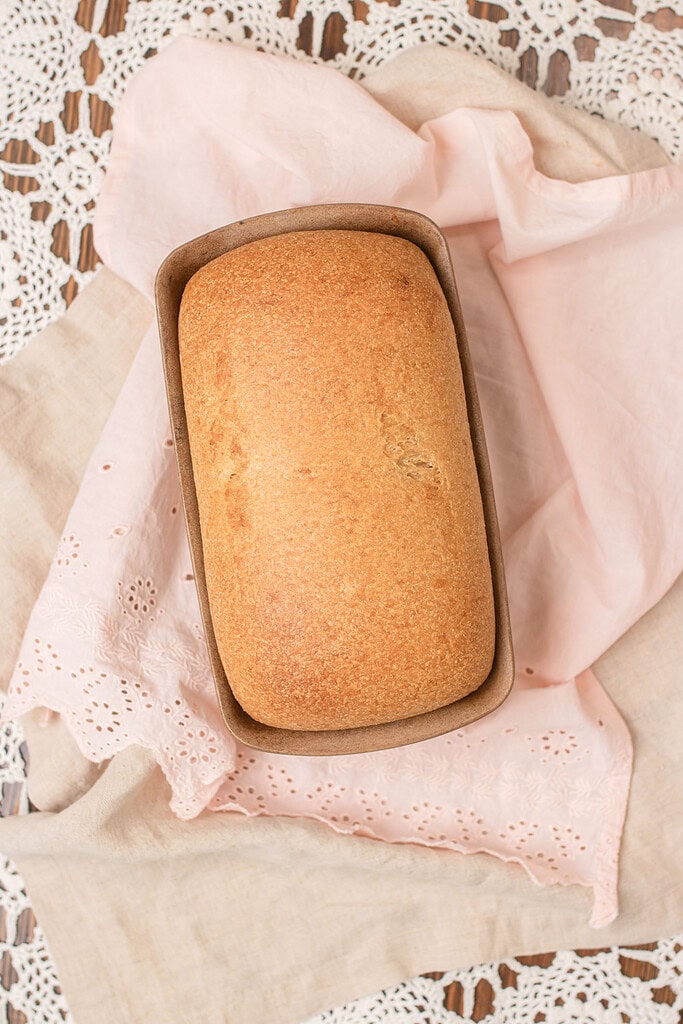
This fresh milled sourdough sandwich bread is a soft, enriched loaf made with hard white wheat berries, warm milk, and egg. No vital wheat gluten, no lecithin, no additives of any kind.
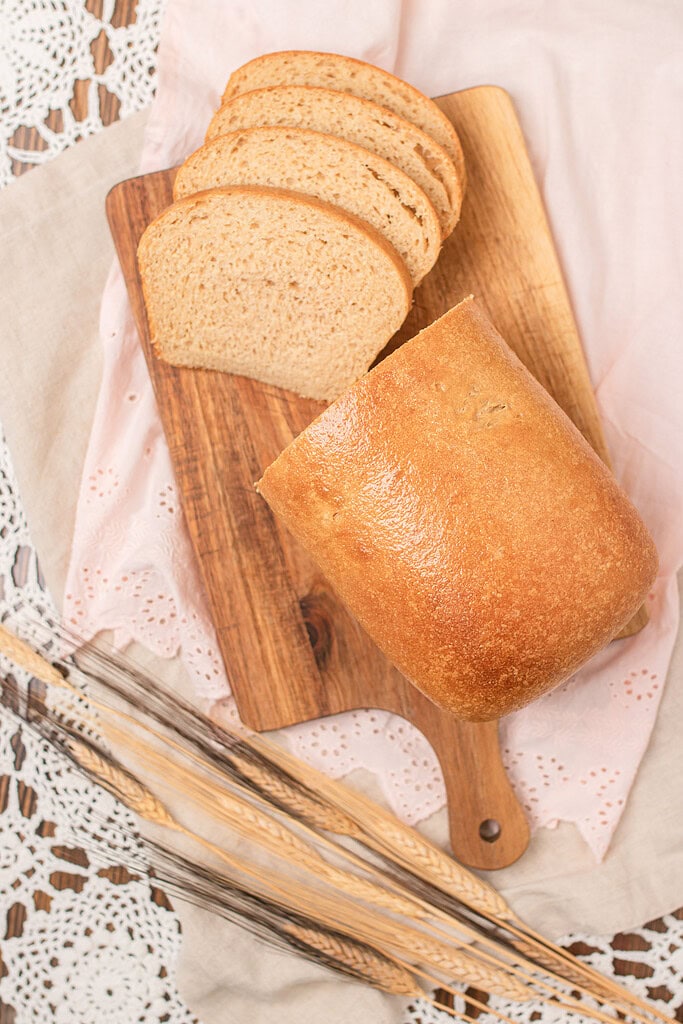
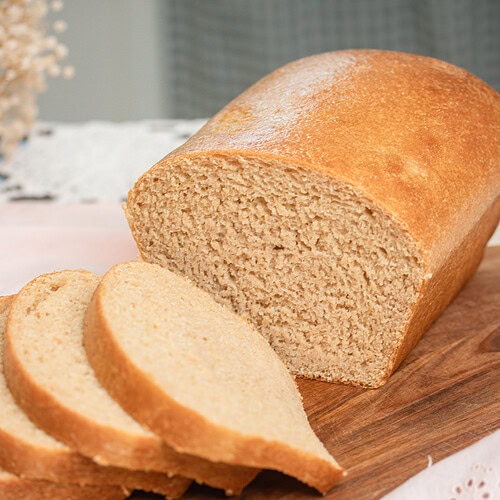
One beautiful 2 lb loaf comes together through a simple stretch and fold process, a slow bulk ferment, and a second rise in the loaf pan that gives each slice a tender, even crumb that holds up to sandwiches without falling apart.
If you are just getting started milling your own flour for sourdough, Baking Sourdough with Freshly Milled Flour walks through everything you need to know before your first bake, and for the seeded version of this same enriched dough, Seeded Sourdough Sandwich Bread with Fresh Milled Flour is worth having open alongside this one.
Did you know you can convert your recipes to freshly milled flour? I share how to convert your recipes and more at The Cottage Mill.

The Cottage Mill: Freshly Milled Flour Guides, Recipes, and More Await!
Why You’ll Love This Recipe
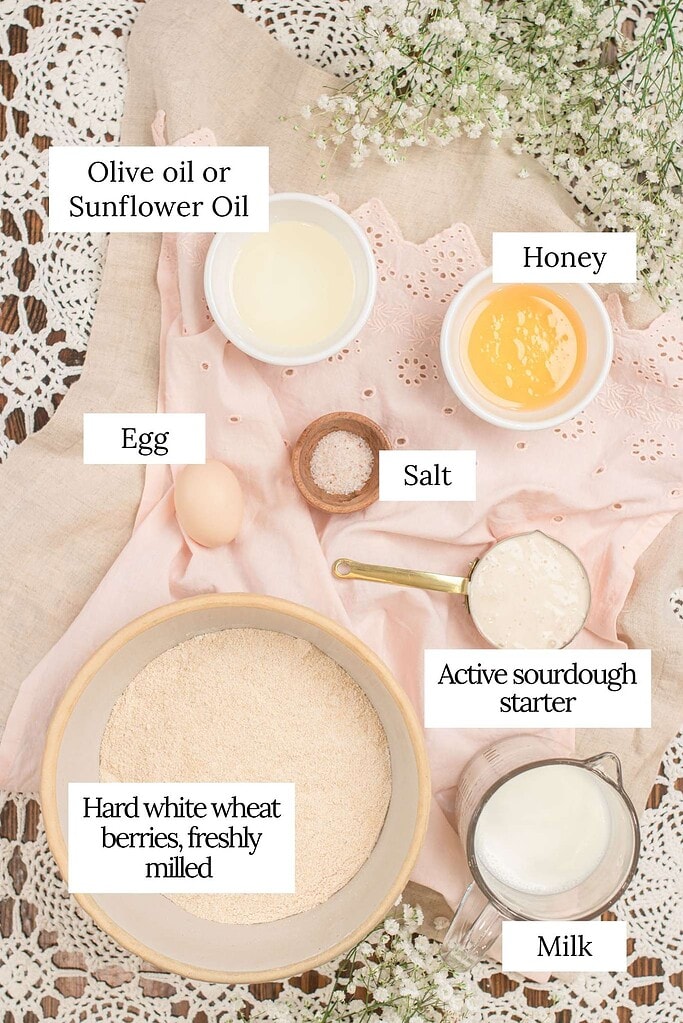
Ingredients
Variations & Add-Ins
Recipe Tips
Weigh your wheat berries before milling – You will need 540 grams of hard white wheat berries for this loaf. Mill them on the finest setting of your grain mill and use the flour immediately for the best hydration and fermentation results. If you want to understand how different grains behave before you mill,Best Whole Grains to Mill at Home is a good place to start.
Warm your milk and water separately – Both liquids need to be around 110°F before they hit the starter. Too hot and the starter activity slows. Too cold and the bulk ferment stalls. A quick check with an instant-read thermometer takes the guesswork out.
Fresh milled flour absorbs more liquid – The bran in freshly milled flour soaks up hydration faster than commercial flour. Let the dough rest a full 30 minutes after mixing before you assess whether it needs any adjustment. It will come together more than it looks like it will.
Keep your hands damp during stretch and folds – Fresh milled dough is stickier than commercial flour dough. Damp hands prevent sticking without adding extra flour that would tighten the crumb. Four sets of stretch and folds, 30 to 45 minutes apart, builds the gluten structure this loaf needs. For a deeper look at how fresh milled flour behaves during sourdough baking, Baking Sourdough with Freshly Milled Flour covers it thoroughly.
The dough is ready to shape when it holds its form – After bulk fermentation the dough should feel pillowy, hold a rough shape when you turn it out, and show visible bubbles under the surface. If it looks flat and wet, give it more time before shaping.
Lean the loaf on its side to cool – Fresh milled sandwich bread is prone to collapsing slightly as it cools if left upright. Transfer the baked loaf to a wire rack and lean it on its side for the first 15 minutes before standing it upright.
Check internal temperature, not color – The crust of a fresh milled loaf can look golden before the interior is fully set. Pull the loaf when an instant-read thermometer reads 190°F to 195°F at the center for a fully baked, sliceable crumb.
Instructions
- Mill and measure your flour – Grind 540 grams of hard white wheat berries on the finest setting of your grain mill. Mill directly into your mixing bowl or a separate container and use immediately for the best hydration and fermentation results.
- Warm your liquids – Warm the milk and water separately to around 110°F. They should feel warm to the touch but not hot. This temperature range keeps the starter active without slowing fermentation.
- Mix the wet ingredients – Combine the active sourdough starter, warm water, warm milk, sunflower oil, honey, and room temperature egg in a large mixing bowl. Stir until fully incorporated with no streaks of egg visible.
- Add the flour and salt – Add the freshly milled flour to the wet ingredients and mix with a Danish whisk or wooden spoon until a shaggy dough forms with no dry flour at the bottom of the bowl. Add the salt and mix again until evenly distributed.
- Rest the dough – Cover the bowl and let the dough rest for 30 minutes. This rest period allows the fresh milled flour to fully hydrate and makes the dough significantly easier to work during the stretch and fold sets.
- Perform stretch and folds – With damp hands, perform 4 sets of stretch and folds 30 to 45 minutes apart. For each set, grab one side of the dough, stretch it upward as far as it will go without tearing, and fold it over the center. Rotate the bowl a quarter turn and repeat all four sides. Cover the bowl between each set.
- Bulk ferment – After the final stretch and fold, cover the bowl and let the dough bulk ferment at room temperature for 4 to 6 hours, or until it has grown visibly and shows bubbles on the surface. For a tangier loaf, refrigerate after 4 hours and continue the ferment overnight for 8 to 12 hours.
- Shape the loaf – Turn the dough out onto a lightly oiled surface and shape it into a rectangle log by flattening into a rough rectangle, folding the sides in, and rolling it tightly toward you. Tuck the ends under for a clean finish.
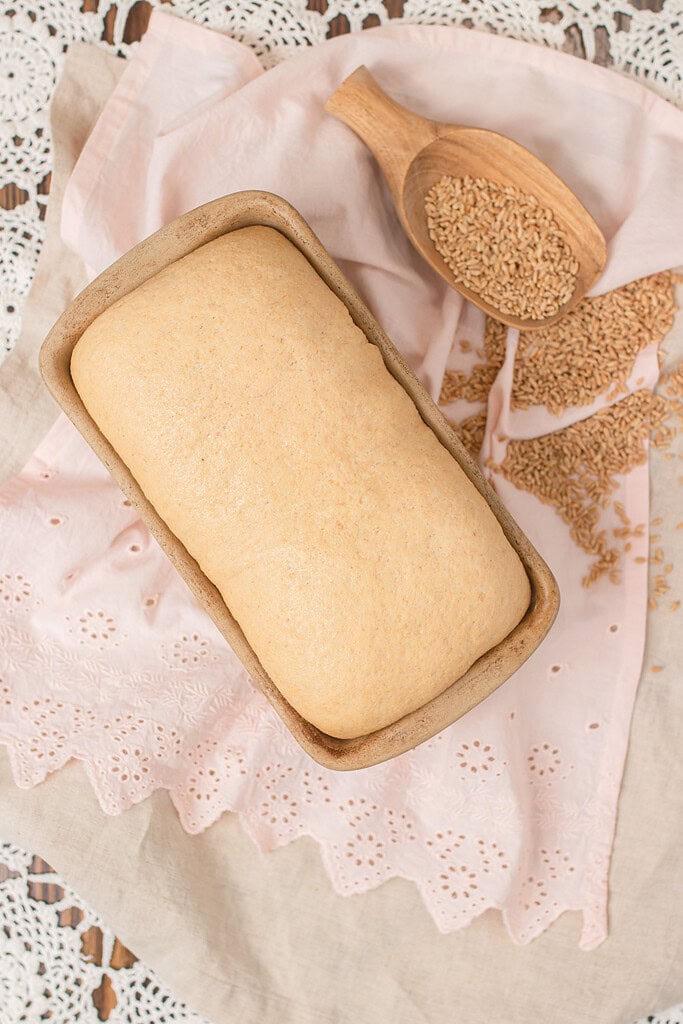
- Second rise – Place the shaped loaf into a greased 9×5 loaf pan seam side down. Cover with a clean towel or plastic wrap and let rise at room temperature for 1 to 4 hours, until the dough has risen 1 to 2 inches above the rim of the pan.
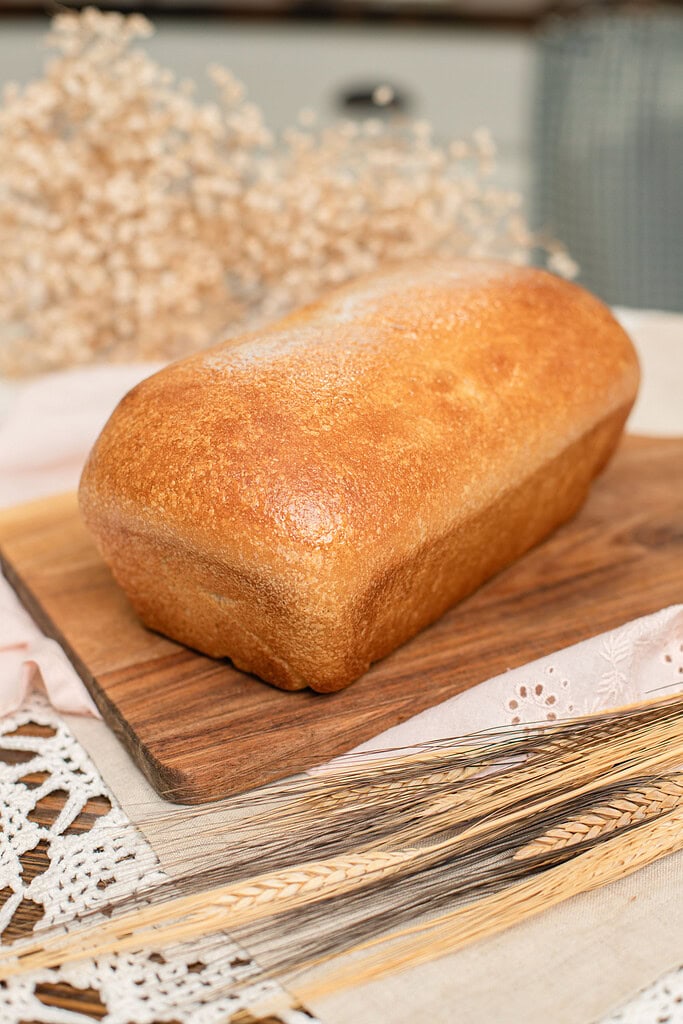
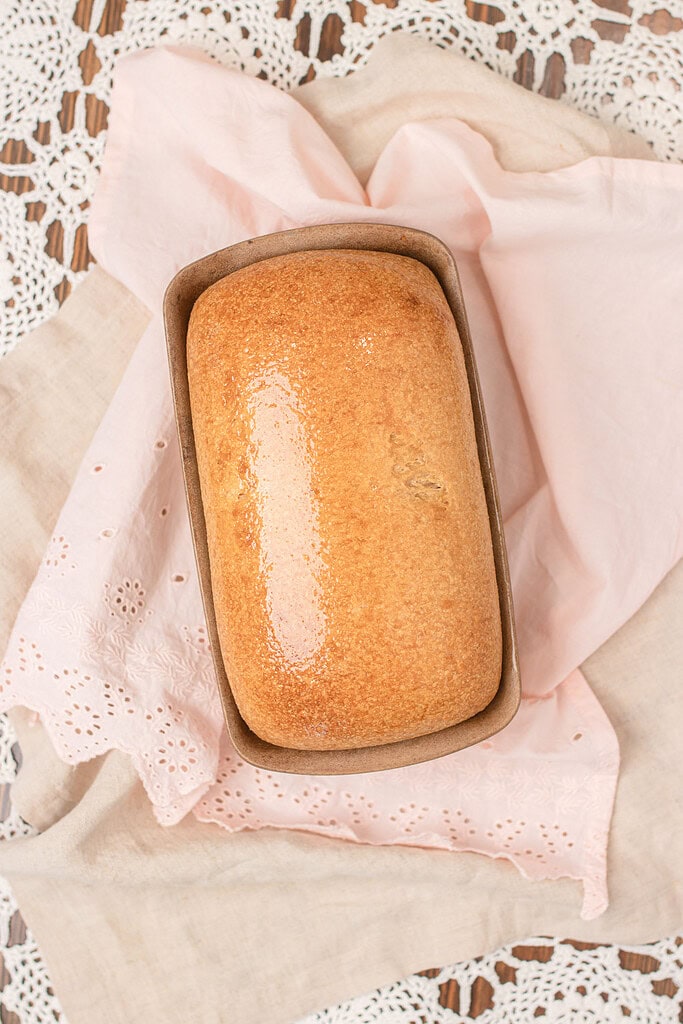
- Preheat and brush – Preheat your oven to 350°F. Brush the top of the risen loaf with a light egg wash or heavy cream for a golden, glossy crust.
- Bake until set – Bake for 25 to 45 minutes until the top is deep golden brown and an instant-read thermometer inserted into the center reads 190°F to 195°F. Begin checking at the 25-minute mark as fresh milled flour bakes faster than commercial flour.
- Cool before slicing – Remove the loaf from the pan immediately and transfer to a wire rack. Butter the top for a soft crust. Lean it on its side for the first 15 minutes, then stand upright and cool completely for at least 1 hour before slicing. Slicing early results in a gummy crumb that does not recover.
Freezing and Storage
- Room temperature – Store the cooled loaf in an airtight bag or bread box at room temperature for up to 2 days. Freshly milled bread is best in the first 48 hours when the crumb is at its softest. For tips on storing your freshly milled flour before baking, How to Store Freshly Milled Flour covers everything you need.
- Refrigerator – Wrap tightly and refrigerate for up to 5 days. Bring slices to room temperature or toast before eating for the best texture.
- Freezer – Slice the fully cooled loaf, layer parchment paper between the slices, and store in a freezer-safe bag for up to 3 months. Pull individual slices as needed and toast from frozen.
- Freeze the whole loaf – Wrap the fully cooled unsliced loaf tightly in plastic wrap, then in foil, and freeze for up to 3 months. Thaw overnight at room temperature still wrapped to prevent condensation from making the crust soggy.
FAQ
Join The Community
Want More Cozy Recipes & Seasonal Inspiration?
Get cozy, from-scratch recipes, seasonal cottage living tips, and slow living inspiration delivered straight to your inbox.
More Sourdough Recipes from the Cottage
⭐️ Rate This Recipe
Made this recipe? Leave a star ⭐️ rating below, it means the world to me and helps my recipes get found by more people like you.

Fresh Milled Sourdough Sandwich Bread with Hard White Wheat
Equipment
- 1 Grain Mill
- 1 9×5 inch loaf pan
- 1 Large mixing bowl
- 1 Danish whisk
- 1 Kitchen scale
- 1 Instant read thermometer
Ingredients
- 1 cup sourdough starter 250 grams (active and bubbly)
- ¾ cup water 180 grams (warmed to 110°F)
- ½ cup whole milk 125 grams (warmed to 110°F)
- ⅓ cup sunflower oil 73 grams
- ⅓ cup honey 107 grams
- 1 large egg 50 grams (room temperature)
- 2 teaspoons fine sea salt 12 grams
- 4½ cups freshly milled hard white wheat flour 540 grams (milled fresh from hard white wheat berries)
Instructions
- Mill and measure your flour – Grind 540 grams of hard white wheat berries on the finest setting of your grain mill. Use immediately.
- Warm your liquids – Warm the milk and water separately to around 110°F before combining with the starter.
- Mix the wet ingredients – Combine the sourdough starter, warm water, warm milk, sunflower oil, honey, and room temperature egg in a large mixing bowl and stir until fully incorporated.
- Add the flour and salt – Add the freshly milled flour and mix until a shaggy dough forms with no dry flour remaining. Add the salt and mix until evenly distributed.
- Rest the dough – Cover and rest for 30 minutes to allow the fresh milled flour to fully hydrate.
- Perform stretch and folds – With damp hands perform 4 sets of stretch and folds 30 to 45 minutes apart. Cover the bowl between each set.
- Bulk ferment – Cover and bulk ferment at room temperature for 4 to 6 hours until visibly grown with surface bubbles. For a tangier loaf refrigerate after 4 hours and continue overnight for 8 to 12 hours.
- Shape the loaf – Turn the dough out onto a lightly oiled surface and shape into a rectangle log. Tuck the ends under for a clean finish.
- Second rise – Place the loaf seam side down into a greased 9×5 loaf pan, cover, and let rise 1 to 4 hours until 1 to 2 inches above the rim of the pan.
- Preheat and brush – Preheat the oven to 350°F and brush the top of the loaf with egg wash or heavy cream.
- Bake until set – Bake 25 to 45 minutes until deep golden brown and an instant-read thermometer reads 190°F to 195°F at the center. Check at the 25-minute mark.
- Cool before slicing – Remove from the pan immediately. Butter the top for a soft crust.. transfer to a wire rack, lean on its side for 15 minutes, then cool completely for at least 1 hour before slicing.
Notes

Emily Rider
Home miller since 1999 with fresh-milled flour & sourdough experience. Sharing from-scratch recipes and traditional kitchen skills, rooted in the seasons and inspired by everyday cottage living and seasonal rhythms.


This is the best whole wheat sandwich bread I’ve tried! I use my rye starter, whole wheat flour, equivalent melted butter for the oil and leave out the seeds. It has a nice rise, and turns out so soft and perfect. My family loves this bread.
Hi Jelyn,
Thank you so much for your kind words! I’m so glad to hear this bread turned out so well for you — your twist with the rye starter and melted butter sounds absolutely delicious (and cozy!). I love hearing how others make the recipe their own. It means the world to know your family enjoys it too — that’s what this space is all about.
Happy Sourdough Baking,
Emily