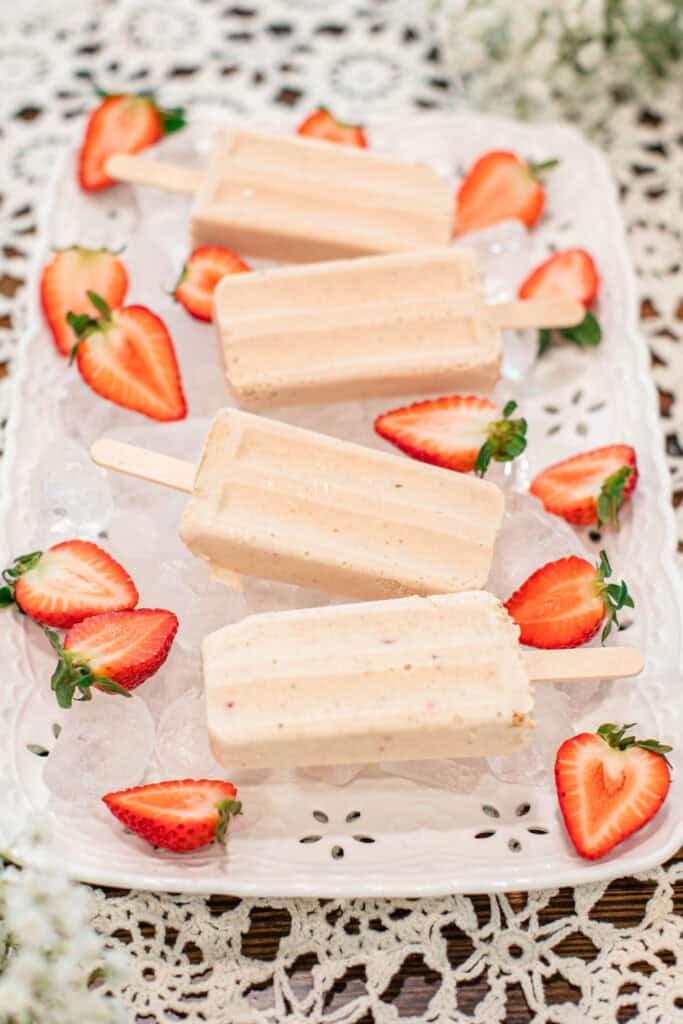
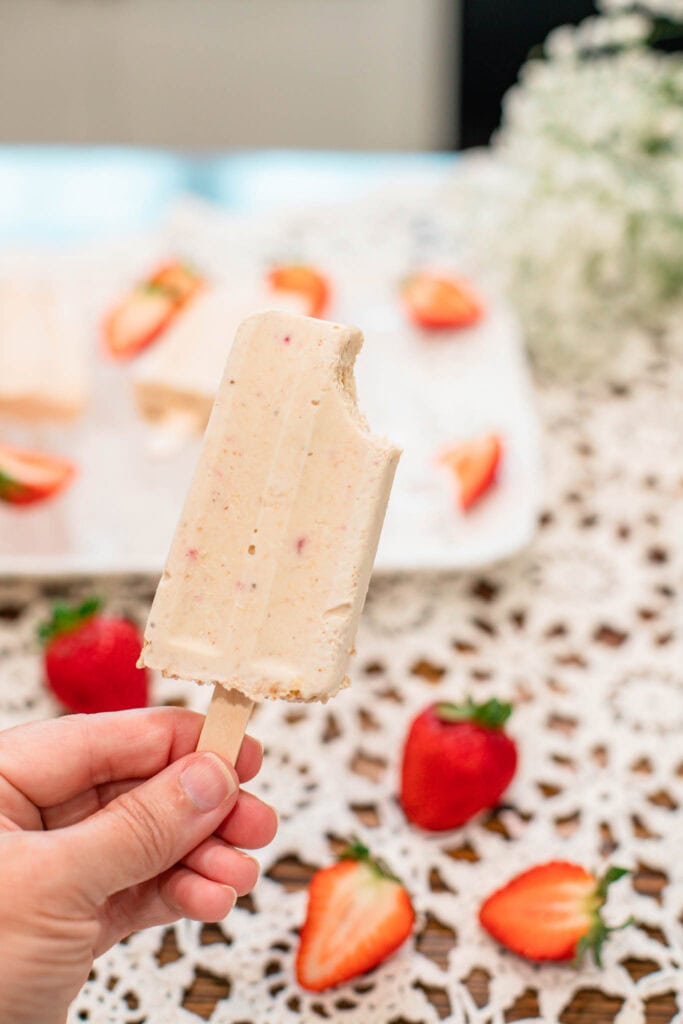
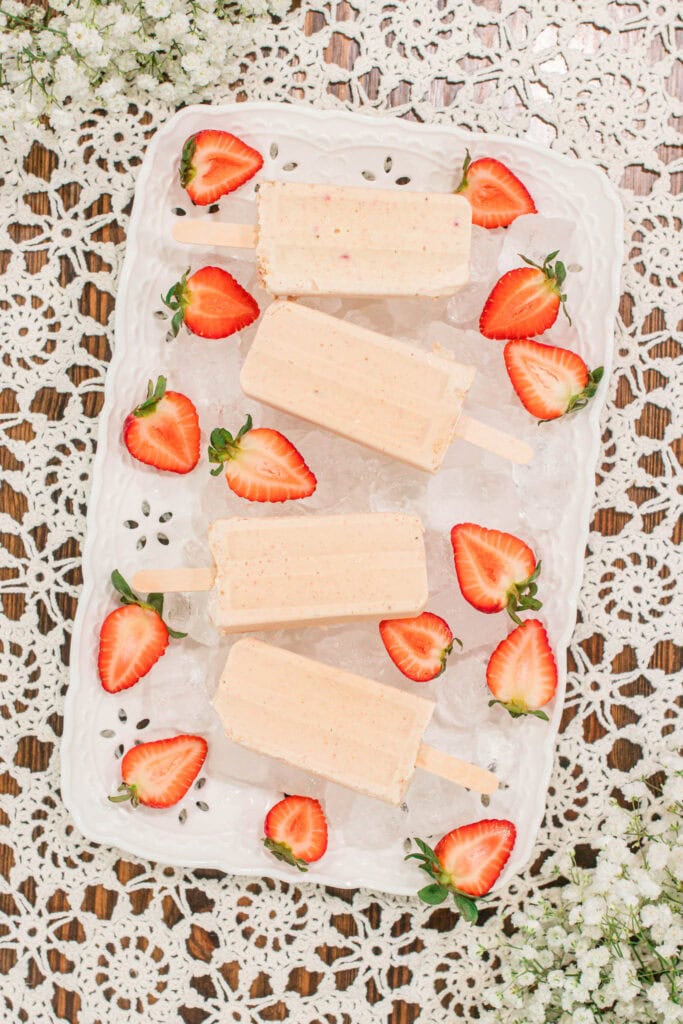
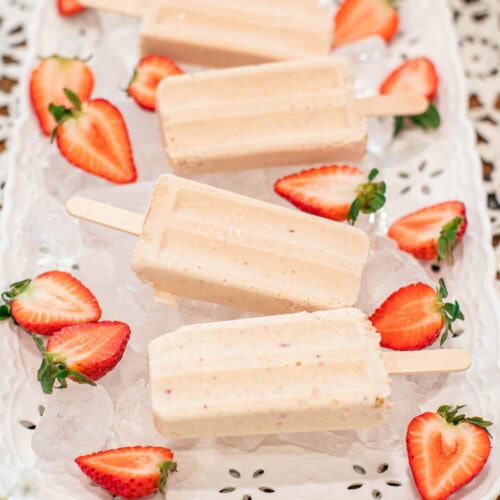
These creamy strawberry cheesecake popsicles capture everything I love about a classic cheesecake dessert—without ever turning on the oven.
This recipe is easy to make, freezer-friendly, and ideal for slow-living summer days. We love enjoying them on the front porch, watching the sun set in the summer evenings. I have a feeling you’re going to love them too!
This post may contain affiliate links. Please read our disclosure policy for details.
Why You’ll Love This Recipe
Stocking your summer kitchen with sweetness? Try these other great recipes: Blueberry Cheesecake Ice Cream, Strawberry Shortcake (Biscuit Style), or Fresh Homemade Strawberry Blush Lemonade for cottage-style treats made to share.
Ingredients
Tip: Fresh strawberries are best, but frozen or jam works too. If using frozen, thaw and blot away excess liquid. A little jam can add sweetness in a pinch—just aim for real fruit flavor, not artificial.
Recipe Tips
- Soften your cream cheese first – Let it sit at room temperature so it blends smooth and evenly.
- Blend gently, not aggressively – A quick pulse is all you need—overwhipping can thin the mixture.
- Taste for sweetness and balance – The maple flavor softens as it freezes, letting the graham flavor bloom.
- Use fresh, frozen, or jam – Just blot thawed berries or stir in jam to keep the texture creamy.
- Unmold with care – Let sit 5–15 minutes depending on room temp, or run warm water along sides.
- Place sticks mindfully – Leave more room above the mold than you think—freezing pulls the stick downward.
Instructions
- Soften the cream cheese: Let it rest at room temperature until smooth and spreadable.
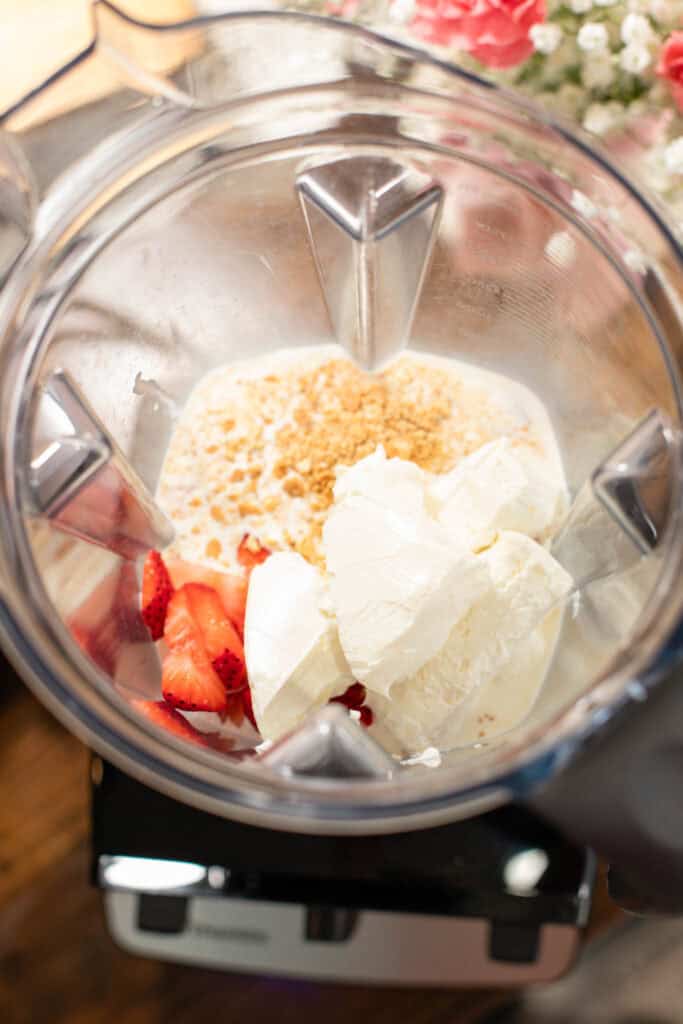
- Blend the base: In a blender, combine cream cheese, heavy cream, blended strawberries, maple syrup, and vanilla.
- Taste and adjust: Taste and add a little more maple syrup if needed.
- Add crumbs your way: Blend most graham crumbs into the mix or reserve some to spoon into the bottom of each mold. If placing at the bottom, stir in a touch of the mix to help them set.
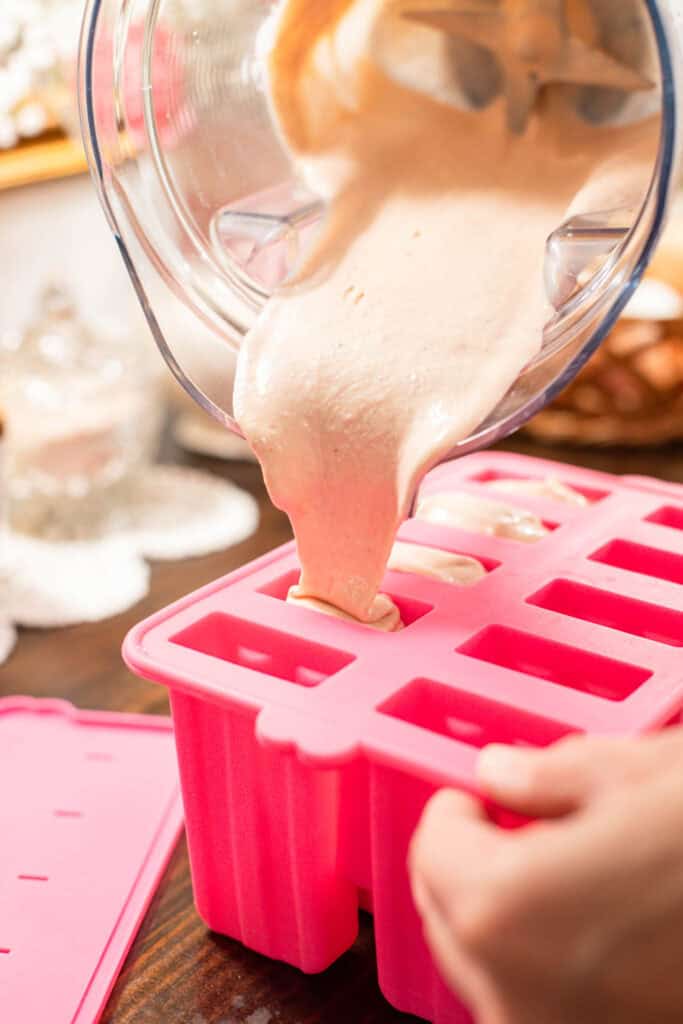
- Fill the molds: Pour the mixture in gently, tapping the molds to settle.
- Insert sticks: Don’t press sticks too far—leave more room than you expect, as they sink slightly when frozen.
- Freeze fully: Place in the freezer for 6–8 hours or overnight.
- Unmold and enjoy: Run warm water along the sides or let them sit out 5–15 minutes, depending on room temp. Only let them rest if unmolding the full batch.
Note: Leave a little more space than you’d expect above the mold when inserting the sticks. As the mixture freezes, the stick may sink a bit—this keeps each popsicle easy to hold, even for little hands or porch-side moments.
FAQ’s
Strawberry Cheesecake Popsicle Variations

Cottage Living Newsletter
Join the Cottage Living Community
Seasonal recipes, cozy cottage projects, simple from-scratch living, and gentle inspiration for homemakers who crave a slower rhythm rooted in home and heart.
More Homemade Recipes from the Cottage;
- Chocolate Caramel Chunk Ice Cream
- Blueberry Cheesecake Ice Cream
- Fresh Homemade Strawberry Blush Lemonade
- Strawberry Shortcake (Biscuit‑Style)
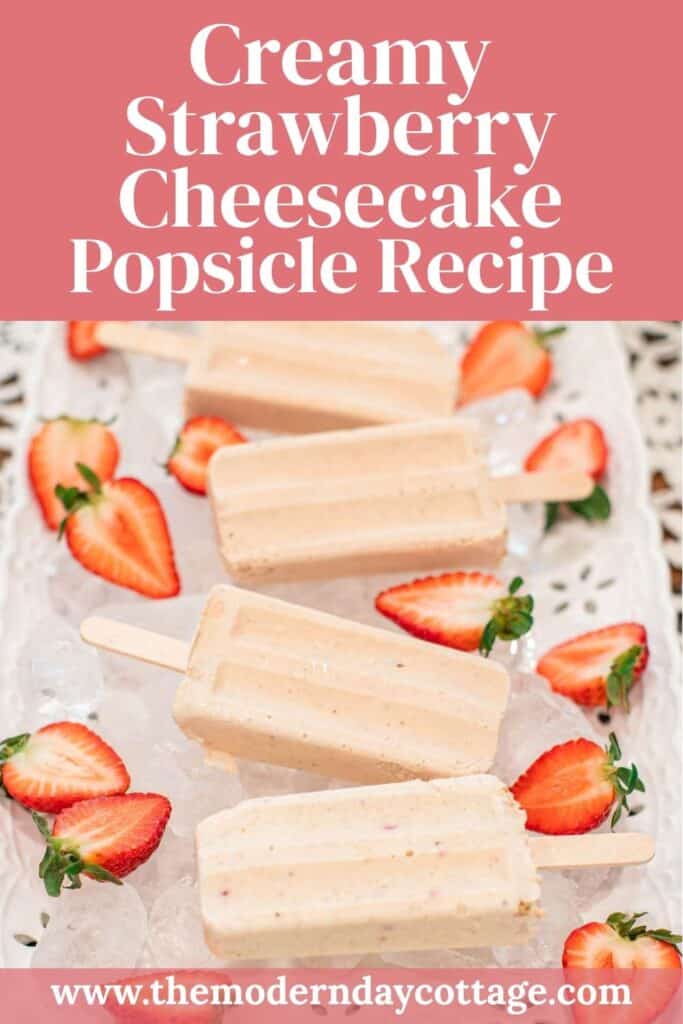
Creamy Strawberry Cheesecake Popsicles
Equipment
- 1 Blender To blend everything until creamy and smooth
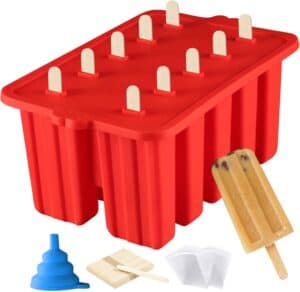
- 1 Popsicle mold For shaping the popsicles evenly
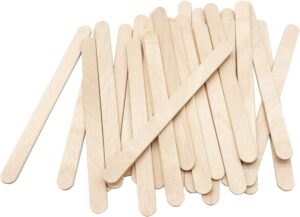
- 10 Wooden popsicle sticks Classic, grab-and-go for your frozen dessert
- 1 Ziploc bag & rolling pin For crushing graham crackers
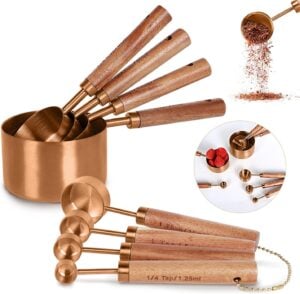
- Measuring Cups and Spoons To keep the ratios just right
Ingredients
- 8 oz full-fat cream cheese softened
- 1 ⅛ cups heavy cream
- ½ cup fresh strawberries blended
- 3 tbsp + 2 tsp maple syrup or sugar or honey
- 1 tsp vanilla extract
- 3 tbsp graham cracker crumbs optional, for swirling or layering
Instructions
- Soften the cream cheese: Remove from the fridge and let sit at room temperature for 30–45 minutes, or until very soft. This helps it blend smoothly without lumps.
- Blend the base mixture: In a full-size blender, combine the softened cream cheese, heavy cream, blended fresh strawberries, maple syrup (or your sweetener of choice), and vanilla extract. Blend until completely smooth, creamy, and lightly thickened.
- Taste and adjust if needed: Spoon a small amount and taste. If it needs a touch more sweetness, add an extra teaspoon of maple syrup or sugar and blend again briefly.
- Add graham cracker crumbs: You can either blend most of the crumbs directly into the mixture for a uniform texture or reserve some for layering. If layering, spoon a pinch into the bottom of each mold. Gently stir in a bit of the mixture to help the crumbs “stick” and stay anchored.
- Fill the popsicle molds: Pour or spoon the blended mixture evenly into your popsicle molds. Tap the mold gently on the counter to remove air bubbles and settle the base.
- Insert popsicle sticks: Insert the sticks carefully into the center of each mold. Leave more space above the mold than you think—as they freeze, the mixture may pull the sticks downward.
- Freeze thoroughly: Place the molds flat in your freezer and freeze for 6–8 hours or overnight until completely solid.
- Unmold with care: To release the popsicles, either run warm water over the outside of the mold for 10–15 seconds or let them rest on the counter for 5–15 minutes depending on room temperature. Only use the sit-out method if you’re unmolding all popsicles at once.
Notes
- Sweetener swaps: Maple syrup adds a cozy, graham-like depth, but sugar or honey can also be used. Adjust to taste.
- Fruit flexibility: Fresh strawberries work best, but thawed frozen berries or strawberry jam can be used in a pinch. Be sure to blot thawed fruit with a paper towel to remove excess moisture.
- Graham cracker layers: Blending them in gives a soft texture throughout, while spooning into the bottom of each mold creates a cheesecake-style crust. Just be sure to mix in a little base to help it hold.
- Stick sinking tip: Popsicle sticks often sink slightly during freezing. Leave more space above the mold than you expect to keep them easy to grip.
- Storage tip: Keep popsicles in an airtight container or leave them in the mold. For best texture and flavor, enjoy within 2 weeks.
- For clean releases: If only unmolding a few at a time, use the warm water method. The countertop method should be reserved for when you’re releasing the full batch at once to avoid melting.
Nutrition
Did you make this recipe?
If you gave it a try and loved it, I’d be so grateful if you came back to leave a 5 “⭐️” rating. Use the buttons below to share, comment, or connect—I truly enjoy seeing and celebrating your beautiful bakes.

Emily Rider
Cottage lifestyle blogger and home miller with 25+ years of sourdough and fresh-milled flour experience.
Sharing cozy homemade recipes that help you bake with confidence, celebrate each season, and savor the beauty of everyday cottage living.