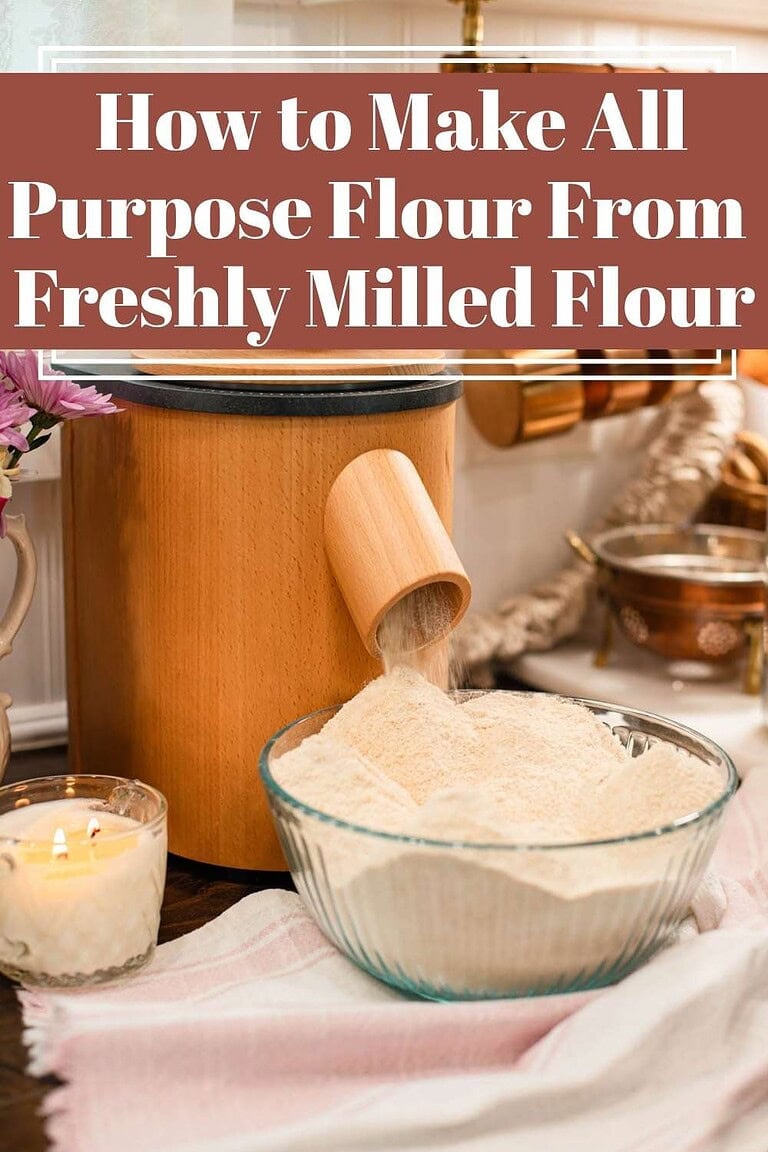
Whole grain milling starts with four tools for milling fresh flour at home, a grain mill, a kitchen scale, a sifter, and a mixer. This guide walks through the essential tools that make home milling possible.
To choose the right wheat berries, Best Whole Grains to Mill explains how each grain behaves. Once you are baking, How to Bake with Freshly Milled Flour and How to Convert Recipes to Freshly Milled Flour will help you use your favorite recipes with confidence.
Do you want to learn more about freshly milled flour? The Cottage Mill is filled with guides and resources to walk you through recipe conversions, flour blends, and techniques to help you bake with more consistency.

The Cottage Mill: Freshly Milled Flour Guides, Recipes, and More Await!
This was one of the most helpful and informative sites I’ve found on using freshly milled flour in baking. Thank you, Emily ~ Tammy (Pinterest)
What You’ll Learn In This Guide
01
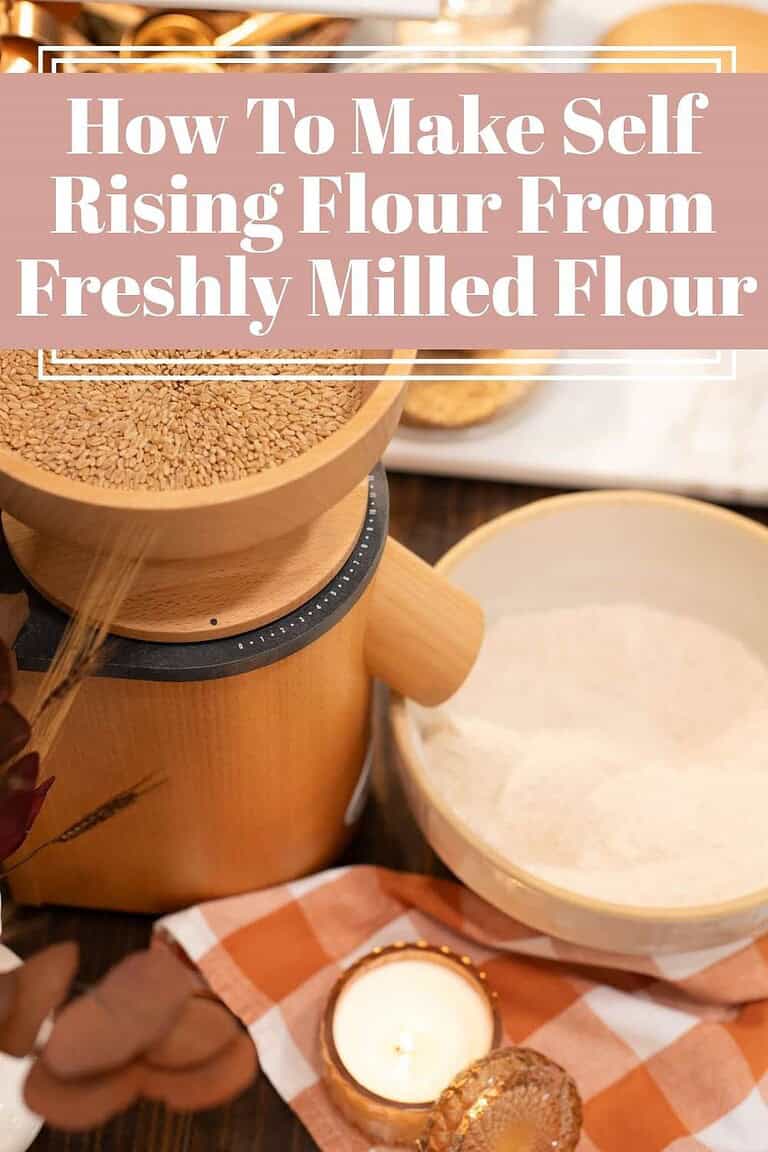
The Grain Mill
A grain mill is the most important tool for milling flour at home. It turns whole wheat berries into fresh milled flour just moments before baking, which changes both the flavor and the baking performance of everything that comes out of your oven.
A good grain mill creates flour that feels warm, soft, and full of character. Because the flour is freshly milled, it absorbs water differently and continues developing structure as the dough rests. The How to Bake with Freshly Milled Flour guide explains what to expect from that process in detail.
When choosing a grain mill, consistency matters more than speed. A reliable home milling machine produces fine to coarse flour, handles regular use, and fits naturally into your kitchen routine without becoming a burden.
Both impact mills and stone burr mills work well for home milling. Impact mills handle large batches quickly, while stone mills feel slower and more traditional, with a quieter rhythm that many bakers find grounding and enjoyable.
Once you begin home milling, the grain mill becomes the center of your whole grain baking workflow. It supports everything from simple sandwich bread to long fermented sourdough and freshly milled flour recipes as your skills and confidence grow.
Choosing the Right Grain Mill for Your Kitchen
Not all grain mills work the same way, and each style supports home milling differently. Electric mills offer speed and ease, while manual mills add flexibility for off-grid or slower paced baking.
WonderMill, impact mill – The WonderMill was my first grain mill, back when it was called the WhisperMill. It mills flour quickly and handles large batches with ease, which makes it helpful for frequent baking or bulk milling days. The flour comes out fine and consistent, and for busy kitchens, this style of mill keeps home milling efficient.
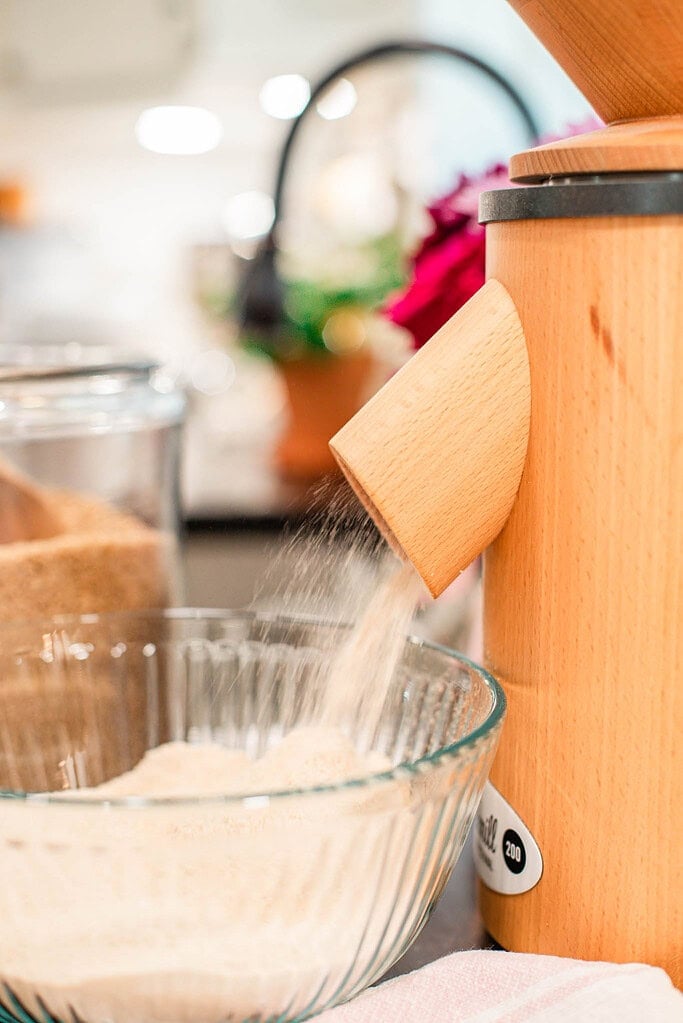
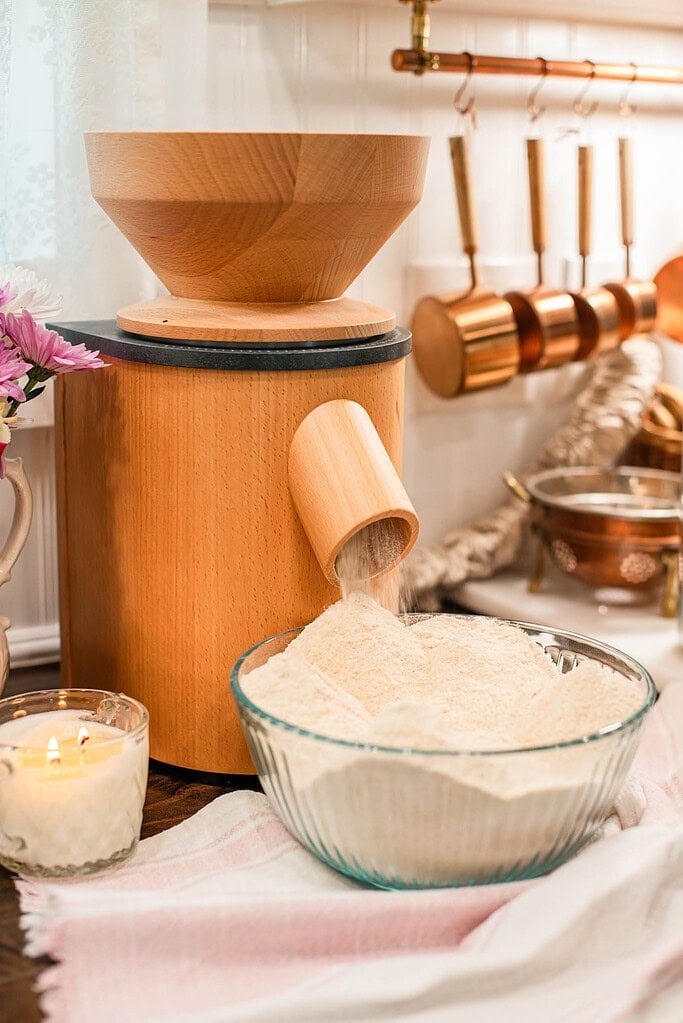
Mockmill Professional 200, stone burr mill – The Mockmill brings a quieter, slower rhythm to home milling. Its stone burrs grind wheat berries evenly and feel connected to traditional milling methods. The motor is strong, the footprint stays compact, and the process feels calm and steady. Many bakers prefer this style when milling fresh flour often or working with longer fermentation doughs.
Manual grain mills, off-grid option – Manual mills add another layer of flexibility. Models like the WonderMill manual mill or Country Living grain mill allow you to mill flour without electricity. Some manual mills can connect to motors later, and certain designs even adapt to bicycle power for off-grid milling. While they require more effort, they offer full control and work well for off-grid or manual milling purposes.
Home milling has come a long way. Today’s grain mills support both on-grid and off-grid kitchens, fast milling or slow milling, and everything in between. No matter the style you choose, your grain mill becomes the foundation of your fresh-milled flour baking journey.
02
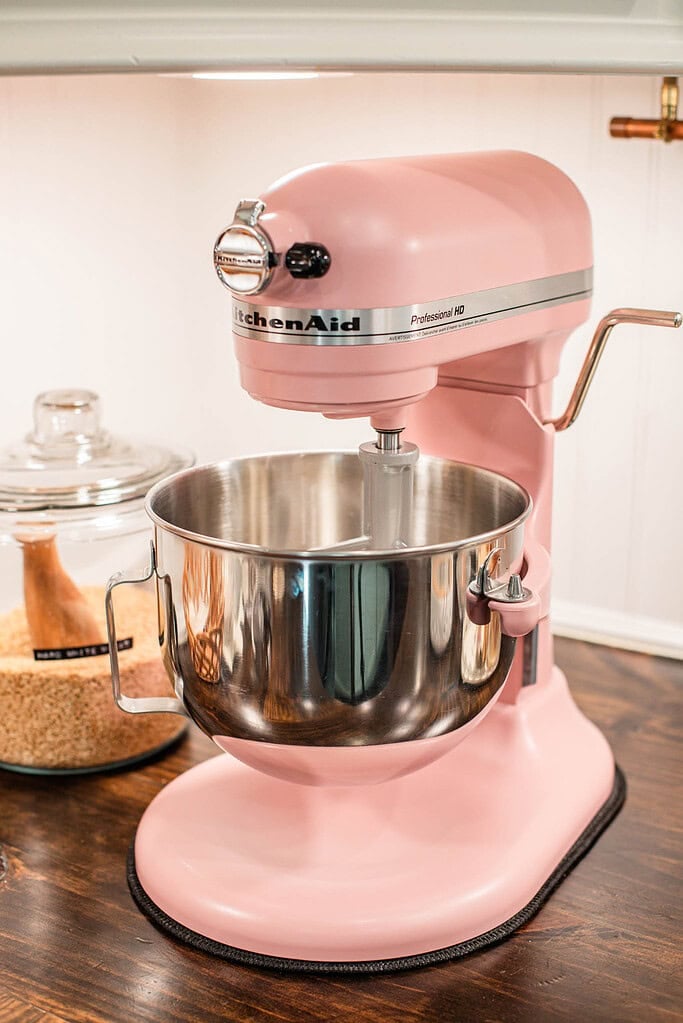
The Stand Mixer
Fresh milled flour dough places more demand on a mixer than dough made with store-bought flour. The bran, germ, and natural oils create a heavier dough that benefits from steady power and controlled mixing, and not every mixer handles that load the same way.
Some mixers handle fresh milled flour dough more easily than others. Mixers designed for whole grain or high hydration doughs can run longer without overheating and maintain consistent speed under load, which makes a real difference during regular baking.
Other stand mixers still work well with fresh-milled flour but benefit from shorter mixing intervals. Using a mix and rest pattern allows the flour to hydrate while protecting the motor, and this rhythm produces excellent results in most home kitchens.
A simple mix, pause, and resume pattern works well across many baking styles. Mix briefly, pause to let the dough rest, then resume once the flour has softened and the gluten has begun to develop. This approach supports good structure and reduces strain on the machine at the same time.
Choosing the right mixer depends on how often you bake and the batch sizes you prefer. For frequent fresh-milled flour baking, a mixer built for heavier doughs offers ease and longevity. For occasional baking, a standard stand mixer performs well with mindful pacing and shorter mixing sessions.
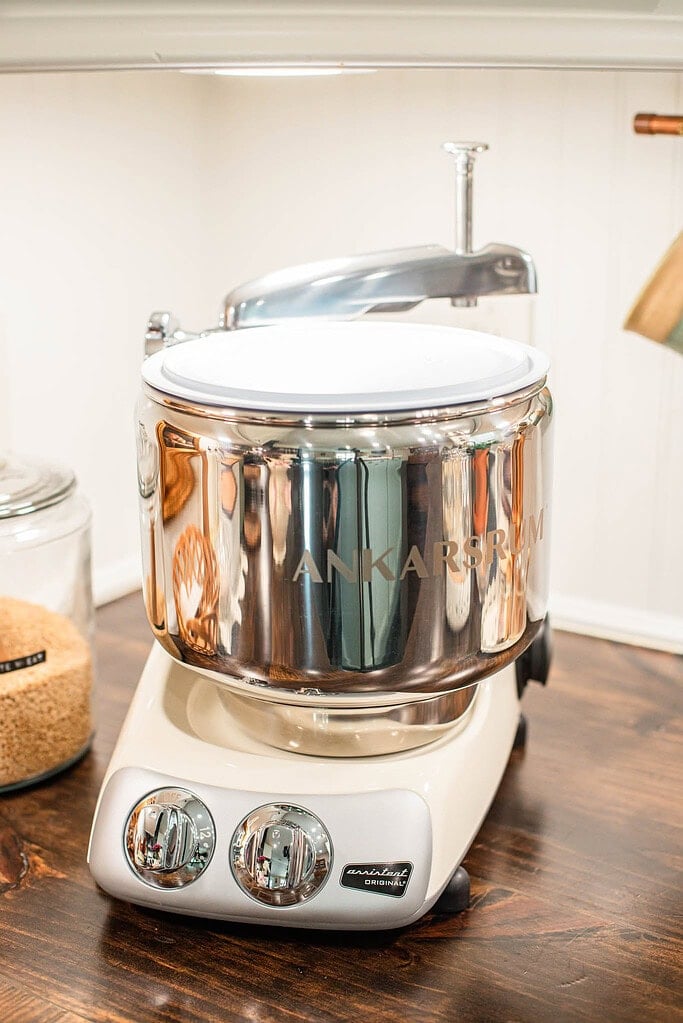
Ankarsrum Assistent Original – The Ankarsrum handles fresh milled flour with ease. Its motor sits at the base, the bowl stays open, and the dough develops steadily without strain. If fresh milled flour becomes a long term commitment in your kitchen, this style of mixer supports frequent baking and larger batches comfortably without overheating.
KitchenAid Stand Mixer – A KitchenAid works well for fresh-milled flour when used thoughtfully. Short mixing periods followed by rest time allow the dough to hydrate while protecting the motor. This makes it a great choice for bakers who want to explore fresh-milled flour before investing in a heavy-duty mixer, and many bakers start here because it’s a stand mixer they may already have on hand and upgrade later as their fresh-milled flour baking grows.
A mixer supports good gluten development. When you understand how fresh-milled flour behaves, even simple equipment and even just a bowl and your hands can produce excellent results in a fresh flour kitchen.

03
The Kitchen Scale
A kitchen scale is one of the most essential tools when working with fresh milled flour. Even if you do not own a grain mill yet, a scale allows you to bake accurately with fresh flour milled by a friend, local mill, or co-op, and it improves every bake regardless of how the flour was produced.
Fresh milled flour behaves differently by volume than by weight. Weighing ingredients provides consistency, repeatable results, and better hydration control across recipes, which makes the difference between a bake that works and one that keeps leaving you guessing.
If you are testing whether your family enjoys fresh milled flour before investing in equipment, a scale is the best place to start. It allows you to focus on results rather than guesswork, and it costs far less than a grain mill while delivering immediate improvement to your baking accuracy.
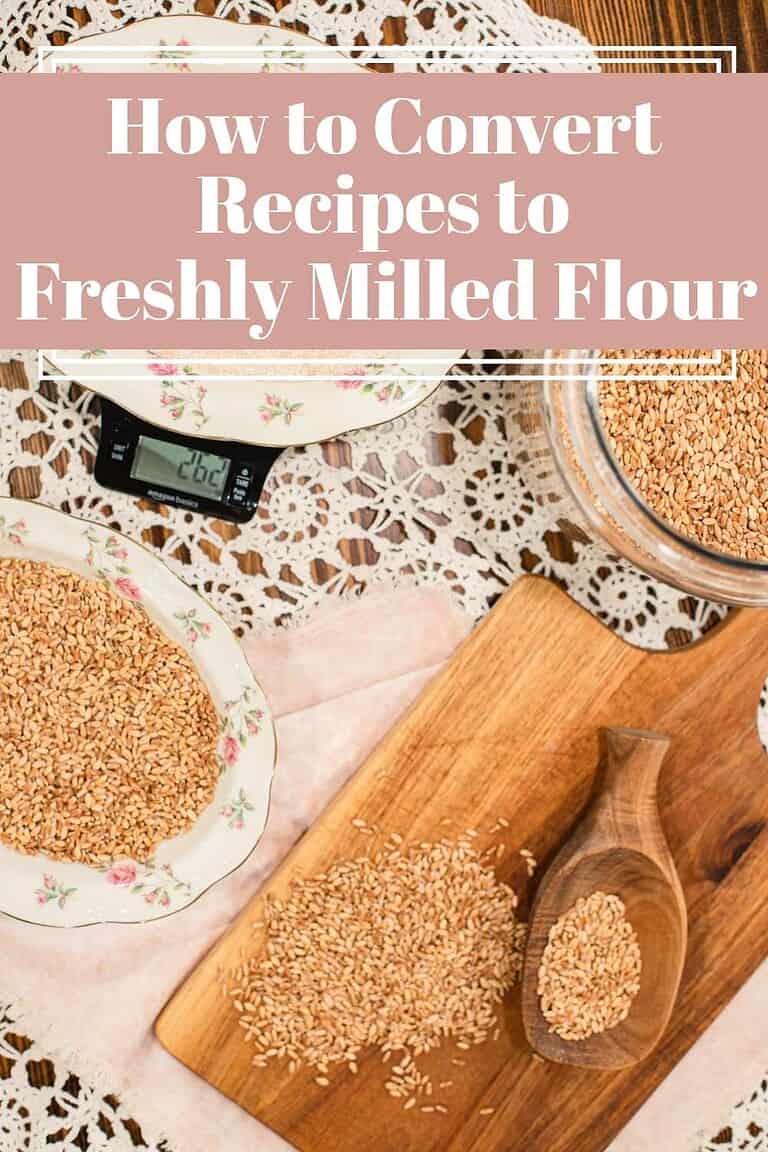
Accurate weight matters even more when converting recipes from pre-milled flour. The How to Convert Recipes to Freshly Milled Flour guide relies on weight measurements for the most reliable results, and weighing in grams consistently is the single habit that makes the biggest difference for new home millers.
If you own only one tool at the beginning of your home milling journey, make it a kitchen scale. It improves every bake, supports accurate conversion, and sets you up for success long before you invest in anything else.
04
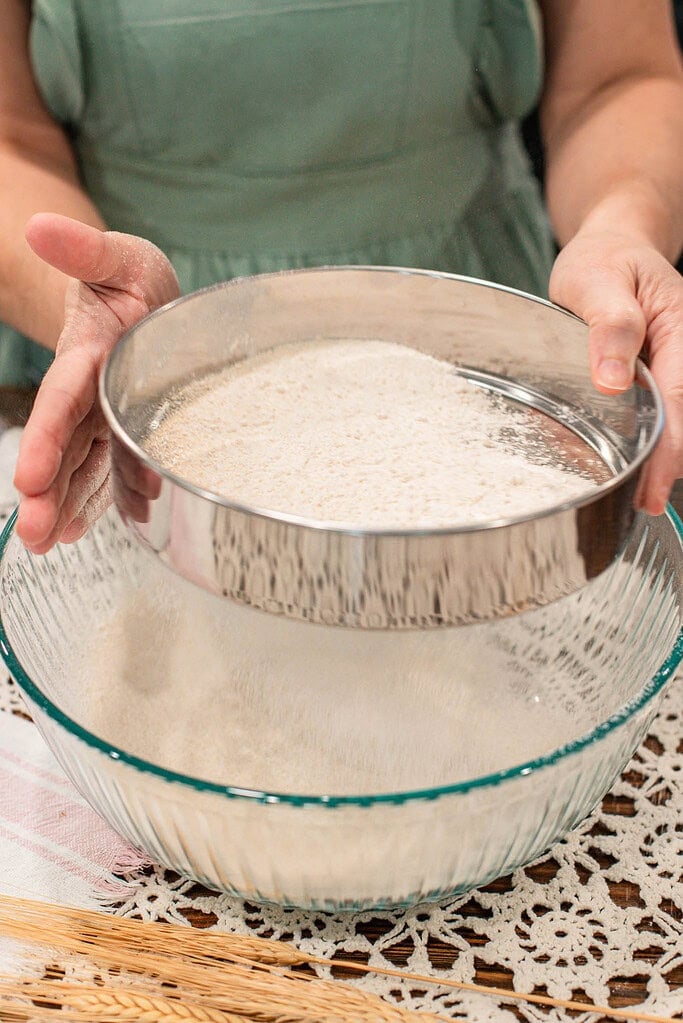
The Sifters | Sieves or Mesh
Sifters shape both the texture of fresh milled flour and the pace of baking. They allow you to decide how much bran stays in the flour, which directly affects crumb, softness, and structure in everything from sandwich bread to delicate pastries.
I use both manual and electric sifters in my kitchen, each with #40, #50, and #60 screens. Each mesh creates a different flour texture, and each sifter style supports a different season of baking, depending on what I need that day.
Sifters and sieves are often used interchangeably. Both use a mesh screen to control how much bran passes through the flour, and the mesh size determines the texture of the finished flour. The Sifting Freshly Milled Flour guide explains how each size affects baking results in detail.
- The #40 sieve creates a texture similar to a whole wheat flour blend. It removes the largest bran pieces while keeping enough grain to support hearty breads and rustic loaves with good chew and depth of flavor.
- The #50 sieve softens the crumb while maintaining structure. This mesh produces a flour that behaves much like all-purpose flour, making it a dependable choice for everyday baking across cookies, muffins, sandwich bread, and focaccia.
- The #60 sieve creates the finest flour. It closely matches cake, pastry, or double zero style flour, which works beautifully for pasta, pastries, and delicate bakes where a tender crumb matters most.
The electric sifter brings speed and ease to the process. It handles larger batches efficiently and works well for testing grains or batch baking days. If I had started with the electric sifter from the beginning, I likely would not have invested in manual sifters later, because it handles everything so reliably.
The manual sifters offer something different and quieter. They work without electricity, sift slowly, and ask a little more of your hands. For me, that slower pace is genuinely calming. I often reach for the manual sifter when I want to slow down, stay present in the task, and feel connected to my grandmother Nub and the way she worked in her kitchen.
Every time I pick up my manual sifter, I can picture her standing in her cozy homestead kitchen, flour drifting softly through the sieve, smiling with quiet joy at the work of her hands. That memory makes the slower pace worth every moment.
Most days, I choose the manual sifter first and the electric sifter second. During busy seasons or batch cooking days, I reach for the electric, and it never lets me down. Both belong in my kitchen for different reasons, and both belong in yours, too, when the time is right.
If you are just starting out, or if hand strain is a concern, an electric sifter makes the process accessible and enjoyable without sacrificing results. For a deeper explanation of when and why sifting matters, the Sifting Freshly Milled Flour guide covers everything you need.
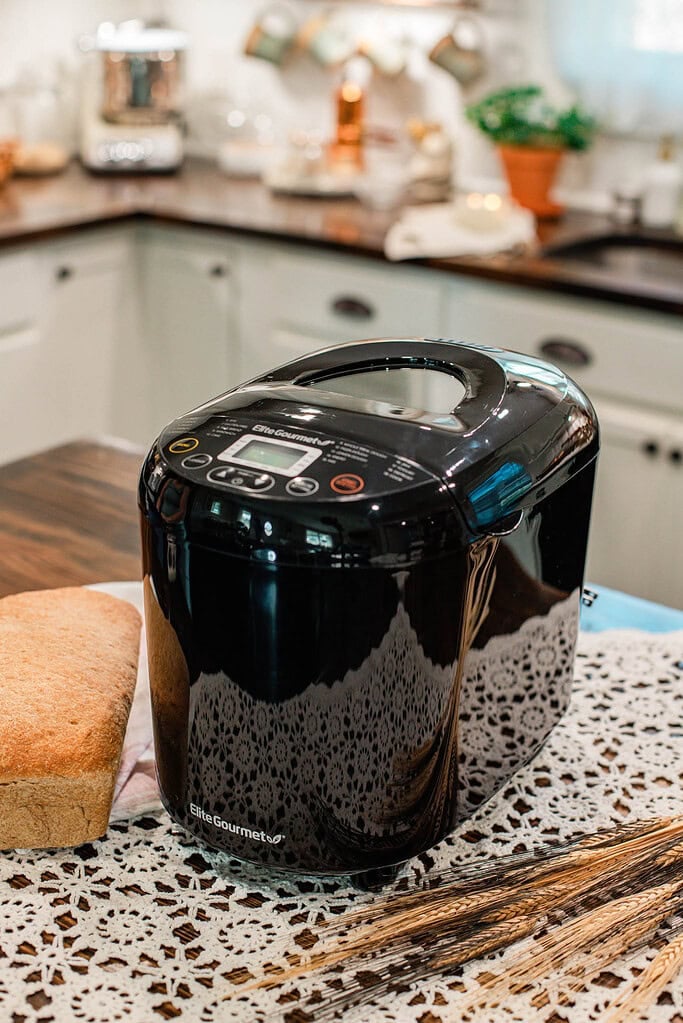
Optional Milling Tool, The Bread Machine
A bread machine is optional, but it can be a helpful support tool for fresh-milled flour baking. It is especially useful during busy seasons or when you want a hands off way to mix and knead dough.
I do not rely on a bread machine for every bake. However, I appreciate having one available when time or energy feels limited. It handles mixing and kneading well, then allows you to finish shaping and baking in the oven.
Bread machines work well for beginners but it comes with a caveat: to truly understand freshly milled flour dough, one needs to know how it feels through every stage. And if you use a bread machine every time, you’re missing out on how to tell when you have developed enough gluten, hydrated properly, and so much more. But they can remove the pressure of timing and technique while you learn how fresh milled flour behaves on test loaves you make without the bread machine’s help, which makes the whole process feel more forgiving and approachable from the start.
They also support accessibility in the kitchen. If arthritis, hand strain, or mobility issues make mixing and kneading difficult, a bread machine keeps fresh milled flour baking within reach without compromise.
Even after years of baking, I still use mine during hectic weeks. I let the machine do the early work, then move the dough to a loaf pan or Dutch oven to bake. It keeps fresh bread on the table without stress and without sacrificing the results I want in busy seasons.
A bread machine is not required for home milling. Think of it as a backup tool that supports consistency, confidence, and flexibility when you need it most.
Home Milling Tips
Start with clean, quality grain – Milling begins with the wheat berries themselves. The Best Whole Grains to Mill guide offers clear guidance on which grains to reach for and why.
Store wheat berries for the long haul – Whole grains last far longer than flour when stored correctly. The How to Store Wheat Berries guide covers simple, reliable options for short and long term storage.
Turn your mill on before adding grain – Starting the motor first protects your home milling machine and keeps the grind smooth and consistent from the first berry.
Adjust fineness with purpose – Finer flour works best for baking, while coarser grinds suit cereal, cracked grain recipes, grits, and steel cut oats. Sifting helps fine tune texture once the flour is milled.
Use fresh flour close to milling – Freshly milled flour contains living oils and full flavor that begin to fade over time. Milling close to baking gives you the best performance and taste from every grain.
Let dough rest before heavy mixing – Short rest times allow fresh milled flour to hydrate evenly and improve texture before the gluten is worked. This step makes a noticeable difference in the dough that handles well and rises fully.
Sift only when the recipe needs it – Cakes, pastries, and delicate bakes benefit most from sifting. Rustic loaves and sourdough often perform beautifully without it. The Sifting Freshly Milled Flour guide helps you decide.
Store fresh milled flour carefully –
- Room temperature – 2 to 3 days in an airtight container in a cool, dark spot away from heat sources
- Refrigerator – 4 to 7 days in a strictly airtight container; glass jars with tight-fitting lids work especially well to prevent moisture absorption
- Freezer – up to 6 months in a freezer-safe airtight bag or container; bring to room temperature before baking. This How to Store Fresh Milled Flour guide covers counter, fridge, and freezer options.
Convert recipes with confidence – You do not need new recipes to get started with fresh milled flour. The How to Convert Recipes to Freshly Milled Flour guide walks through every adjustment you need.
What Freshly Milled Flour Is Actually Made Of
A wheat berry has three parts, and each one changes how your flour behaves in your baked goods:
- The bran – roughly 14 to 16 percent of the kernel. Contains fiber, B vitamins including thiamine, riboflavin, niacin, and B6, plus iron, magnesium, and zinc. Stays in when you mill at home.
- The germ – roughly 2 to 3 percent of the kernel. Contains vitamin E, folate, healthy fats, and antioxidants. The natural oils are why fresh flour smells alive and why milling close to bake time matters.
- The endosperm – roughly 83 percent of the kernel. Almost entirely starch and protein. This is what refined white flour is made from.
Commercial refining removes some of the vitamins and minerals in the whole kernel. Enriched flour adds back some of those. Freshly milled whole grain flour retains over 40 micronutrients in their natural form.
One important distinction: when we sift freshly milled flour, we are not refining it. Sifting removes some, but not all of the bran, to adjust the texture or make fermentation more visible. The germ, endosperm, and some bran are still whole and intact. Sifting at home and commercial refining are two entirely different things.
For guidance on storing fresh milled flour after milling, How to Store Freshly Milled Flour covers everything.
Cottage Living Community
Join the Cozy Cottage Living Community
Sign up for The Modern Day Cottage Community newsletter to receive recipes. how-tos, exclusives, and more from my kitchen to your inbox every week.
FAQ
More Fresh Flour Guides from The Cottage
Was this guide helpful?
Please share this post with others if you found this guide helpful.

Emily Rider
Home miller since 1999 with fresh-milled flour & sourdough experience. Sharing from-scratch recipes and traditional kitchen skills, rooted in the seasons and inspired by everyday cottage living and seasonal rhythms.