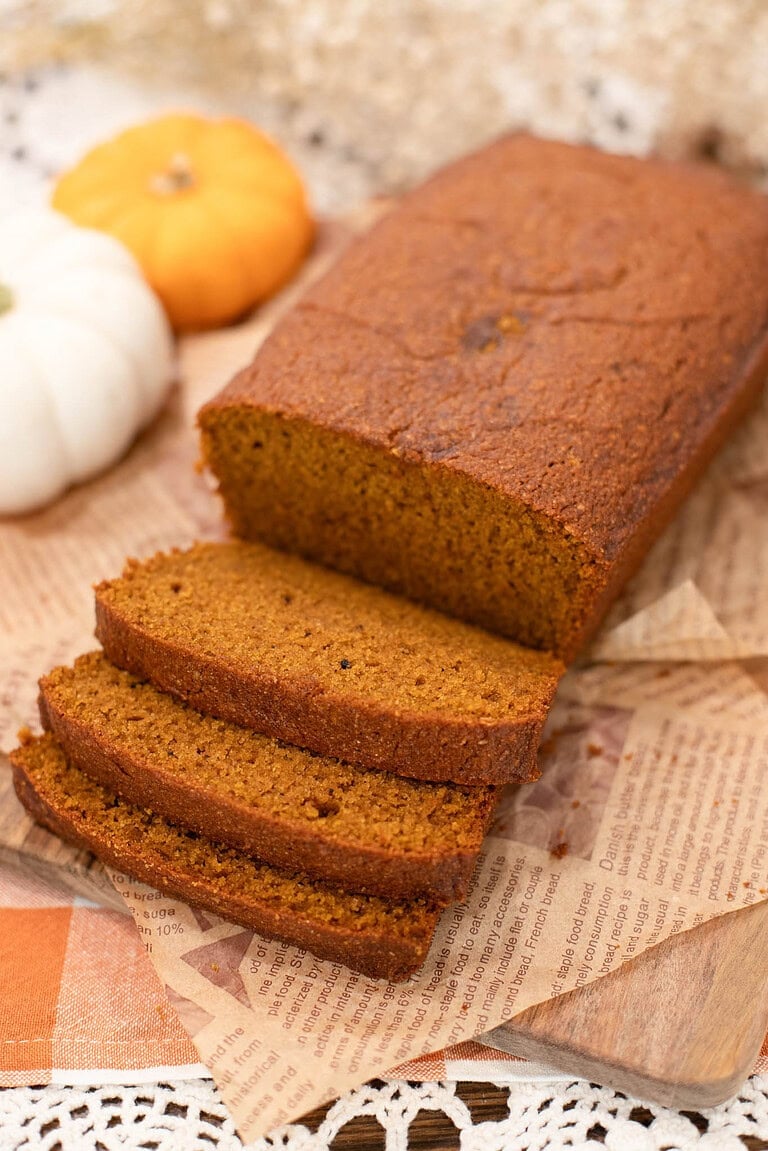
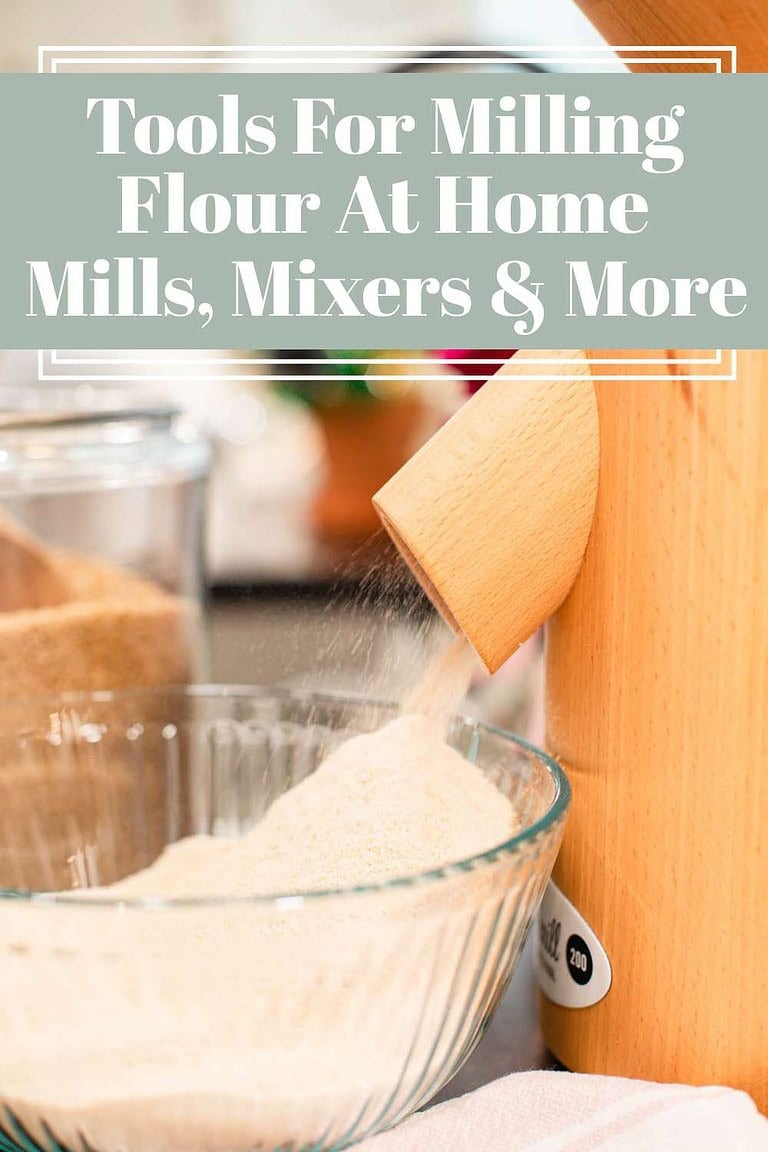
Making all-purpose flour from fresh milled flour starts with two wheat berries, hard white for structure and soft white for tenderness, blended at the right ratio and milled fresh before you bake. This guide walks through the exact blend, when to sift, how to weigh accurately, and how to store what you mill so every bake turns out the way you want it to.
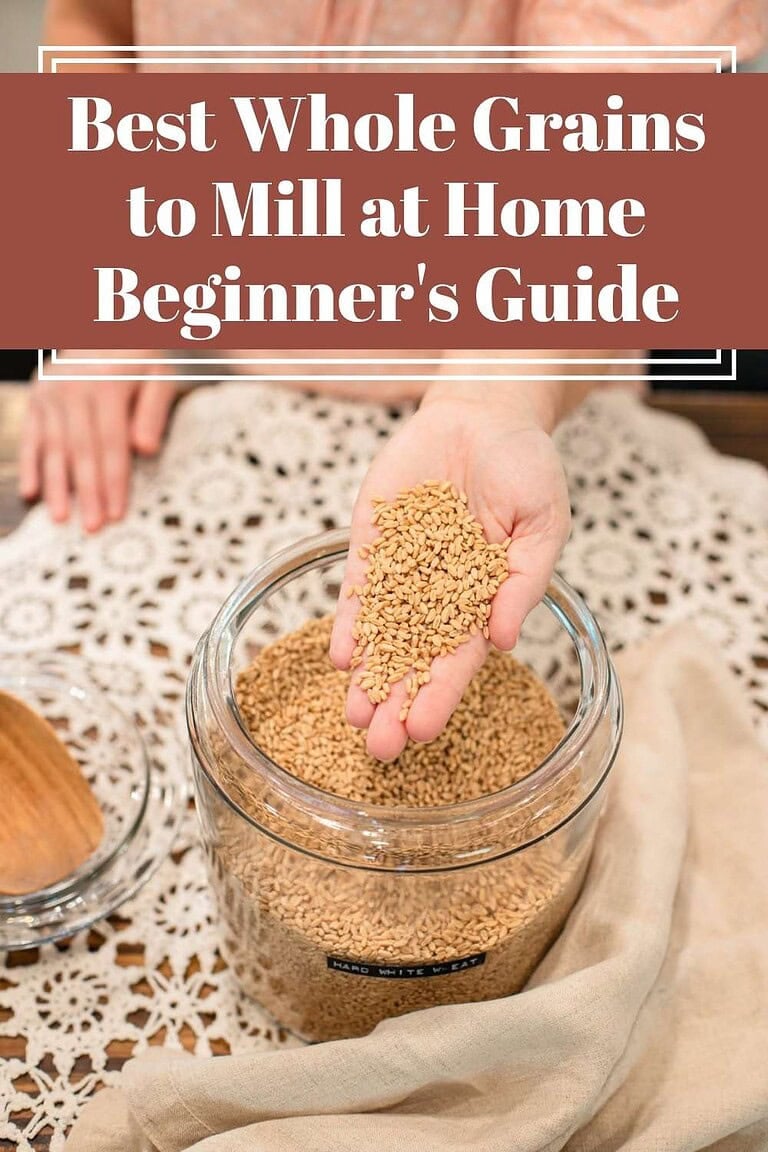
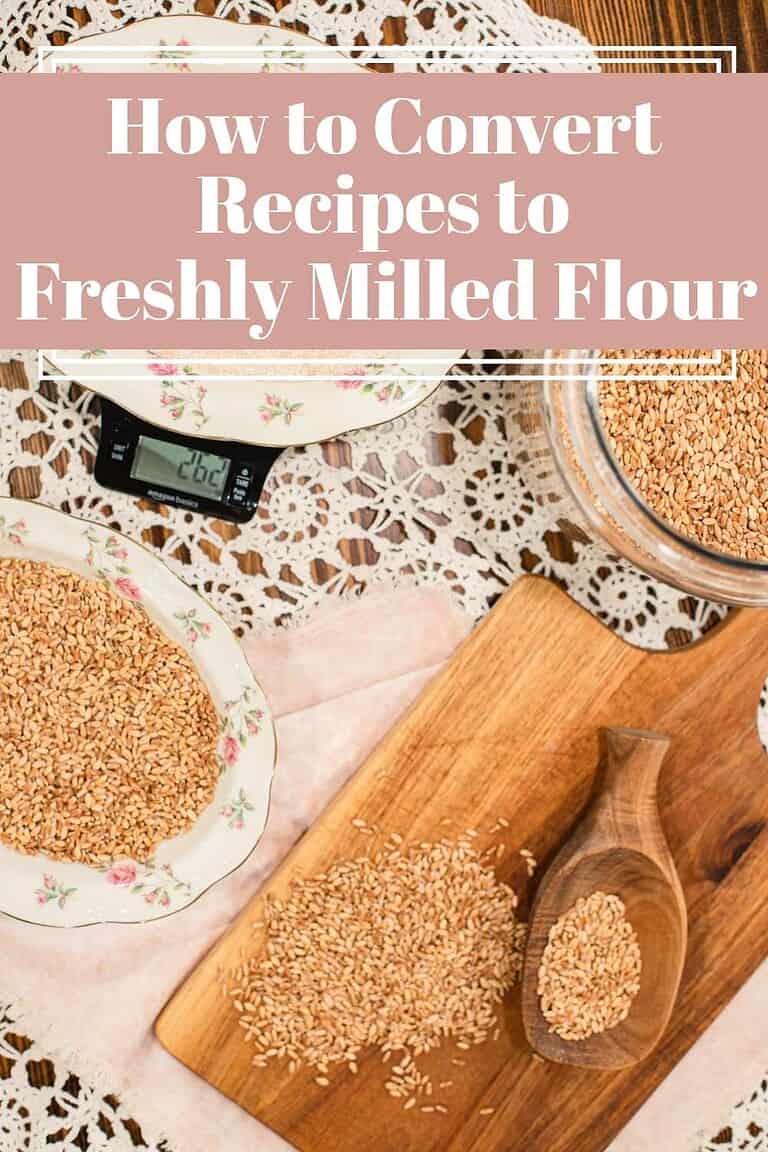
If you are just getting started with home milling, the Milling Fresh Flour at Home for Baking guide covers the full process. To understand how each grain behaves, Best Whole Grains to Mill is a good place to start. Once you are ready to use this blend in your recipes, How to Convert Recipes to Freshly Milled Flour covers everything you need.
Do you want to learn more about freshly milled flour? The Cottage Mill is filled with guides and resources to walk you through recipe conversions, flour blends, and techniques to help you bake with more consistency.

The Cottage Mill: Freshly Milled Flour Guides, Recipes, and More Await!
Wonderful, wonderful site! So glad I found it before starting my journey with fresh-milled flour. Thank you so much for sharing your knowledge. ~Mary
What You’ll Learn in This Guide

Ingredients
Tips
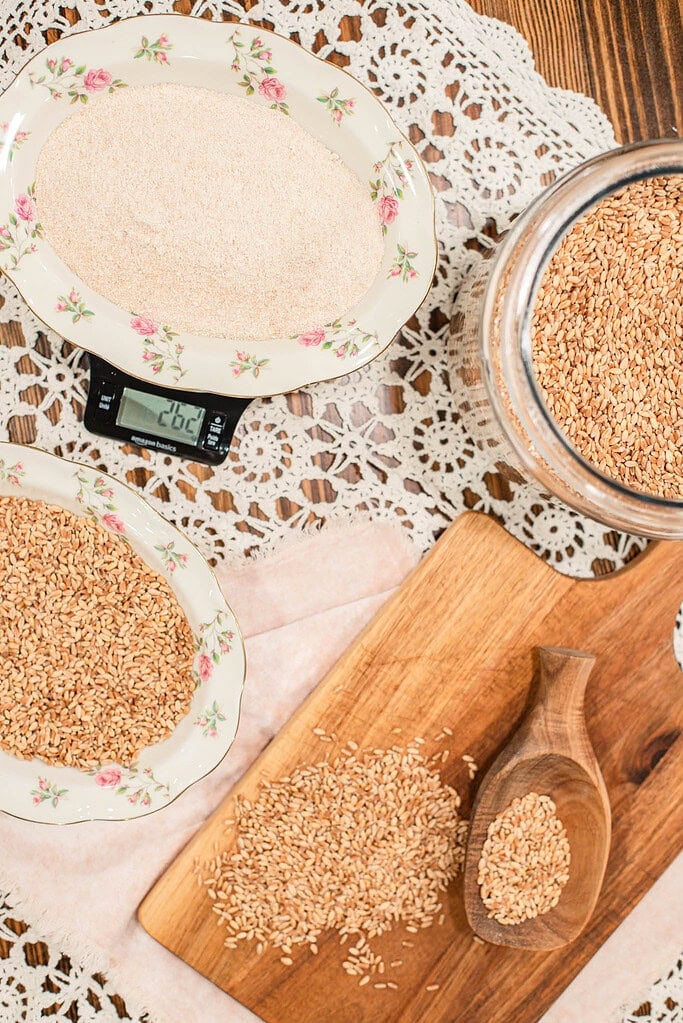
Weigh based on how you will use the flour – If you are not sifting, weigh your wheat berries before milling. If you are sifting, always weigh the flour after milling and sifting. Sifting removes bran, which changes both weight and yield, so weighing beforehand throws off recipe accuracy.
Scaling for larger recipes – This blend is written for 120 grams of finished flour, roughly 1 cup. To scale up, multiply the wheat berry amounts by however many cups your recipe needs.
- For 2 cups: mill 144 grams of hard white and 96 grams of soft white.
- For 4 cups: mill 288 grams of hard white and 192 grams of soft white.
- For 6 cups: mill 432 grams hard white and 288 grams soft white.
- If you are sifting, add 20 to 30 percent more wheat berries to each amount to account for bran removal.
Sifting changes your final yield – Plan to mill 20 to 30 percent more wheat berries than the final flour amount you need when sifting. A finer sieve removes more bran and naturally reduces finished flour volume.
Freshly milled flour absorbs water differently – Freshly milled flour contains the bran and germ fully intact, which changes how it absorbs water and behaves in dough. Allow the dough to rest before making any hydration adjustments.
Skip the 1¼ cups rule – You will see the guideline that 1¼ cups of fresh flour equals 1 cup store-bought flour, but it is inconsistent. Fresh flour is lighter by volume but heavier by weight and absorbs more water. Weighing flour in grams is far more reliable and gives consistent results every time.
Hydration matters more than flour quantity – Fresh milled flour absorbs liquid slowly. Always allow the dough to rest before making adjustments. Adding flour too quickly is one of the most common mistakes when transitioning from pre-milled flour.
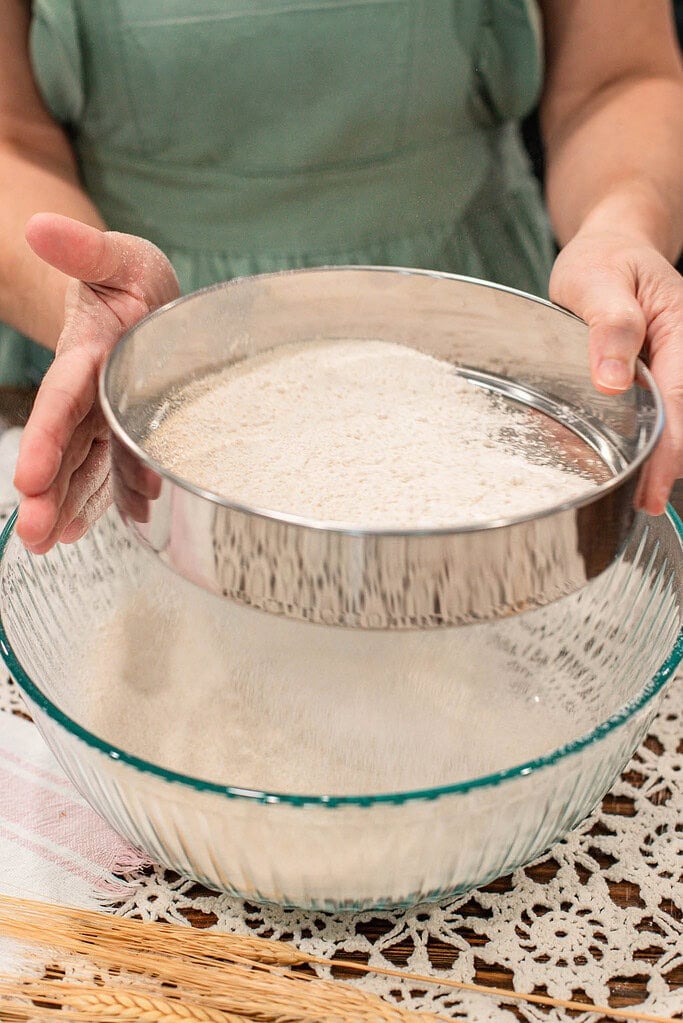
Sifting is optional – This blend works beautifully unsifted for muffins, pancakes, and quick breads. Sifting is most helpful for cookies, cakes, and delicate pastries where a lighter texture matters. The Sifting Freshly Milled Flour guide covers when sifting helps and when to skip it.
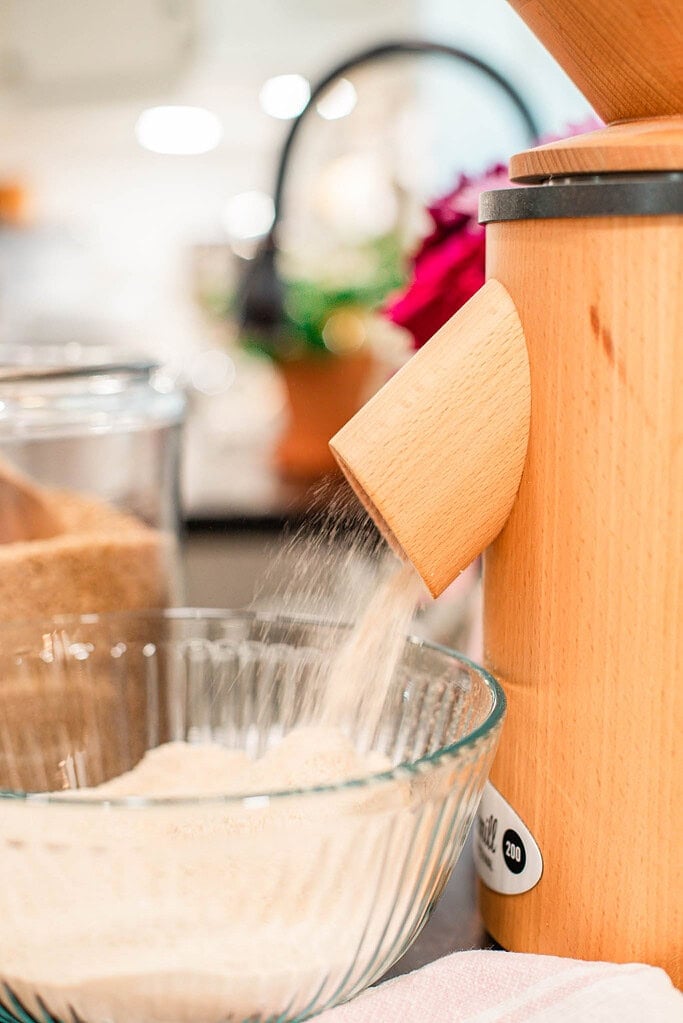
Mill as fine as your mill allows – A fine grind produces the most consistent results for all-purpose use. If your mill runs warm, mill in short bursts to protect flour quality.
Use fresh flour promptly – Freshly milled flour has the best flavor and performance within hours of milling. If storing, keep it airtight in the refrigerator or freezer and bring it fully back to room temperature before baking. The How to Store Fresh Milled Flour guide covers all storage methods.
Instructions
- Decide whether you will sift – Before milling, decide how you plan to use the flour. If you are not sifting, you can use the standard amounts. If you are sifting, plan to mill 20 to 30 percent more wheat berries than your recipe calls for since sifting removes bran and reduces final flour yield.
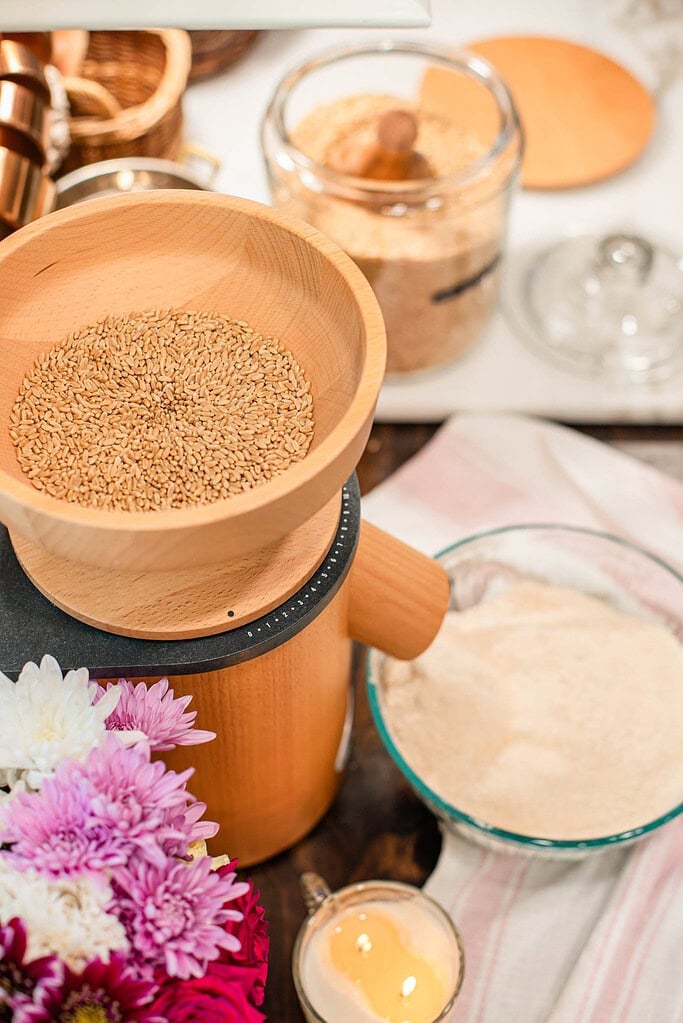
- Mill the wheat berries – For 120 grams of finished unsifted flour, mill 72 grams hard white wheat berries and 48 grams soft white wheat berries on the finest setting your mill allows. For 120 grams of finished sifted flour, mill approximately 94 grams hard white wheat and 62 grams soft white wheat to account for bran removal. Both stone mills and impact mills work well for this blend.
- Scaling for larger recipes – This blend is written for 120 grams of finished flour, roughly 1 cup. To scale up, multiply the wheat berry amounts by however many cups your recipe needs. Or use the recipe card below and hover over servings and slide the number of servings by # of cups you need.
- Sift for a lighter flour – Sift the freshly milled flour through a #50 mesh sieve to remove some of the coarse bran. This creates a softer, more versatile all-purpose flour. For muffins, pancakes, and quick breads, unsifted flour works beautifully, and no sifting is needed. For cookies, cakes, and pastries, use this specialty blend: How To Make Cake & Pastry Flour from Freshly Milled Flour.
- Weigh the finished flour – Once your flour is milled and sifted (optional), weigh out the amount your recipe calls for using a kitchen scale. Weighing in grams gives the most accurate results, especially when converting from store-bought flour recipes.
- Use immediately or store properly – Freshly milled flour performs best when used right away. Store any excess freshly milled flour in an airtight container at room temperature for up to 2 to 3 days, in the refrigerator for 4 to 7 days, or in the freezer for up to 6 months. Bring refrigerated or frozen flour to room temperature before baking for the most consistent results.
Storage
- Room temperature – 2 to 3 days in an airtight container in a cool, dark spot away from heat sources
- Refrigerator – 4 to 7 days in a strictly airtight container; glass jars with tight-fitting lids work especially well to prevent moisture absorption
- Freezer – up to 6 months in a freezer-safe airtight bag or container; bring to room temperature before baking
RELATED POST
For the full breakdown of containers, methods, and short and long-term options, the How to Store Fresh Milled Flour guide covers everything you need.

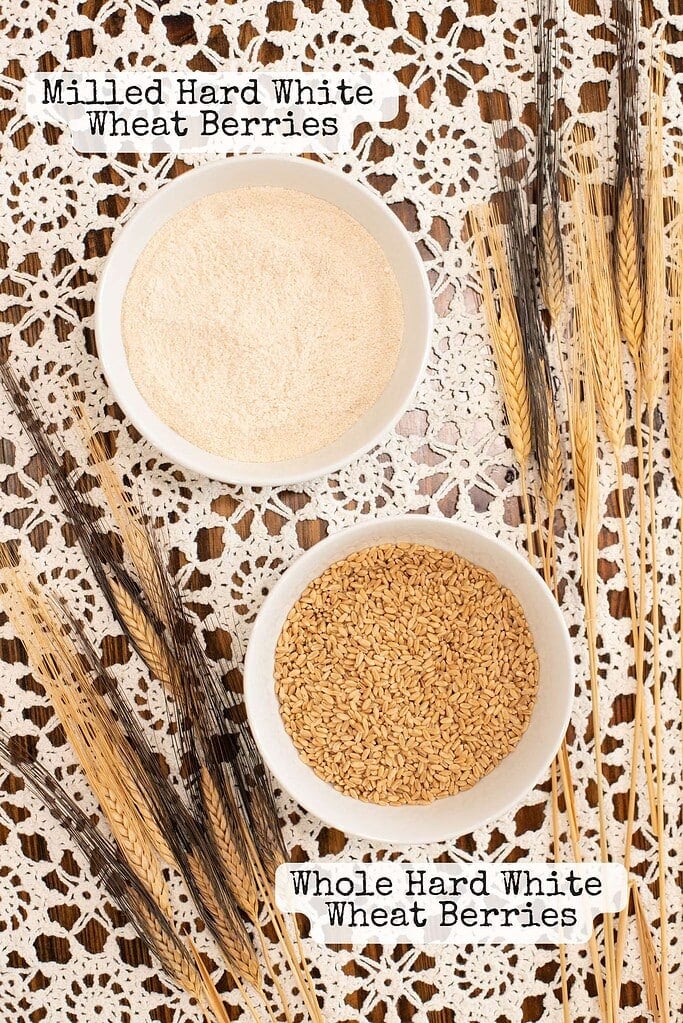
What Freshly Milled Flour Is Actually Made Of
A wheat berry has three parts, and each one changes how your flour behaves in your baked goods:
- The bran – roughly 14 to 16 percent of the kernel. Contains fiber, B vitamins including thiamine, riboflavin, niacin, and B6, plus iron, magnesium, and zinc. Stays in when you mill at home.
- The germ – roughly 2 to 3 percent of the kernel. Contains vitamin E, folate, healthy fats, and antioxidants. The natural oils are why fresh flour smells alive and why milling close to bake time matters.
- The endosperm – roughly 83 percent of the kernel. Almost entirely starch and protein. This is what refined white flour is made from.
Commercial refining removes some of the vitamins and minerals in the whole kernel. Enriched flour adds back some of those. Freshly milled whole grain flour retains over 40 micronutrients in their natural form.
One important distinction: when we sift freshly milled flour, we are not refining it. Sifting removes some, but not all of the bran, to adjust the texture or make fermentation more visible. The germ, endosperm, and some bran are still whole and intact. Sifting at home and commercial refining are two entirely different things.
For guidance on storing fresh milled flour after milling, How to Store Freshly Milled Flour covers everything.
Cottage Living Community
Join the Cozy Cottage Living Community
Sign up for The Modern Day Cottage Community newsletter to receive recipes. how-tos, exclusives, and more from my kitchen to your inbox every week.
FAQ
More Fresh Flour Guides from The Cottage


All-Purpose Flour from Freshly Milled Flour Blend
Equipment
- 1 Grain Mill
- 1 Digital kitchen scale
- 1 Whisk
- 1 #50 Sieve *optional
- 1 Large mixing bowl
- 1 Airtight Container for storage
Ingredients
Fresh-Milled All-Purpose Flour Blend 1 cup (120 grams)
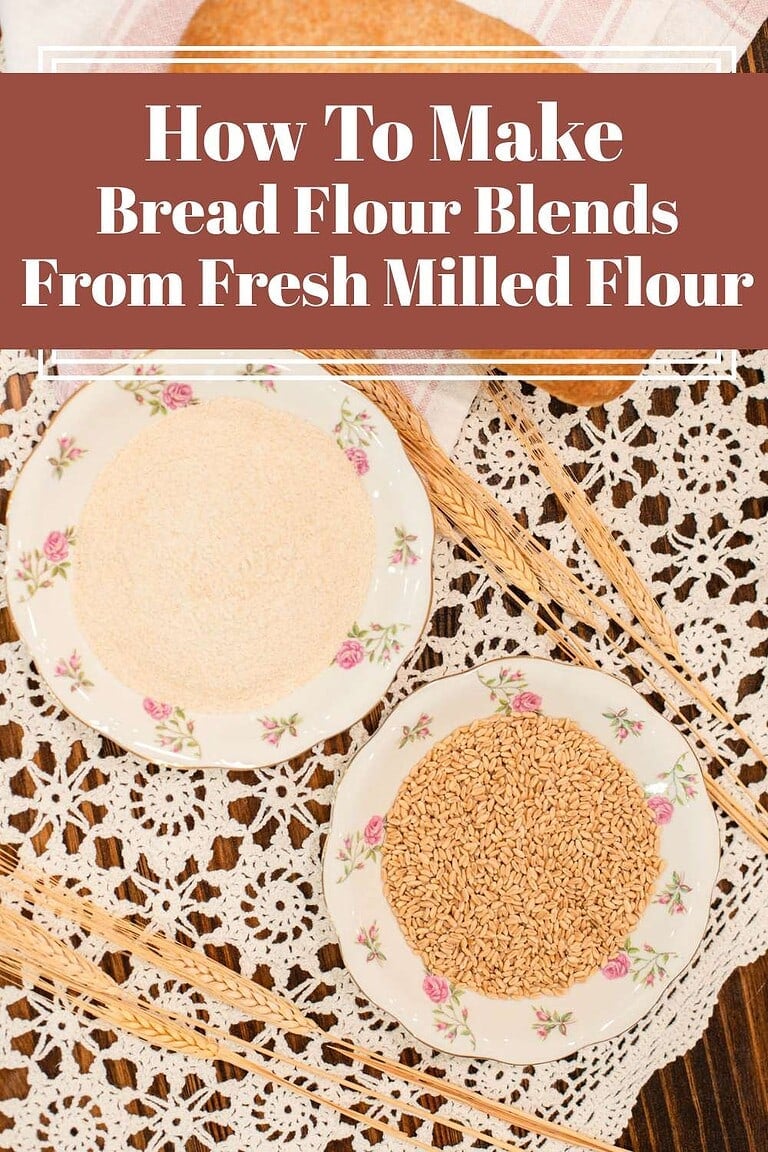
- ½ cup Hard White Wheat Berries, about 1/2 c. of whole grains. This is your 60% of the blend. 72 grams
- ⅓ cup + 1 tablespoon of Soft White Wheat Berries, a little under 1/2 cup. This is your 40% of your blend. 48 grams
Instructions
- Decide whether to sift – Before milling decide if you will sift the finished flour. If sifting, you will need to mill 20 to 30 percent more wheat berries than your final flour amount since sifting removes bran and reduces yield. If not sifting, use the exact amounts listed.
- Mill the wheat berries – For 120 grams of finished unsifted flour, mill 72 grams hard white wheat berries and 48 grams soft white wheat berries on the finest setting your mill allows. For 120 grams of finished sifted flour, mill approximately 94 grams hard white and 62 grams soft white to account for bran removal. Both stone mills and impact mills work well for this blend.
- Scaling for larger recipes – This blend is written for 120 grams of finished flour, roughly 1 cup. To scale up, multiply the wheat berry amounts by however many cups your recipe needs. Or on this recipe card hover over servings and slide the number of servings by # of cups you need.
- Sift for a lighter flour – Sift the freshly milled flour through a #50 mesh sieve to remove some of the coarse bran. This creates a softer, more versatile all-purpose flour. For muffins, pancakes, and quick breads, unsifted flour works beautifully, and no sifting is needed. For cookies, cakes, and pastries, use this specialty blend: How To Make Cake & Pastry Flour from Freshly Milled Flour.
- Weigh the finished flour – Once your flour is milled and sifted if applicable, weigh out the amount your recipe calls for using a kitchen scale. Weighing in grams gives the most accurate results especially when converting from store bought flour recipes.
- Use immediately or store properly – Freshly milled flour performs best when used right away. Store any excess freshly milled flour in an airtight container at room temperature for up to 2 to 3 days, in the refrigerator for 4 to 7 days, or in the freezer for up to 6 months. Bring refrigerated or frozen flour to room temperature before baking for the most consistent results.
Notes
Was this guide helpful?
Please share this post with others if you found this guide helpful.

Emily Rider
Home miller since 1999 with fresh-milled flour & sourdough experience. Sharing from-scratch recipes and traditional kitchen skills, rooted in the seasons and inspired by everyday cottage living and seasonal rhythms.

If I sift the fresh Milled flour can my gluten free daughter eat the baked good?
Hi Geri,
Even when you sift fresh-milled flour, it still comes from whole wheat berries, and wheat naturally contains gluten. Sifting makes the flour lighter and softer, but it doesn’t take the gluten out. Because of that, anything made with wheat—fresh-milled or store-bought—wouldn’t work for someone who needs to avoid gluten.
I know that’s probably not the answer you were hoping for, but I’m really glad you reached out to ask. If you ever have more questions about fresh-milled flour or how it behaves in baking, I’m always happy to help.
Warmly,
Emily Rider
Such a helpful guide and exactly what I needed! Now I know how to get the perfect all purpose flour texture for my baked goods!
Thank you so much, Astoria! I’m so glad the guide was helpful for you. Freshly milled flour really is such a gift in the kitchen, and finding that perfect all-purpose texture makes all the difference in baking. I can’t wait to hear what you create with it!
Warmly, Emily