There’s a quiet comfort in lining the pantry with glass jars of golden wheat berries — a little peace of mind knowing your precious whole grains are safely tucked away.
In this guide, I’ll show you exactly how to store wheat berries — from ideal temperatures and humidity to the best containers (glass jars, food-grade buckets, and Mylar bags with oxygen absorbers), how long they last, and the common mistakes to avoid.
This post may contain affiliate links. Please read our disclosure policy for details.
When stored properly, they stay fresh and flavorful for months (even years), ready for every loaf, cookie, and cake that begins with the gentle hum of the mill.
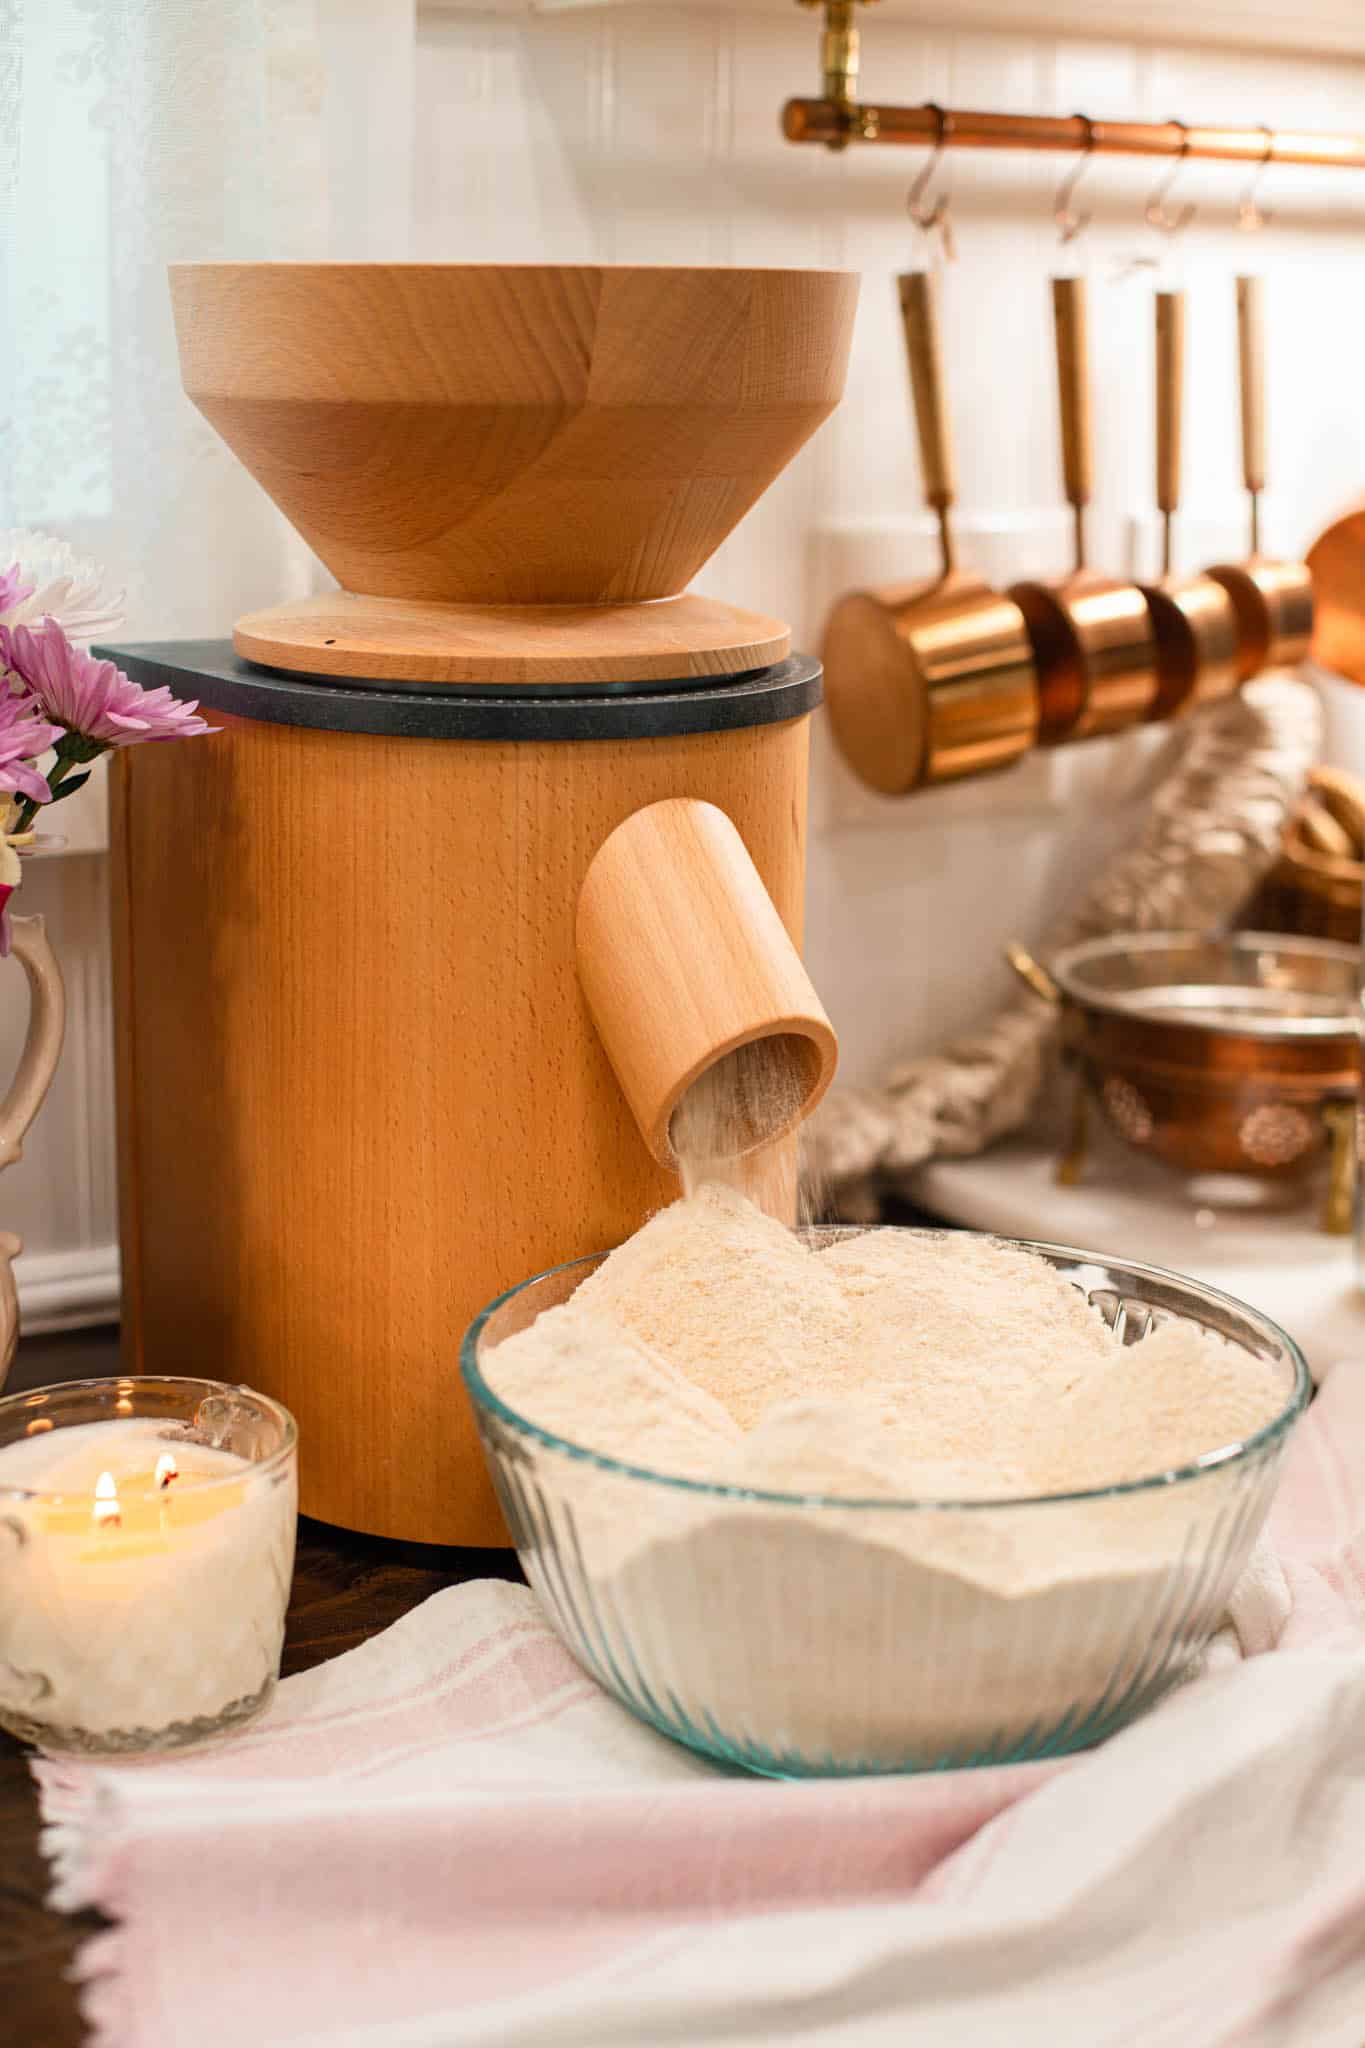
These are the simple, practical methods I use in our cottage kitchen to keep grains fresh for freshly milled flour all year long.
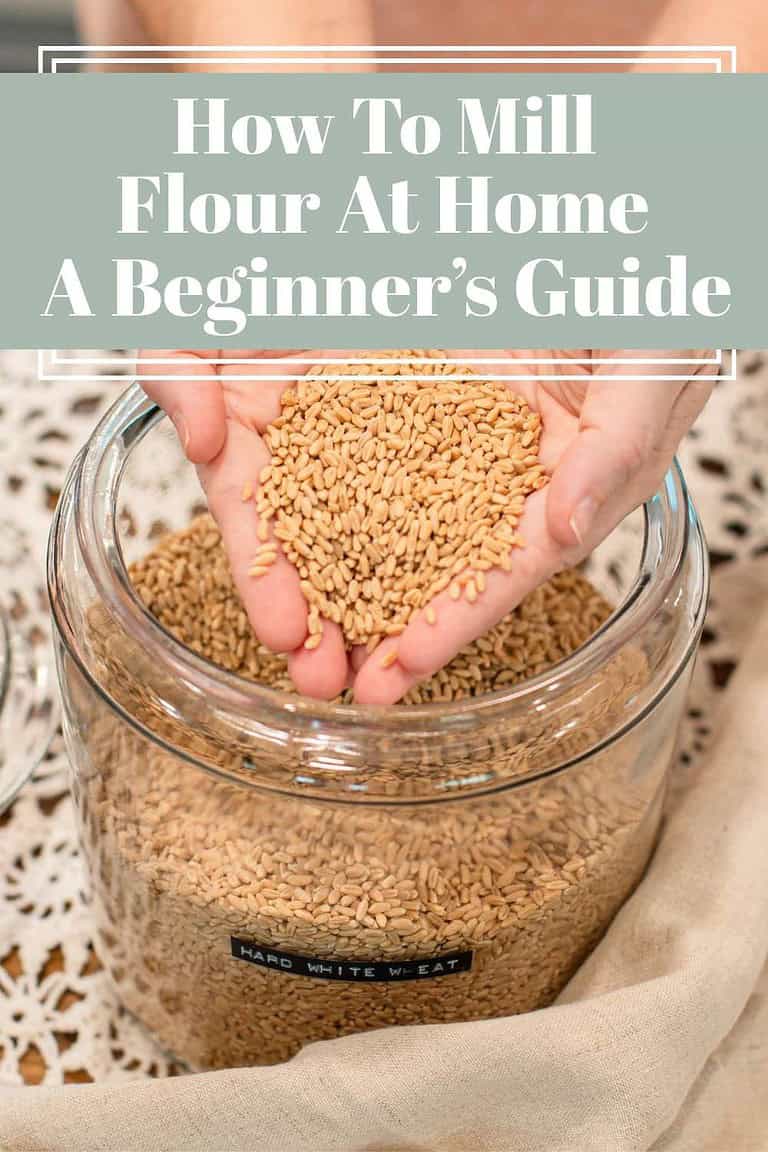
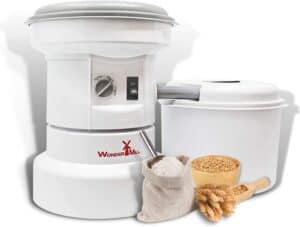
If you’re new to home-milling, start with How to Mill Flour at Home: A Beginner’s Guide to learn the full process before you begin storing your grains.
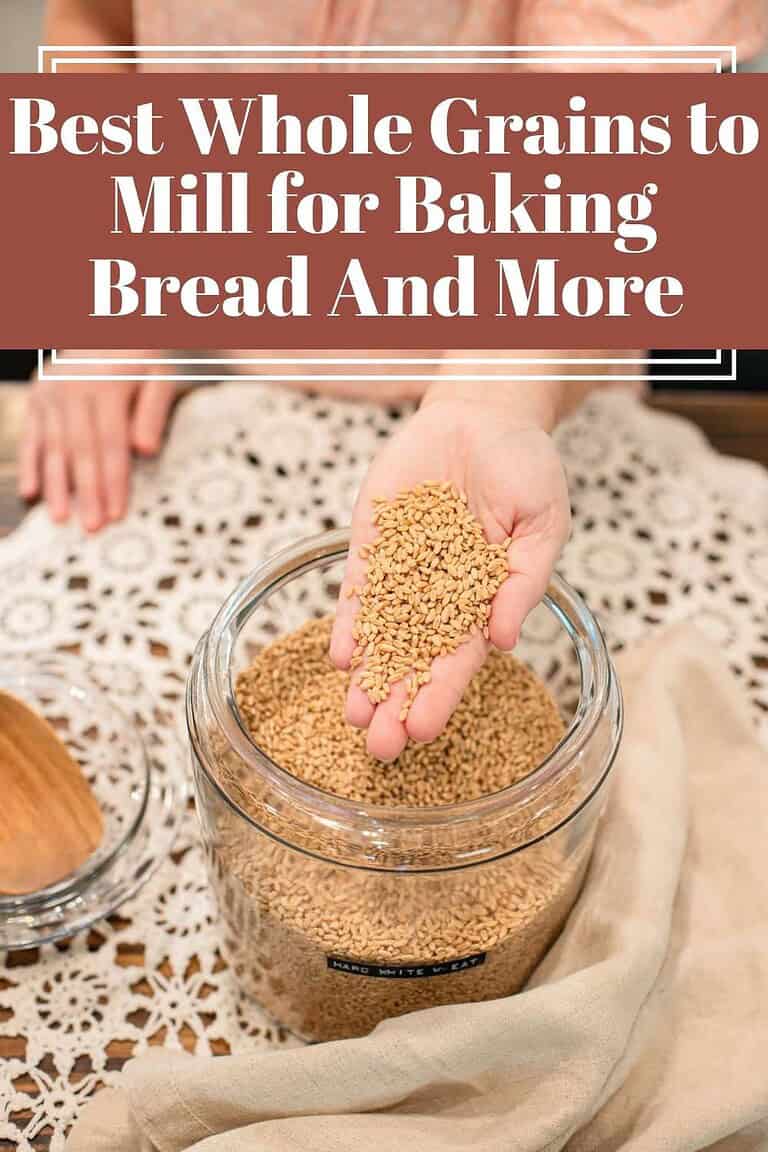
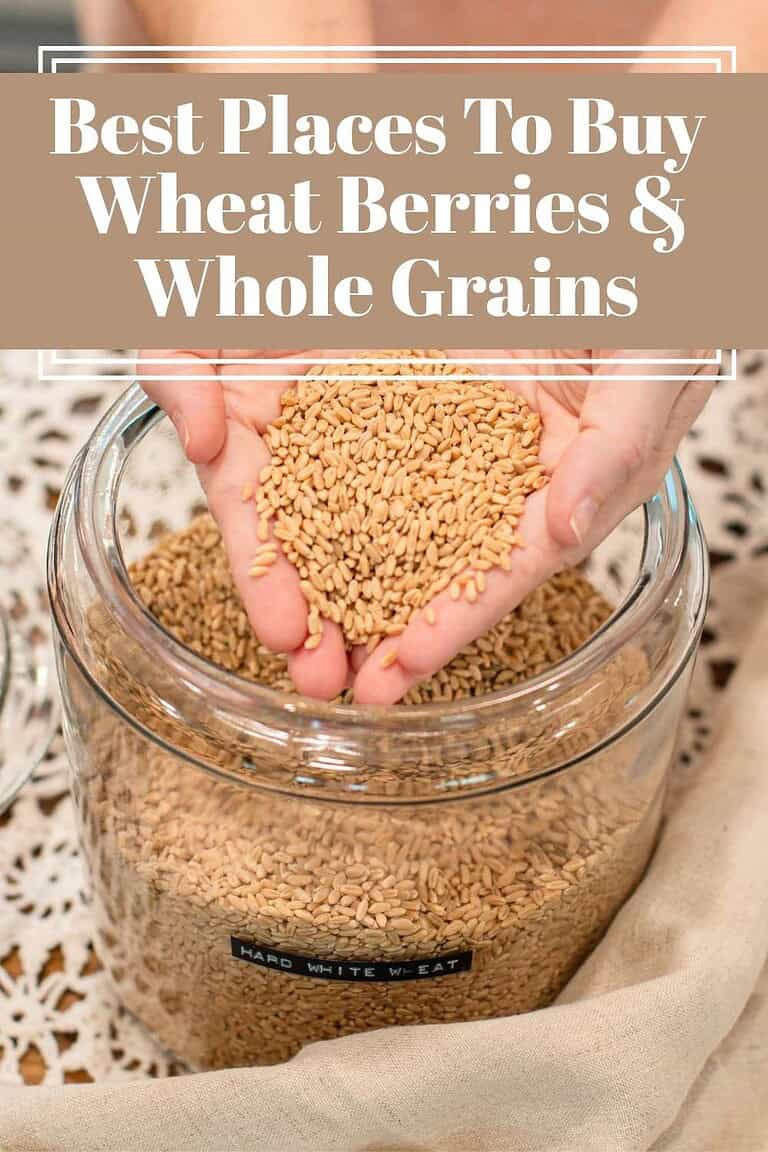
If you’re beyond the basics and want to source wheat berries and whole grains, you might enjoy my guide to Best Places to Buy Wheat Berries & Whole Grains, and this guide, Best Whole Grains to Mill for Baking Bread & More.
A Cottage Milling Note
Don’t feel like you need to have the perfect storage setup from day one. When I first began, my “whole grain system” was nothing more than a few mason jars of wheat berries lined up on the counter.
Over the years, I slowly added buckets, Gamma lids, labels, and all the rest. Start simple, maybe a single jar in your pantry or a half-filled bucket tucked in a closet, and let your system grow as your confidence does.
Little by little, you’ll build a storage routine that works for your home and your rhythm.
Why You’ll Love This Guide
Why Storage Matters
When you bring home a bag of wheat berries, you’re not just buying grain — you’re investing in countless loaves, pancakes, muffins, and morning porridges yet to come.
How you store those wheat berries determines whether they stay fresh, flavorful, and full of life for years — or lose their spark before you’ve even milled your first cup.
Unlike flour, which begins losing nutrients soon after it’s ground, whole wheat berries are wonderfully hardy.
When kept cool, dry, and sealed, they can last for years — even decades. But give them too much warmth, light, or moisture, and you’ll invite pests, mold, and off-flavors that no loaf can quite overcome.
Good storage isn’t complicated; it’s a small layer of protection that safeguards your pantry staples and brings you peace of mind every time you bake.
If you’re just beginning your fresh milling journey, start with my guide How to Mill Flour at Home | A Beginner’s Guide. It walks you through choosing grains and setting up your home mill.
A Cottage Millers Note
Storing wheat berries doesn’t have to feel like a big production — it’s really about finding a rhythm that fits your home.
In my own cottage kitchen, I’ve kept buckets tucked in our craft room, jars lined on open shelves, and small bags sealed for those seasons when space was tight. Every method has its place.
If you’re just getting started, choose one simple approach — maybe a glass jar in the pantry or a bucket with a Gamma lid. Over time, you’ll find the system that brings you peace of mind.
The beauty of wheat berries is that they’re forgiving, and once you fall into the rhythm, you’ll always have the comfort of fresh flour waiting at hand.
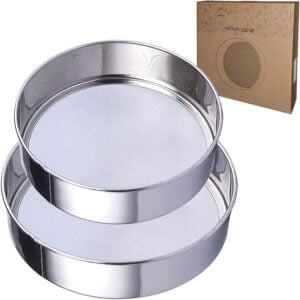
Best Containers for Storing Wheat Berries
When it comes to storing wheat berries, you don’t need fancy equipment — just the right container for your space and season. Short-term and long-term storage call for slightly different approaches, but each one is simple once you know the basics.
Tip: No matter which container you choose, always label it clearly with the grain type and the date you stored it. I use a thermal labeler for buckets and jars, but a simple Sharpie works too.
Once you’ve chosen the right containers, learn How to Sift Freshly Milled Flour | When & Why It Matters. This quick guide explains how to get the perfect texture from your grains once you’re ready to bake.
Wheat Berries & Storage Supplies
When it comes to building your home-milling pantry, quality and storage supplies matters— both in the grains you buy and the way you store them.
These are the trusted companies I personally source from for my cottage kitchen — from heritage wheat berries to the food-grade buckets, Gamma lids, and oxygen absorbers that keep them fresh for years. Every supplier listed here is one I purchase from myself to stock and store my grains, and I recommend them with complete confidence.
Azure Standard –A wonderful resource for clean, food-grade grains. When ordering, be sure to select human-consumption wheat berries, not animal feed grains, as both are listed on their site. Feed grains are intended for livestock and may include bits of chaff or debris, while the food-grade options are beautifully cleaned and ready for home milling.
Bread Beckers – My go-to for long-term storage supplies such as food-grade buckets, Gamma lids, and oxygen absorbers — along with excellent grains. Their quality and packaging make bulk storage simple and reliable.
Guardian Grains – Known for their Rouge de Bordeaux heritage wheat, which performs beautifully in sourdough. You can use the code COTTAGE for 15 % off your order — a small thank-you from Guardian Grains for The Modern Day Cottage Living community readers.
The Modern Day Cottage Amazon Shop – Where I gather many of the everyday tools and supplies that support my cottage kitchen — from jars and labels to small-batch storage essentials.
Each of these companies aligns with the same values that guide my own kitchen: quality ingredients, honest sourcing, and the simple joy of baking from scratch.
For more details on where to buy grains in bulk, see my guide Where to Buy Wheat Berries & Whole Grains.

Azure Standard
Bread Beckers

Guardian Grains
Use coupon code for 15% off
The Modern Day Cotttage Amazon Shop

Step-by-Step: How to Store Wheat Berries for Long-Term Freshness
If you’re starting with a plain 50-pound bag of wheat berries, here’s a simple, time-tested method for transferring them into safe, long-term storage:
- Prep your supplies – Gather a food-grade 5- or 6-gallon bucket, a Gamma lid, a 2000–2500cc oxygen absorber, and food-grade diatomaceous earth (DE). Keep a scoop and a clean funnel handy — it makes the process tidy and fast.
- Fill halfway – Pour half of the wheat into your bucket. Sprinkle 1–2 tablespoons of DE evenly over the grain (it’s a natural, food-safe safeguard against pests).
- Finish filling – Add the rest of the wheat berries, leaving 2–3 inches of space at the top. Sprinkle another 1–2 tablespoons of DE for good measure.
- Add the oxygen absorber – Nestle the oxygen absorber on top of the grain. Work quickly — these activate as soon as they’re exposed to air.
- Seal tightly – Secure the Gamma lid and twist it closed. If you’re using a Mylar bag inside your bucket, seal the bag with a heat sealer first, then close the lid for extra protection.
- Label clearly – Write the grain type, purchase date, and storage method. Thermal or embossed labels work beautifully — just make sure they stay put through the seasons.
- Store properly – Place the sealed bucket in a cool, dry, and climate-controlled space. Keep it off concrete floors by setting it on wood or cinder blocks, and store it away from sunlight, moisture, and pests.
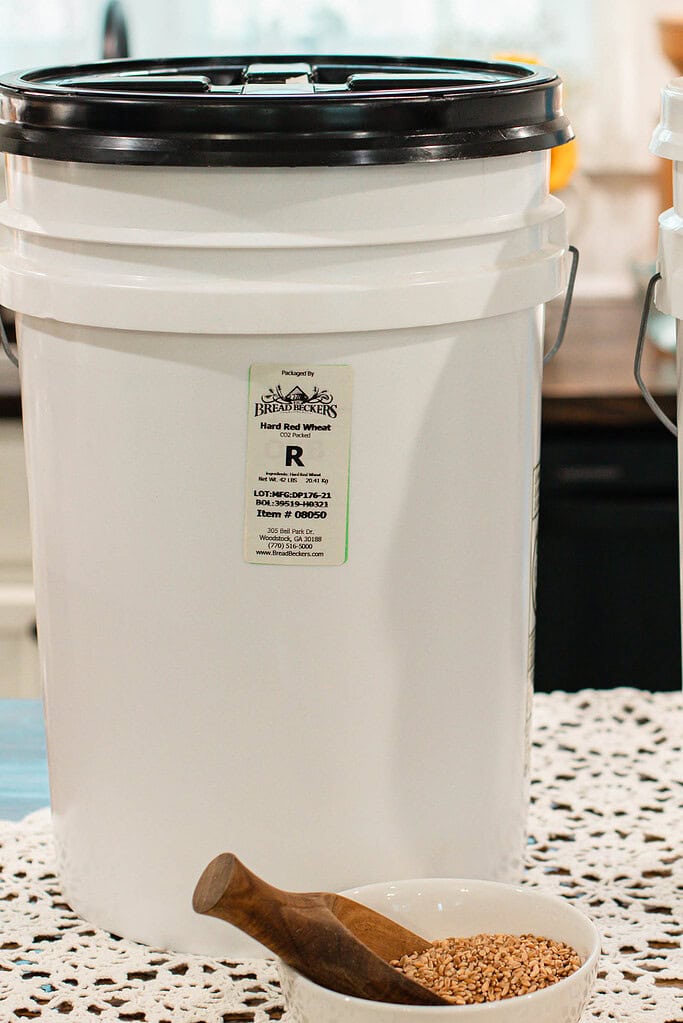
Note: If you’ve purchased pre-sealed CO₂ buckets (like those from Bread Beckers), you can skip this whole process until you open them. Once opened, it’s wise to reseal with an oxygen absorber and Gamma lid for continued freshness.
How to Store Wheat Berries for Short-Term Use
For the wheat you’re reaching for weekly, or even daily, you’ll want storage that’s practical, visible, and easy to scoop from. Here’s how I keep smaller amounts fresh and handy in my cottage kitchen:
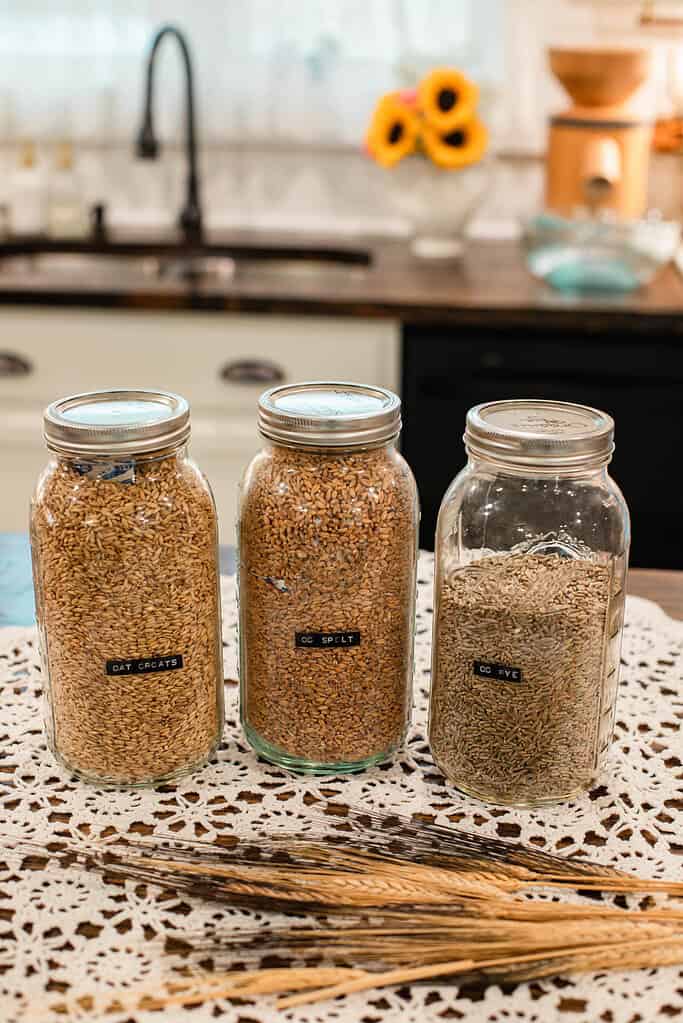
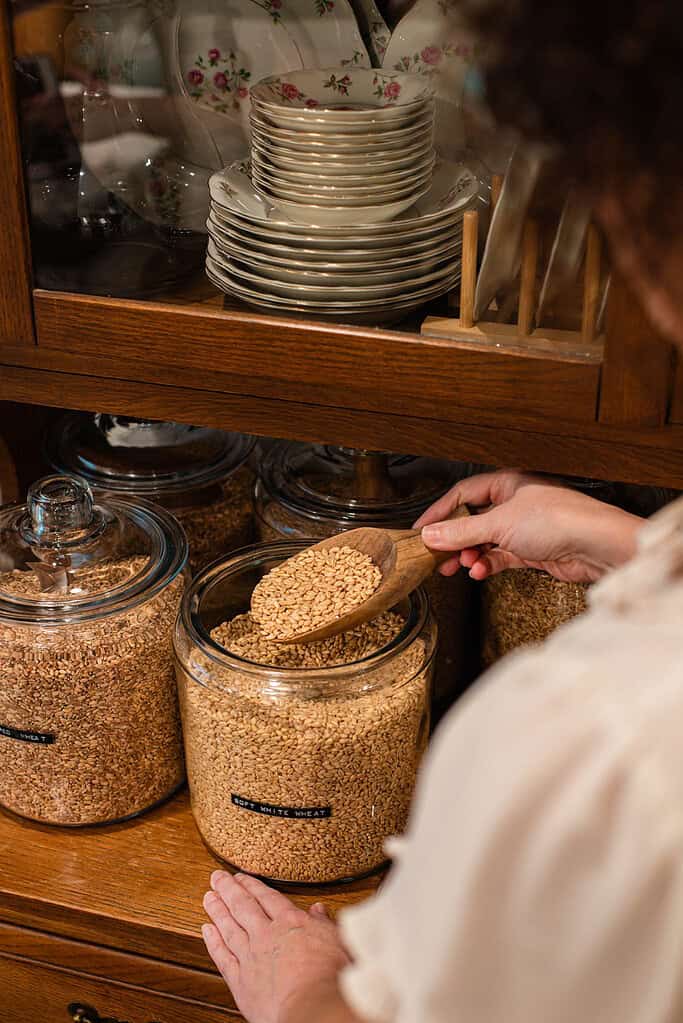
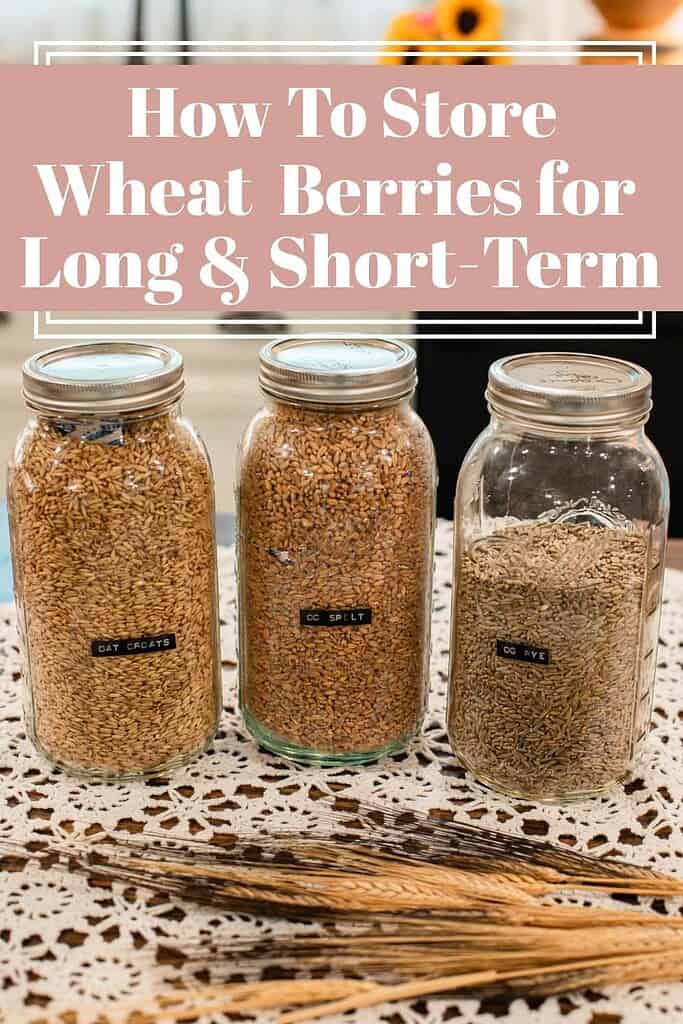
Choose your container. Glass jars are my favorite for everyday storage. Half-gallon or quart mason jars work beautifully, and Anchor Hocking gallon jars are great for larger amounts. They’re sturdy, airtight, and let you see exactly what’s inside.
- Fill and protect – Pour wheat berries into the jar, leaving about an inch of headspace. For an extra layer of protection, you can add a small oxygen absorber (100–300cc, depending on jar size) and, if you like, a pinch of food-grade diatomaceous earth (DE).
- Seal tightly – Use the jar’s airtight lid, or go a step further with a vacuum-seal attachment for your FoodSaver. This locks out extra air and helps prolong freshness.
- Label clearly – Jars can look a lot alike on the shelf! Mark the type of grain and the date you filled the jar. I like using a thermal labeler or a simple Sharpie for clean, readable markings.
- Store smart – Keep jars in a cool, dry pantry or cupboard away from direct sunlight. Unlike bulk buckets, jars don’t need to be lifted onto blocks – but they should stay in a stable, climate-controlled space.
- Refill as needed – I refill my kitchen jars straight from the larger buckets in storage. This way, the pantry stays stocked, but only a small portion of grain is exposed at a time – keeping everything fresher, longer.
Note: Short-term storage makes baking simpler and more convenient, you’ll always have a jar of wheat berries at arm’s reach for milling without digging into my bulk storage.
Best Containers for Storing Wheat Berries
When you’re stocking up on wheat berries, the container you use makes all the difference. The right setup keeps out air, moisture, and pests so your grain stays fresh and ready for the mill. Here’s what works best in my cottage kitchen:
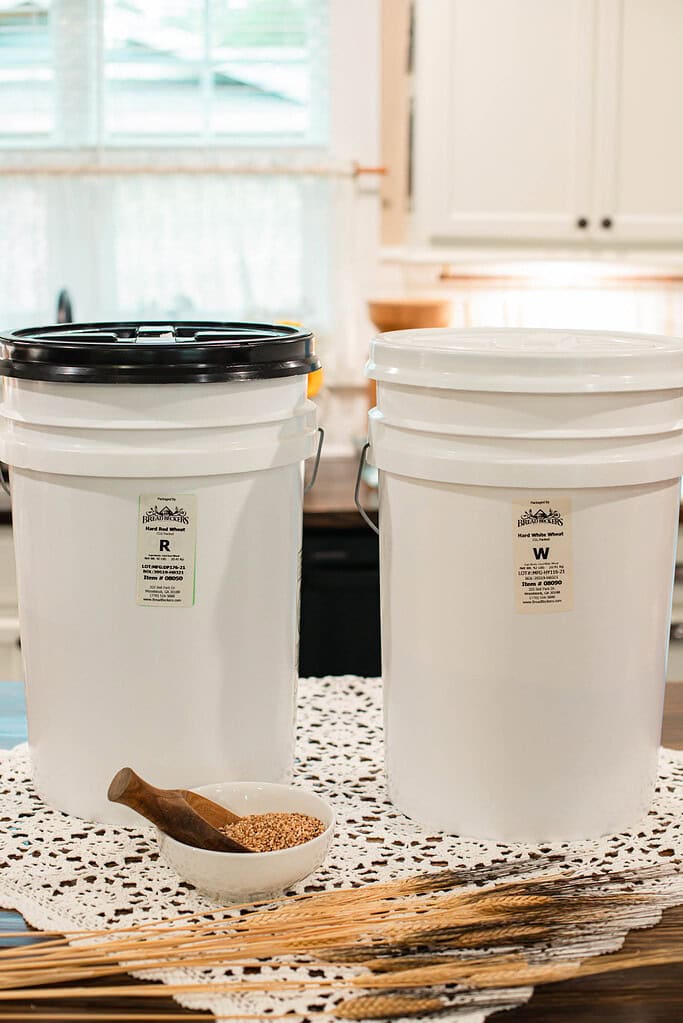
Buckets (5–6 Gallon, Food-Grade) – If you’re buying in bulk, buckets are your best friend. A 50-pound bag of wheat berries fits almost perfectly into a 6-gallon bucket, while a 5-gallon bucket works well with a bit left to spare. Always look for food-grade buckets (not paint buckets from the hardware store). For sealing, I use a 5-gallon oxygen absorber and sprinkle in a bit of food-grade diatomaceous earth halfway through and again at the top, then secure everything with a Gamma lid. Stored this way, wheat berries can last for years — even decades.
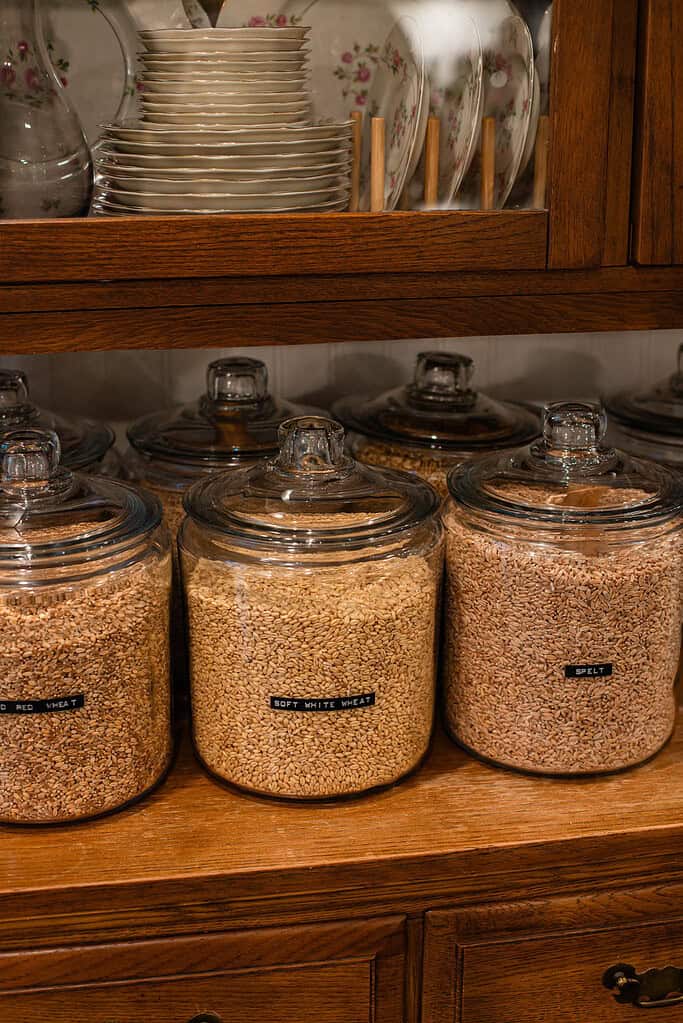
Glass Jars (Everyday Storage) – For grains I reach for daily, I love using gallon-size Anchor Hocking Heritage jars. They’re sturdy, airtight, and lovely enough for open shelves. For smaller amounts, half-gallon or quart mason jars work beautifully. When I want to keep something extra fresh, I place inside the jar a small oxygen absorber then vacuum-seal the jars with a FoodSaver attachment.
Mylar Bags (Flexible Options) – Mylar bags are perfect when you don’t want to commit to another large bucket. You can fill them with small amounts — pint, quart, or gallon bags — or line a full 5-gallon bucket for double protection. Add an oxygen absorber, heat-seal the top, and you’re set. Just note: Mylar bags alone aren’t rodent-proof, so I still tuck mine inside a bucket for peace of mind.
Tip: No matter which container you choose, label it clearly with the grain type and date. I use a thermal labeler for Mylar and glass jars, or a Sharpie directly on the bag. Trust me — you’ll thank yourself later when you’re digging through the pantry during baking season.
How to Store Wheat Berries at Home
Think of this as a rhythm more than a rulebook. Every kitchen, pantry, and climate is different, but the process stays mostly the same:
- Start clean – Whatever container you’re using (bucket, jar, or bag), make sure it’s food-grade and completely dry before you fill it. Even a little moisture can cause mold or spoilage over time.
- Layer smart – For buckets, I like to pour in half the wheat berries, sprinkle food-grade diatomaceous earth, then add the rest and repeat. It’s a simple habit that helps protect your grain and extend freshness.
- Add oxygen absorbers – These little packets slow oxidation. Match the size of the absorber to your container (for example, a 5-gallon bucket uses one 2000–2500cc absorber). I buy mine from Bread Beckers and Azure Standard.
- Seal tight – Gamma lids on buckets, heat-sealed Mylar, and snug jar lids all work well. The tighter the seal, the longer your grain will stay protected and ready for milling.
- Store cool and dark – A basement or pantry works beautifully as long as it’s dry and not humid. If you’re storing in a basement, keep buckets off the floor on wood or cinder blocks to prevent condensation.
- Label everything – Note the grain type, storage date, and even the supplier if you’d like. That way, six months—or six years—from now, you’ll know exactly what’s inside and when it was stored.
Cottage Note
Storing wheat berries is more than pantry prep — it’s an act of care. Each jar you seal today becomes a promise of fresh flour tomorrow.
Whether you’re just beginning or refining your rhythm, know that every homemaker’s process looks a little different.
Find what fits your home, your kitchen, and your season — and let the gentle hum of the mill remind you that slow living is beautiful work.
Ready to start baking with your stored grains? You’ll love this guide: How to Convert Recipes to Freshly Milled Flour.
To learn more about all the ins and outs about freshly milled flour, from sourcing your grains, how to convert your recipes, and tons more you can visit The Cottage Mill. Click the button below to enter the mill.
Don’t forget to pin this for later!
FAQ
Cottage Living Newsletter
Join the Cozy Cottage Community Today!
Get, from-scratch recipes, seasonal cottage living tips, and cozy cottage living inspiration delivered straight to your inbox.

Step into The Cottage Mill: Freshly Milled Flour Guides, Recipes, and More Await!


More Freshly Milled Flour Guides
Thank you for spending time with me here at The Modern Day Cottage. My hope is that each guide helps you mill and bake with more confidence. May your jars be ever full, and your loaves rise high.
With love & gratitude,
Emily
Did you liked this Fresh Milled Flour guide?
If you learned something valuable, I’d be so grateful if you would share with others. Use the buttons below to share, comment, or connect—I truly enjoy seeing and celebrating your fresh flour journey.

Emily Rider
Cottage lifestyle blogger and home miller with 25+ years of sourdough and fresh-milled flour experience.
Sharing cozy homemade recipes that help you bake with confidence, celebrate each season, and savor the beauty of everyday cottage living.