Converting recipes to freshly milled flour has nothing to do with your baking skills, it has everything to do with understanding how whole grain flour actually behaves.
Most conversions come together with three adjustments, matching flour weight using 120 grams per cup, choosing the right wheat for your bake, and giving the dough a short rest before changing anything.
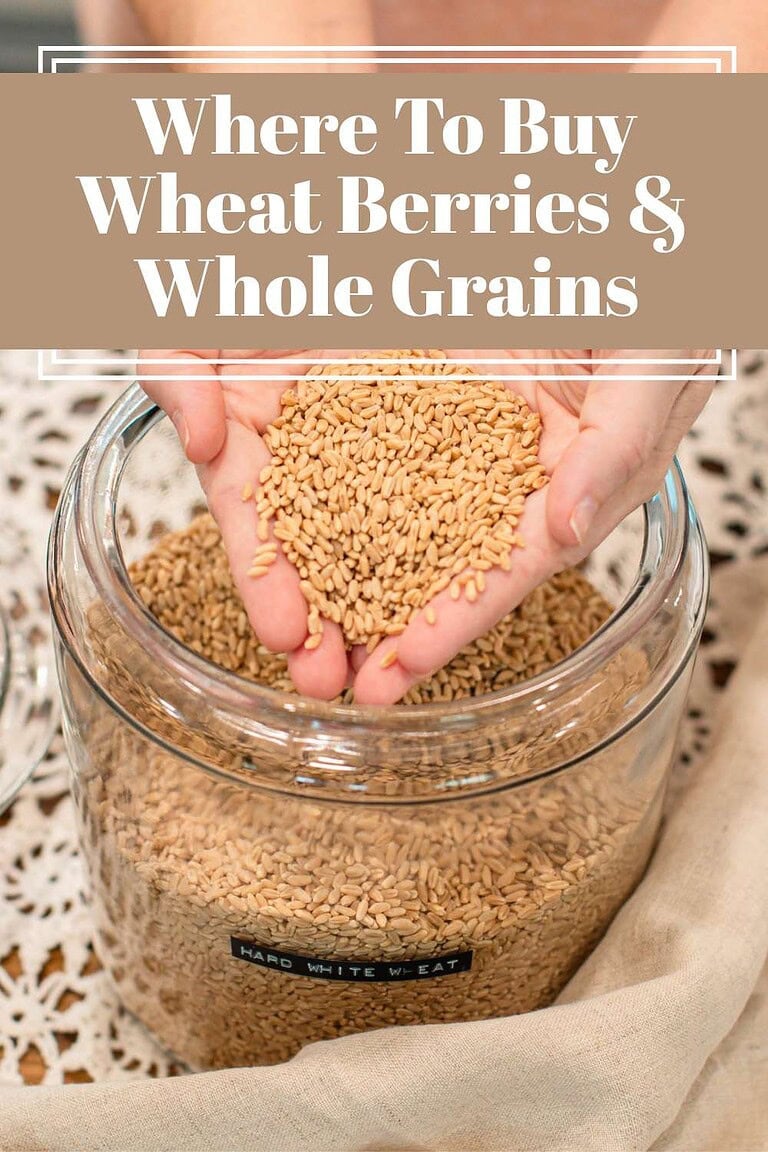
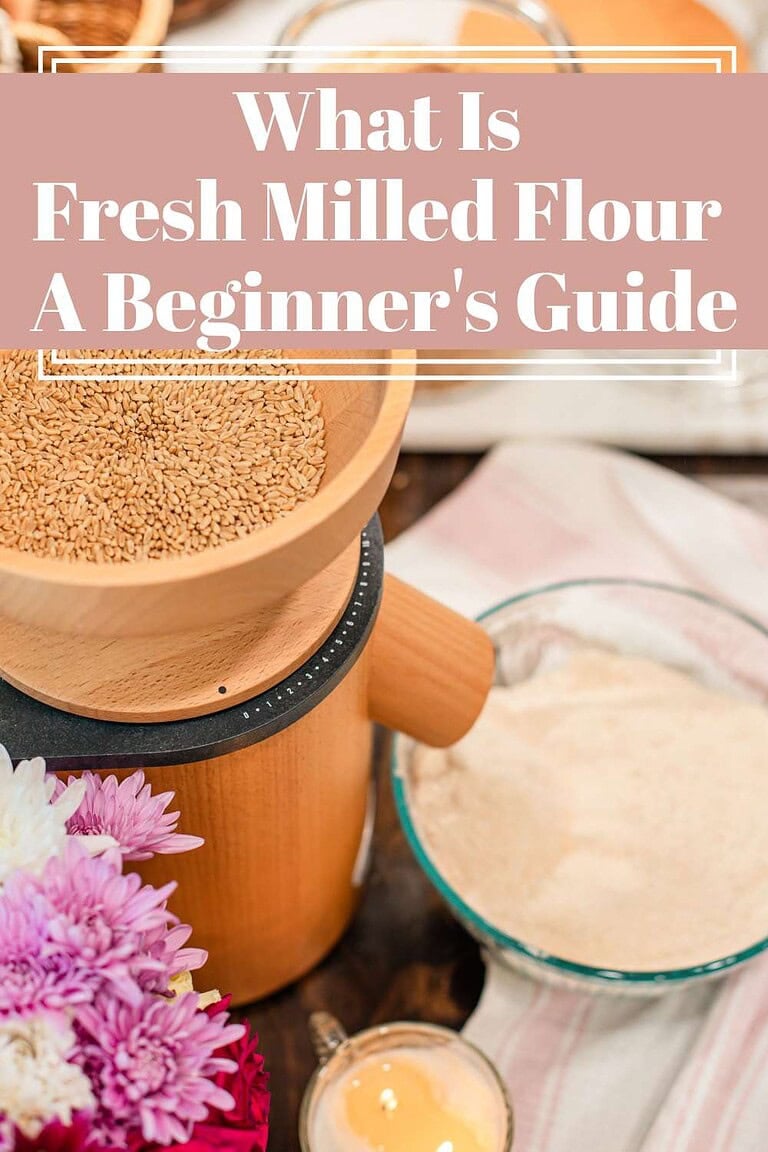
If you are new to home milling,Mill Your Own Flour at Home walks through the process from the beginning,Best Whole Grains to Mill helps you choose the right wheat berry for your recipe, andSifting Freshly Milled Flour explains when removing bran changes the outcome.
Do you want to learn more about freshly milled flour? The Cottage Mill is filled with guides and resources to walk you through recipe conversions, flour blends, and techniques to help you bake with more consistency.

The Cottage Mill: Freshly Milled Flour Guides, Recipes, and More Await!
Wonderful, wonderful site! So glad I found it before starting my journey with fresh-milled flour. Thank you so much for sharing your knowledge. ~Mary
What You’ll Learn in This Guide
- It’s not your baking, it’s the flour – whole grain flour behaves differently than refined flour in ways most recipes never explain, and this guide walks through exactly what is happening at each stage so the adjustments finally make sense.
- Three conversion paths in one place – sifted, unsifted, and soaked methods are all covered so you can choose the approach that fits your specific bake without piecing together advice from multiple sources.
- 120 grams per cup, one reliable number – instead of conflicting volume rules, this guide gives you a single weight-based starting point that works across breads, cakes, cookies, and everyday baking.
- Fixes the most common frustrations – dry dough, dense bakes, poor rise, and gritty texture are all addressed with specific adjustments developed from over 25 years of baking with home-milled flour here at the cottage.
- Works for more than bread – cookies, cakes, quick breads, and yeast breads are all covered so you don’t need separate rules for every recipe type.
Tools You’ll Need

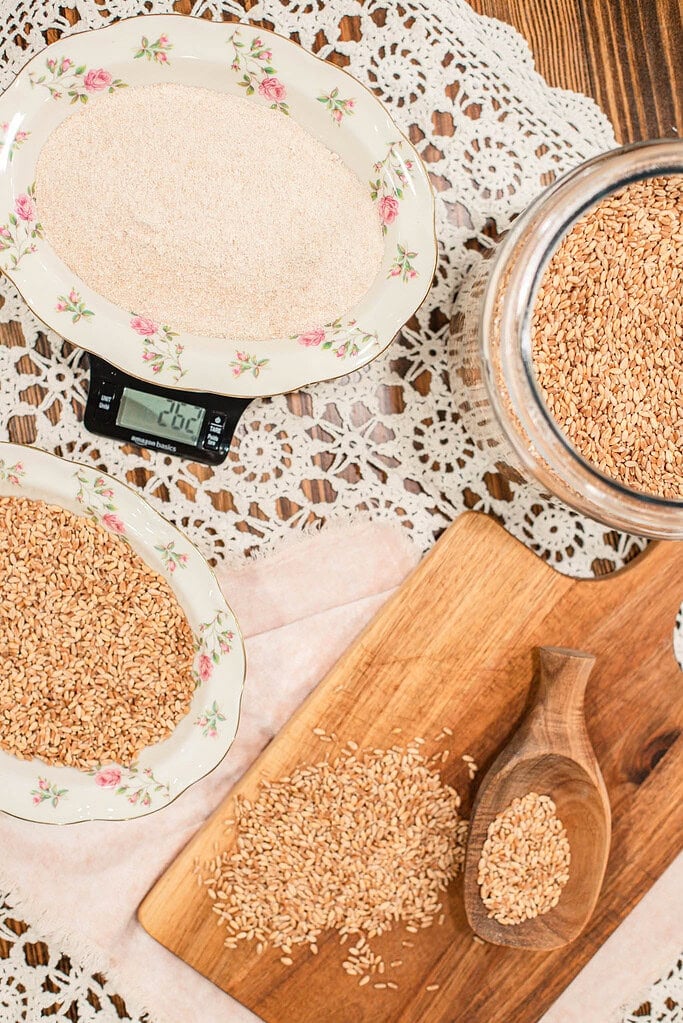
When to Weigh Wheat Berries vs Freshly Milled Flour
What exactly goes on the scale — the berries or the flour?
It depends on whether you plan to sift.
If you are not sifting;
- Weigh the wheat berries before milling
- Milling does not change the total weight
- You’ll end up with essentially the same amount of flour after milling
If your weight is slightly off, it’s usually due to a small amount of flour remaining inside the mill. This can happen with certain mills or in certain climates.
Tip: If this happens consistently, mill 120 g, weigh the flour after milling, and note how much your mill returns. Keeping this note near your mill helps you stay consistent.
If you are sifting;
- Mill more wheat berries than the final flour weight
- Sift the flour
- Weigh after sifting
- Use only the final flour weight the recipe calls for
Sifting removes some of the bran, so some of the original weight is discarded in sifted-out bran. Save this bran though it makes great use for dusting banneton baskets, sprinkling onto parchment baker before baking, topping rustic loaves, adding to bbran muffins and pancakes, use in your compost or feed to your chickens.
General guideline when sifting;
#40 sieve → mill about 10–15% more wheat berries
#50 sieve → mill about 20–30% more
#60 sieve → mill about 50% more
Example: If a recipe calls for 120 grams of flour and you’re using a #60 sieve, you may need to mill closer to 180-200 grams of wheat berries to end up with 120 grams of sifted flour.
Hydration with Fresh Flour
Unsifted freshly milled flour contains the full bran, germ and oils, which absorb liquid more slowly. This delayed absorption often makes the dough feel dry at first, even when enough liquid is present.
Unsifted flour typically needs 5–10% more liquid. Always start at the lower end and adjust gradually after resting.
Example: What 5–10% More Hydration Looks Like
Let’s say a recipe written for store-bought flour uses: 1 cup liquid (240 g / 240 ml)
When baking with unsifted, freshly milled flour, you may need 5–10% more liquid.
That means adding:
- 5% more: about 1 tablespoon (15 g / ml)
- 10% more: about 2 tablespoons (30 g / ml)
So instead of 1 cup liquid, you’d use: 1 cup + 1–2 tablespoons, added gradually
How to apply this in real baking:
- Mix the dough or batter with the original liquid amount first
- Let it rest 30–45 minutes
- If it still feels dry or stiff, add liquid 1 tablespoon at a time
- Stop as soon as the dough feels soft and workable
Freshly milled flour absorbs liquid more slowly, so many hydration issues resolve during the rest without needing the full increase.
Important clarification (this matters): This 5–10% increase applies mainly to unsifted flour
If you sift with a #60 sieve, additional hydration is usually not needed.

Standard 1¼ cup Volume Conversion
If you don’t have a kitchen scale and are measuring by volume, a commonly used conversion is “1¼ cups of freshly milled flour for every 1 cup of store-bought flour”.
This approach works as a general guideline, but results can vary depending on grain, grind, and sifting. For the most accurate and repeatable results, weighing flour instead of measuring is always the better option.
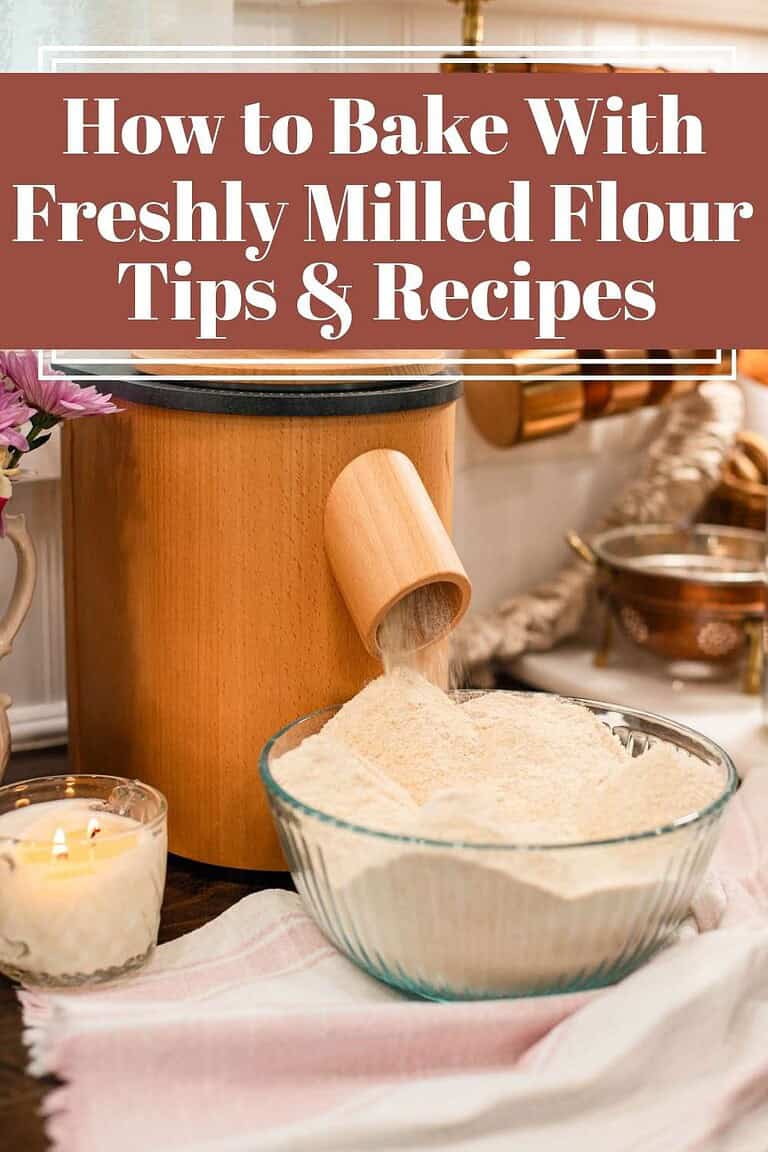
Freshly Milled Flour Conversion Tips
Weigh flour instead of measuring by cups – freshly milled flour is lighter and less compact than refined flour, so volume measurements vary too much to be reliable; a kitchen scale gives you a consistent starting point every time and removes the guesswork that causes most first-time conversion issues.
Use 120 grams per cup called for – this is your baseline when converting any recipe written for all-purpose flour; treat it as a starting point and adjust based on dough feel rather than chasing an exact number.
Expect fresh flour to feel dry at first – whole grains absorb liquid slowly, especially when bran is present; dough often feels stiff right after mixing, and many bakers add unnecessary liquid simply because they didn’t wait; rest first, adjust second.
Rest the dough before correcting anything – a 30 to 45 minute rest resolves more hydration issues than any other single step; this is the adjustment most conversion guides skip entirely, and skipping it is the most common reason fresh flour dough feels dry.
Match the wheat to the recipe – hard wheat supports gluten development and works best for yeast breads and sourdough; soft wheat produces lighter, more tender results for cakes, muffins, cookies, and quick breads; for help choosing, read Best Whole Grains to Mill.
Decide on sifting before you mill – sifting removes bran and changes both weight and hydration needs; if you plan to sift, mill 30 to 50 percent extra grain before you start so your final flour weight stays accurate after bran removal; for a complete sifting guide, read Sifting Freshly Milled Flour.
Add extra liquid gradually and only after resting – unsifted freshly milled flour typically needs 5 to 10 percent more liquid than recipes written for refined flour; start at the lower end and add one tablespoon at a time until the dough feels soft and slightly tacky.
Check for doneness earlier than the recipe suggests – whole grains contain natural oils and sugars that cause faster browning; begin checking several minutes before the original bake time ends and rely on visual cues rather than time alone.

Instructions for Converting Recipes to Freshly Milled Flour
- Start with the original flour amount – write down exactly how many cups of flour the recipe calls for before making any changes; this gives you a clean baseline before anything else is adjusted.
- Convert cups to grams – multiply the number of cups by 120 to get your target flour weight in grams; 120 grams per cup is the reliable starting point when converting any recipe written for all-purpose flour.
- Mill grain to match that weight – if you are not sifting, weigh the wheat berries before milling since milling does not change the total weight; if you are sifting, mill 30 to 50 percent more grain than needed and weigh the flour after sifting to confirm your final amount.
- Decide whether to sift – sifted flour behaves closer to refined flour and rarely needs additional liquid; unsifted flour retains the full bran and germ and typically needs 5 to 10 percent more liquid than the original recipe calls for; for full sifting guidance, read this guide: Sifting Freshly Milled Flour.
- Mix with the original liquid amount first – combine the freshly milled flour with the liquid called for in the recipe before adding anything extra; this establishes your baseline before any hydration adjustment is made.
- Rest the dough or batter – allow 20 to 45 minutes for the flour to fully absorb the liquid before evaluating texture; most hydration issues resolve during this rest without adding anything at all.
- Adjust liquid gradually if needed – if the dough still feels dry or stiff after resting, add liquid one tablespoon at a time until the dough feels soft and slightly tacky; freshly milled dough should never feel stiff when properly hydrated.
- Check for doneness early – whole grains contain natural oils and sugars that cause faster browning; begin checking several minutes before the original recipe’s bake time ends and rely on visual cues and internal temperature rather than time alone.
- Serve and enjoy – slice, scoop, or serve as the recipe directs; the first conversion is always the most informative, so take notes on flour weight, rest time, and any liquid adjustments made for a more consistent result next time.

Convert Recipes by Type of Baked Goods
01
All-Purpose Baking
For muffins, pancakes, quick breads, and cookies;
- Most everyday recipes convert smoothly using freshly milled flour when you follow the conversion steps above. A balanced, all-purpose fresh-milled blend gives the most reliable results for this type of baking.
- Expect a slightly heartier texture, especially if the flour is unsifted. Hydration adjustments are usually minimal, and many batters improve simply by resting before adding more liquid.
- For a reliable starting point, use an all-purpose fresh-milled flour blend designed to balance structure and tenderness.
- Use: A combination of hard white and soft white wheat berries.
ALl Purpose Flour Blend
For more information on how to make an All-Purpose freshly milled flour blend, read the guide and get the recipe here: How to Make All-Purpose Flour from Fresh Milled Wheat.

02
Bread and Yeast Doughs
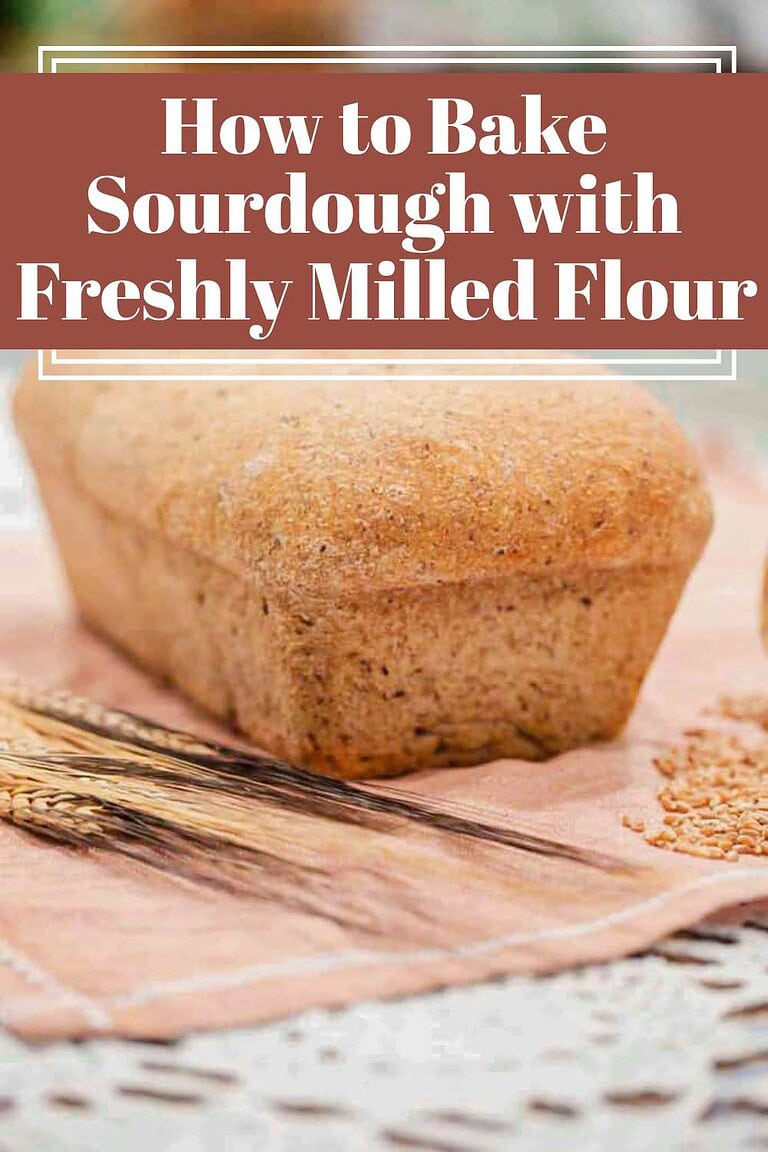
For sandwich bread, rolls, sourdough, and artisan loaves;
- Yeast breads rely on structure, so flour choice matters more here than in other baked goods. Hard wheat or bread-focused fresh-milled blends perform best and support proper gluten development.
- Unsifted freshly milled flour often benefits from the full 5–10% hydration increase, along with adequate rest time to allow the bran to absorb moisture. Dough may feel stiffer at first, but it will soften as it hydrates.
- Fresh-milled bread behaves differently than white flour bread, but with proper hydration and rest, it produces strong, flavorful loaves.
- You can sift with a #40 or #50 sieve to achieve a higher rise and structure closer to traditional bread flour.
- Use: 100% Hard Red or White wheat berries, or a combination of Hard and Soft wheat berry varieties.
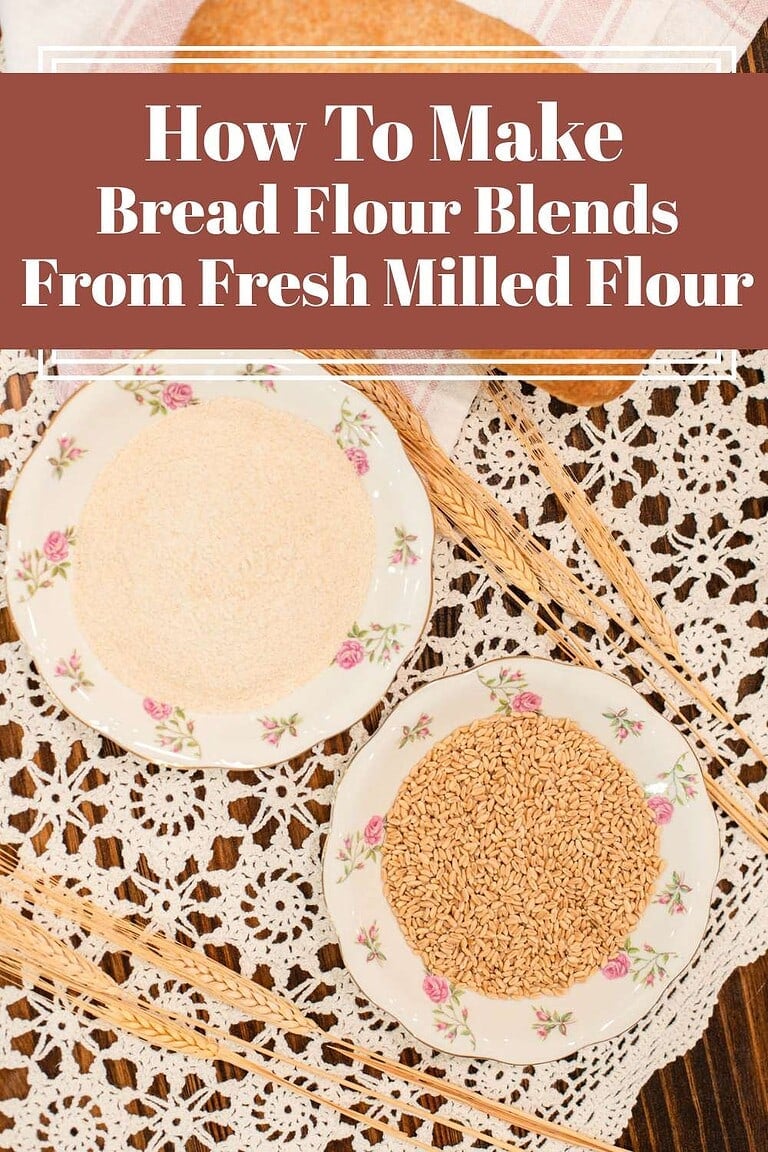
Bread Flour Blends
For more information on how to make Bread Flour Blends using freshly milled flour, read the guide and get the recipes here: How to Make Bread Flour Blends from Freshly Milled Flour.

04
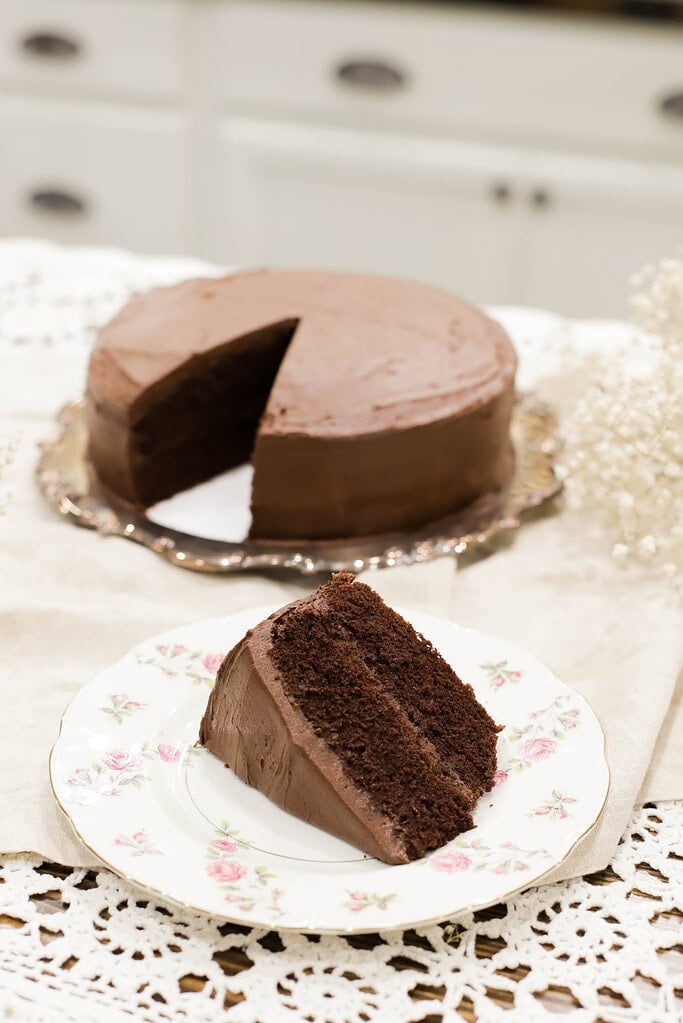
Cake and Pastry Baking
For cakes, pie crusts, and pastries;
- Tender baked goods benefit from lower protein and reduced bran. Soft wheat and cake- or pastry-specific fresh-milled blends help create a lighter crumb and softer texture.
- Sifting plays an important role here. When flour is well sifted, additional hydration is usually not needed, since much of the bran that affects hydration has been removed. Overmixing is a common cause of dense results, so gentle handling matters more than added liquid.
- For best results, use a fresh-milled blend designed specifically for cakes and pastries.
- Use: Soft white or Soft Red wheat berries.
Cake & Pastry Flour Blend
For more information on how to make Cake & Pastry freshly milled flour blend, read the guide and get the recipe here: How To Make Cake & Pastry Flour from Freshly Milled Flour.

04
Self-Rising Flour Baking
For biscuits, pancakes, scones, muffins, and quick breads;
- Recipes written for self-rising flour require a specific balance of flour, leavening, and salt. When converting to freshly milled flour, that balance needs to be recreated intentionally rather than guessed.
- Conversions work best when done by weight, using a fresh-milled self-rising flour blend formulated to match the behavior of commercial self-rising flour. Once the blend is prepared, the recipe can be converted using the same method outlined above.
- Use: Hard white, soft white, baking powder, salt, cornstarch (or tapioca starch).
Self Rising FLour Blend
For more information on making Self-Rising Flour Blend from freshly milled flour, read the guide and get the recipe here: How to Make Self Rising Flour From Freshly Milled Flour.

Soaking Methods for Fresh Flour
Soaking helps soften bran and improve texture in unsifted fresh flour. This reduces grit and supports better structure without removing nutrients.
Simple soak: Mix the flour with all or part of the recipe’s liquid and rest 30–45 minutes before adding the remaining ingredients.
Warm soak: Heat water-based liquids until very hot, then mix with flour and rest. For milk-based liquids, warm gently to 110–115°F only. Allow the mixture to cool before proceeding.
When to Avoid Soaking: Avoid soaking methods for pastries or recipes requiring cold butter or cold dough.
Troubleshooting
- Dough feels dry and stiff: Freshly milled flour absorbs liquid slowly, especially when bran is present. Let the dough rest first, then add liquid one tablespoon at a time.
- Bread didn’t rise well: Bran can interfere with gluten development. Use hard wheat, sift with a #40–#50 sieve, or presoak the flour with the recipe liquid.
- Cakes or muffins turned out dense: Soft wheat works best for tender bakes. Sift with a fine sieve or reduce bran to lighten the texture.
- Cookies spread too much: Fresh flour can change the structure in some recipes. Add a small portion of hard wheat or slightly reduce the liquid.
- Ran out of flour after sifting: Sifting removes 30–50% of the flour by weight. Always mill extra grain before starting.
- Gritty texture: The bran hasn’t softened. Use a longer rest or a warm soak to improve the texture. Or shift to learn more about shifting, read this guide: How To Shift Freshly Milled Flour
FAQ’s
The Cottage Mill: Freshly Milled Flour Guides, Recipes, and More Await!
Cottage Living Newsletter
Join the Cozy Cottage Community Today!
Get, from-scratch recipes, seasonal cottage living tips, and cozy cottage living inspiration delivered straight to your inbox.
More Fresh Flour Guides from The Cottage
Was this guide helpful?
If you learned something valuable, I’d be so grateful if you would share it with others. Use the buttons below to share, comment, or connect. I truly enjoy seeing and celebrating your fresh flour journey.

Emily Rider
Home miller since 1999 with fresh-milled flour & sourdough experience. Sharing from-scratch recipes and traditional kitchen skills, rooted in the seasons and inspired by everyday cottage living and seasonal rhythms.
I’m new to all this. After needing to be gluten free for years I’ve decided to take the leap and see how my body handles fresh milled flour. Your post was so helpful but I have an unresolved question…when I measure 120 grams per cup is that the wheat berries before grinding OR is that after grinding? I am finding that the ground weight is different than my starting wheat berry weight. Thanks so much for your help.
Hi Bethany — this is a great question, and I’m glad you asked for clarification.
Here’s the simple breakdown:
If you are not sifting your flour, you can weigh the wheat berries before milling, grind them, and you should end up with essentially the same weight of flour.
If you are sifting, you’ll need to mill more wheat berries than the final flour weight you need, since some of the bran will be removed.
As a general guideline when sifting:
With a #40 sieve, mill about 10–15% more wheat berries
With a #50 sieve, mill about 20–30% more
With a #60 sieve, mill about 50% more
For example, if I need about 1 cup of sifted flour, I’ll usually mill 1½ to 2 cups of wheat berries, depending on the sieve I’m using.
Regarding your note about the ground flour weighing less than the starting wheat berries: that isn’t typical. When I mill wheat berries using my WonderMill or Mockmill, the weight before and after grinding is the same unless I sift.
If your flour weight is changing without sifting, it could be related to the mill itself. I’ve noticed in the past that some older mills can retain flour inside the burrs or housing, which can affect the final weight.
You’re doing everything right — freshly milled flour definitely has a learning curve, and your question is a really good one. I hope this helps clear things up, and please don’t hesitate to ask if you have more questions!
Thank you again for being here and for being part of this cottage community. Readers like you truly make it possible for me to keep sharing and creating. Wishing you a wonderful day!
Warmly,
Emily
P.S. I updated the post including information about weighing wheat berries:).
Thanks! Been baking bread for years but it’s very different with hand milled flour. Great post.
Hi Kathryn, it really means a lot to hear this from someone who’s been baking bread for years. Freshly milled flour does feel very different at first, and it can take a little adjustment when you’re used to store-bought flour. I’m so glad this guide helped make that transition feel clearer.
If you enjoy baking bread, you might also enjoy my guide on Best Whole Grains to Mill for Baking Bread & More, especially if you’re experimenting with different wheat varieties. And if you like working with blends, I also share a post on How to Make Bread Flour Blends from Freshly Milled Flour, with options for softer sandwich loaves and higher-rise rustic breads.
Thank you so much for taking the time to leave a review. It truly helps me know these guides are supporting bakers like you along the way.
Warmly,
Emily