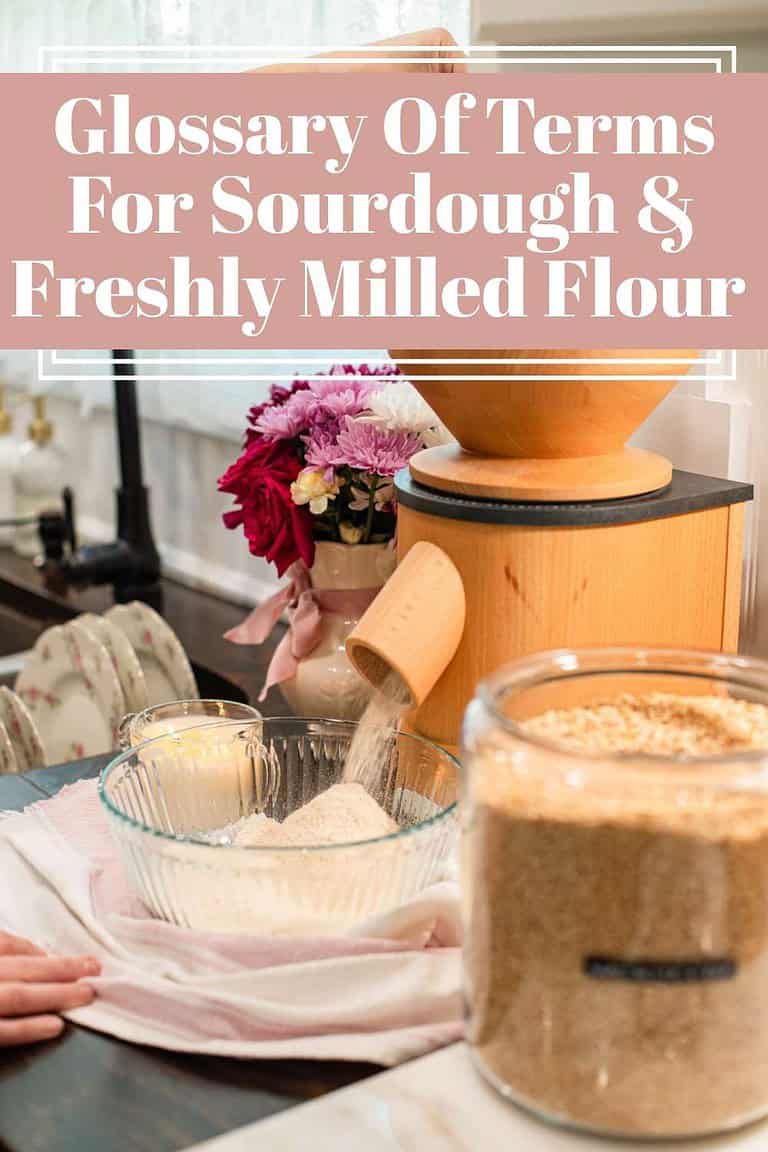
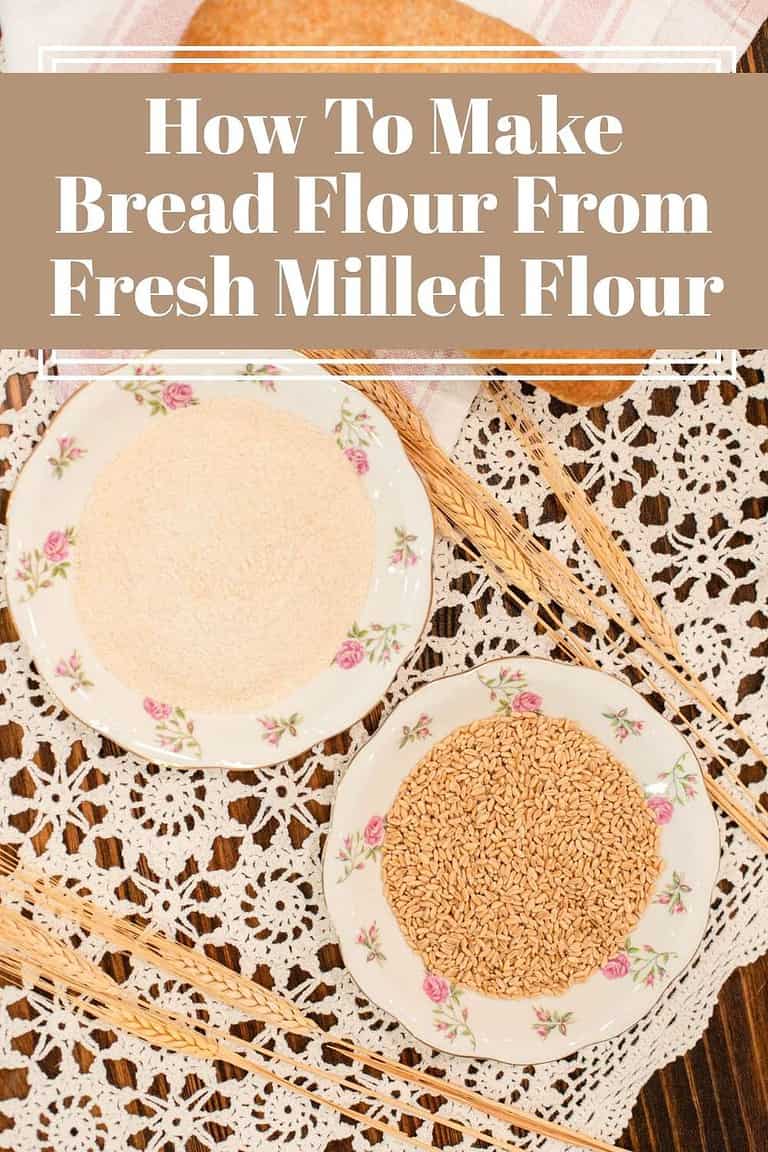
Milling your own flour is one of the most rewarding skills a home baker can learn. With the right tools for milling flour at home, you can turn simple grains into fresh, fragrant flour that transforms every loaf, cake, and cookie you bake.
In this guide, I’m sharing the four top tools I trust most in my own cottage kitchen — the ones that make milling easy, consistent, and deeply satisfying. Whether you’re baking hearty sourdough or tender pastries, these essentials will help you fall in love with the process from grain to jar.
This post may contain affiliate links. Please read our disclosure policy for details.

If you’re just starting out, you may want to take a look at a couple of these other posts first. How to Mill Flour at Home | A Beginner’s Guide is a great starting point to learn the basics.
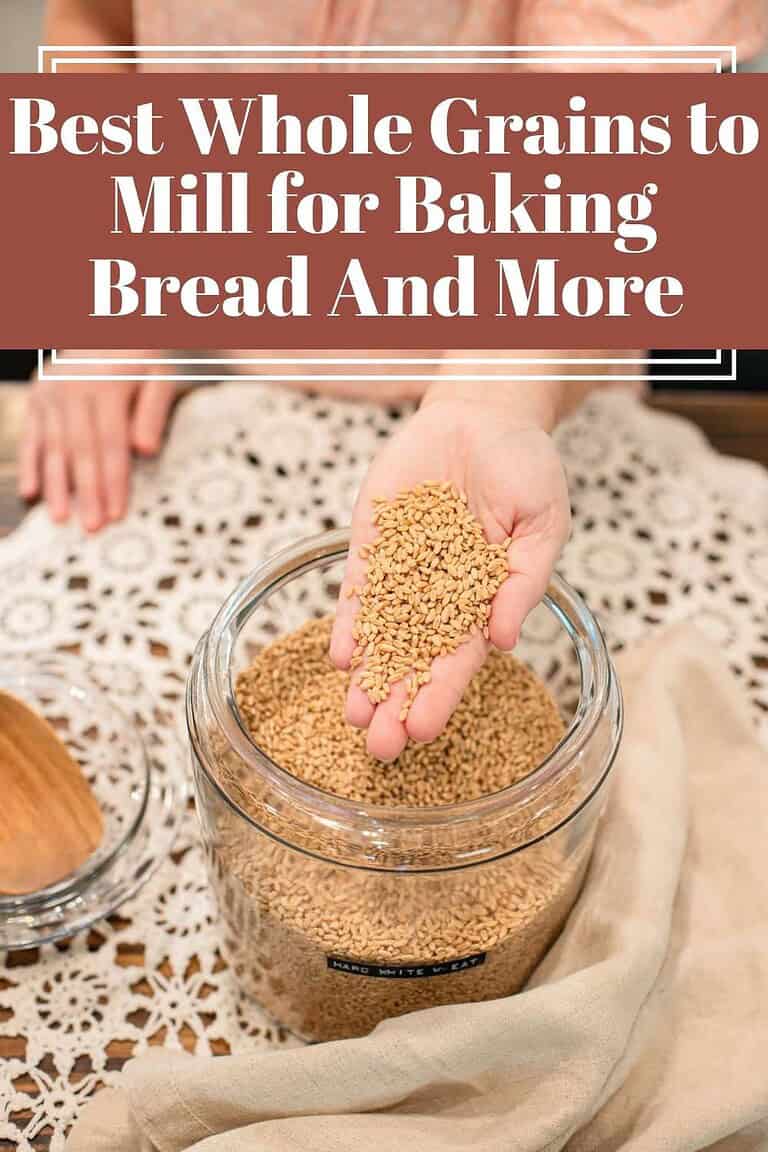
If you’re wondering which grains you’ll need for your kitchen recipes, I’ve got a whole post on Best Whole Grains to Mill for Baking Bread & More.
A Cottage Milling Note
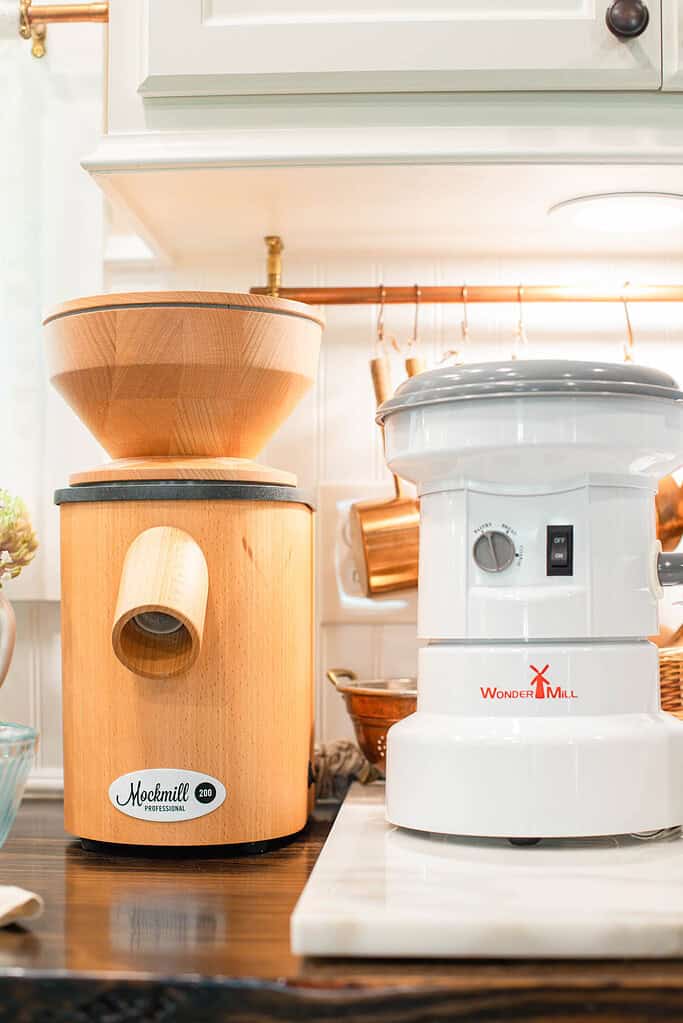
Both mills are excellent. If you’re looking for something sturdy and a bit more affordable, the WonderMill is a fantastic option. If you’re ready to invest in a wooden, aesthetically beautiful mill with stone burrs, the Mockmill Professional 200 is worth every penny in my humble opinion.
A grain mill is the heart of home milling. It’s what transforms wheat berries into flour, and both of these options have carried me through rustic sourdough loaves, tender cakes, and everything in between.
Why You’ll Love This Guide
Essential Tools for Milling at Home
#1 Grain Mill
To Mill Your Whole Grains

#2 Strudy Mixer
To Mix Your Dough With
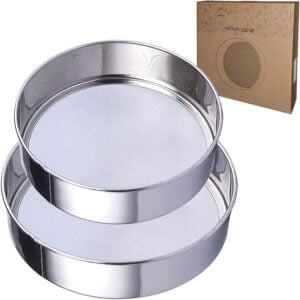
#3 Sieves (#40,50,60)
To Sift Your Fresh Milled Flour
#4 Bread Machine*
(*Optional) To mix Your Dough In Busy Seasons
01
The Grain Mill
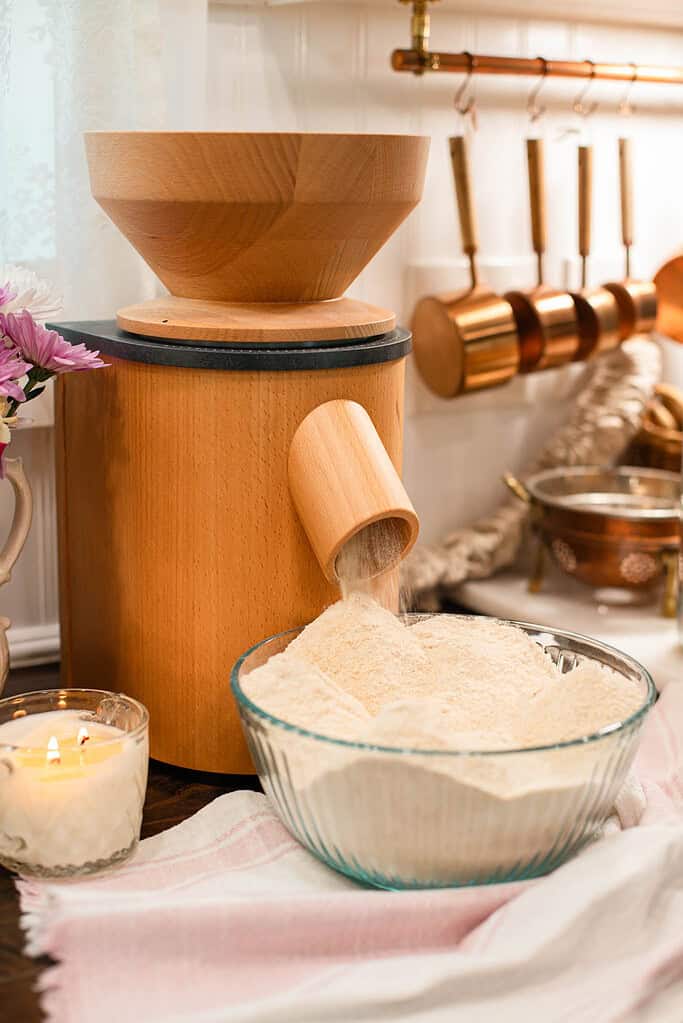
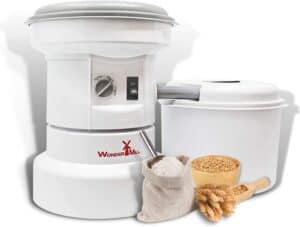
The very first tool you’ll need for milling fresh flour at home is a good grain mill. I use two different ones in my cottage kitchen, and both have their strengths. If your wanting to take a deeper dive into milling fresh flour read this guide: How to Convert Recipes to Freshly Milled Flour.
WonderMill (Impact Mill) – This was my first grain mill, back when it was called the WhisperMill. The company was later bought out, but the design and motor are the same, just updated a bit. The WonderMill is a great impact mill. It mills large batches quickly (up to 12 cups at a time), has a side hopper for easy storage, and comes with a solid warranty. It is a little louder than a stone mill, but not unbearable. If you bake often or like to prep big batches of flour at once, the WonderMill is an excellent choice.
Mockmill Professional 200 (Stone Burr Mill) – In 2021, I added the Mockmill Professional 200 to my kitchen, and it’s been my favorite ever since. It’s beautiful to look at and sit out on the counter, and compact enough not to take over my space. The motor is powerful, and while the WonderMill can mill just as fine, the Mockmill’s stone burrs gives me flour that feels more connected to the traditional way of milling I grew up with. It’s also quieter to me and, honestly, lovely to use.
If you want to take a deeper dive into milling fresh flour, read this guide: How to Convert Recipes to Freshly Milled Flour.
02
The Mixer
After a grain mill, the next tool that makes all the difference is a sturdy mixer. Freshly milled flour doughs are heavier than store-bought, so having the right mixer keeps the process smooth and enjoyable. I use two: the KitchenAid and the Ankarsrum.
KitchenAid Mixer – This was my first stand mixer, and it’s still in use in my kitchen today. The KitchenAid is easy to find online or in retail stores, familiar to most bakers, and comes in a range of sizes and colors. It does need a bit of care with whole grain dough. I like to give it breaks (two minutes on, two minutes off) to prevent overheating the motor. For smaller batches or lighter baking, it works beautifully. The color of my KitchenAid is Dusty Rose Pink
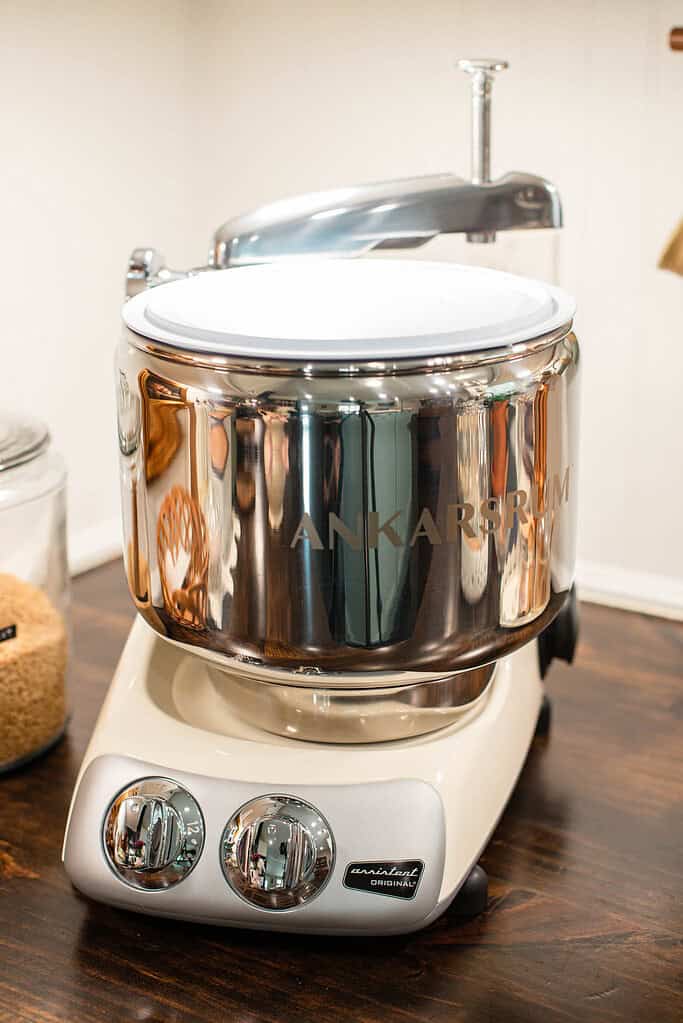
Ankarsrum Assistent Original – The Ankarsrum is built in Sweden and designed to handle whole grain dough with ease. Its 600-watt motor and large stainless steel 7.4-quart bowl can manage up to 11 pounds of dough. It’s quieter than most mixers and very gentle on the dough, which makes for excellent gluten development. There is a small learning curve, but once you get comfortable with it, it becomes a joy to use. Ankarsrum has a YouTube Channel I highly recommend watching to learn how to properly use it.
A Cottage Kitchen Note
Both mixers have earned their place in my cottage kitchen.
The KitchenAid is familiar and flexible, while the Ankarsrum is a long-term investment for serious baking. If you bake often with freshly milled flour, the Ankarsrum gives me great results. But if you’re starting out, the KitchenAid is a wonderful choice as well.
Mixers save me time and energy. They’ve carried me through everything from everyday sandwich loaves to special-occasion cakes, and I can’t imagine baking without them.
03
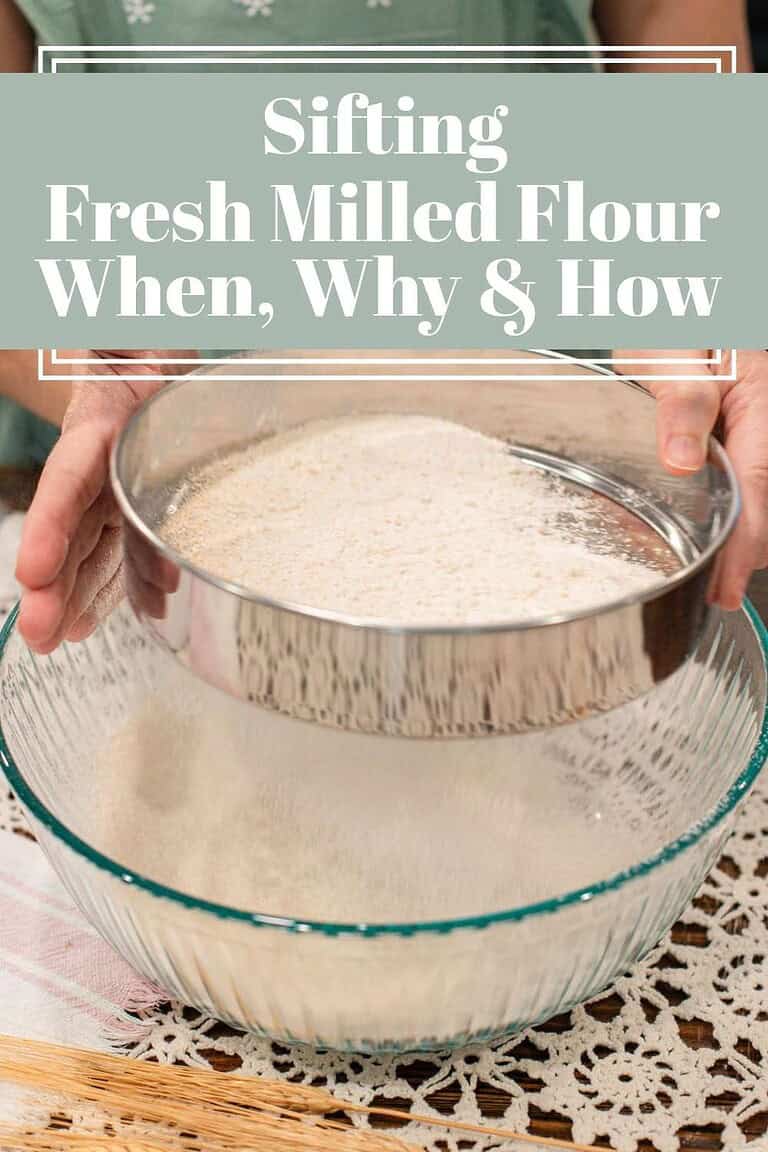
The Sifters
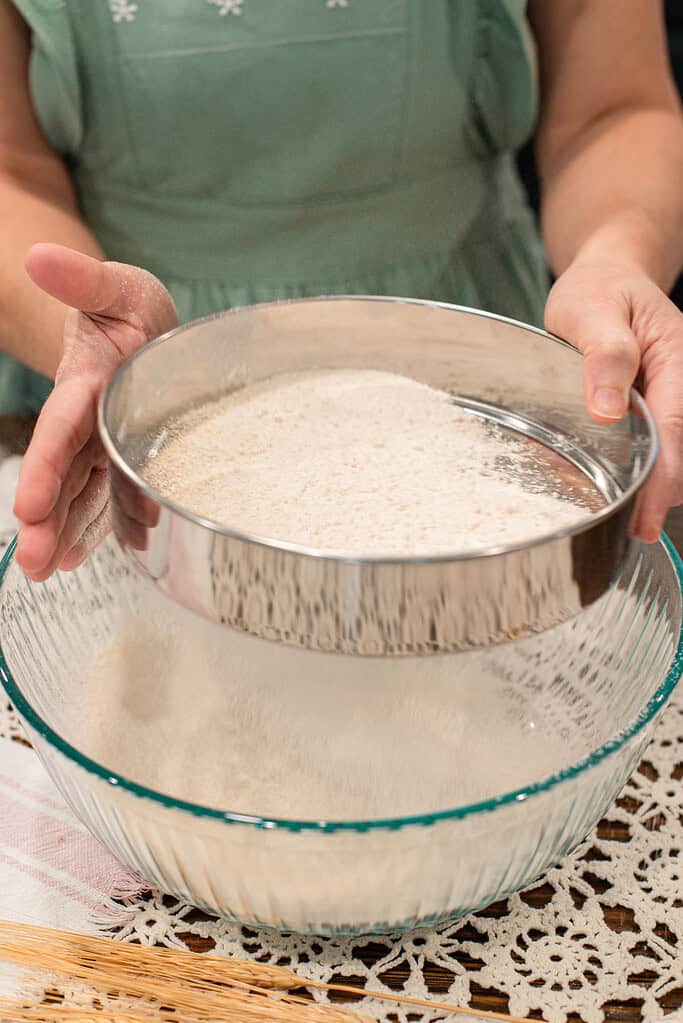
Sifting is one of those steps that can make or break the texture of your flour. I use both manual and electric sifters, depending on the batch size, and each has its place.
Manual Sifters – I keep three mesh sieves: #40, #50, and #60. The #40 is perfect for rustic bakes like sourdough bread. The #50 removes a bit more bran for a slightly lighter loaf. The #60 is what I use for fine flours, like cakes and pastries. If I had to recommend just two to start with, I’d say go with a #40 and a #60; you’ll cover most recipes that way.
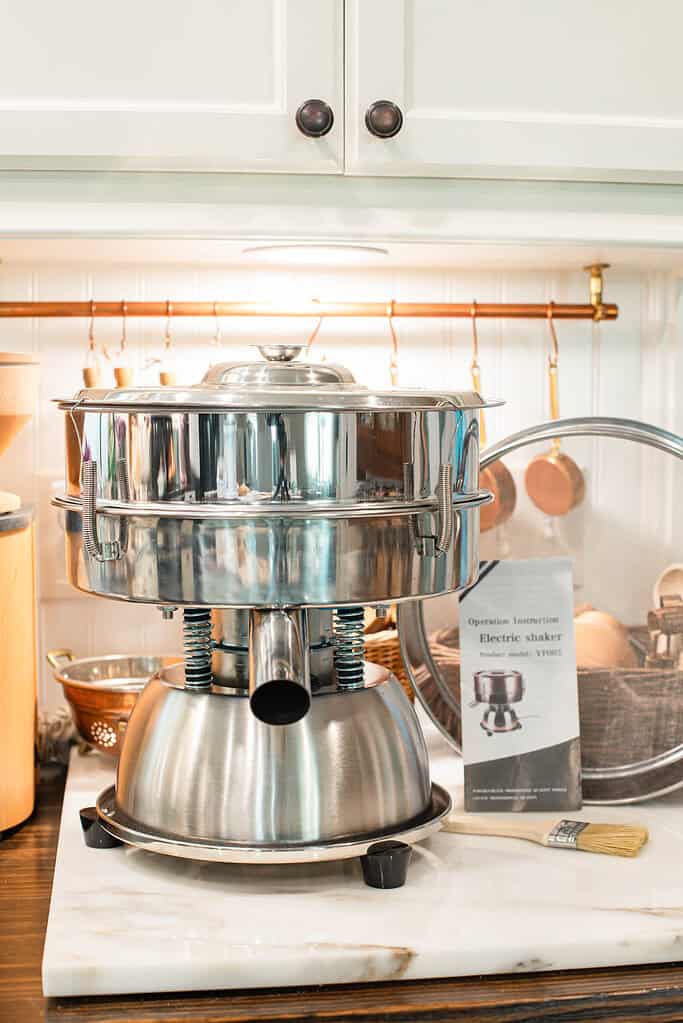
Electric Sifter – My electric sifter came with a #40 and #60 sieve, and I bought the #50 sieve separately. It’s faster than manual sifting, especially when I’m testing different grains or working with larger amounts of flour. It does tend to puff flour dust, but I solved that with a simple fix: a zip tie and a piping bag with the tip cut off.
When you’re ready to dive deeper into the world of sifting, this guide covers it all: How to Sift Freshly Milled Flour | When & Why It Matters.
TIP: Sifting removes the bran. The bran can feel gritty in delicate bakes. If you’d rather keep all the bran, there’s another option: you can soften the bran. Heat the liquid called for in your recipe to about 180°F, pour it over the flour, mix well, and let it rest covered for 30–45 minutes before mixing in the other ingredients. This simple step makes the bran much softer and your bakes more tender.
A Cottage Kitchen Note
I don’t always sift, but when I do, it’s usually for cakes, pastries, or delicate breads. I save the sifted-out bran for muffins, pancakes, smoothies, or even for my chickens (who return the favor with golden-yolked eggs). For a deeper dive, you can check out my post on How to Sift Freshly Milled Flour | When & Why It Matters.
04
The Bread Machine (optional)
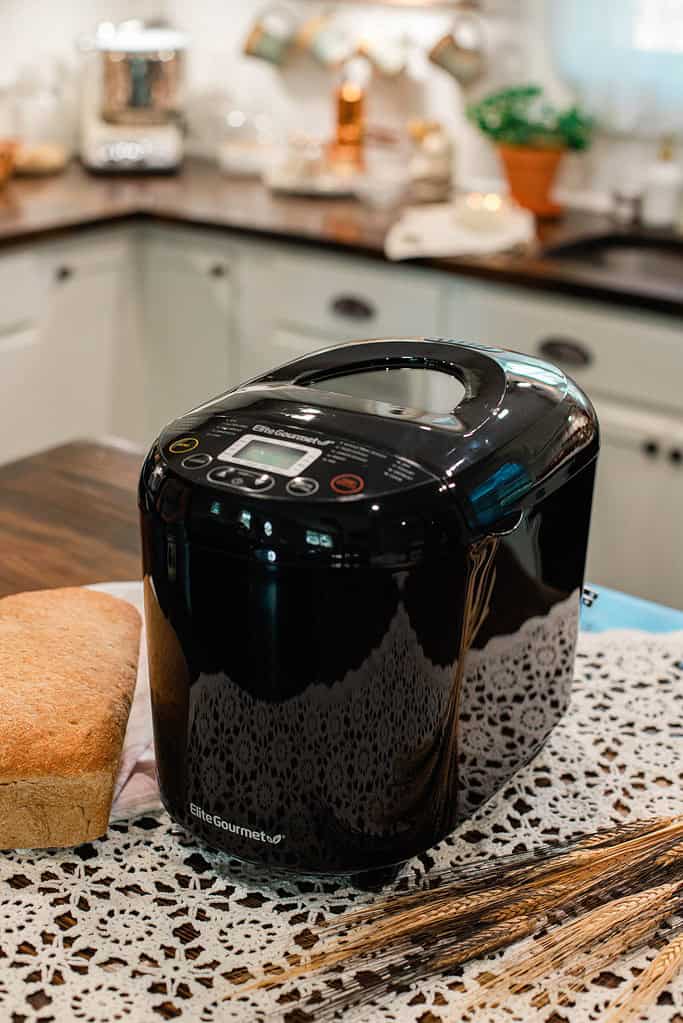
The Bread Machine – While not essential, a bread machine can be a huge help, especially when you’re just getting started with freshly milled flour or when life gets busy.
I bought my first bread machines years ago from a return outlet for about $15 each, and I used them for so many seasons when I didn’t have the time or energy to mix dough by hand. They’re excellent for anyone who wants a hands-off start, including those with arthritis or mobility challenges.
These days, I still keep the exact one I linked above in the pantry for hectic weeks. I often let the machine do the mixing and kneading, then move the dough to a loaf pan or Dutch oven to bake in the oven.
A Cottage Kitchen Note
Bread machines are forgiving. They let you experiment with freshly milled flour without stressing over mixing or timing.
While I don’t use mine every day, I love having it as a backup, especially during busy baking seasons.
Don’t forget to pin this for later!
FAQ

Step into The Cottage Mill: Freshly Milled Flour Guides, Recipes, and More Await!

Cottage Living Newsletter
Join the Cozy Cottage Community Today!
Get, from-scratch recipes, seasonal cottage living tips, and cozy cottage living inspiration delivered straight to your inbox.
More Freshly Milled Flour Guides
Thank you for spending time with me here at The Modern Day Cottage. My hope is that each guide helps you mill and bake with more confidence. May your jars be ever full, and your loaves rise high.
With love & gratitude,
Emily
Did you liked this Fresh Milled Flour guide?
If you learned something valuable, I’d be so grateful if you would share with others. Use the buttons below to share, comment, or connect—I truly enjoy seeing and celebrating your fresh flour journey.

Emily Rider
Cottage lifestyle blogger and home miller with 25+ years of sourdough and fresh-milled flour experience.
Sharing cozy homemade recipes that help you bake with confidence, celebrate each season, and savor the beauty of everyday cottage living.