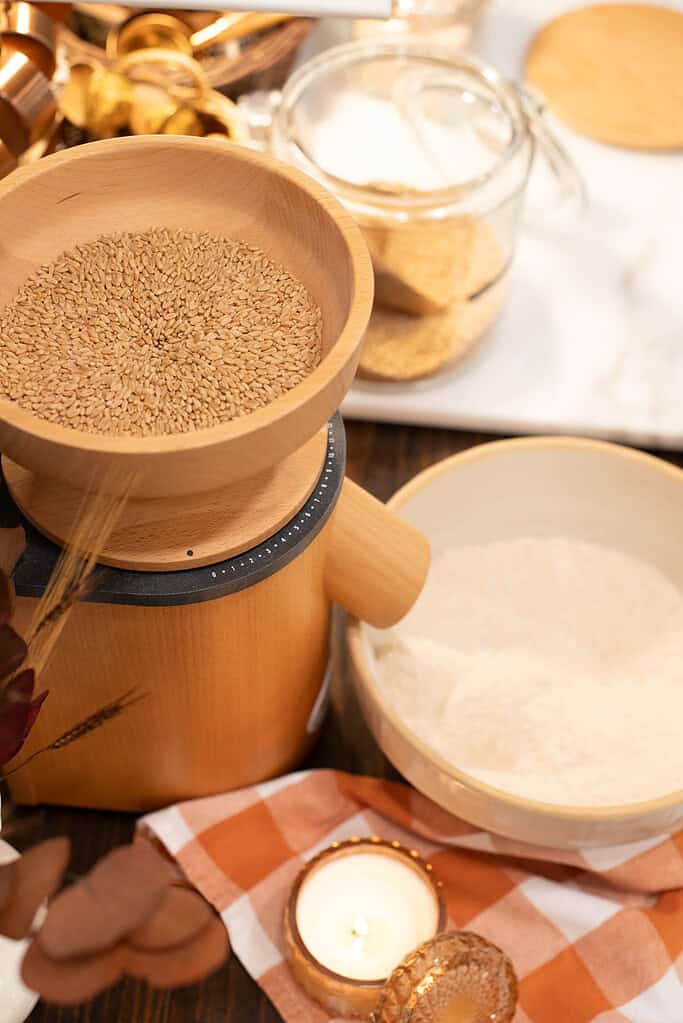
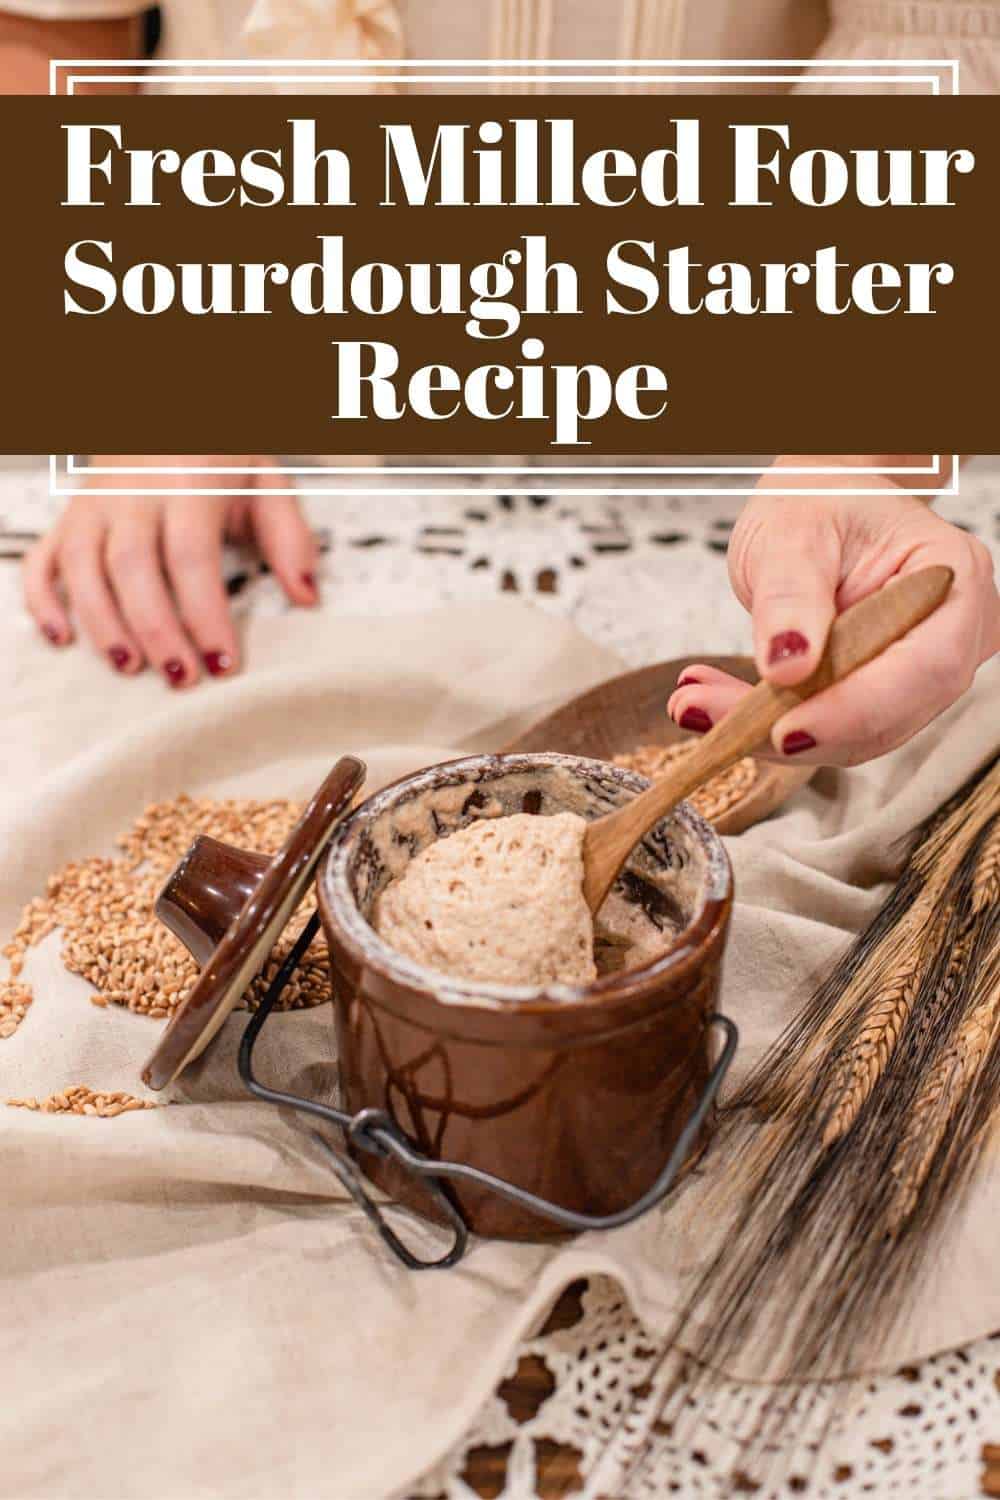
Making a sourdough starter with freshly milled flour is easier than most people think, and it’s very rewarding. Fresh flour is packed with natural yeast, good bacteria, and nutrients, which help your starter come alive quickly and give your bread a deeper flavor.
All you need is freshly milled whole wheat flour, water (a splash of fresh orange juice on day one if you like), and a little patience to grow a culture that can thrive for years.
This post may contain affiliate links. Please read our disclosure policy for details.
If you’re just starting out with fresh flour, you might enjoy my Milling Fresh Flour at Home for Baking | A Beginner’s Guide first. I also have a post on Baking with Freshly Milled Flour | Tips & Recipes that walks you through tips for getting the best rise and flavor.
And once your starter is active, don’t forget to check out these Sourdough Discard Recipes, perfect for turning extra starter into something delicious.
This is absolutely wonderful! You’ve included so much information in an easy to digest way. 😉 plus the troubleshooting and FAQ guide is such a huge help. Thanks for sharing!~ Emily B
Why You’ll Love This Guide
A Cottage Miller’s Note
I’ve been milling my own flour since 1999, but my sourdough story goes back even further. My MawMaw Nub had me helping with sourdough at just three years old, and those early kitchen memories are still what guide me today.
Over the years, I’ve learned that freshly milled flour changes everything — the flavor, the recipe structure, and even the joy of baking.
This post shares the exact process I use and teach, blending both tradition and modern home, milling tips.
My hope is that this guide helps you take the stress out of starting a culture and gives you confidence to keep it thriving. Slow living and sourdough go hand in hand, and I’m grateful to share this lifestyle with you here.
Ingredients
Equipment
Tips for Success
Temperature matters – Starters thrive best between 70–75°F. If your kitchen runs cooler, try placing the jar in the oven with just the light on or near a warm appliance to keep it cozy.
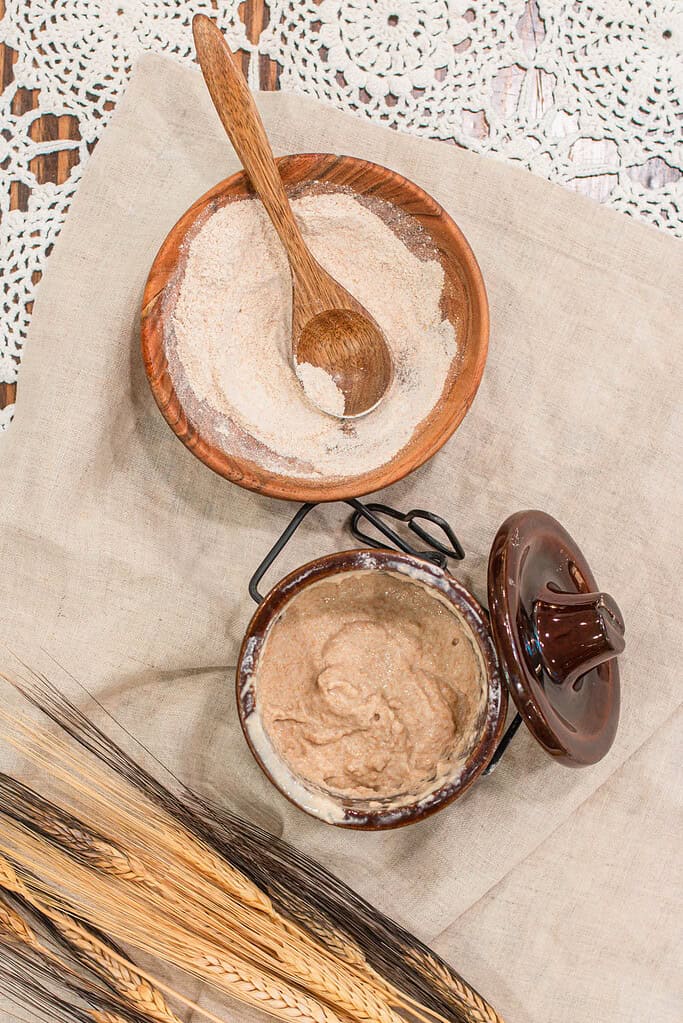
Sift your flour – Freshly milled flour is full of bran, which can weigh down the starter and make it harder to see the rise. Sifting with a #50–60 sieve keeps the nutrition while giving your starter more lift. Or do a “Hot Soak Method”.
Hot Soak Method – Instead of sifting out the bran, pour boiling water over it and let it sit for 15–30 minutes to soften the sharp edges. Once cooled, stir the hydrated bran back into your starter or dough to keep the nutrition and flavor without disrupting gluten.
Feed consistently – Try to feed at the same time each day. A steady routine helps the yeast and bacteria develop strong, predictable rhythms.
Don’t panic about smells – A new starter can smell fruity, sour, or even a little unpleasant. This is normal. As long as you don’t see mold, just keep feeding and the aroma will balance out.
Use discard wisely – In the first week, it’s best to throw discard away since the starter isn’t stable yet. Once it’s active, save discard for pancakes, muffins, or crackers.
Adjust feedings if needed – Fresh flour ferments quickly. If your starter rises and collapses within just a few hours, that’s a sign it may need two smaller feedings a day instead of one.

Instructions
- Day 1: Mix flour and liquid – In a clean jar, combine 50 g sifted freshly milled flour with 50 g filtered water (or use fresh orange juice on day one to lower the pH and help good microbes take hold). Stir until smooth, scrape the sides clean, cover loosely, and let the jar rest at room temperature (70–75°F is ideal). What to expect: Maybe a bubble or two, or a mild citrus-grain smell if you used juice. Quiet is normal.
- Day 2: Observe and stir – Check for early signs of life like small bubbles, a fruity aroma, or a slight rise. If nothing has changed, that’s completely fine. Give it a quick stir daily to add oxygen, scrape the sides again, and cover loosely. What to expect: Sometimes still quiet, sometimes a little bubbly. Either way, keep going.
- Days 3–5: Begin feedings – Each day, discard all but 30 g of starter. Feed with 50 g sifted flour + 50 g water, stir smooth, scrape the sides, and mark the level with a rubber band or tape. Cover and let it rest warm. What to expect: By day 3 or 4, you may see a “false rise” that later collapses — this is totally normal as the yeast and bacteria balance out. Just keep feeding daily.
- Days 6–7: Build strength – Continue the same discard + feed routine. If your starter begins rising and falling quickly (doubling in 4–6 hours), you may need to feed twice a day to keep it strong. What to expect: More bubbles throughout, a tangier aroma, and visible rise and fall. If growth is still sluggish, try feeding with a little rye flour for a boost.
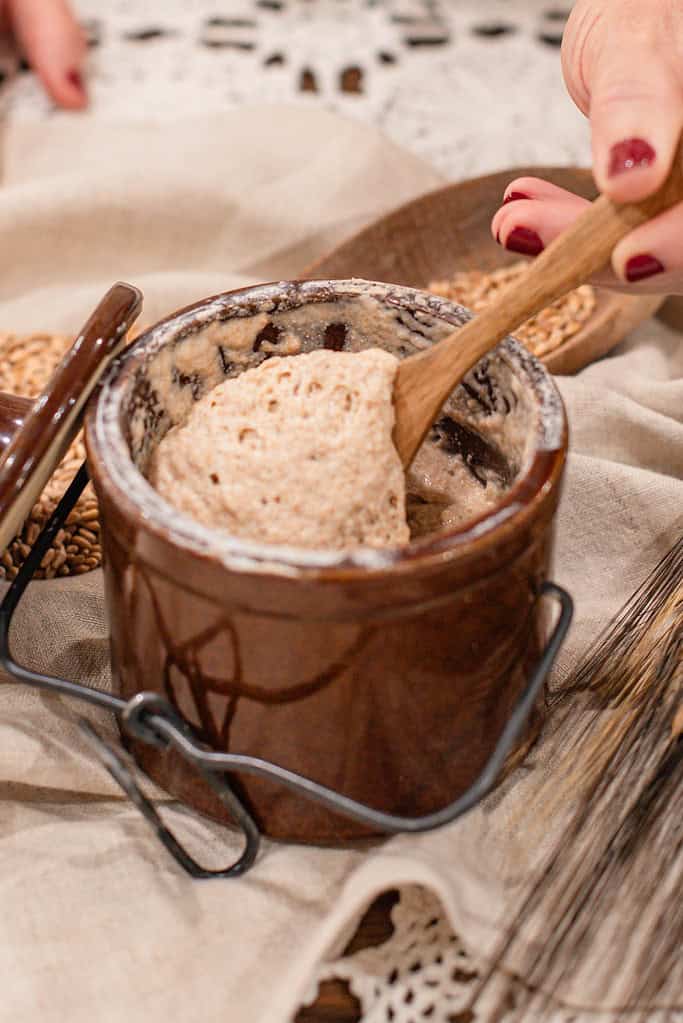
- When it’s ready – A healthy starter will double reliably after a feeding within 4-6 hours, smell pleasantly tangy, and look stringy and web-like when you lift it with a spoon. With freshly milled flour, this can happen in under a week, though 10–14 days is just as common depending on flour, water, and kitchen temperature.
Feeding & Maintaining Your Freshly Milled Flour Starter: Two Methods
Tips for Daily “On The Countertop” Routine
Instructions for “On The Countertop” Routine (1:2:2 Ratio)
- Feed Once Daily – Discard down to 30 g of starter, then feed 60 g flour + 60 g water (1:2:2). Stir smooth, scrape the sides, mark the level, and cover loosely.
- Let It Ferment – Keep your starter between 70–75°F until it has doubled, domed, and shows web-like strands when you lift a spoonful (usually 4–6 hours).
- If Baking Today – Once it’s at peak height, weigh out the amount your recipe calls for and add it straight to your dough.
- Reset for Tomorrow – After using what you need, leave 30 g in the jar (discard excess if needed) and feed again at the same 1:2:2 ratio.
- If Not Baking Today – Once it peaks and just begins to fall, leave it until tomorrow’s feeding and repeat Step 1. If it’s rising and falling faster than expected, feed twice daily until steady.
Tip: Keep only a small working amount of starter—about 90–150 g total—to reduce waste and make feedings simple. Once your starter is strong and fragrant, enjoy the discard in your favorite cozy recipes
“Refrigerator” Routine Tips (Stiff or Thick Starter)
Instructions for the “Refrigerator” Routine (Same-Day Baking)
- Remove Starter – Take the amount you need from your thick refrigerator starter (the mother).
- Build on Demand – Feed the portion you removed using a 1:1:1 ratio (starter: flour: water) for a quick, active build. Example: 40 g thick starter + 40 g flour + 40 g water = 120 g total.
- Stir and Mark – Mix until smooth, then place a rubber band or tape around the jar to track its rise.
- Let It Peak – Keep it at room temperature until it doubles, bubbles, and shows web-like strands when you lift a spoonful (usually 4–6 hours).
- Bake With It – Use your starter at its peak activity for the strongest fermentation and best flavor. No need to save any back—your thick refrigerator starter is your mother culture, ready to feed again when needed.
Tip: This 1:5:4 thick starter is ideal for busy bakers. She’s patient, low-maintenance, and ready whenever you are—no daily feeding, no waste, just simple, dependable sourdough care.
Instructions for the “Refrigerator” Routine (Next-Day Baking)
- Remove Starter – Take the exact amount of thick refrigerator starter that your recipe calls for. This starter will be cool and firm, and that’s perfectly fine.
- Mix Into Dough – Add the chilled starter directly to your ingredients, even though it isn’t at peak activity. The dough will ferment slowly and develop a wonderful flavor.
- Allow Slow Fermentation – Because your starter isn’t fully active, the dough will rise more gradually. This is ideal for an overnight cold ferment in the refrigerator.
- Choose Timing – In warmer months (above 73°F), refrigerate your dough overnight to prevent over-fermentation. In cooler months, you can leave it covered on the counter for a slow, steady rise.
- Bake the Next Day – By morning, your dough will have developed deep flavor and structure. Shape, rest briefly, and bake—it’s ready when it springs gently back to the touch.
Tip: Let time do the work for you. Slow, cool fermentation weaves softness and flavor into every crumb, and your thick fridge starter will be ready to bake again when you are.
HYDRATION TIP: Freshly milled flour absorbs more water than store-bought flour. If your starter feels stiff, add a splash of water until it reaches a thick pancake-batter consistency—easy to stir and full of tiny air pockets.
Step into The Cottage Mill: Freshly Milled Flour Guides, Recipes, and More Await!
Troubleshooting
Don’t forget to pin this for later!
FAQ
Thank you for spending time with me here at The Modern Day Cottage. My hope is that each guide helps you mill and bake with more confidence. May your jars be ever full, and your loaves rise high.
With love & gratitude,
Emily
Sourdough Starter with Freshly Milled Flour | Recipe + Tips
Equipment
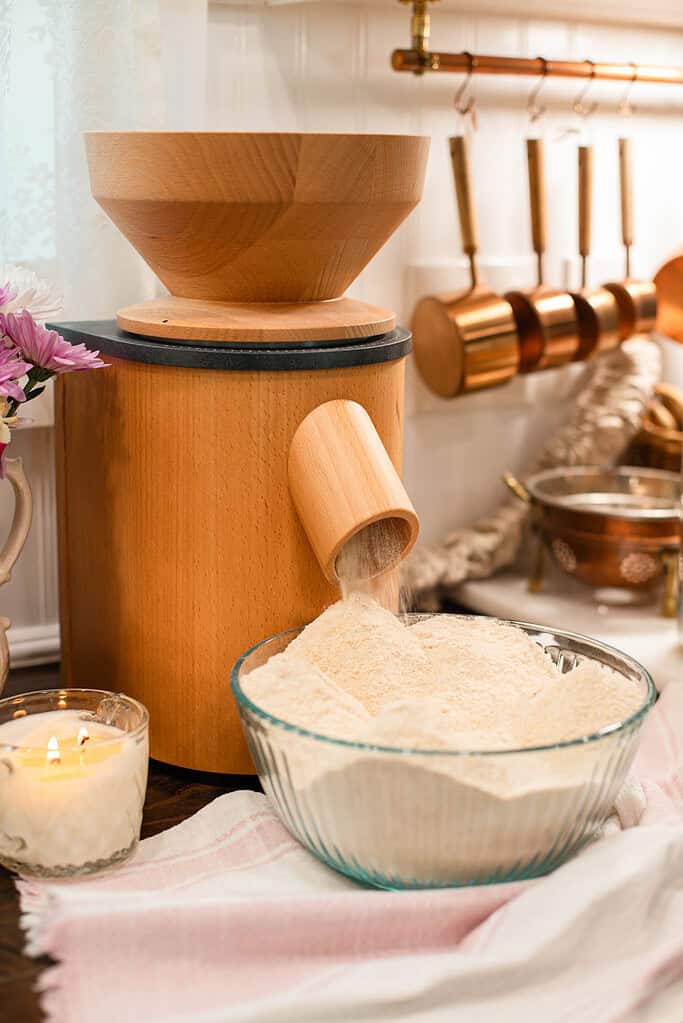
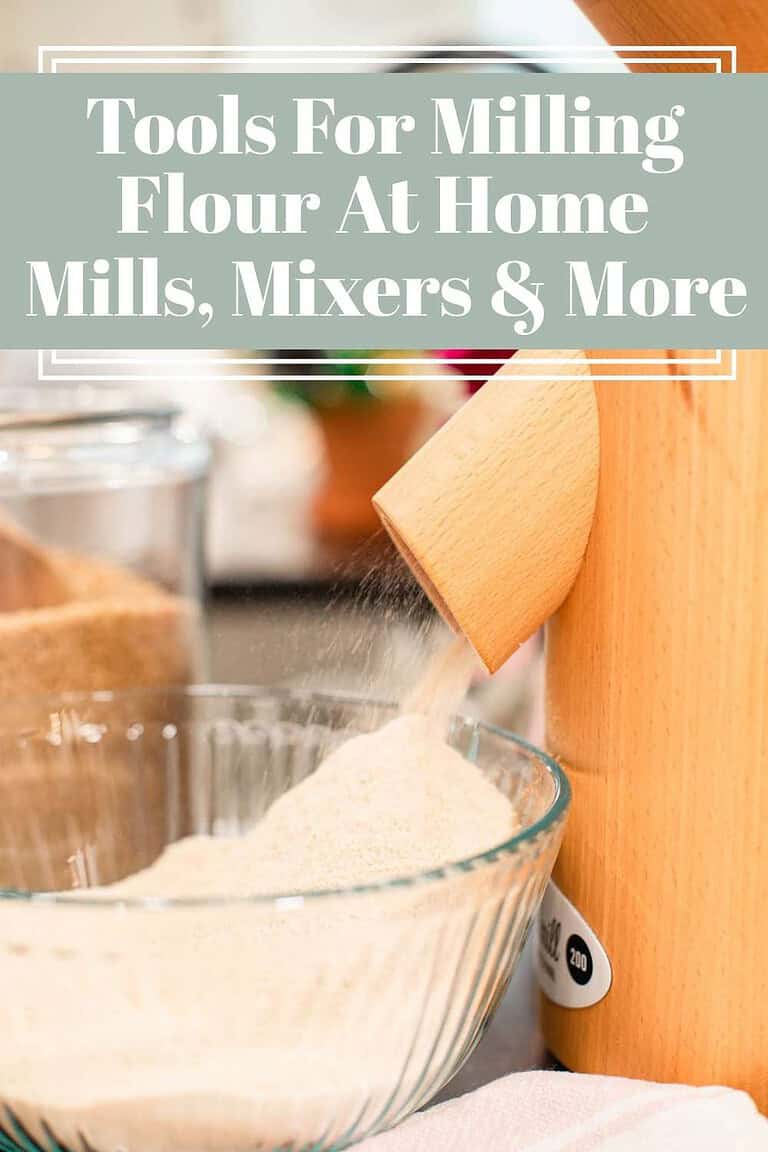
- 1 Grain Mill
- 1 Wide Mouth Glass Jar
- 1 Digital kitchen scale
- 1 Wooden spoon or spatula
- 1 Rubber band or tape
- 1 Fine Sieves #50 or #60
Ingredients
Base Ingredients (for every feeding)
- 50 g Freshly milled hard red or hard white wheat flour sifted #50–60 — 50 g per feed
- 50 g Filtered or mineral water — 50 g per feed
- 50 g Fresh-squeezed orange juice optional, Day 1 only — 50 g
- 10-15 g Rye flour* optional only use on days 4-5 in place of part of the flour optional, for sluggish starter, Day 4–5 only — 10–15 g in place of part of the flour
Ingredient Totals (so you know what to mill or buy)
7 day build: ~350 g flour + 350 g water + 50 g orange juice if using
- 50 g Optional* Fresh squeezed orange juice instead of the water
- 350 g Freshly Milled FLour
- 350 g Water
- 10-15 g Rye flour (optional, for sluggish starter, Day 4–5 only) in place of part of the flour
14 day build: ~700 g flour + 700 g water
- 700 g Freshly Milled Flour
- 700 g Water
Instructions
- Day 1: Mix flour and liquid – In a clean jar, combine 50 g sifted freshly milled flour with 50 g filtered water (or orange juice, if using). Stir smooth, scrape down the sides, cover loosely, and rest at room temperature (70–75°F).
- What to expect: A few tiny bubbles or a mild citrus-grain scent if you used juice. Quiet is normal.
- Day 2: Observe and stir – Check for small bubbles or a fruity aroma. If quiet, don’t worry. Stir to add oxygen, scrape the sides, and cover loosely.
- What to expect: Sometimes still calm; sometimes lightly bubbly. Stay the course.
- Days 3–5: Begin feedings – Discard all but 30 g starter. Feed with 50 g flour + 50 g water, stir smooth, mark the level, and cover.
- What to expect: Around Day 3 or 4, you may see a false rise that collapses—this is normal. Keep feeding daily.
- Days 6–7: Build strength – Continue the same routine. If your starter doubles within 4–6 hours, it’s becoming strong—feed twice daily if needed.
- What to expect: More bubbles, a pleasant tang, and a domed top. If sluggish, feed once with a bit of rye flour for a boost.
- When it’s ready – A healthy starter will double reliably, smell clean and tangy, and appear stringy and web-like when lifted with a spoon. With freshly milled flour, this can happen in 5–10 days, though up to 14 is still normal.
Notes
- Hydration Tip: Freshly milled flour absorbs more water than store-bought flour. Aim for a thick pancake-batter texture; add a splash of water if it feels too stiff or dry.
- Sifting vs. Hot Soak: Sifting (#50–60) removes coarse bran for easier rise tracking.
- Prefer 100% grain? Try the Hot Soak Method — pour boiling water over the sifted-off bran, rest 15–30 minutes, cool completely, then mix it back into your starter or dough.
- Kahm Yeast vs. Mold: A thin, smooth white film is kahm yeast (harmless—just skim and keep feeding). Fuzzy or colored growth (pink, orange, green, or black) means mold—discard and restart.
Maintenance Routines
Room-Temperature “On The Countertop” Routine (Daily Bakers): Keep your starter on the counter; feed 1:2:2 by weight once daily (or twice if it rises and falls fast). Use what you need for baking; the rest becomes discard. “Refrigerator” Friendly “THICK STARTER” Routine (Choose Same Day or Next Day Version):- Thick Maintenance Jar: Feed 30 g starter + 150 g flour + 120 g water (1:5:4). Stir smooth, rest 1–2 hours at room temperature, then refrigerate loosely (never seal tightly). This thick starter can rest up to 30 days between feedings.
- Planning Ahead: If you bake several times a week, make enough thick starter at once to cover your upcoming recipes. For example, if you have four bakes that each require 150 g of starter, build about 600 g of thick starter in one batch. Keep it refrigerated and pull from it as needed—using it directly for overnight ferments or early-morning same-day builds.
Did you liked this Fresh Milled Flour guide?
If you learned something valuable, I’d be so grateful if you came back to leave a 5 “⭐️” rating. Use the buttons below to share, comment, or connect—I truly enjoy seeing and celebrating your beautiful bakes.

Emily Rider
Cottage lifestyle blogger and home miller with 25+ years of sourdough and fresh-milled flour experience.
Sharing cozy homemade recipes that help you bake with confidence, celebrate each season, and savor the beauty of everyday cottage living.


This is awesome. Love all the detailed instructions.
Thank you so much, Megan! I’m thrilled you enjoyed the post and found the detailed instructions helpful. Working with freshly milled flour can feel a little different at first, but once you see your starter come to life, it’s so rewarding. I hope your starter is bubbling beautifully!
Warmly,
Emily Rider | The Modern Day Cottage
This is absolutely wonderful! You’ve included so much information in an easy to digest way. 😉 plus the troubleshooting and FAQ guide is such a huge help. Thanks for sharing!
Thank you so much, Emily! I’m so glad you found it helpful. A sourdough starter can be tricky at first, but once you understand its rhythm, it becomes such a joy to care for. I’m delighted the FAQ & troubleshooting section came in handy — that’s exactly why I included them.
Warmly,
Emily Rider | The Modern Day Cottage