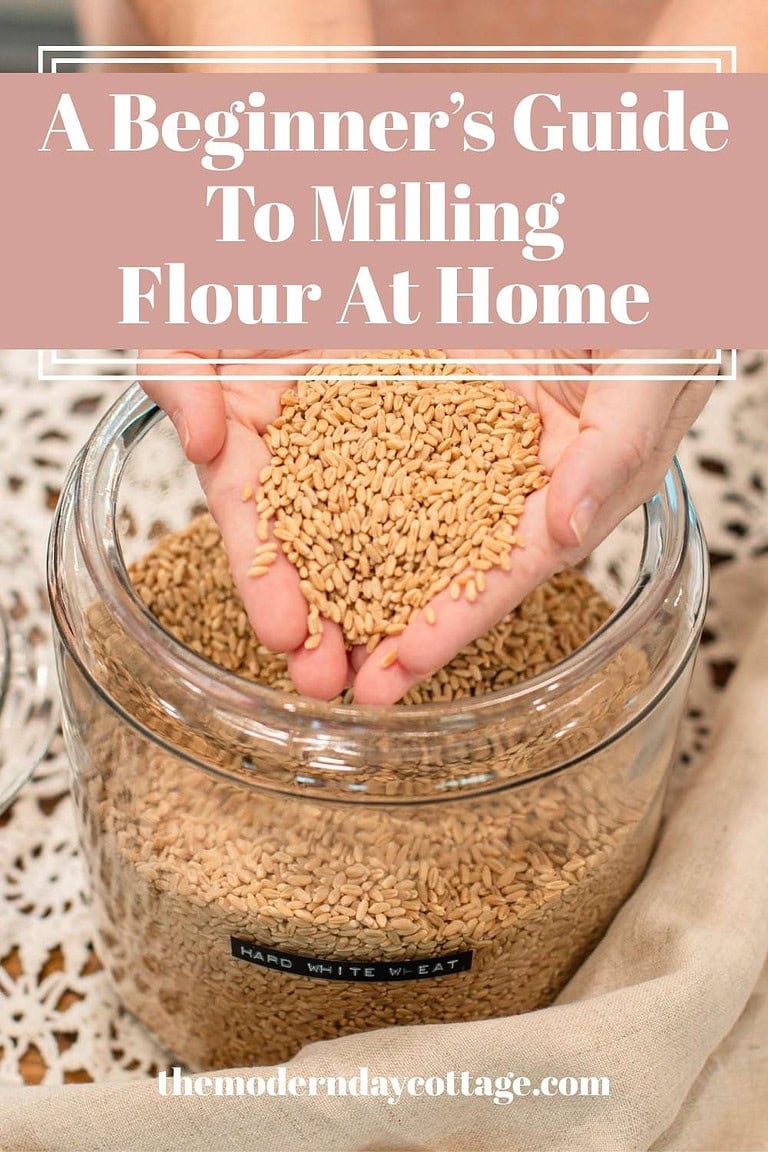
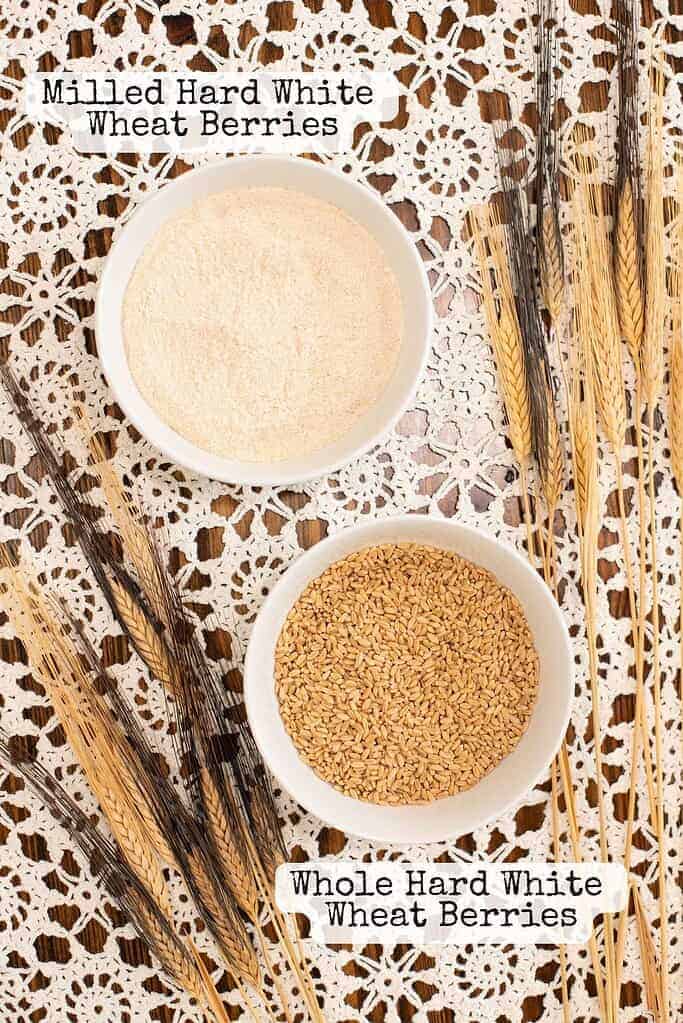
Making self-rising flour from freshly milled flour starts with knowing which wheat to reach for and how the leavening ratio works with whole-grain flour. This 60/40 blend of hard and soft white wheat behaves differently from refined flour, and getting that ratio right is what makes the difference between biscuits that rise and ones that don’t.
For more on choosing the right wheat berry for this blend, Best Whole Grains to Mill covers hard and soft wheat varieties in detail, All-Purpose Flour from Freshly Milled Flour walks through the AP blend for comparison, and Converting Recipes to Freshly Milled Flour covers hydration adjustments.
Do you want to learn more about freshly milled flour? The Cottage Mill is filled with guides and resources to walk you through recipe conversions, flour blends, and techniques to help you bake with more consistency.

The Cottage Mill: Freshly Milled Flour Guides, Recipes, and More Await!
Why You’ll Love This Recipe
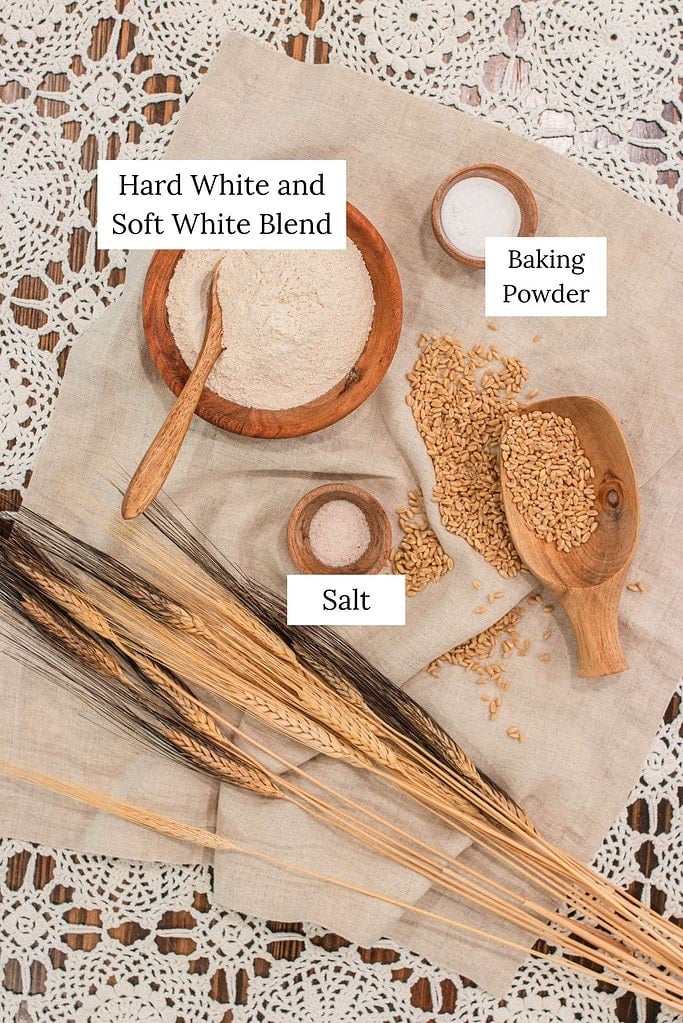
Ingredients
Variations & Add-Ins
Recipe Tips
Check your baking powder before mixing – baking powder loses strength over time, and a weak leavening agent is the most common reason self-rising flour bakes come out flat; stir a small spoonful into hot water before mixing the blend, if it fizzes actively, it is still working.
Whisk the leavening agents thoroughly – baking powder and salt need to be evenly distributed throughout the flour before the blend goes into any recipe; uneven mixing produces flat spots and inconsistent rise in biscuits and quick breads.
Sift before adding leavening, not after – if you plan to sift, run the flour through the sieve first and then weigh and add the baking powder and salt; sifting after the leavening is added can remove some of the baking powder along with the bran.
Add liquid gradually in batters and doughs – freshly milled flour absorbs liquid more slowly than refined flour; start with the original liquid amount in your recipe, rest five to ten minutes, and add liquid one tablespoon at a time if the batter or dough still feels too thick; for full hydration guidance, read this guide: Converting Recipes to Freshly Milled Flour.
Store the blend separately from plain flour – label every container clearly with the blend name, wheat variety, sieve size if sifted, and date mixed; self-rising flour and plain fresh milled flour look identical in a jar and mixing them up throws off an entire recipe.
Use within one to two weeks at room temperature – freshly milled flour contains natural oils from the bran and germ that go rancid faster than refined flour; for longer storage, refrigerate for up to two weeks or freeze for up to six months; read this guide: How to Store Freshly Milled Flour for full guidance.

Instructions
- Choose your wheat and calculate how much to mill – for every 1 cup (120 grams) of finished self-rising flour blend, you need, plan to use 72 grams of hard white wheat berries and 48 grams of soft white wheat berries; if you plan to sift, mill 30 to 50 percent more grain before starting to account for bran removal.
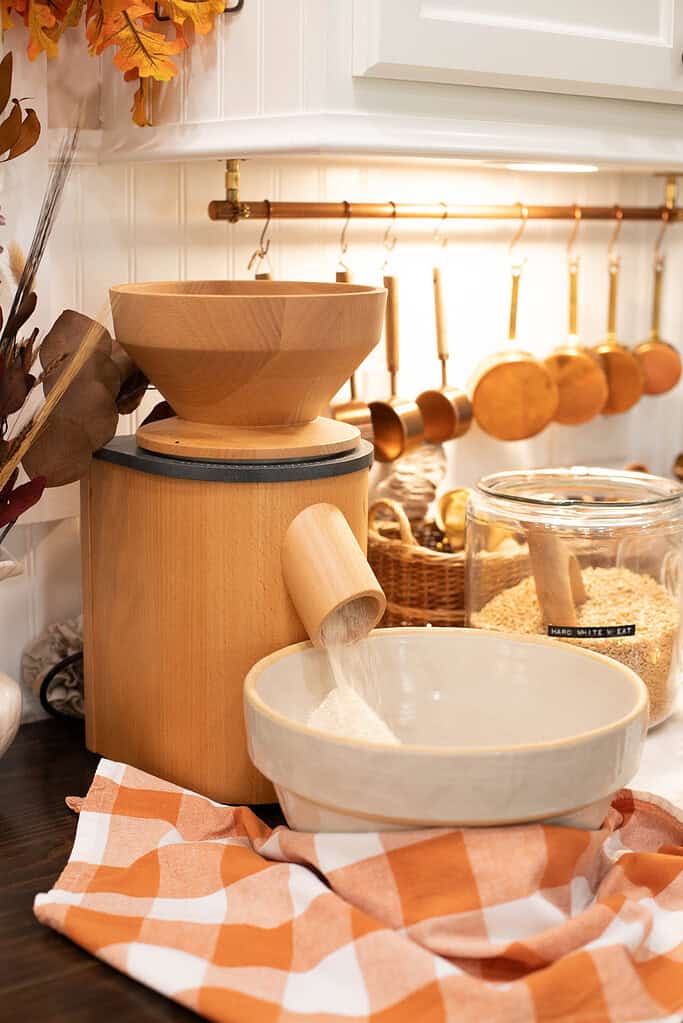
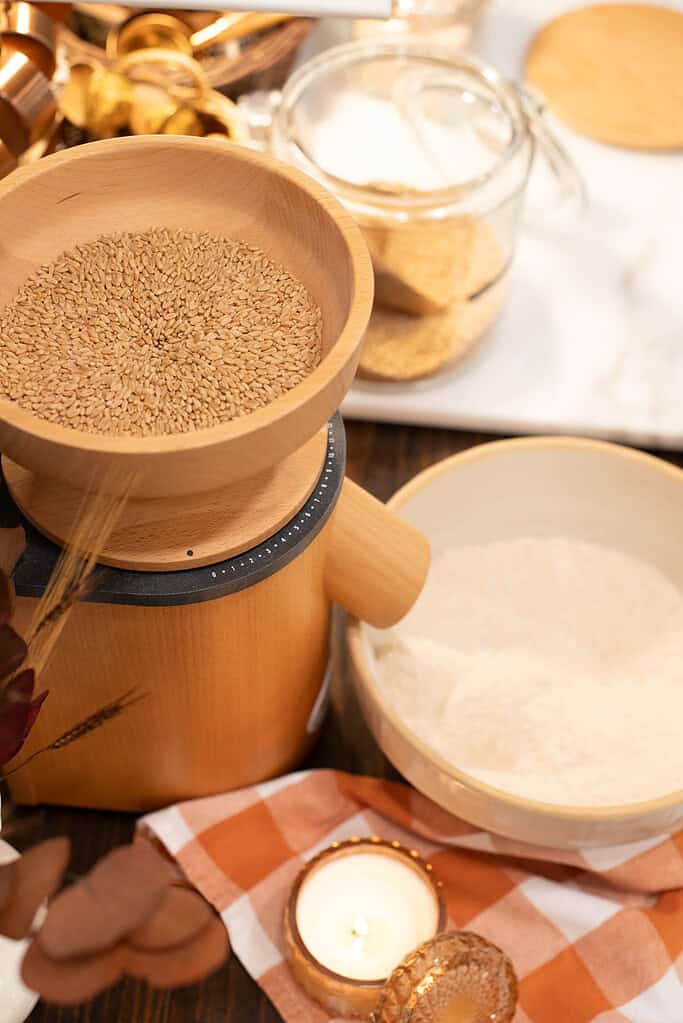
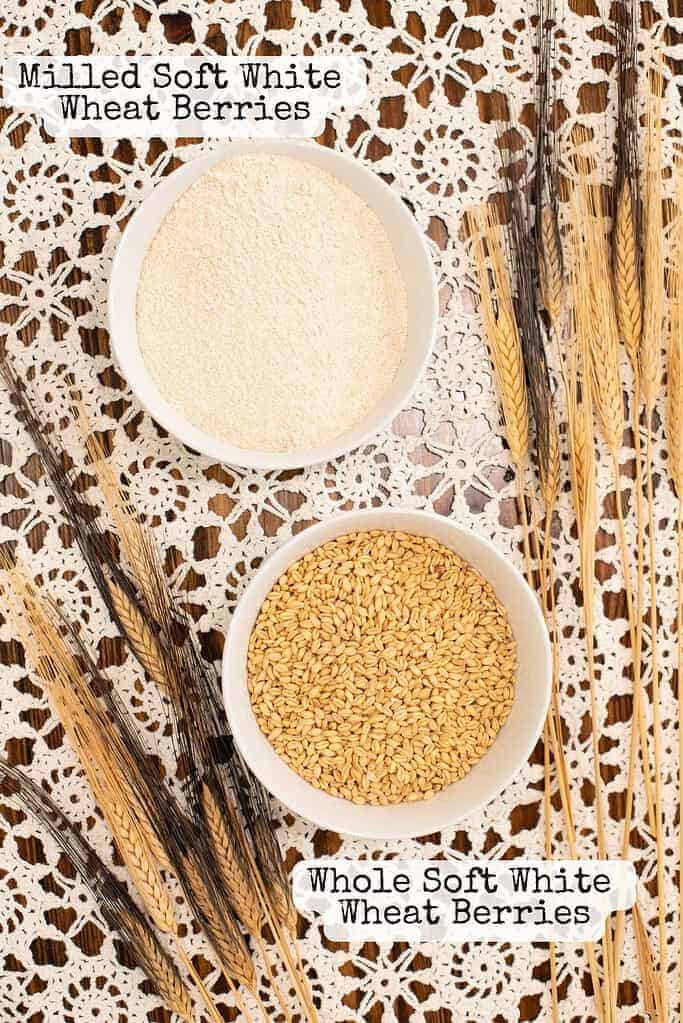
- Mill on the finest setting – run the hard white wheat and soft white wheat berries through your grain mill separately on the finest setting; milling them separately gives you better control over the final blend ratio and produces a more even grind throughout.
- Sift if using that method – run the freshly milled flour through a #40 or #50 sieve to remove a portion of bran for a lighter, more delicate crumb; set the sifted bran aside for muffins, pancakes, or sourdough rather than discarding it.
- Weigh the finished flour – weigh the milled and sifted flour to confirm your final amount; 120 grams equals one cup; adjust by milling and sifting a small additional amount if you are short.
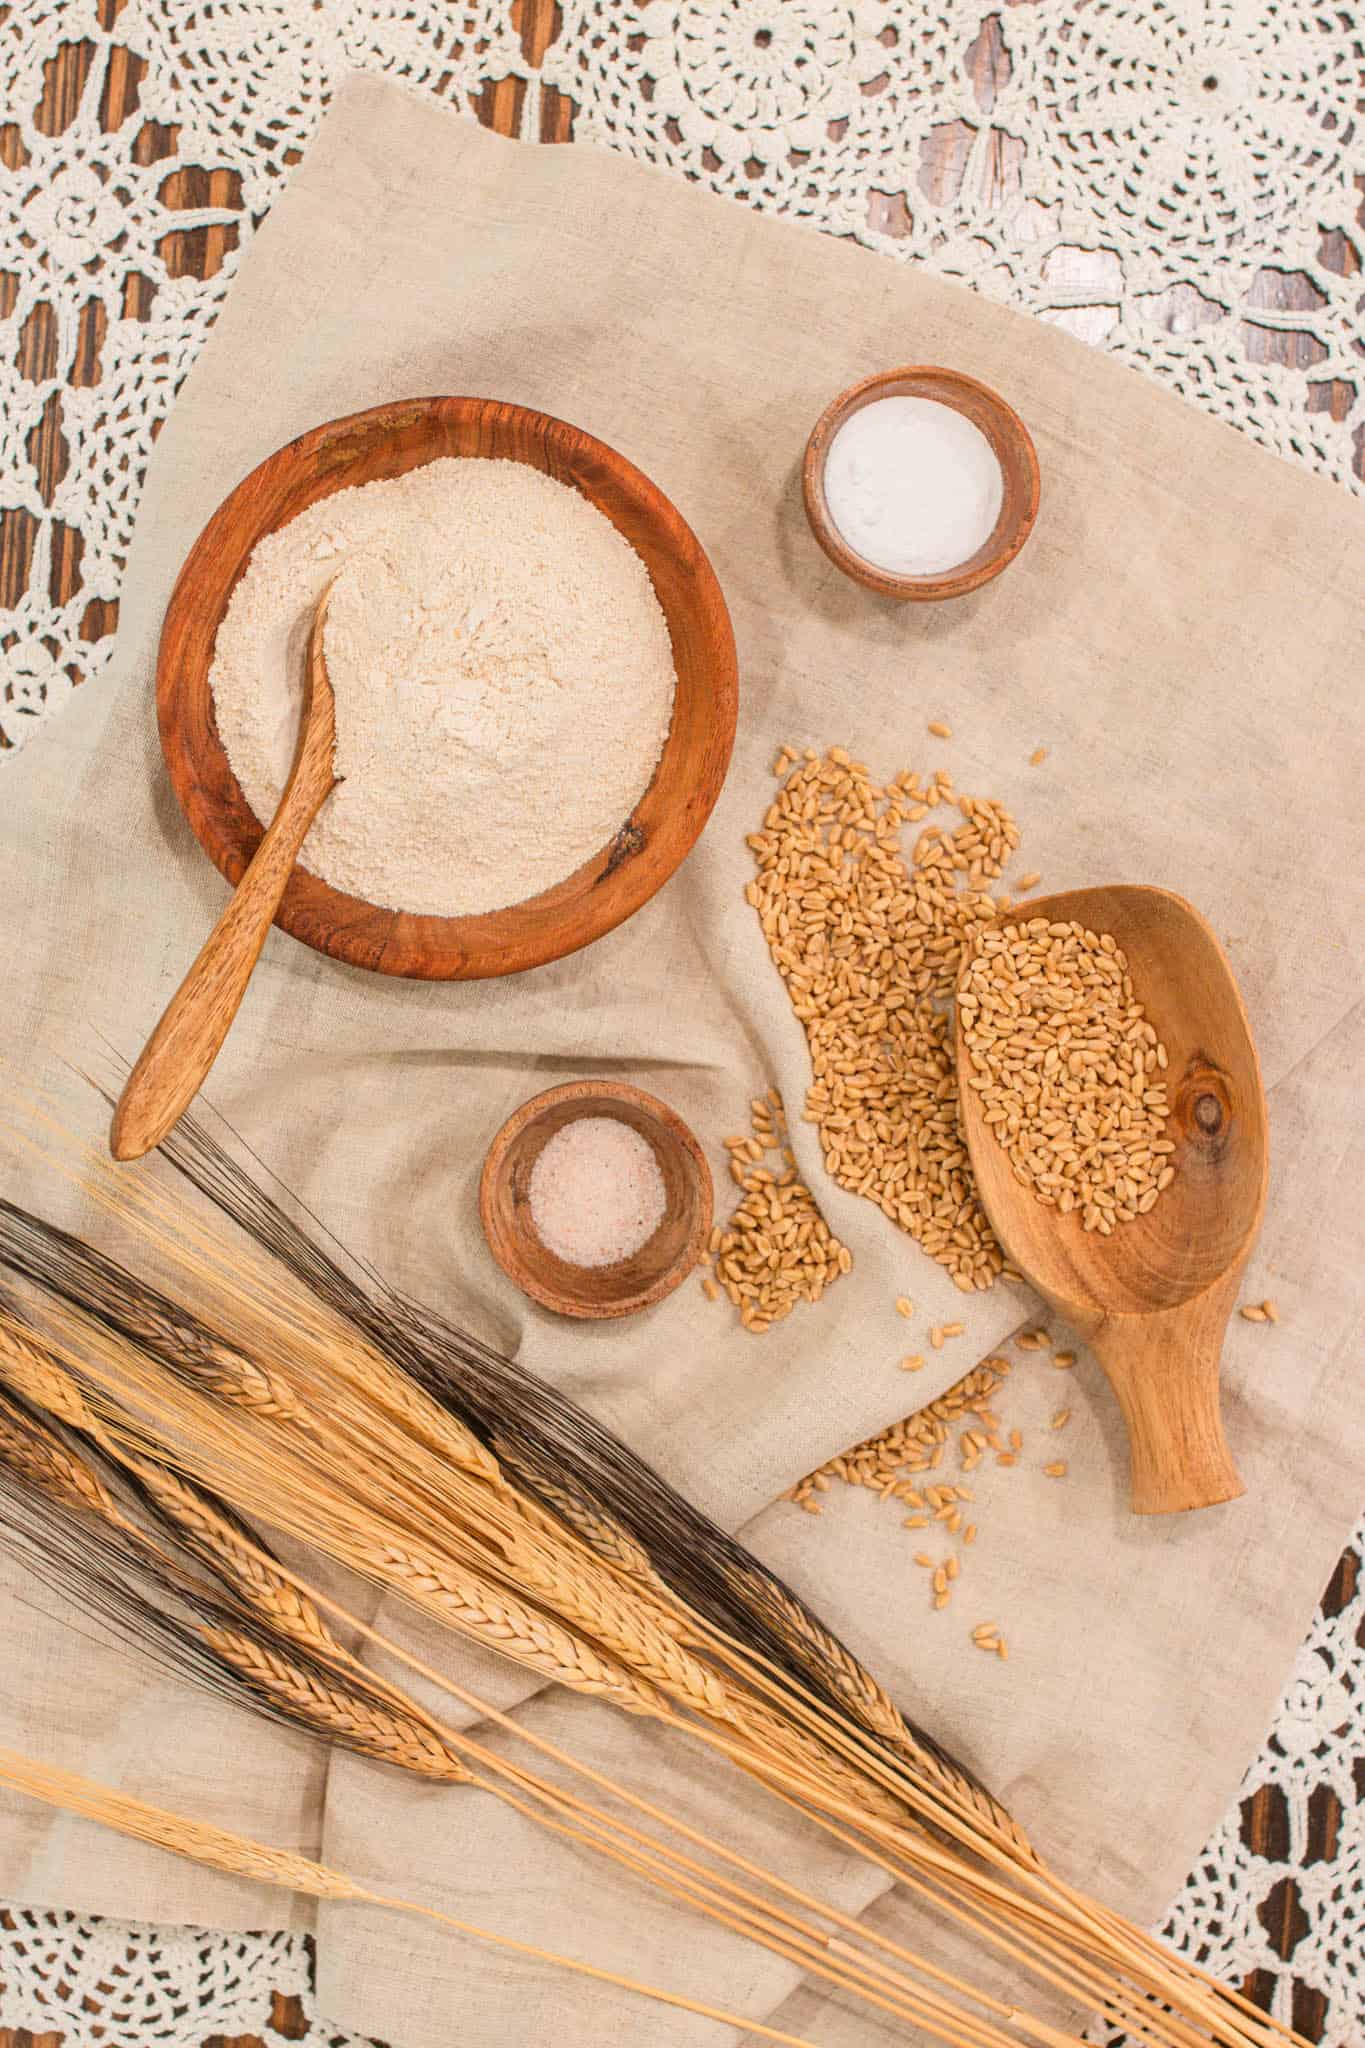
- Add the leavening agents – for every 120 grams of flour add 1½ teaspoons of baking powder and ¼ teaspoon of salt; sprinkle evenly over the flour before whisking so the leavening distributes throughout the blend without clumping.
- Add starch if using – remove one to two teaspoons of flour and replace with one teaspoon of cornstarch or tapioca starch for a slightly more delicate crumb in biscuits and cakes; whisk together thoroughly before using.
- Whisk until fully combined – whisk the flour, baking powder, salt, and optional starch together until the blend is completely uniform; a consistent blend prevents flat spots and uneven rise in finished bakes.
- Use now or store – Use the blend the same day for the freshest baking performance. If storing, transfer to an airtight container labeled with the blend name, wheat variety, sieve size if sifted, and date mixed. Store at room temperature for up to 2 to 3 days, in the refrigerator for 4 to 7 days, or in the freezer for up to 6 months. Bring to room temperature before baking for the most consistent results.
- Use in any self-rising flour recipe – drop this blend into any recipe calling for self-rising flour using the same cup measurement; start with the original liquid amount, rest five to ten minutes, and adjust hydration gradually if the batter or dough feels too thick after resting.
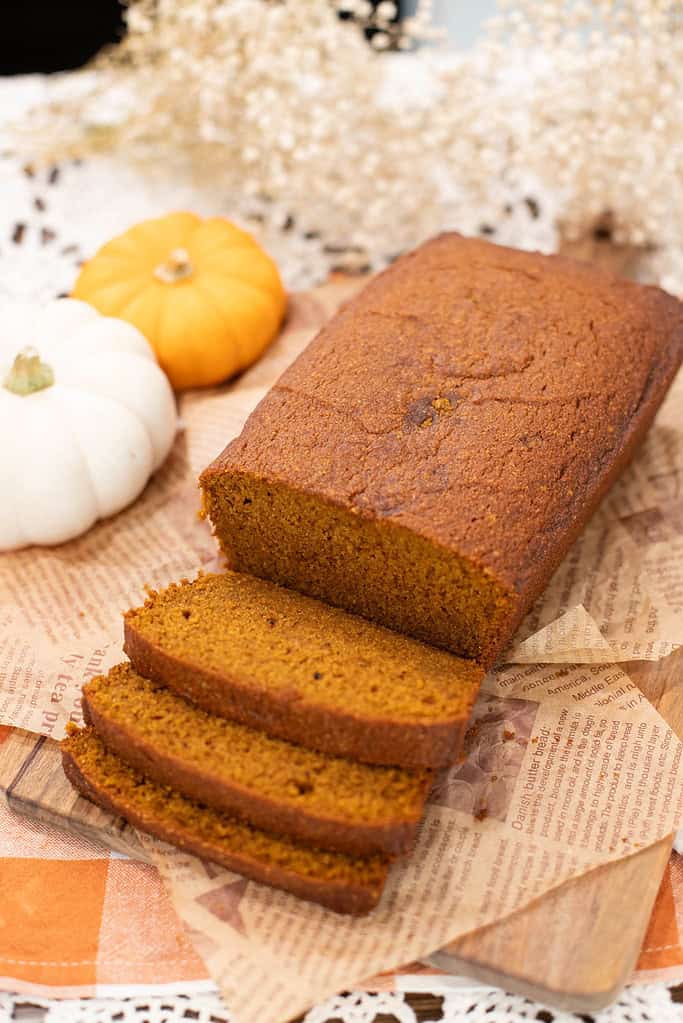
A Recipe Using Self Rising FMF Flour
This is a Pumpkin Bread made with self-rising, freshly milled flour blend.
Storage
- Room temperature storage — the finished self-rising blend keeps at room temperature in an airtight container for up to 2 to 3 days. Label the container with the blend name, wheat variety, whether it was sifted, and the date mixed.
- Refrigerator storage — for slightly longer storage, keep the self-rising blend in an airtight container in the refrigerator for 4 to 7 days. Bring to room temperature before using for the most consistent results in batters and doughs.
- Freezer storage — the finished self-rising blend freezes well in an airtight freezer-safe container or bag for up to 6 months. Portion into recipe-sized amounts before freezing so you can pull exactly what you need without thawing the entire batch.
- Store separately from plain flour — self-rising flour and plain freshly milled flour look identical in a jar. Label clearly with the blend name and leavening amounts so there is no confusion when you reach for a jar mid-bake.
- Check leavening freshness before storing a bulk batch — baking powder loses potency over time. If you are making a large bulk batch to store, make sure your baking powder is fresh before mixing so the entire batch rises reliably when you use it weeks later.
RELATED POST
For complete short and long-term storage guidance for freshly milled flour, see How to Store Freshly Milled Flour.
A Cottage Milling Note
I’ve been milling my own grains since the late 1990s, and I still remember the first time I learned how simple it was to make flour blends from freshly milled flour in my own kitchen. That discovery changed my baking forever.
My Grandmaw Nub always said the best baking starts with the simplest ingredients, and that wisdom rings true every time I reach for freshly milled wheat. This is the same method I use in my own cottage kitchen, and it’s the one I love teaching home millers like you.
Once you try it, you’ll see just how easy and rewarding it is to create your own cake & pastry flour, all-purpose flour, bread flour blends, and self-rising flour at home.
FAQ
Join The Community
Want More Cozy Recipes & Seasonal Inspiration?
Get cozy, from-scratch recipes, seasonal cottage living tips, and slow living inspiration delivered straight to your inbox.
More Freshly Milled Flour Guides from the Cottage
⭐️ Rate This Recipe
Made this recipe? Leave a star ⭐️ rating below, it means the world to me and helps my recipes get found by more people like you.

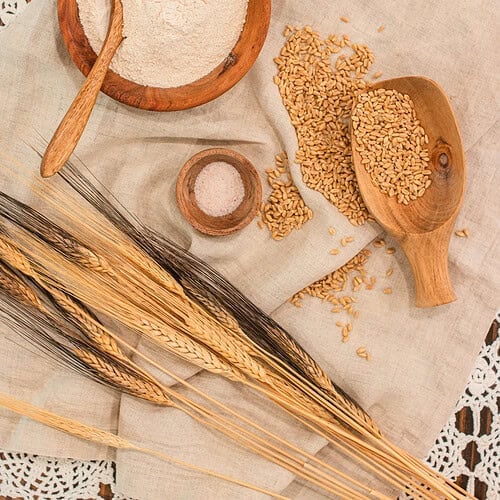
Self-Rising Flour Blend (Freshly Milled)
Equipment
- 1 Grain Mill
- 1 Digital kitchen scale
- 1 Measuring Cups and Spoons
- 1 Sieves #40 or #50 *optional
- 1 Air Tight Container *Freezer Safe
- 1 Whisk
Ingredients
1 Cup Unsifted Self Rising Flour Blend
- ⅓ cup plus 1 tbsp. hard white wheat berries,72 grams freshly milled, 60 percent of blend
- ¼ cups soft white wheat berries, 48 grams freshly milled, 40 percent of blend
- 1½ teaspoons baking powder
- ¼ teaspoon salt
- 1 to 2 teaspoons cornstarch or tapioca starch optional, replace equal amount of flour
1 Cup Sifted Self Rising Flour Blend
- ¾ cup hard white wheat berries, 144 grams freshly milled, mill extra to account for bran removal
- ½ cup soft white wheat berries, 96 grams freshly milled, mill extra to account for bran removal
- 1½ teaspoons baking powder
- ¼ teaspoon salt
- 1 to 2 teaspoons cornstarch or tapioca starch optional
5 Cup Bulk Batch Unsifted Self Rising Flour Blend
- 1 ¾ cup hard white wheat berries, 360 grams freshly milled, 60 percent of blend
- 1 ¼ cup soft white wheat berries, 240 grams freshly milled, 40 percent of blend
- 7½ teaspoons baking powder
- 1¼ teaspoons salt
- 5 to 10 teaspoons cornstarch or tapioca starch optional
Instructions
- Choose your wheat and calculate how much to mill – for every 1 cup (120 grams) of finished self-rising flour blend, you need, plan to use 72 grams of hard white wheat berries and 48 grams of soft white wheat berries; if you plan to sift, mill 30 to 50 percent more grain before starting to account for bran removal.
- Mill on the finest setting – run the hard white wheat and soft white wheat berries through your grain mill separately on the finest setting; milling them separately gives you better control over the final blend ratio and produces a more even grind throughout.
- Sift if using that method – run the freshly milled flour through a #40 or #50 sieve to remove a portion of bran for a lighter, more delicate crumb; set the sifted bran aside for muffins, pancakes, or sourdough rather than discarding it.
- Weigh the finished flour – weigh the milled and sifted flour to confirm your final amount; 120 grams equals one cup; adjust by milling and sifting a small additional amount if you are short.
- Add the leavening agents – for every 120 grams of flour add 1½ teaspoons of baking powder and ¼ teaspoon of salt; sprinkle evenly over the flour before whisking so the leavening distributes throughout the blend without clumping.
- Add starch if using – remove one to two teaspoons of flour and replace with one teaspoon of cornstarch or tapioca starch for a slightly more delicate crumb in biscuits and cakes; whisk together thoroughly before using.
- Whisk until fully combined – whisk the flour, baking powder, salt, and optional starch together until the blend is completely uniform; a consistent blend prevents flat spots and uneven rise in finished bakes.
- Use now or store – Use the blend the same day for the freshest baking performance. If storing, transfer to an airtight container labeled with the blend name, wheat variety, sieve size if sifted, and date mixed. Store at room temperature for up to 2 to 3 days, in the refrigerator for 4 to 7 days, or in the freezer for up to 6 months. Bring to room temperature before baking for the most consistent results.
- Use in any self-rising flour recipe – drop this blend into any recipe calling for self-rising flour using the same cup measurement; start with the original liquid amount, rest five to ten minutes, and adjust hydration gradually if the batter or dough feels too thick after resting.
Notes
Did you make this recipe?
Rate it 5 “⭐️” below.
If you liked this recipe, I’d be so grateful if you would share it with others. Use the buttons below to share, comment, or connect.

Emily Rider
Home miller since 1999 with fresh-milled flour & sourdough experience. Sharing from-scratch recipes and traditional kitchen skills, rooted in the seasons and inspired by everyday cottage living and seasonal rhythms.