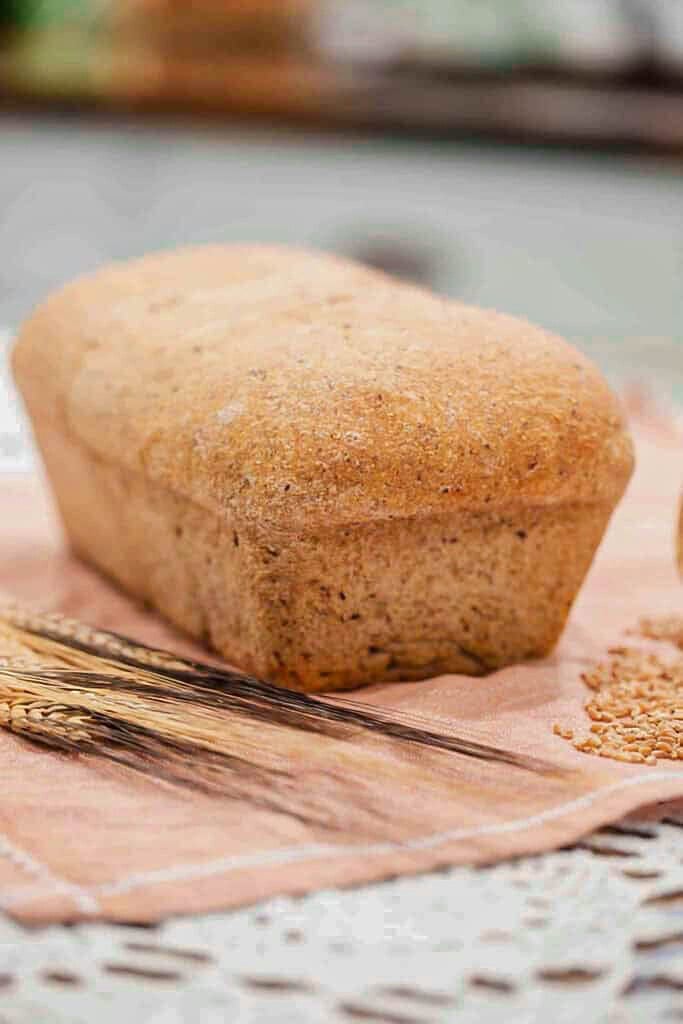
Baking sourdough with freshly milled flour means working with a dough that ferments faster, absorbs water differently, and responds in ways that take a little getting used to at first.
I will walk you through each adjustment. Whether you are milling your first batch of hard wheat or troubleshooting a loaf that did not rise the way you expected. Below you will find both same-day and cold proofing baker’s timelines with detailed instructions.
If you are just getting started, The Beginner’s Guide to Milling Flour at Home covers grain selection and mill basics. From there, Best Whole Grains to Mill, How to Sift Freshly Milled Flour, and How to Convert Recipes to Freshly Milled Flour tie everything together.
Do you want to learn more about freshly milled flour? The Cottage Mill is filled with guides and resources to walk you through recipe conversions, flour blends, and techniques to help you bake with more consistency.

The Cottage Mill: Freshly Milled Flour Guides, Recipes, and More Await!
Wonderful, wonderful site! So glad I found it before starting my journey with fresh-milled flour. Thank you so much for sharing your knowledge. ~Mary
Why You’ll Love This Guide

Baking Sourdough with Fresh Flour
Choose the right grain – Start with a hard wheat for sourdough bread, as it provides the protein and structure needed for a proper rise. Soft wheat works better for cakes and quick breads, and can lead to denser loaves if used alone in sourdough. For bread flour blends, I have two blends I use, and you can find them both here: How to Make Bread Flour Blends from Freshly Milled Flour.
Mill your flour fresh – Mill grain just before baking to preserve the natural oils and enzymes that give fresh flour its character. Use a fine setting for bread to reduce large bran pieces that can interfere with gluten development. The closer to bake time you mill, the more expressive your dough will be.
Decide whether to sift – For lighter loaves, sift with a #40 or #50 mesh sieve to remove some coarse bran and improve gluten strength. For heartier loaves, keep the flour unsifted and plan for slightly higher hydration to compensate. The Sifting Freshly Milled Flour guide walks through when sifting helps and when it is not necessary.
Mix flour and water first – Combine flour with most of the water and allow it to rest before adding starter and salt. This hydration rest improves absorption and makes the dough far easier to handle. Fresh flour needs this rest more than most, so do not skip it.
Add starter and salt at peak times – Incorporate an active starter at the beginning, then add salt after 30-60 min. rest time, mixing just until combined. Avoid overworking the dough at this stage as fresh flour dough tears more easily than you might expect. Freshly Milled Flour Sourdough Starter covers how to know when your starter is truly at its peak.
Build strength with gentle folds – Use stretch and folds, coil folds, a stand mixer, or bread machine to strengthen the dough without tearing the gluten. Whole-grain dough benefits from fewer, gentler movements rather than aggressive, fast mixing. Space your folds out and let the dough rest between each set. If using a mixer, I find the Ankarsrum, stand mixers and bread machines do a good job at handling freshly milled flour doughs.
Watch bulk fermentation closely – Bulk fermentation is complete when the dough shows a gentle dome, feels lighter in the bowl, and jiggles slightly when shaken. Fresh flour ferments faster, so watch visual cues rather than the clock. If the dough spreads quickly or loses elasticity, fermentation has gone too far, and you can always spread it out in a baking pan into a focaccia bread instead. Even after 26 years of baking with fresh milled flour here at the cottage, I still have moments where sourdough focaccia is what the day calls for.
Shape when the dough feels alive – Shape once the dough feels airy, elastic, and slightly domed. Fresh flour dough collapses easily if overproofed, so do not wait too long once bulk fermentation is complete. A simple 3-way rolled, and ends tucked loaf shape gives the loaf its best chance at good oven spring.
Proof and bake – Final proof is often shorter with fresh flour, so bake when the dough springs back slowly and shows good surface tension. Score with a sharp blade and load into a preheated Dutch oven for the best crust and oven spring. Trust your read of the cooked bread temperature over any timeline.
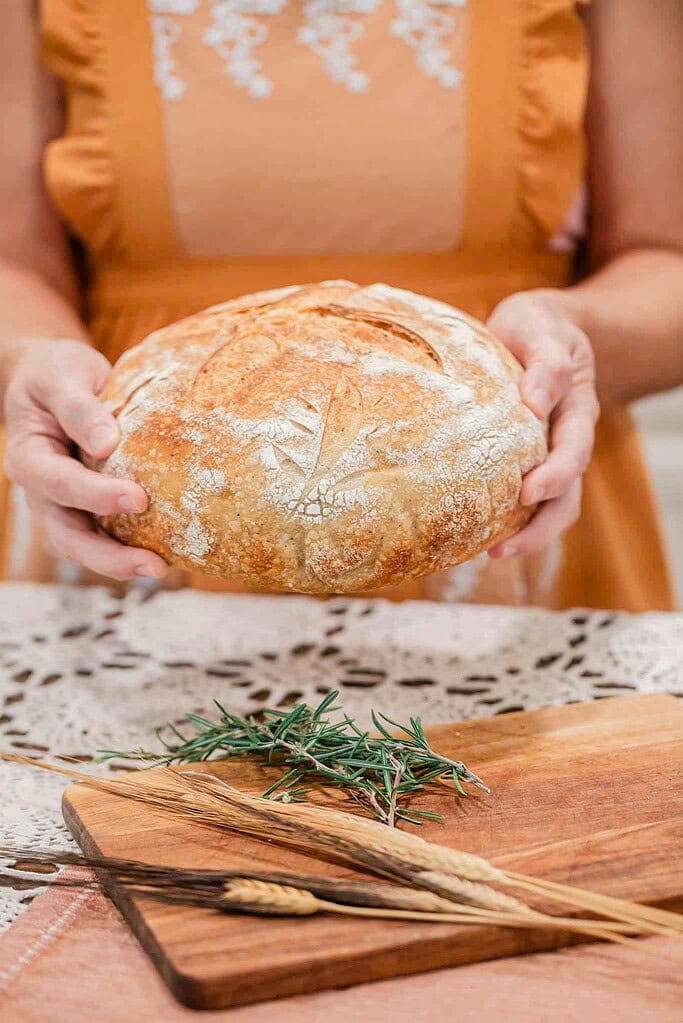
Instructions for Fresh Milled Flour Sourdough
- Feed your starter 8 to 12 hours before mixing – so it is active, risen, and at peak when it goes into the dough. A starter at full peak gives you the best oven spring and the most expressive, tangy flavor in the finished loaf.
- Combine your freshly milled flour and liquid – this is your hydration rest, and it is one of the most important steps when working with fresh flour. Fresh flour absorbs liquid more slowly than milled flour that has been sitting, and the bran needs time to soften before the gluten can develop properly. Mix until no dry flour remains, cover, and rest for 30 to 45 minutes before adding anything else.
- Choose your liquid method, pick one:
- Standard water rest – use the room temperature water called for in your recipe. This is the most straightforward method and works beautifully for most loaves.
- Scalded milk – replace the water with milk heated until steaming, just below a boil, then cooled slightly before mixing with the flour. Scalded milk softens the bran more deeply than cold water and produces a noticeably more tender, pillowy crumb, worth trying once you are comfortable with the basic process.
- Hot soak (overnight option) – heat the water until just boiling, pour it carefully over the flour, stir to combine, cover tightly, and rest for 30 to 45 minutes, or overnight if your schedule allows. The extended soak softens the bran thoroughly and can dramatically improve dough structure and crumb openness. Many bakers find that this produces their most consistent loaves once they try it.
- Add your starter and remaining ingredients hold salt until after resting period – Mix until just combined, then let the dough rest for 20 to 30 minutes. Add the salt last and mix again until fully incorporated. Holding the salt until after this rest gives the gluten a head start without interference.
- Build gluten strength, choose your method:
- Stretch and fold (traditional) – with freshly milled flour, perform sets every 15 to 20 minutes rather than the standard 30 to 45, because bran particles interfere with gluten formation and the dough needs more frequent encouragement early on. Continue until the dough feels smoother, more elastic, and holds its shape when you lift it. This method takes patience but produces a deeply developed dough with wonderful extensibility.
- Stand mixer or bread machine (most consistent results for beginners) – mix on low speed for 8 to 12 minutes in a stand mixer like an Ankarsrum, or run a full mix cycle of 20 to 30 minutes in a bread machine, until the dough passes the windowpane test, a small piece stretched thin enough to see light through without tearing. Although reaching a full windowpane can be helpful, don’t stress if you don’t get there. I’ve had great success shaping, proofing, and baking dough that never fully achieved the windowpane stage during mixing. When using a mixer or machine, you can skip stretch and folds entirely and move straight into bulk fermentation.
- Bulk fermentation – once gluten is developed, cover and ferment at room temperature until the dough has risen about 30 percent, the surface shows a gentle dome, and the whole mass feels noticeably lighter and more airy when you lift the bowl. With freshly milled flour this typically takes 2 to 4 hours, though your kitchen temperature and grain variety will influence the pace. Do not wait for the dough to double, fresh flour ferments faster than most timelines expect, and catching it at 30 percent gives you the most reliable shape and oven spring.
- Shape the dough – once bulk fermentation is complete and the dough feels airy, elastic, and alive under your hands. Work with confidence and purpose, fresh flour dough is more delicate than a white flour loaf and will deflate quickly if handled too tentatively or left to sit too long after bulk. Pre-shape into a loose round, rest 20 to 30 minutes on the counter uncovered, then perform your final shape with smooth, decisive movements that build surface tension across the top of the loaf.
- Final proof, choose your timing:
- Same-day proof – place the shaped loaf in a well-floured banneton or lined bowl, cover, and proof at room temperature for 1 to 2 hours until the dough feels puffy, passes the poke test with a slow, partial spring-back, and holds its shape when you turn it out.
- Overnight cold proof (recommended for beginners) – cover the shaped loaf tightly and transfer directly to the refrigerator for 8 to 16 hours. The cold dramatically slows fermentation, deepens flavor, and firms the dough so it holds its shape cleanly when you score it. Cold dough also scores more crisply and tends to give better oven spring because the yeast wakes up dramatically when it hits the heat. Pull it straight from the refrigerator and bake without warming, do not let it come to room temperature first.
- Preheat your oven and baking vessel – set the oven to 450 to 475°F with your Dutch oven or covered baker inside at least 45 minutes to 1 hour before baking. The vessel must be fully saturated with heat all the way through, not just surface-hot. This is the step most beginners shortcut and the one that matters most for dramatic oven spring and a deeply blistered crust.
- Score and load into Dutch oven – turn the cold loaf out onto a piece of parchment, score confidently with a sharp lame or razor blade at a 30 to 45 degree angle, and lower it carefully into the screaming-hot Dutch oven using the parchment as a sling. The score releases the dough’s tension and guides the bloom, a hesitant score tears instead of opens, so commit fully to each cut.
- Bake covered for 20 to 25 minutes – the steam trapped inside the vessel keeps the crust supple long enough for the dough to expand fully before setting. This is where your oven spring happens. Resist the urge to peek.
- Remove the lid and bake uncovered – for 20 to 25 minutes more until the crust is a deep, burnished mahogany and the internal temperature reads 205 to 210°F. The bottom should sound hollow when tapped and feel firm all the way through.
- Cool completely before slicing – transfer the loaf to a wire rack and rest for a minimum of 1 hour, though 2 hours produces a far better crumb. The interior continues to set as steam escapes through the crust during cooling, and slicing too early produces a gummy, compressed crumb that will never fully recover. The wait is genuinely worth it, the flavor deepens noticeably as the loaf rests, and that first slice through a properly cooled, fresh milled sourdough loaf is one of the most satisfying moments in whole grain baking.
Note: Freshly milled sourdough ferments 30 to 50% faster than traditional sourdough. Timing will vary depending on whether your flour is sifted or unsifted, the grain you are using, your starter strength, and your kitchen temperature. Always adjust based on how the dough looks and feels.
Overnight Cold Proof: Fresh Milled Sourdough | Baker’s Timeline
OVERNIGHT COLD PROOF (recommended for beginners) Total active time: about 3 hours | Hands-off time: 8 to 16 hours
Evening Before — Day 1
7:00 PM — Feed your starter Feed at your regular ratio and mark the jar. Your starter needs 8 to 12 hours to reach peak activity, so an evening feed sets you up perfectly for a morning mix.
Day 2 — Bake Day
7:00 AM — Hydration rest. Combine your freshly milled flour and liquid using your chosen method — standard water rest, scalded milk, or hot soak. Cover and rest 30 to 45 minutes. The bran is softening, the gluten is waking up, and your starter is at peak and ready.
7:45 AM — Add starter, mix, rest. Pour in the active starter along with any remaining ingredients except salt. Mix until just combined, cover, and rest 20 to 30 minutes.
8:15 AM — Add salt. Sprinkle salt evenly over the dough and mix until fully incorporated. Feel the dough tighten slightly as it goes in — that tension is exactly right.
8:20 AM — Build gluten strength. Begin stretch and folds every 15 to 20 minutes for the first 1 to 1.5 hours, or mix in your stand mixer or bread machine until the dough passes the windowpane test. Although reaching a full windowpane can be helpful, don’t stress if you don’t get there. I’ve had great success shaping, proofing, and baking dough that never fully achieved the windowpane stage during mixing.
8:20 AM to 12:00 PM — Bulk fermentation Cover and ferment at room temperature, 70 to 75°F, for 2 to 4 hours. You are watching for a 30 percent rise, a gently domed surface, and a dough that feels noticeably lighter and more airy when you lift the bowl. Do not wait for a full double.
12:00 PM — Pre-shape Turn the dough out onto an unfloured surface and shape into a loose round with confident, deliberate movements. Leave uncovered and rest 20 to 30 minutes.
12:30 PM — Final shape: Shape with smooth, decisive movements that build surface tension across the top. Transfer seam-side up into a well-floured banneton or lined bowl.
12:45 PM — Into the refrigerator. Cover tightly and transfer to the refrigerator for 8 to 16 hours. The cold firms the dough, deepens the flavor, and sets you up for a clean score and dramatic oven spring the next morning.
Day 3 — Bake Morning
7:00 AM — Preheat Place your Dutch oven or covered baker in the oven and preheat to 450 to 475°F for 45 minutes to 1 full hour. The vessel must be completely saturated with heat — this is the step that creates that dramatic crust and open crumb.
7:45 AM — Score and load. Pull the cold loaf directly from the refrigerator. Turn out onto parchment, score confidently at a 30 to 45 degree angle, and lower into the screaming-hot Dutch oven using the parchment as a sling.
7:45 to 8:10 AM — Bake covered for 20 to 25 minutes. Steam trapped inside the vessel keeps the crust supple while the dough expands fully — this is where your oven spring happens.
8:10 to 8:35 AM — Bake uncovered. Remove the lid and bake 20 to 25 minutes more until the crust reaches a deep, burnished mahogany and the internal temperature reads 205 to 210°F.
8:35 AM — Cool Transfer to a wire rack and rest a minimum of 1 hour — 2 hours gives you a far better crumb. The interior continues to set as steam escapes through the crust.
10:00 AM — First slice
Same Day Bake: Fresh Milled Sourdough | Baker’s Timeline
SAME-DAY BAKE Total time: approximately 10 to 12 hours start to finish
7:00 AM — Feed starter
11:00 AM — Starter at peak, begin hydration rest. Combine flour and liquid, cover, and rest 30 to 45 minutes.
11:45 AM — Add starter, mix, rest 20 to 30 minutes
12:15 PM — Add salt, build gluten strength. Stretch and folds every 15 to 20 minutes for 1 to 1.5 hours, or mix in a stand mixer to a windowpane.
12:15 to 4:00 PM — Bulk fermentation 2 to 4 hours at room temperature until 30 percent rise with a domed, lighter-feeling dough.
4:00 PM — Pre-shape, rest 20 to 30 minutes
4:30 PM — Final shape, into banneton
4:30 to 6:30 PM — Room temperature final proof 1 to 2 hours until puffy and passing the poke test with a slow, partial spring-back.
5:30 PM — Begin preheating oven and Dutch oven 450 to 475°F for a full 45 minutes to 1 hour.
6:30 PM — Score and load
6:30 to 7:20 PM — Bake covered 20 to 25 minutes, uncovered 20 to 25 minutes. Internal temperature 205 to 210°F, deep mahogany crust, hollow sound when tapped.
7:20 PM — Cool on wire rack 1 to 2 hours
9:00 PM — First slice
Timelines are Just Starting Points
These timelines are a starting point, not a contract. Fresh milled flour ferments 30 to 50 percent faster than most sourdough schedules expect, and your kitchen temperature, grain variety, and starter strength will all nudge the pace.
Watch the dough, not the clock, and let the visual and tactile cues guide every transition. The timeline teaches you the shape of the day, the dough teaches you everything else.
Troubleshooting

Cottage Living Community
Join the Cozy Cottage Living Community
Sign up for The Modern Day Cottage Community newsletter to receive recipes. how-tos, exclusives, and more from my kitchen to your inbox every week.
FAQ
More Fresh Flour Guides from The Cottage
Was this guide helpful?
Please share this post with others if you found this guide helpful.

Emily Rider
Home miller since 1999 with fresh-milled flour & sourdough experience. Sharing from-scratch recipes and traditional kitchen skills, rooted in the seasons and inspired by everyday cottage living and seasonal rhythms.