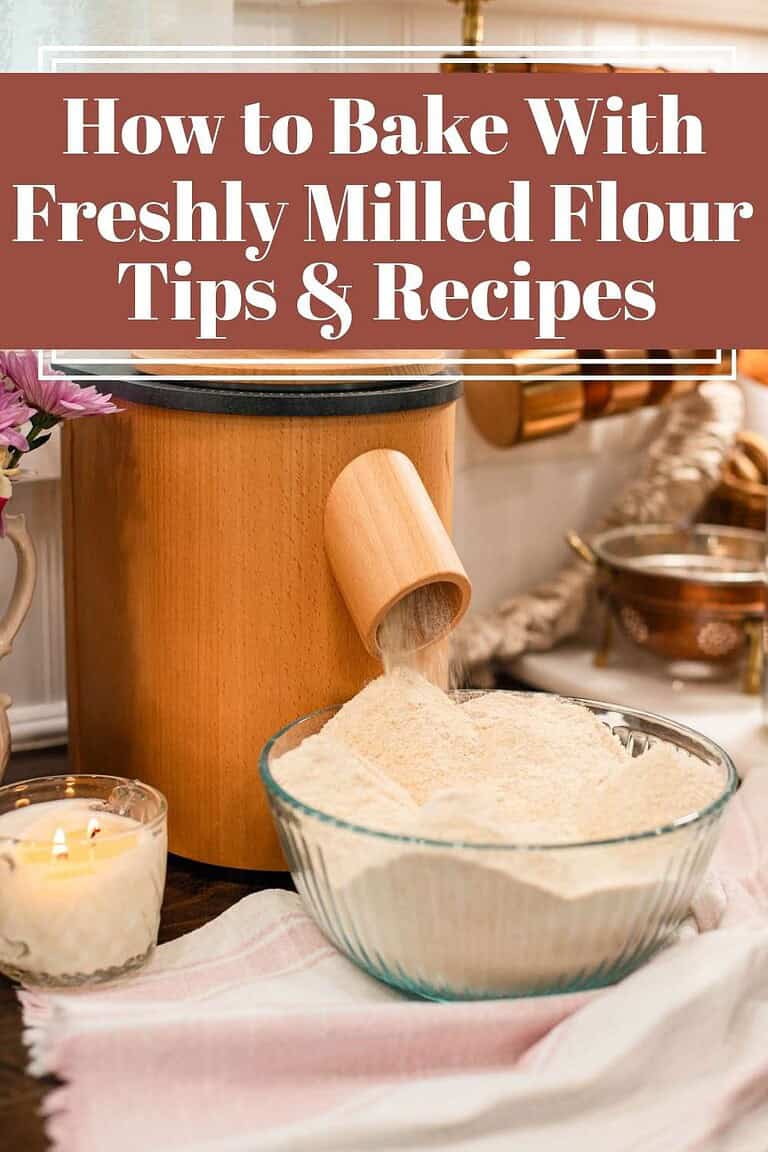
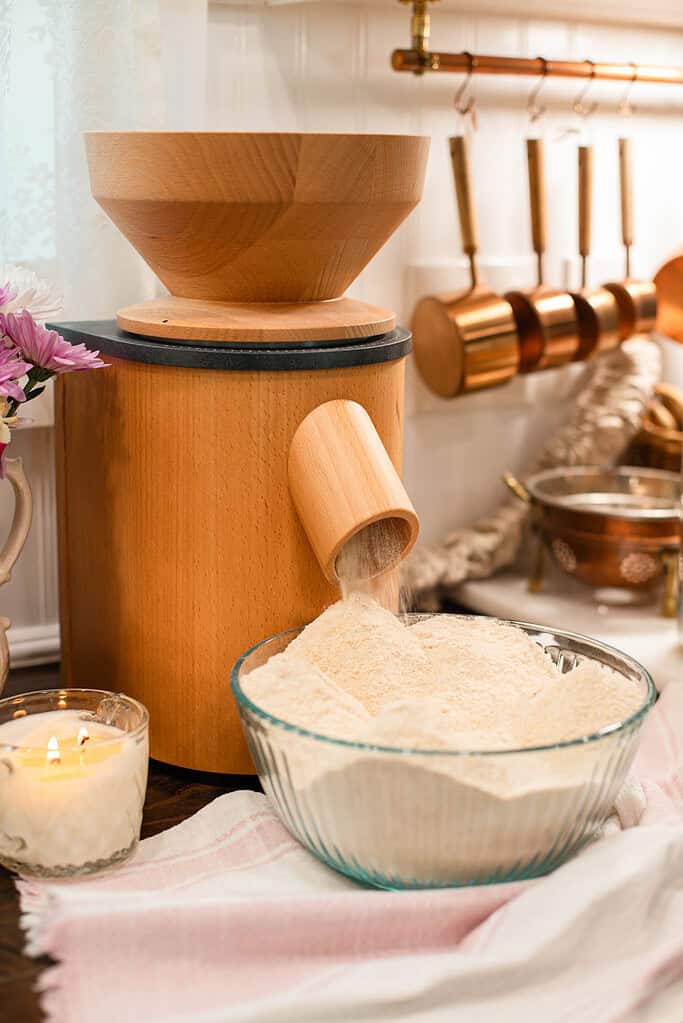
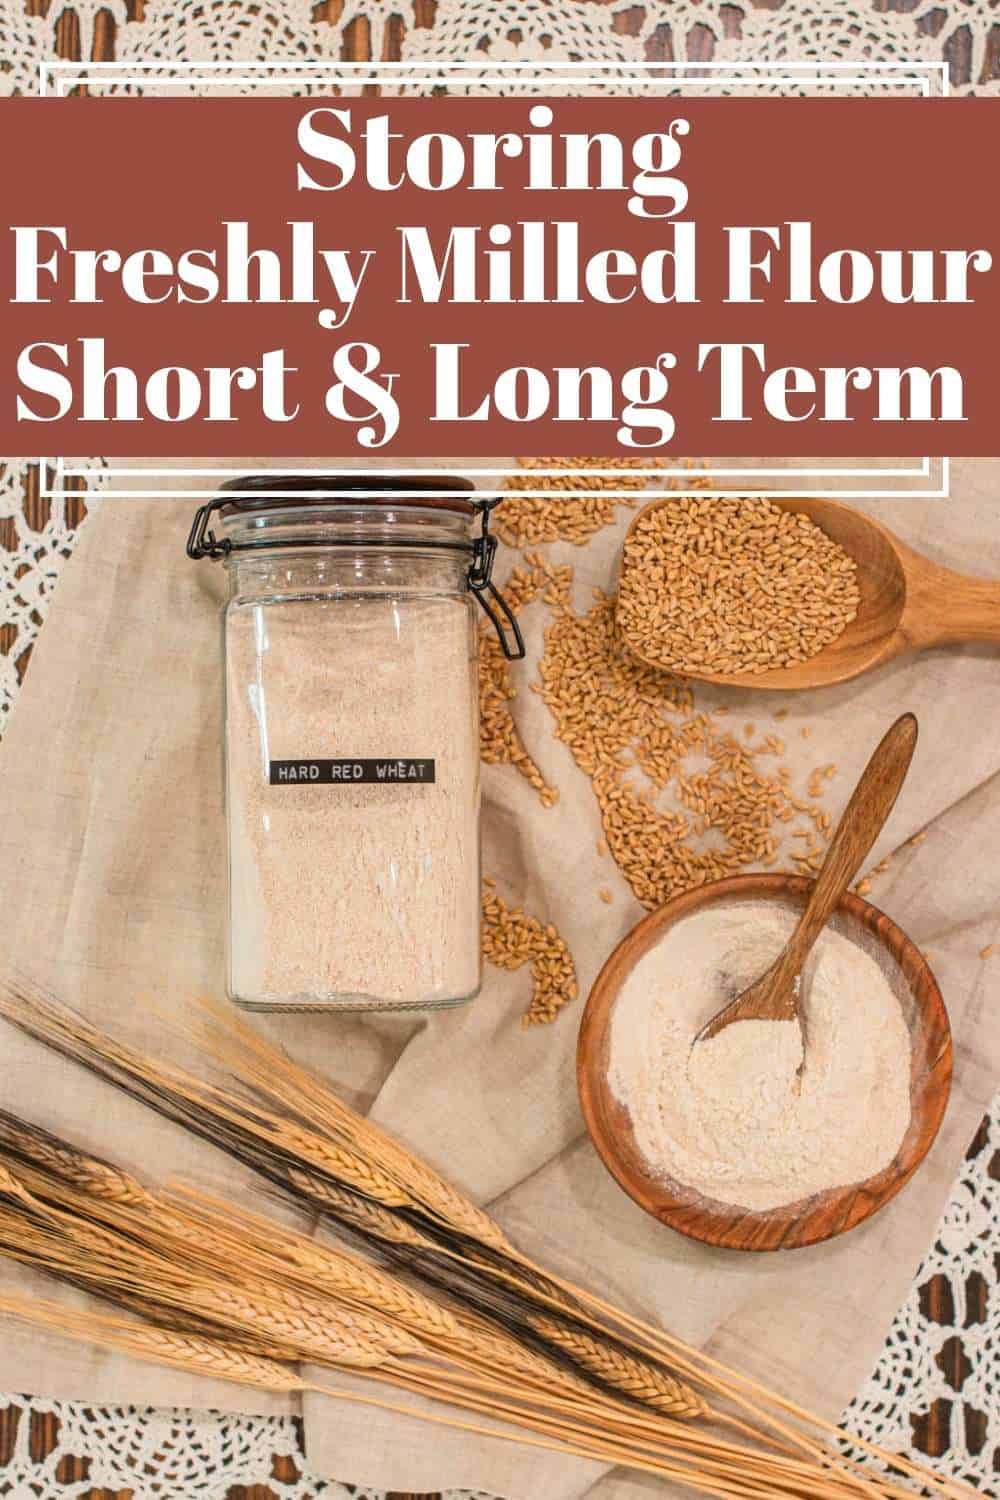
You’ve just milled flour that smells like warm sunshine and toasted grain, earthy and rich, almost like fresh bread before it even hits the oven.
It’s the kind of aroma that makes you want to bake right away. But here’s the thing: storing freshly milled flour both short and long term is just as important as baking with it, because that goodness is delicate and fleeting. Luckily, with a few simple storage tips, you can hold on to that flavor until your next loaf.
This post may contain affiliate links. Please read our disclosure policy for details.
If you’re just getting started with fresh flour, you may like my Milling Fresh Flour at Home for Baking | A Beginner’s Guide where I cover how to choose grains and mills. And if you’re ready to bake, check out this post Baking with Freshly Milled Flour | Tips & Recipes.
A Cottage Milling Note
My MawMaw Nub always told me, “Flour doesn’t stay long , you need to mill it and use it.”
She never stored flour, only milled what she needed for the day, and her kitchen always carried that fresh, sweet fragrance of grain. I carry her wisdom with me, even as I adapt it for a slower, modern cottage kitchen where a little storage is sometimes necessary.
This guide is my way of honoring her adage while helping you keep your flour just as fresh, even if life doesn’t always allow for milling daily.
Why You’ll Love This Guide
Ingredients
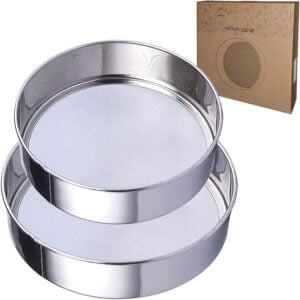
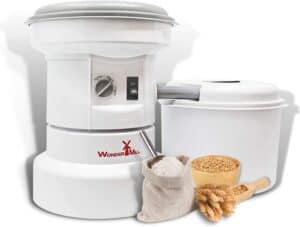
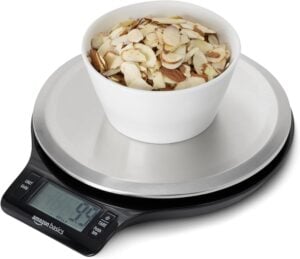
Equipment
Why Storage Matters
Note: Please don’t feel like you need to master every method right away. Start small, keep a jar or two on the counter and use them within a couple of days. Once you’re comfortable, you can move on to fridge or freezer storage. Step by step, your flour should stay as fresh as the day you milled it.
Short-Term Flour Storage
Note: In my kitchen, I keep just enough on the counter for today and tomorrow, with a couple of jars tucked into the fridge for the week ahead if I need to mill in bulk. It feels simple, neat, and practical all at once.
Long-Term Flour Storage
Note: If I mill in bulk, I will keep one jar in my fridge for that week’s baking, and the rest goes straight into the freezer. When I run low, I pull out a jar to thaw overnight. It feels organized, simple, and saves me from ever wasting flour. *Note, since purchasing the MockMill Pro 200 series I mill on demand.
Instructions
- Choose your storage method – Decide how quickly you’ll use the flour. For baking within a couple of days, a countertop jar is perfect. For a week or two, use the fridge. For months, go with the freezer method.
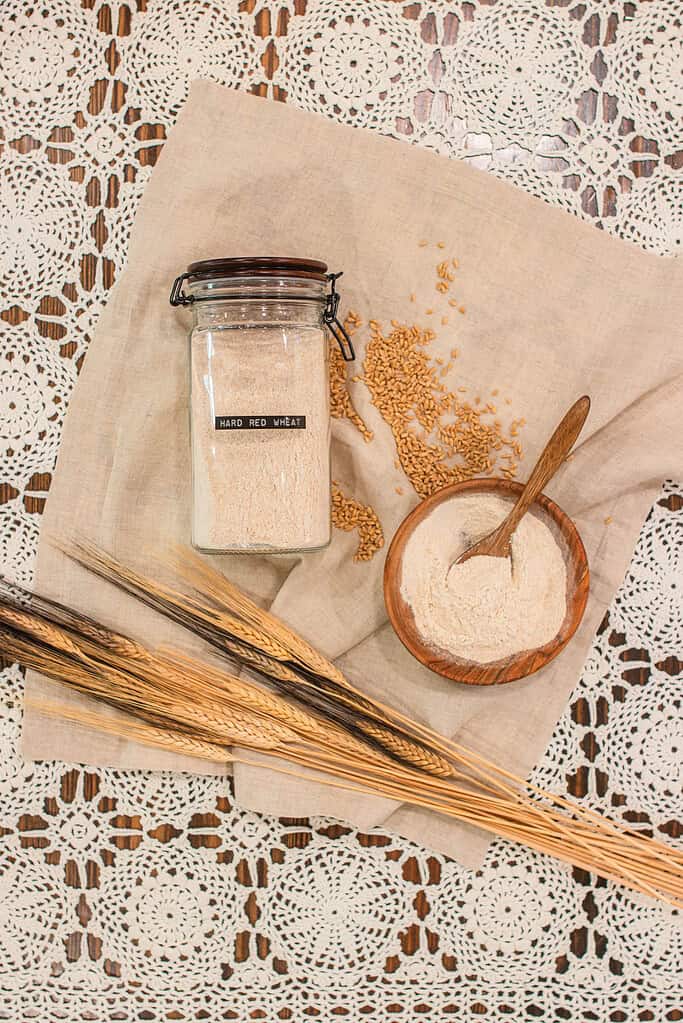
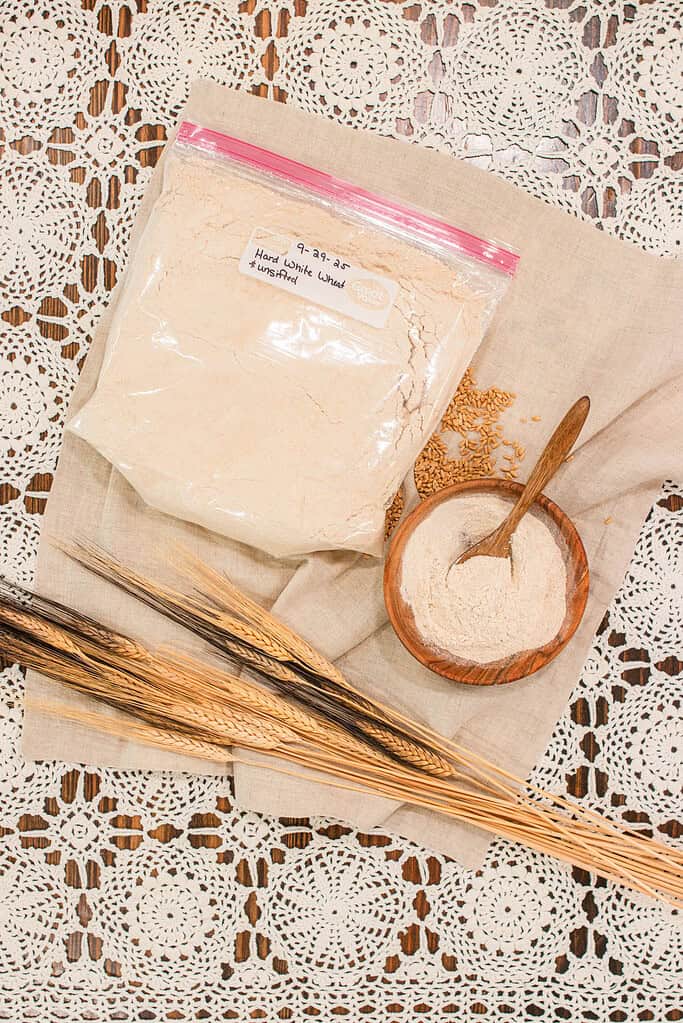
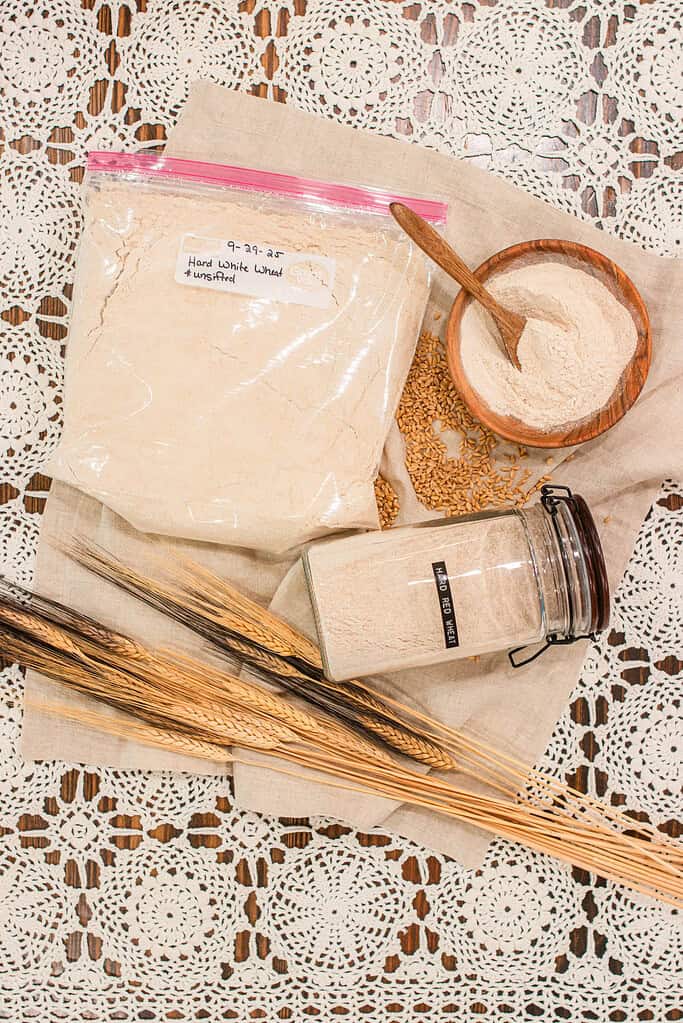
- Pick the right container – Use glass jars (like mason or Anchor Hocking) for counter or fridge storage. For freezer storage, vacuum-sealed jars or freezer-safe bags work best. Always go airtight to protect flavor and prevent moisture.
- Portion for convenience – Divide flour into smaller containers instead of one large one. That way, you only open what you need, and the rest stays fresher longer.
- Label and date – Mark each container with the type of grain and the date it was milled. This helps you track freshness and rotate flour so nothing goes stale or rancid.
- Store in the right spot – Counter jars should sit in a cool, dark place away from heat and sunlight. Fridge jars should be airtight and kept on a middle shelf (not the door). Freezer flour does best in airtight jars or bags tucked away from items with strong odors.
Tip: My own rhythm is to mill flour on demand daily. If I have a busy season I will mill in bulk then keep one jar on the counter for everyday baking using it within 24-48 hours, a backup jar in the fridge, and a few portions in the freezer. This keeps things fresh without overwhelming my pantry in busy seasons.
Step into The Cottage Mill: Freshly Milled Flour Guides, Recipes, and More Await!


Cottage Living Newsletter
Join the Cozy Cottage Community Today!
Get, from-scratch recipes, seasonal cottage living tips, and cozy cottage living inspiration delivered straight to your inbox.
More Freshly Milled Flour Guides
Don’t forget to pin this for later!
Thank you for spending time with me here at The Modern Day Cottage. My hope is that each guide helps you mill and bake with more confidence. May your jars be ever full, and your loaves rise high.
With love & gratitude,
Emily
FAQ
Did you liked this Fresh Milled Flour guide?
If you learned something valuable, I’d be so grateful if you would share with others. Use the buttons below to share, comment, or connect—I truly enjoy seeing and celebrating your fresh flour journey.

Emily Rider
Cottage lifestyle blogger and home miller with 25+ years of sourdough and fresh-milled flour experience.
Sharing cozy homemade recipes that help you bake with confidence, celebrate each season, and savor the beauty of everyday cottage living.