In this guide, I will walk you through how to make self-rising flour from a fresh-milled flour blend. When you learn how easy it is to make it feels like a little kitchen secret unlocked.
No need to keep a bag of store-bought self-rising flour tucked in the pantry when you can mix your own from flour you’ve freshly milled yourself.
This post may contain affiliate links. Please read our disclosure policy for details.
If you’re also curious about other blends, you’ll love exploring these guides.
You can read Make Cake and Pastry Flour from Freshly Milled Flour, try a Bread Flour Blend Using Freshly Milled Flour, or learn how to Make All-Purpose Flour from Freshly Milled Flour.
Together, these blends will round out your repertoire for blending fresh flours, giving you everything you need in one cozy spot here at The Modern Day Cottage
Why You’ll Love This Flour Blend
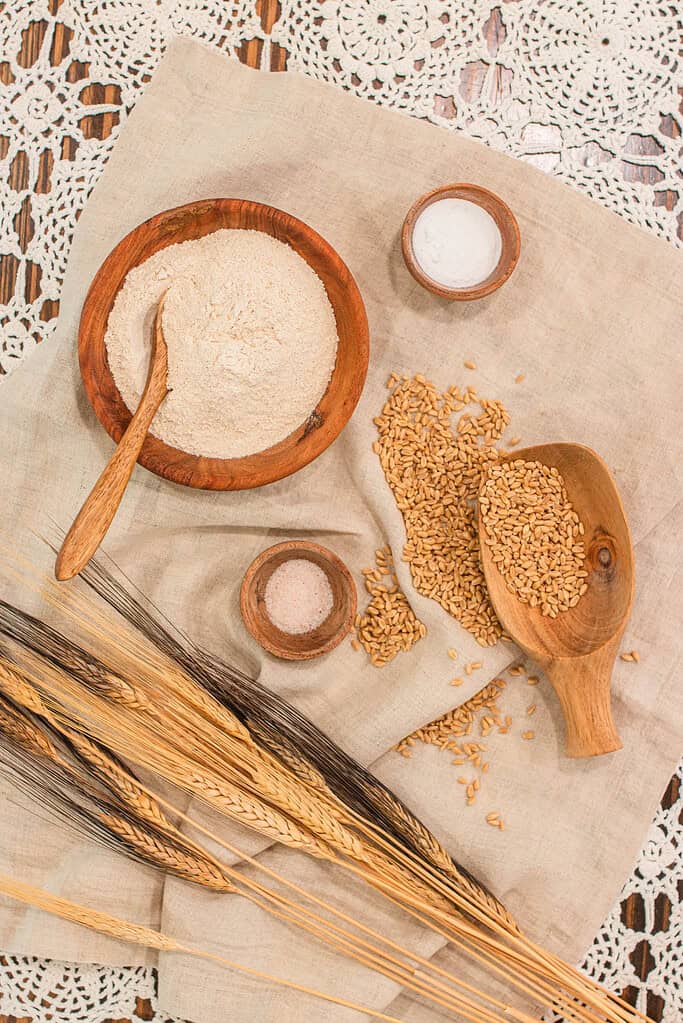
Ingredients
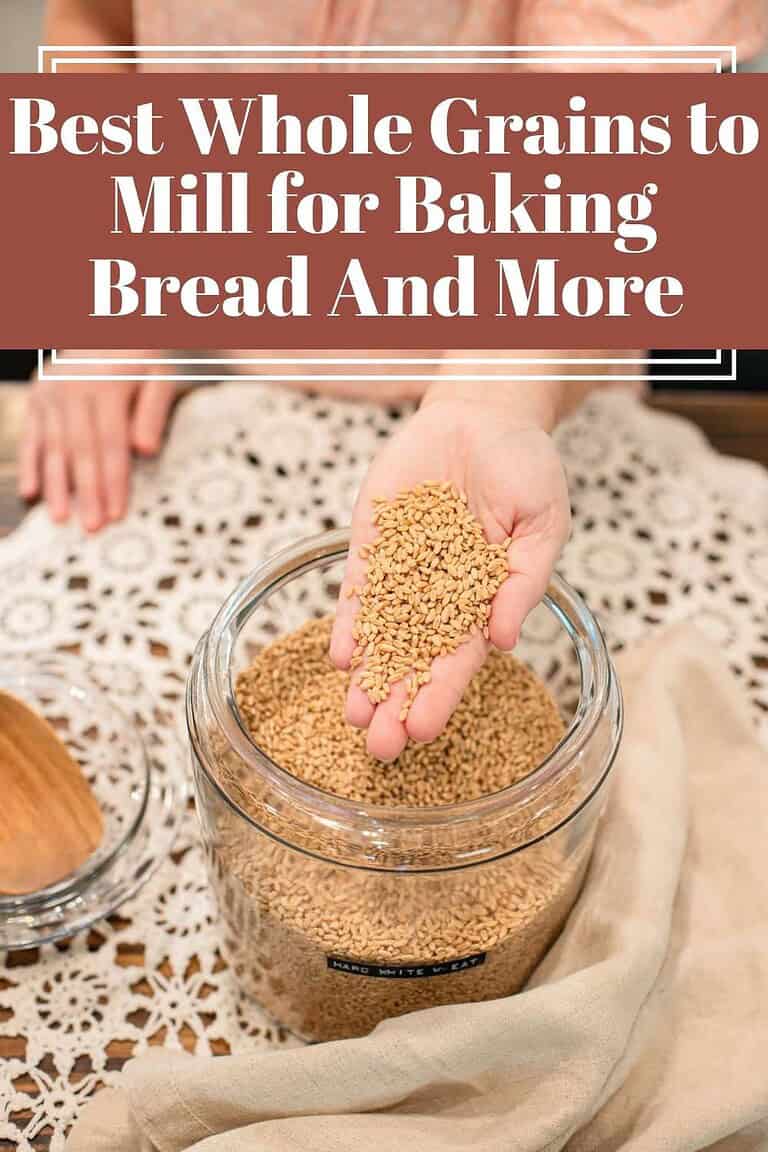
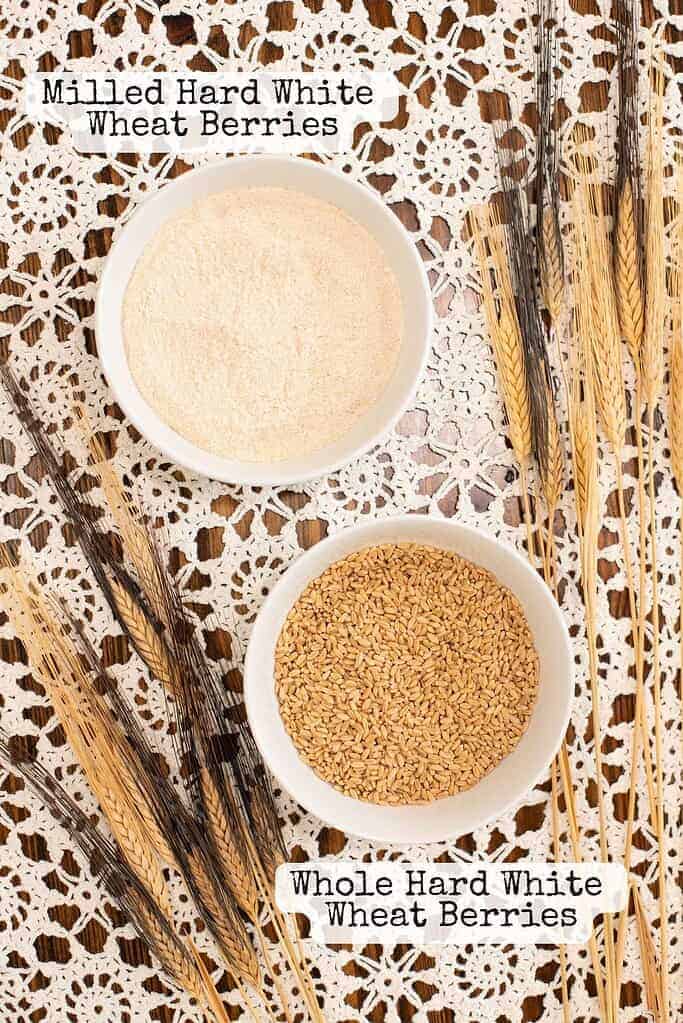
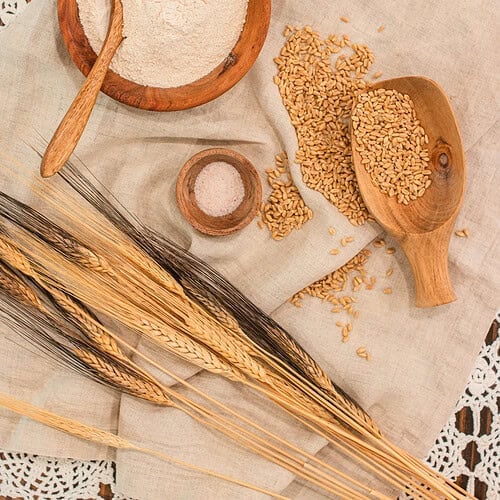
Hard White Wheat – This provides the gluten strength and structure your bakes need.
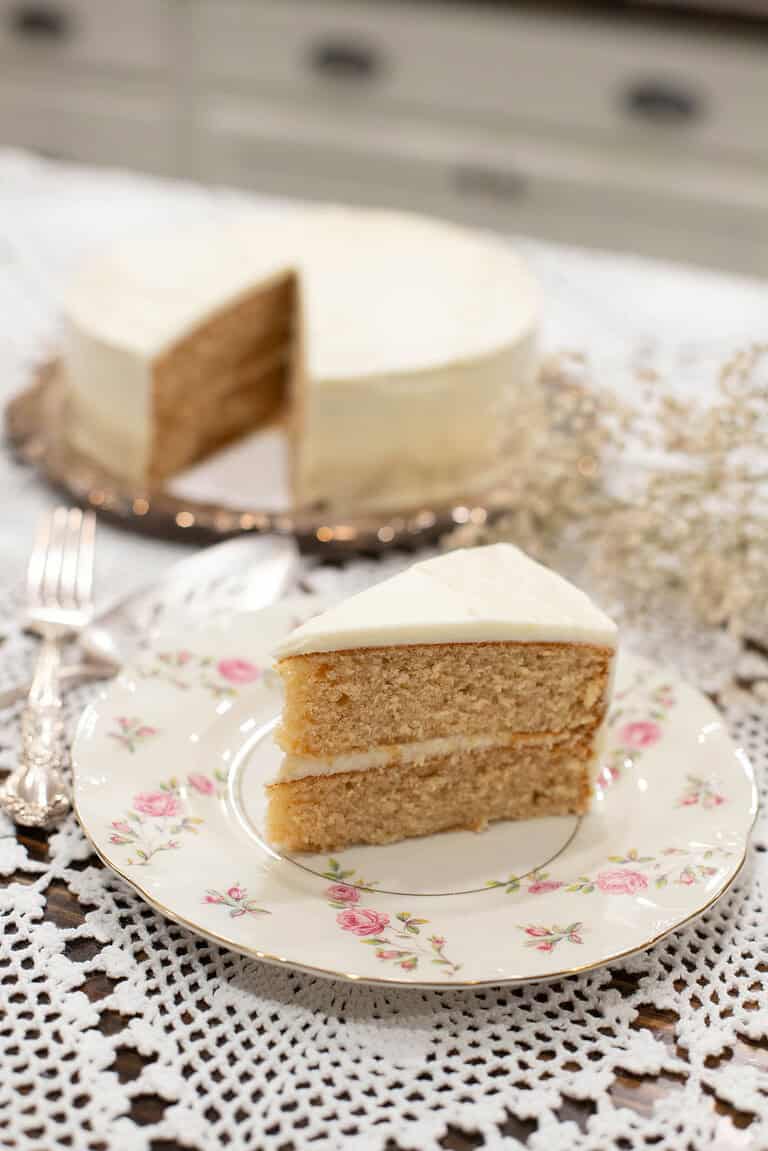
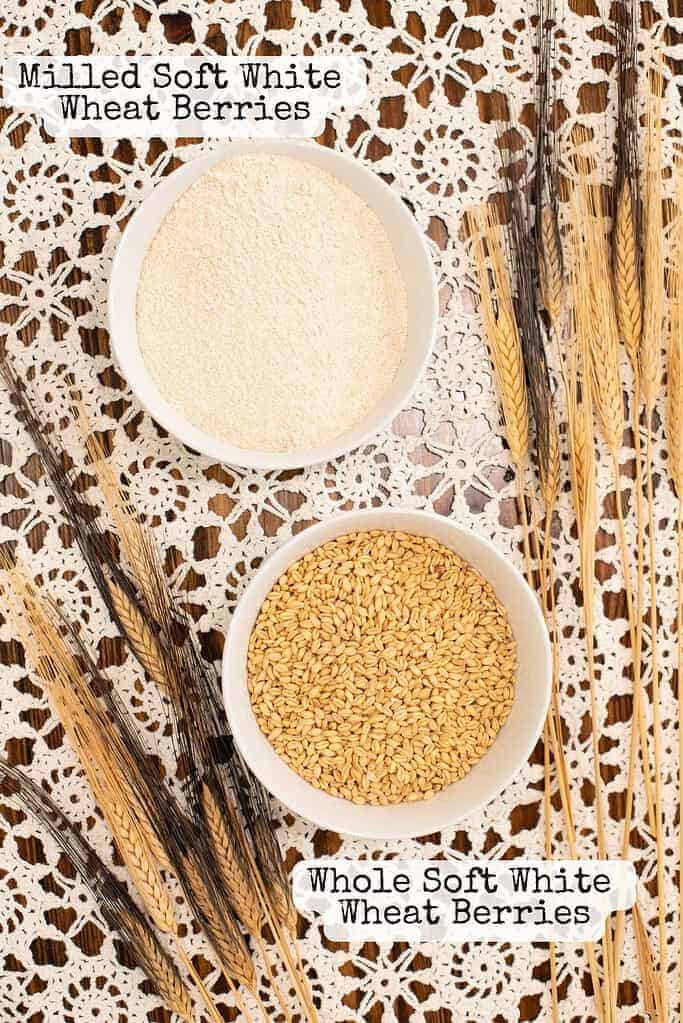
Soft White Wheat – Adds tenderness, making biscuits, pancakes, and cakes extra soft.
Baking powder – The leavening agent that helps your bakes rise light and fluffy.
Salt – Balances flavor and supports the baking powder.
Optional starch – For a silky finish. Not necessary, but something you can experiment with if you’d like.
Important Note: Stick with the 60% hard white wheat and 40% soft white wheat ratio for the best results. From there, you can always experiment with red wheats or optional starches once you feel confident.
Equipment
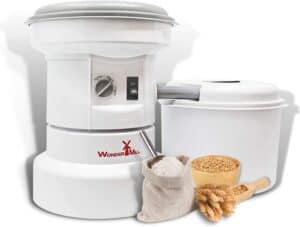
Grain mill – To freshly mill your hard and soft wheat berries at home.
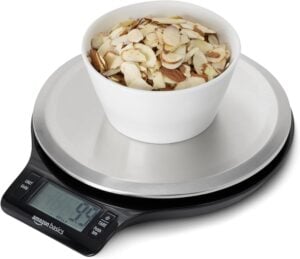
Digital scale – Essential for accurate flour measurement; 120 grams equals 1 cup of flour.
Measuring cups & spoons – Handy for mixing the baking powder, salt, and optional starch.
Mixing bowl & spoon – For combining the blend evenly.
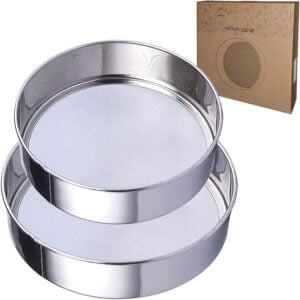
Fine sieve (#40 or #50) – To sift and lighten the flour if you want a closer-to-store texture.
Airtight jar – For storing your self-rising flour blend in a cool, dry spot.
Important Note: A digital scale is your best friend here, weight is always more reliable than cups when working with freshly milled flour. Sifting is optional, so choose based on whether you want rustic texture or a lighter crumb.
Recipe Tips
Stick to the ratio – 60% hard wheat and 40% soft wheat gives the best texture for most recipes. Once you’re comfortable, you can experiment with red wheats for a nuttier flavor.
Always weigh your flour – Freshly milled flour is lighter and fluffier than store-bought, so 120 grams per cup keeps your recipes consistent.
To Sift or Not To Sift – A #40 or #50 sieve will lighten the flour if you want a closer-to-store-bought texture, but unsifted works beautifully for rustic bakes.
Mix leavening thoroughly – Make sure the baking powder and salt are evenly distributed so your bakes rise uniformly.
Use it fresh – Because freshly milled flour contains natural oils, mix up only what you’ll use within a week or two, or store the blend in the fridge or freezer for longer freshness.
Adjust gently – If dough or batter feels too dry, add liquid 1 tablespoon at a time. Fresh flour tends to be “thirstier,” and small adjustments make a big difference
Step into The Cottage Mill: Freshly Milled Flour Guides, Recipes, and More Await!
Instructions
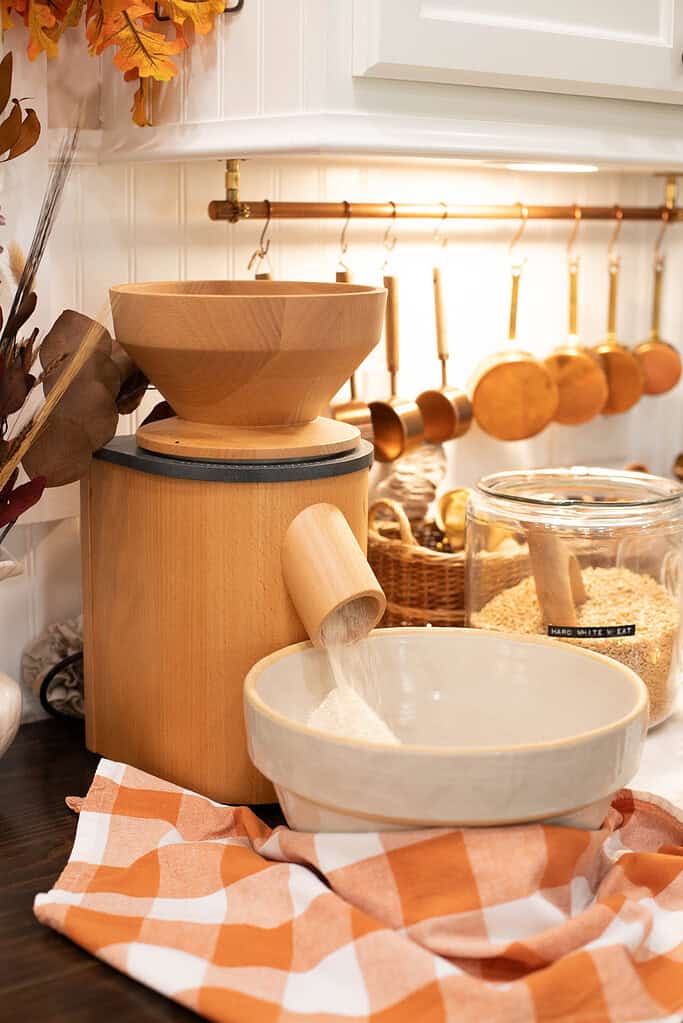
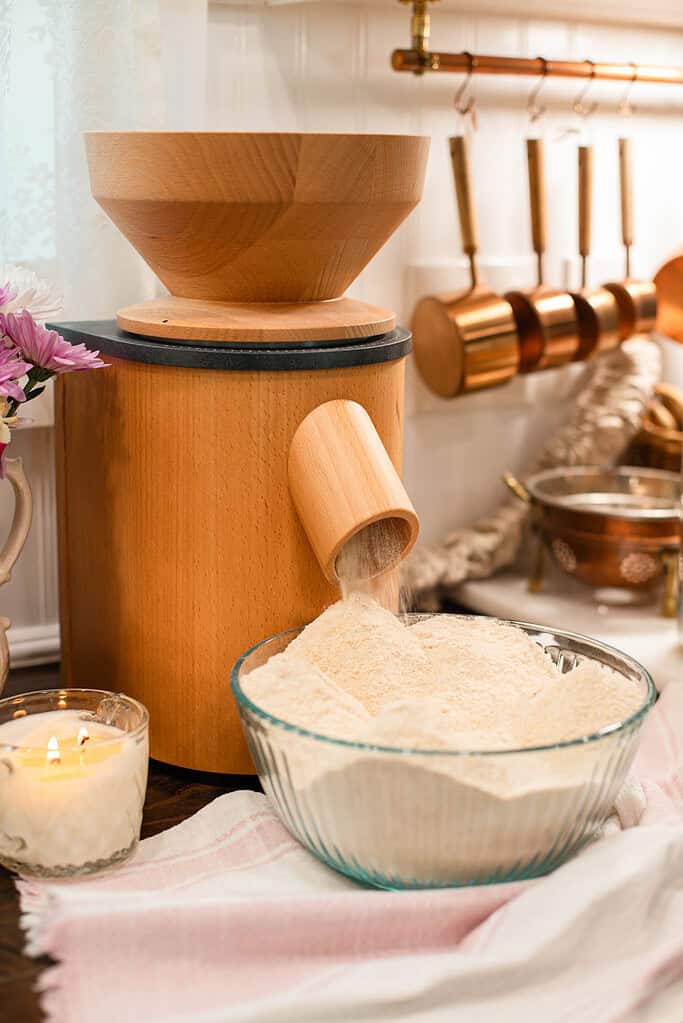
- Mill your wheat – Grind 60% hard white wheat berries and 40% soft white wheat berries. Aim for 120 grams total flour per cup needed. What to expect: The flour will feel lighter and fresher than store-bought.
- Measure accurately – Weigh your flour (120g per cup). If using cups, use 1 ¼ cups freshly milled flour for every 1 cup of store-bought flour. What to expect: A digital scale will give the most consistent results.
- Sift if desired – Run flour through a #40 or #50 sieve for a lighter texture, or skip sifting for a more rustic feel. What to expect: You may lose 30–50% of the flour weight when sifting out bran.
- Add leavening agents – For each cup of flour, mix in 1 ½ teaspoons baking powder and ¼ teaspoon salt. What to expect: Blending well ensures even rising in your biscuits, cakes, or pancakes.
- Optional silky touch – Replace 1–2 teaspoons of flour with cornstarch or tapioca starch if you want a lighter, silkier texture. What to expect: This step is optional—I rarely use it, but it’s worth trying to see if you prefer the difference.
- Mix thoroughly – Whisk or stir well so baking powder and salt are evenly distributed throughout the flour. What to expect: A uniform blend prevents uneven bakes.
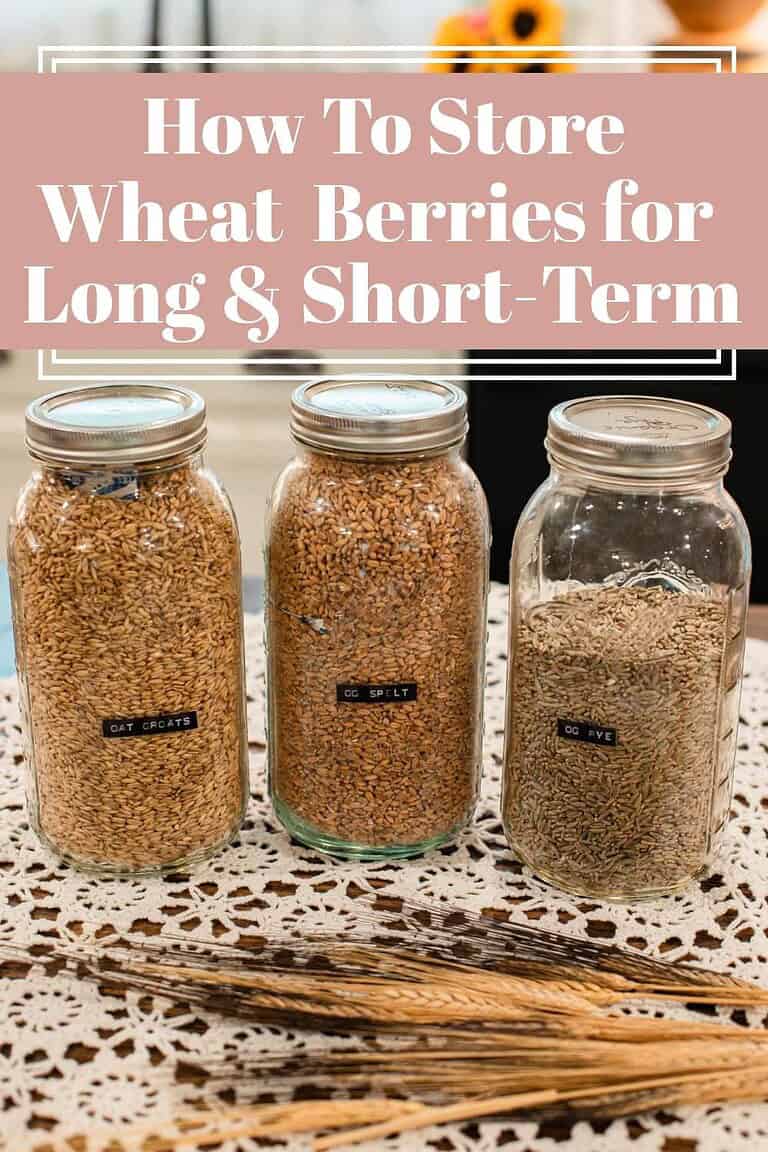
- Store properly – Keep your blend in an airtight jar in a cool pantry for up to 2 weeks, or refrigerate/freezer-store for longer freshness. What to expect: Freshly milled flour has natural oils, so it won’t keep as long as store-bought flour.
Note: The most important step is weighing your flour, 120 grams equals 1 cup. Freshly milled flour is denser yet fluffier than store-bought, so weight keeps your recipes consistent every time.
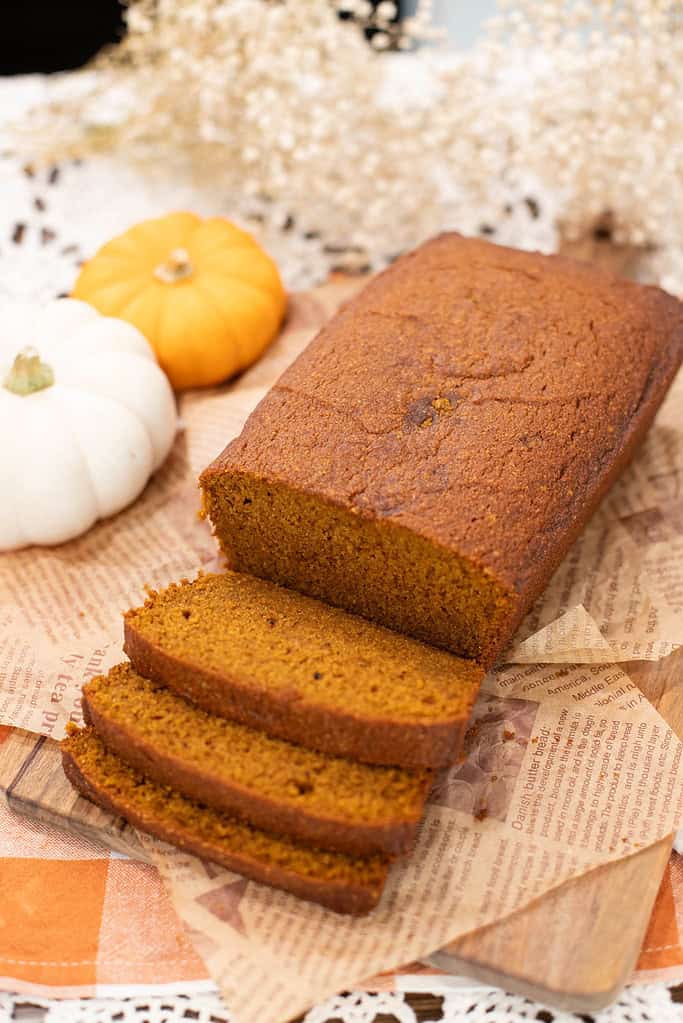
Note: This is a Pumpkin Quick Bread made with self-rising freshly milled flour blend. It is divine! If you make it please leave a reply on the Pumpkin Bread made with Freshly Milled Flour blog post. We love this recipe for fall! And we make it in the summer months when we are missing cozy Autumnal recipes.
Don’t forget to pin this for later!
A Cottage Milling Note
I’ve been milling my own grain since the late 1990s, and I still remember the first time I learned how simple it was to make self-rising flour from freshly milled flour—that discovery changed my baking forever.
My MawMaw always said the best baking starts with the simplest ingredients, and that wisdom rings true every time I reach for freshly milled wheat. This is the same method I use in my own cottage kitchen, and it’s the one I love teaching home millers like you.
Once you try it, you’ll see just how easy and rewarding it is to create your own cake, pastry, bread flour, All-Purpose and self-rising blends at home.


FAQ
Thank you for spending time with me here at The Modern Day Cottage. My hope is that each guide helps you mill and bake with more confidence. May your jars be ever full, and your loaves rise high.
With love & gratitude,
Emily
Self-Rising Flour Blend (Freshly Milled)
Equipment
- 1 Grain Mill
- 1 Digital kitchen scale
- 1 Mesuring Cups and Spoons
- 1 Sieves #40 or #50 *optional
- 1 Air Tight Container *Freezer Safe
- 1 Whisk
Ingredients
Unsifted (1 cup self-rising flour)
- 72 g Hard White Wheat Flour (60% freshly milled)
- 48 g Soft White Wheat Flour (40% freshluy milled)
- 1 ½ tsp Baking Powder
- ¼ tsp Salt
- 1-2 tsp Cornstarch or Tapioca Starch *OPTIONAL (replace equal amount of flour for silkier blend)
Sifted (1 cup self-rising flour)
- 108-144 g Hard White Wheat Flour (60% freshly milled) Milling 30–50% more grain is needed since sifting removes bran. For 1 cup flour (120 g), begin with 180–240 g wheat berries before sifting.
- 72-96 g Soft White Wheat Flour (40% freshly milled) Milling 30–50% more grain is needed since sifting removes bran. For 1 cup flour (120 g), begin with 180–240 g wheat berries before sifting.
- 1 ½ tsp Baking Powder
- ¼ tsp Salt
- 1-2 tsp Cornstarch or Tapioca Starch *OPTIONAL (replace equal amount of flour for silkier blend)
Bulk Batch (5 cups self-rising flour)
- 360 g Hard White Wheat Flour (60% freshly milled) Note: If sifting, start with 500–540 g wheat berries (about 40–50% more)
- 240 g Soft White Wheat Flour (40% freshly milled) Note: If sifting, start with 330–360 g wheat berries (about 40–50% more)
- 7 ½ tsp Baking Powder
- 1 ¼ tsp Salt
- 5-10 tsp Cornstarch or Tapioca Starch *OPTIONAL Replace 5–10 teaspoons of flour with cornstarch or tapioca starch for a silky texture.
Instructions
- Mill the flour – Start by milling your wheat berries: 60% hard white wheat for strength and 40% soft white wheat for tenderness. Aim for a fine grind that feels soft to the touch.Tip: If you plan to sift, mill 30–50% more grain to make up for what will be removed with the bran.
- Measure accurately – Weigh out 120 g for every cup of flour needed. If using measuring cups instead of a scale, use 1 ¼ cups freshly milled flour for every 1 cup of store-bought flour. Why: Fresh flour is lighter and fluffier, so weight is always more reliable.
- Sift if desired – For a lighter texture, sift through a #40 or #50 sieve. If you prefer rustic bakes, you can skip this step and enjoy the hearty, whole-grain goodness. Note: Sifting usually removes 30–50% of the bran, which changes both the texture and flavor.
- Add leavening agents – For each 120 g of flour, mix in 1 ½ teaspoons of baking powder and ¼ teaspoon of salt. Tip: Sprinkle the baking powder and salt evenly over the flour before stirring so they distribute well.
- Optional silky touch – If you want an even softer blend (closer to cake flour), replace 1–2 teaspoons of flour with cornstarch or tapioca starch. Personal note: I rarely do this, but it’s fun to experiment and see if you prefer the texture.
- Mix thoroughly – Whisk or stir the flour until the leavening and salt are completely incorporated. Why: Even mixing prevents uneven rising and avoids salty or flat spots in your bake.
- Store properly – Transfer your blend to an airtight jar. Keep at room temperature for up to 2 days, or in the fridge/freezer for longer storage. Note: Because freshly milled flour contains natural oils, it won’t keep as long as store flour.
Notes
Did you liked this Fresh Milled Flour guide?
If you learned something valuable, I’d be so grateful if you came back to leave a 5 “⭐️” rating. Use the buttons below to share, comment, or connect—I truly enjoy seeing and celebrating your beautiful bakes.

Emily Rider
Cottage lifestyle blogger and home miller with 25+ years of sourdough and fresh-milled flour experience.
Sharing cozy homemade recipes that help you bake with confidence, celebrate each season, and savor the beauty of everyday cottage living.