In this guide, I will walk you through the process step by step on how to convert recipes to freshly milled flour so you can confidently adapt any recipe.
Switching from store-bought flour to freshly milled flour is exciting, but it can also feel a little confusing at first. How much should you use? Do you need to sift? And why does the dough feel so different?
This post may contain affiliate links. Please read our disclosure policy for details.
With over 25 years of hands-on experience and a family tradition rooted in home milling, I’m here to help you navigate this journey with practical guidance, time tested wisdom, and encouragement for every step along the way.
Together, we’ll turn whole grains into cozy seasonal bakes, beautiful loaves of bread, and carry forward a tradition that honors the rich history of home millers.
A Cottage Milling Note
When I first started converting my old family recipes to fresh flour, I thought I’d never get it “just right.” Some loaves came out dense, some cookies spread too much , and I scribbled notes all over my recipe cards.
But that’s how I built the system I use today. Every time you take notes, or pause to adjust liquid a tablespoon at a time, you’re building your own flour “language.” Don’t rush it, each bake brings you closer to confidence.
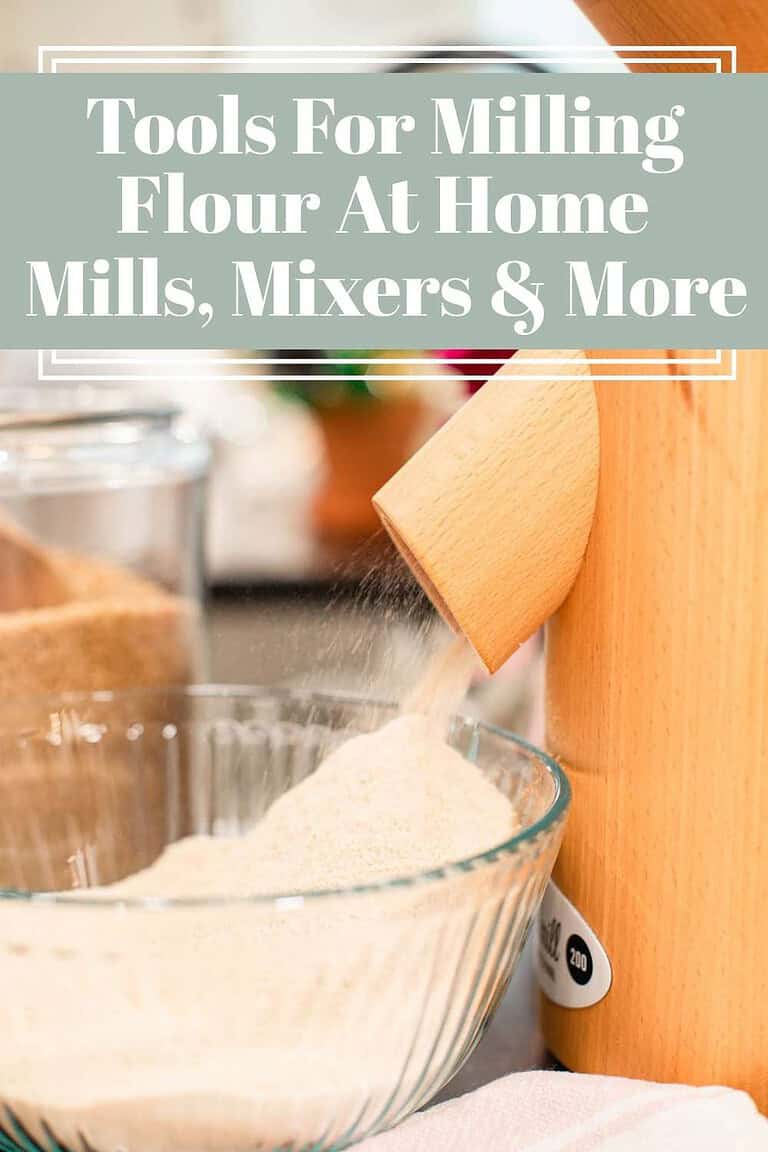
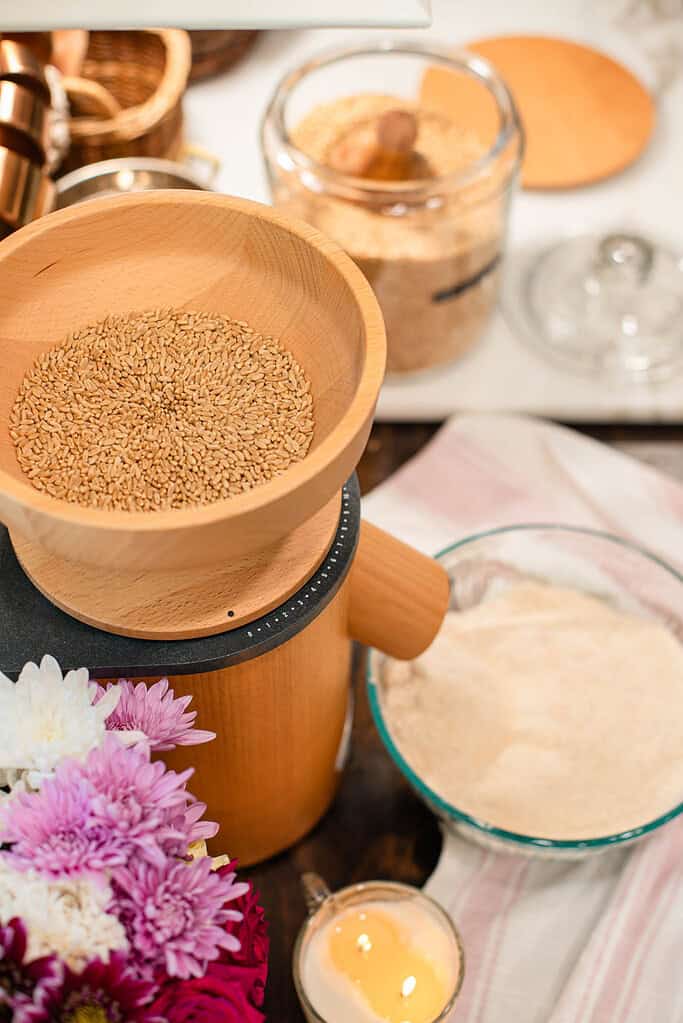
If you’re just getting started, I’d begin with this guide: How to Mill Flour at Home | A Beginner’s Guide. Once you’ve read that and feel a little more confident, you’ll love Best Whole Grains to Mill for Baking Bread & More. It’s the perfect resource to help you choose which grains to use for your flour.
Why You’ll Love This Guide

Fresh Flour Conversion Tips
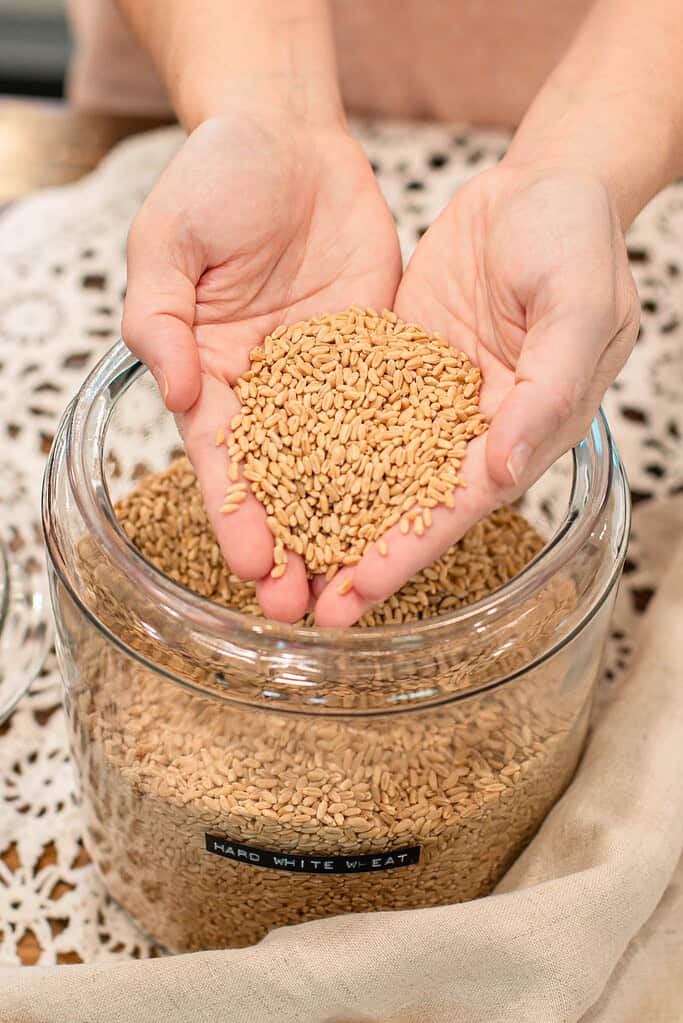
Choose Hard or Soft Wheat (or a Blend) – Use hard wheat for yeast breads, soft wheat for cakes and cookies, or blend the two for all-purpose needs.
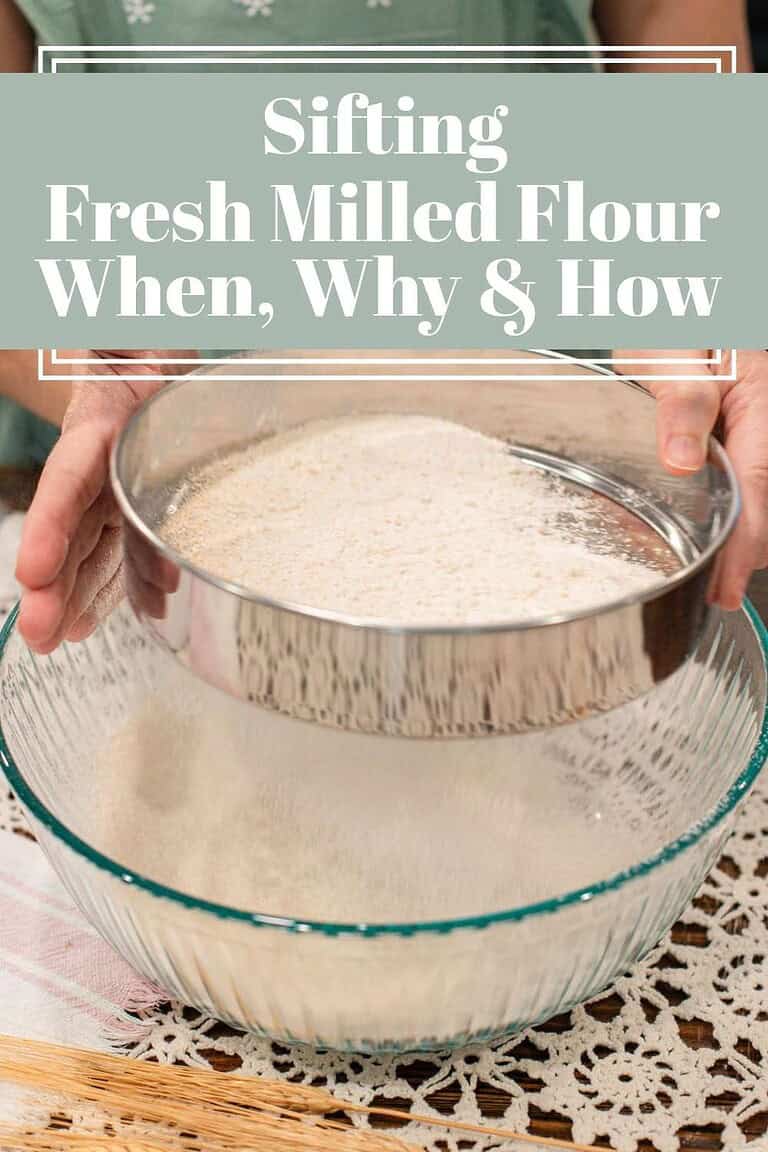
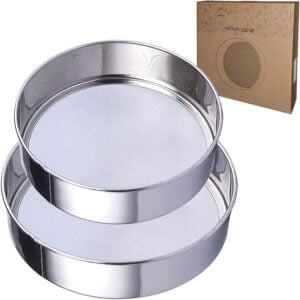
Use Soft Wheat for Tender Cakes – I almost always sift with a #60 sieve for delicate cakes. For rustic tea cakes, skip sifting and do a hot soak instead.
Soften the Bran with a Hot Soak – Heat the liquid from your recipe to 180°F, pour it over the flour, mix, cover, and let rest 30–60 minutes. This method softens the bran and helps gluten structure form properly, resulting in a higher rise and a softer texture.
Sifting Options – Use a #40 or #50 sieve for sandwich bread, #60 for cakes, or skip sifting for rustic bakes.
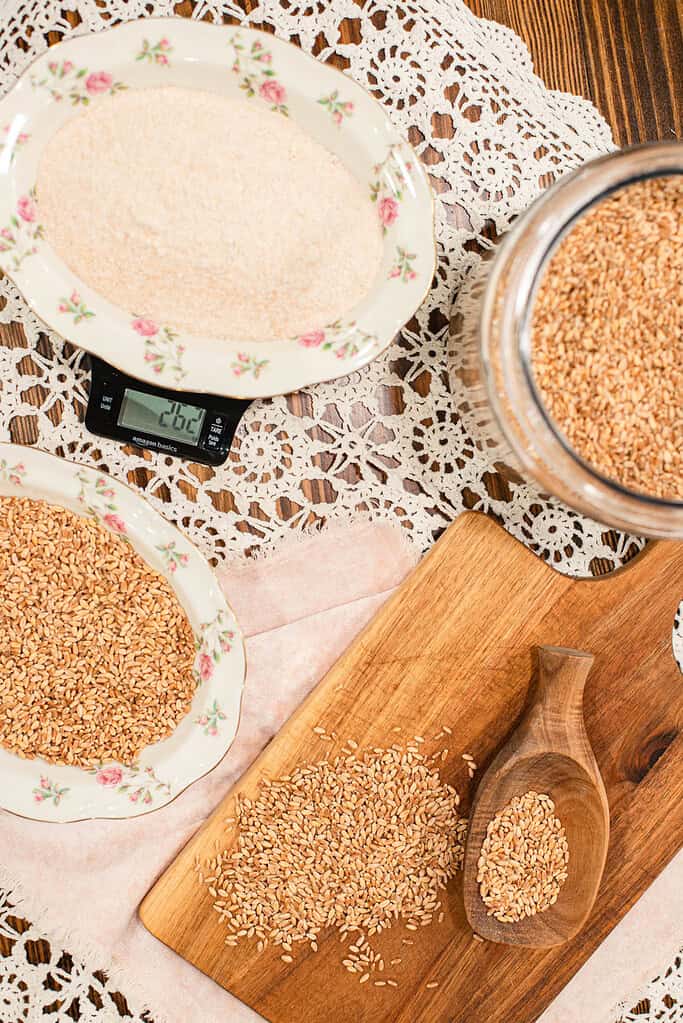
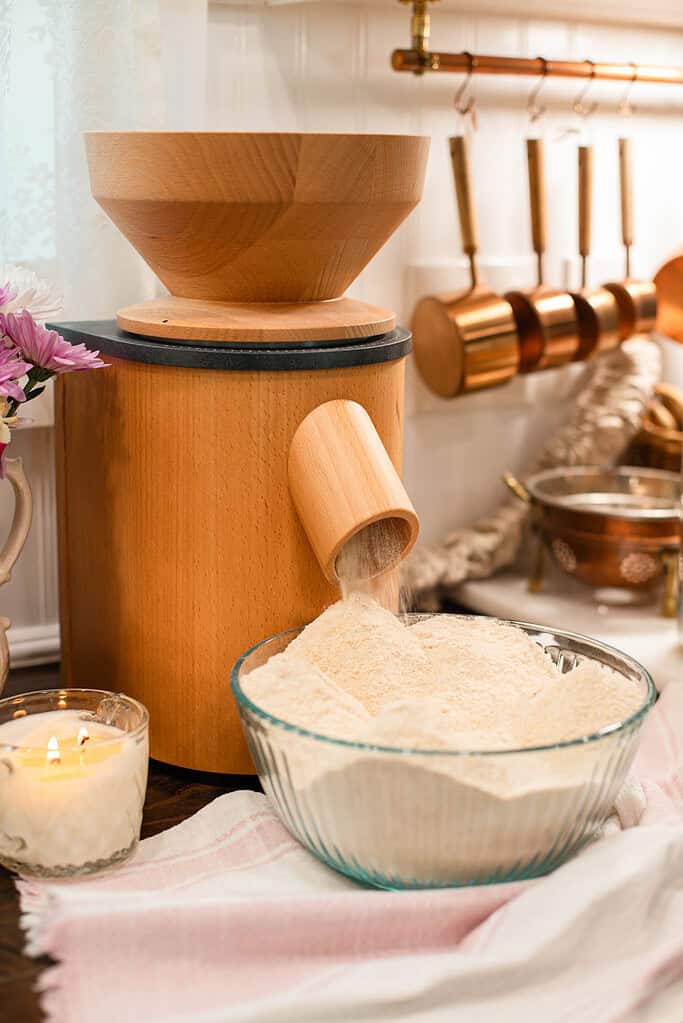
Weigh Your Flour – Freshly milled flour is lighter and fluffier than store-bought. Use 120g per cup if weighing, or 1 ¼ cups per cup called for in non-freshly-milled flour recipes by volume.
Balance the Liquid – Add more liquid gradually until the dough feels right. Freshly milled flour is “thirstier” than store-bought flour and absorbs more, so don’t be afraid to adjust slowly until the dough comes together.
Experiment and Note Ratios – Keep track of what you mill and how it performs in each recipe
Give Yourself Grace – Each grain behaves differently. Practice is part of the process.
Tip: Soften the Bran with a Hot Soak, will greatly help you with achieve a better outcome. Or sift out some of the bran. Don’t be afraid to test both methods. Don’t forget to save the bran for other uses:).
How to Convert a Recipe (Step by Step)
- Convert Cups to Weight – A “cup” of flour can weigh anywhere from 120–150g. For fresh flour, use 120g per cup as the golden standard. 2 ½ cups(300g) store-bought flour = 300g fresh flour.
- Account for Variations –You may see the standard advice to use 1 1/4 cups of freshly milled flour for every cup of store-bought flour. *See note below on why I recommend weighing instead.
- Start Lower and Adjust – Begin with 120g per cup. Add more flour slowly if needed—better to add than to remove. Focus on how the dough feels. Freshly milled flour will soak up more liquids than store-bought flour. Less is more here!
- Sifting Considerations – If sifting, remember you’ll lose 30–50% of weight. Mill 30–50% more grain than the recipe calls for. And use a digital scale, 120g = 1 cup of flour.
- Balance the Liquid – Fresh flour is thirstier. Add liquids 1-3 tbsp. at a time until the dough comes together.
- Use a Scale – Always weigh your tried-and-true recipes that list flour only by cups, then match that weight with fresh milled flour. This is my golden rule for converting any older recipe.
Note: Freshly milled flour is lighter and fluffier than store-bought. My golden rule is 120g per cup called for in a recipe. You may come across the standard advice to use 1 ¼ cups of freshly milled flour for every 1 cup of store-bought, but because freshly milled flour absorbs more liquid, this often makes the dough too dry. For consistency, I always recommend weighing.
Troubleshooting
Don’t forget to pin this for later!

FAQ
Step into The Cottage Mill: Freshly Milled Flour Guides, Recipes, and More Await!


Cottage Living Newsletter
Join the Cottage Living Community
Seasonal recipes, cozy cottage projects, simple from-scratch living, and gentle inspiration for homemakers who crave a slower rhythm rooted in home and heart.
More Freshly Milled Flour Guides
Did you liked this Fresh Milled Flour guide?
If you learned something valuable, I’d be so grateful if you came back to leave a 5 “⭐️” rating. Use the buttons below to share, comment, or connect—I truly enjoy seeing and celebrating your beautiful bakes.
Thank you for spending time with me here at The Modern Day Cottage. My hope is that each guide helps you mill and bake with more confidence. May your jars be ever full, and your loaves rise high.
With love & gratitude,
Emily

Emily Rider
Cottage lifestyle blogger and home miller with 25+ years of sourdough and fresh-milled flour experience.
Sharing cozy homemade recipes that help you bake with confidence, celebrate each season, and savor the beauty of everyday cottage living.