
This stabilized whipped cream recipe is the perfect homemade topping when you want light, fluffy whipped cream that holds its shape for more than just a few minutes. Made with heavy whipping cream, powdered sugar, cornstarch, and vanilla, this simple recipe skips the gelatin while still creating a whipped cream that’s ideal for cakes, cupcakes, pies, and make-ahead desserts.
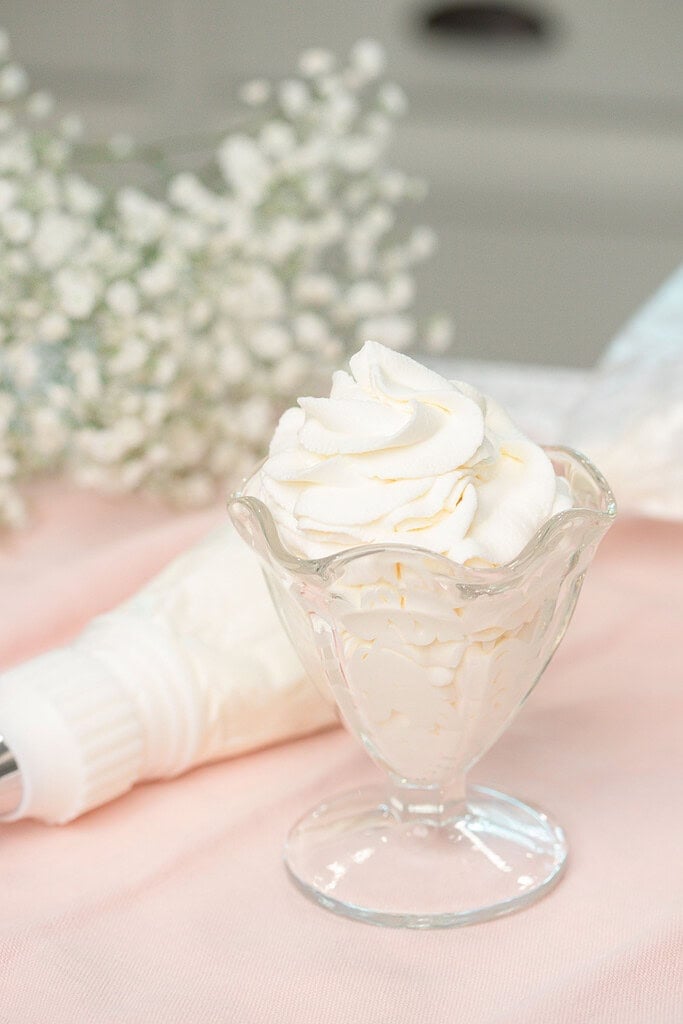
The cornstarch method is one of my favorite ways to stabilize whipped cream because it uses pantry staples you likely already have on hand. The cornstarch helps absorb excess moisture, allowing the whipped cream to stay fluffy longer without changing its classic flavor or silky texture. You can also adjust the vanilla extract depending on the dessert you’re serving. A little extra vanilla is especially delicious for fall desserts, though it will give the whipped cream a slightly cream-colored tint instead of bright white.
If you’re looking for more homemade dessert favorites, be sure to try Strawberry Shortcake Recipe, Biscuit-Style with Fresh Milled Flour, Tiramisu Recipe with Sourdough Ladyfingers | No Eggs, and Fruit Pizza with Freshly Milled Flour. They all pair beautifully with this stabilized whipped cream and make wonderful desserts throughout the year.
Did you know you can convert your recipes to freshly milled flour? I share how to convert your recipes and more at The Cottage Mill.
The Cottage Mill: Freshly Milled Flour Guides, Recipes, and More Await!
Why You’ll Love This Recipe
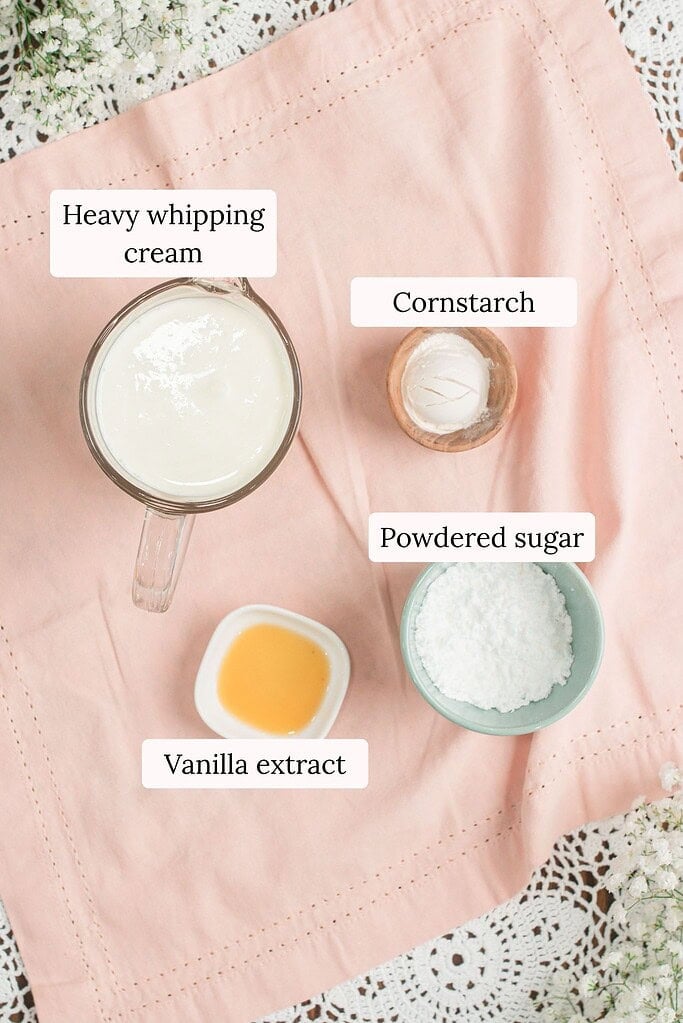
Ingredients
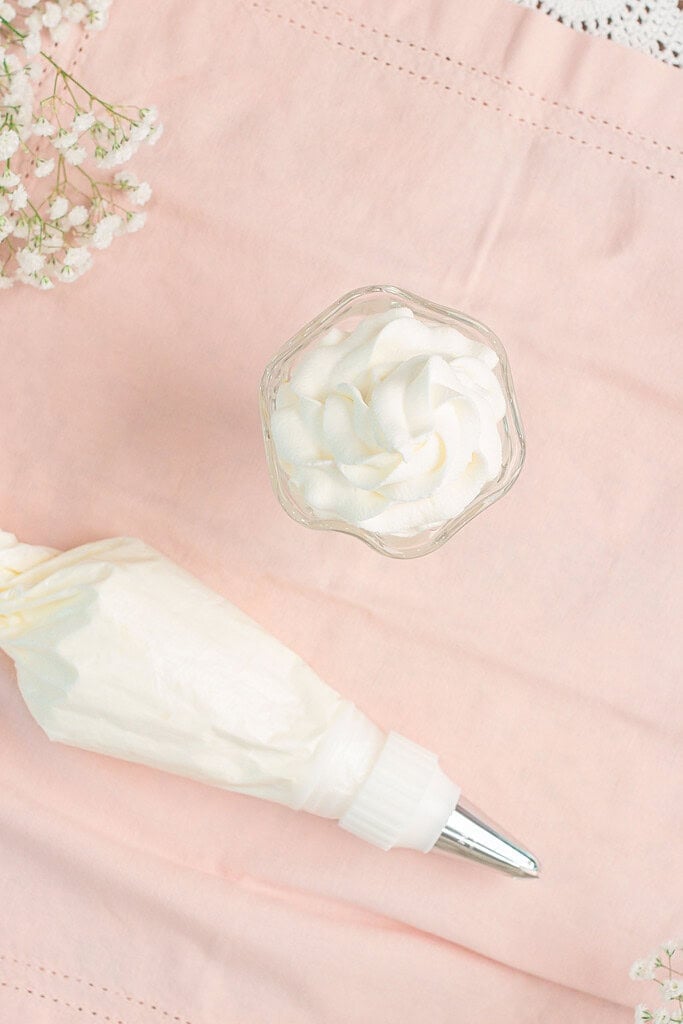
Variations & Add-Ins
Recipe Tips
Use cold ingredients and a cold bowl – Heavy whipping cream whips best when everything is well chilled. If your kitchen is warm, place your mixing bowl and whisk attachment in the freezer for 10 to 15 minutes before you begin. The colder everything is, the faster the cream reaches stiff peaks.
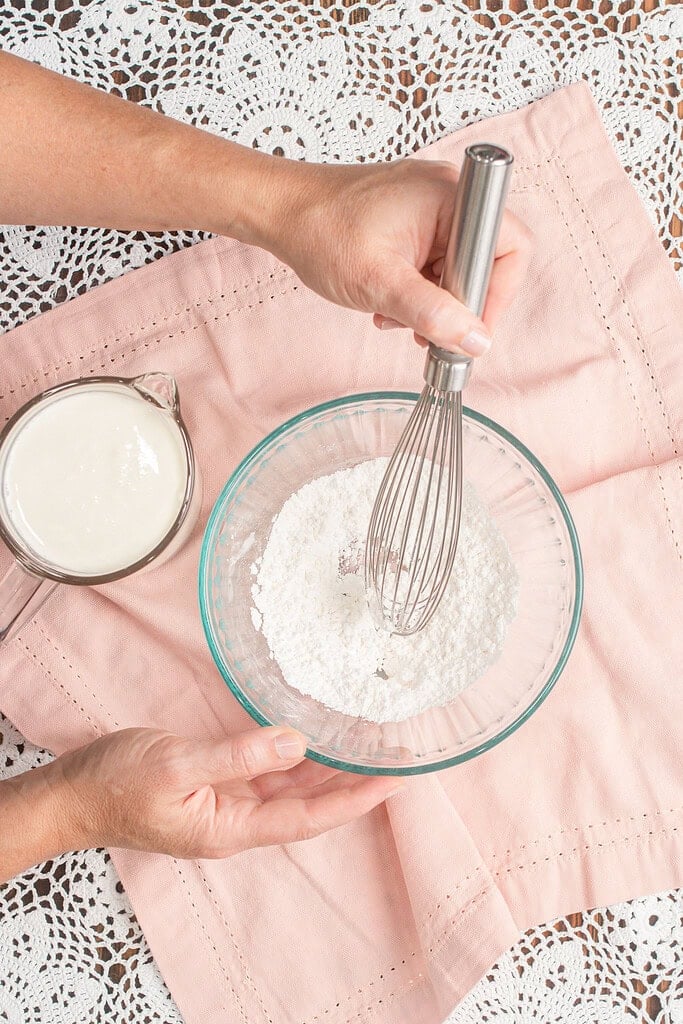
Whisk the powdered sugar and cornstarch together first – Mixing these two dry ingredients before adding the cream prevents small pockets of cornstarch from ending up in the finished whipped cream. Taking an extra minute here gives you a smoother, more even texture.
Start on medium speed – Beginning at a moderate speed allows air to incorporate evenly without splattering the cream everywhere. Once the mixture starts to thicken, you can increase the speed to finish whipping.
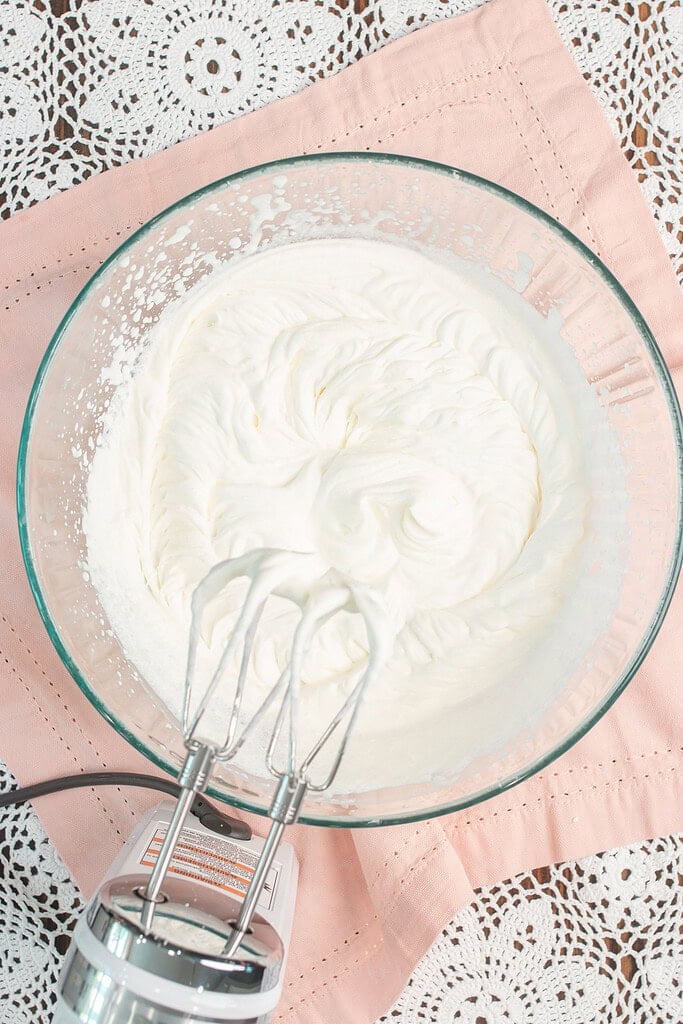
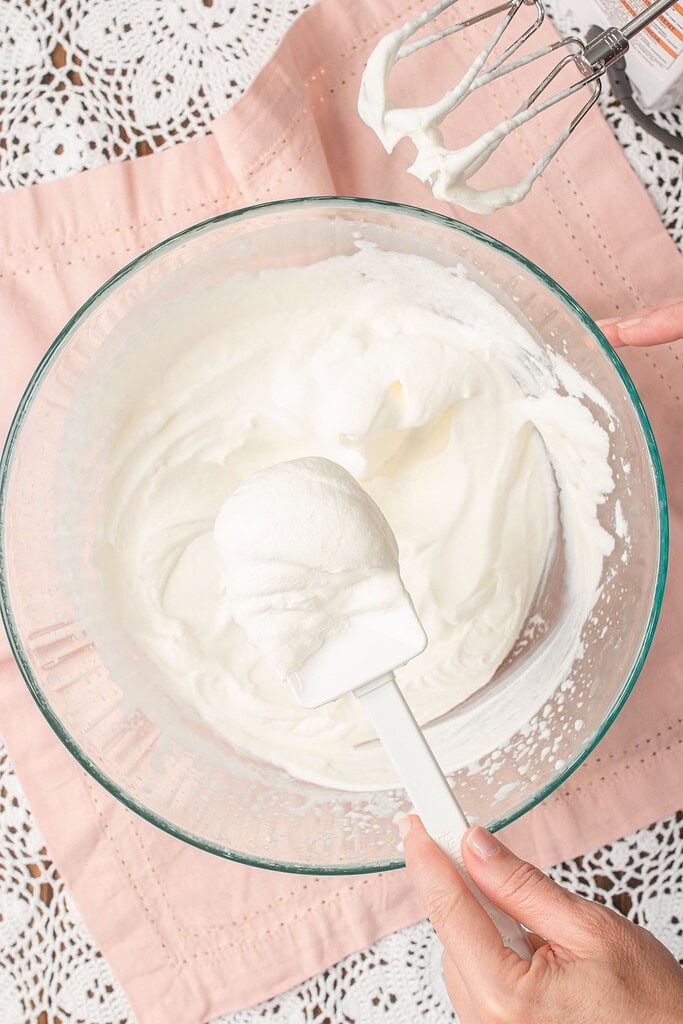
Watch for stiff peaks – The difference between soft peaks and stiff peaks matters. Soft peaks gently fold over when you lift the whisk, while stiff peaks stand upright. This recipe is ready when stiff peaks form because that gives the whipped cream enough structure to hold its shape for decorating and topping desserts.
Don’t overwhip – Once stiff peaks form, stop mixing immediately. Continuing to whip causes the fat in the cream to separate, and before long you’ll have homemade butter instead of whipped cream. It’s always better to stop and check than to keep mixing for another minute.
Adjust the vanilla to match your dessert – One teaspoon of vanilla gives classic flavor, but you can increase it to as much as one tablespoon for pumpkin, apple, or spice desserts. Just remember that extra vanilla will slightly darken the color of the whipped cream.
Use it throughout your dessert recipes – This stabilized whipped cream is wonderful spooned over Strawberry Shortcake Recipe, Biscuit-Style with Fresh Milled Flour, layered into Tiramisu Recipe with Sourdough Ladyfingers | No Eggs, or served alongside Peach Crisp with Freshly Milled Flour and Sourdough Lemon Poppy Seed Pound Cake. It’s a versatile recipe you’ll find yourself making all year long.
Instructions
- Combine the dry ingredients – In a small mixing bowl, whisk together the powdered sugar and cornstarch until no lumps remain and the mixture is completely combined.
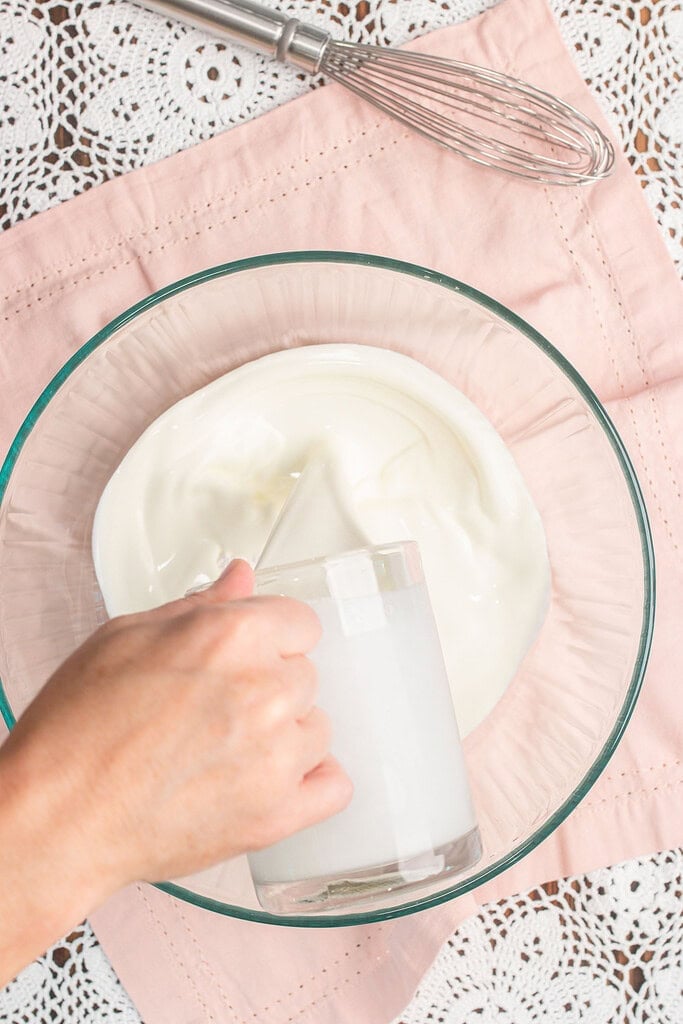
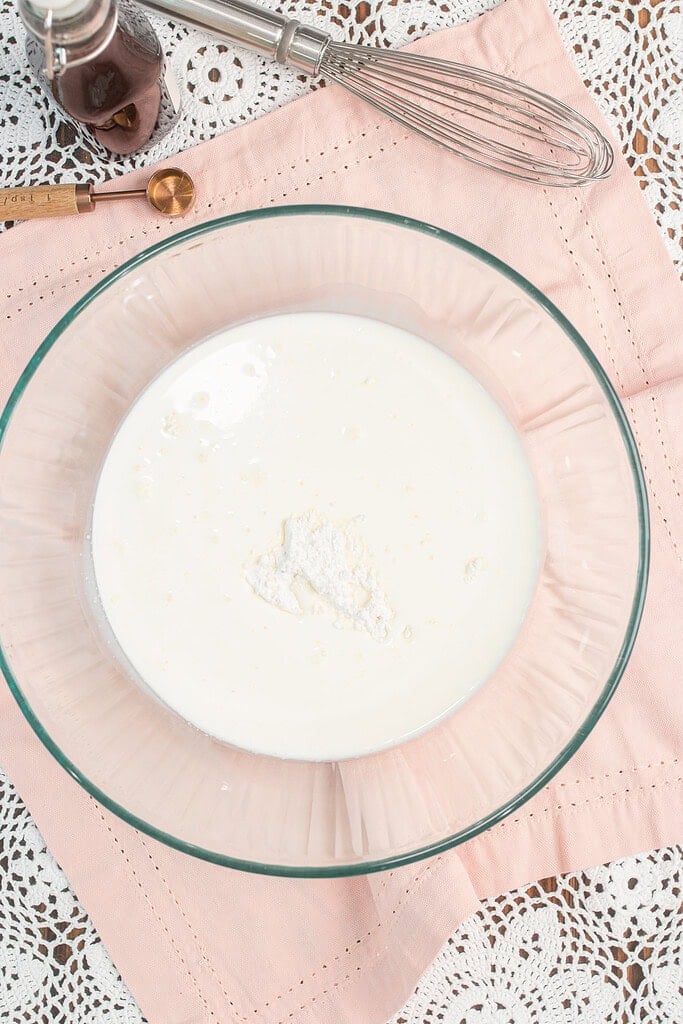
- Add the cream – Pour the heavy whipping cream into a large mixing bowl or the bowl of a stand mixer. Add the powdered sugar and cornstarch mixture along with the vanilla extract.
- Whip the cream – Using a hand mixer with whisk attachments or a stand mixer fitted with the whisk attachment, beat on medium speed until the mixture begins to thicken. Increase the speed slightly and continue whipping until stiff peaks form, about 3 to 5 minutes.
- Stop mixing – As soon as stiff peaks hold their shape when the whisk is lifted, stop mixing. Overwhipping will cause the cream to separate and eventually turn into butter.
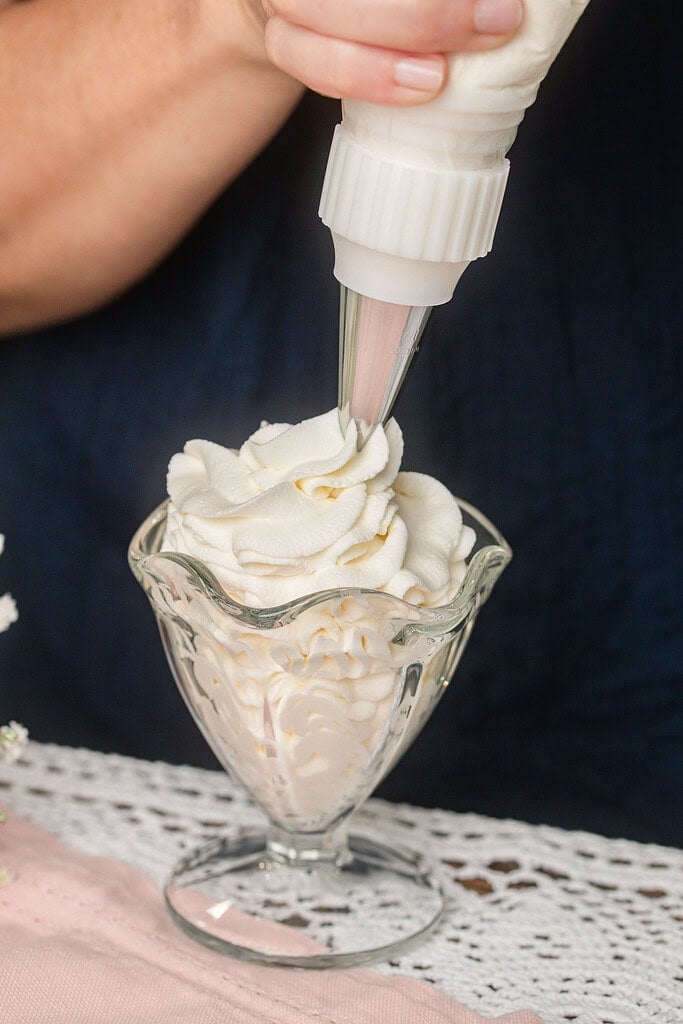
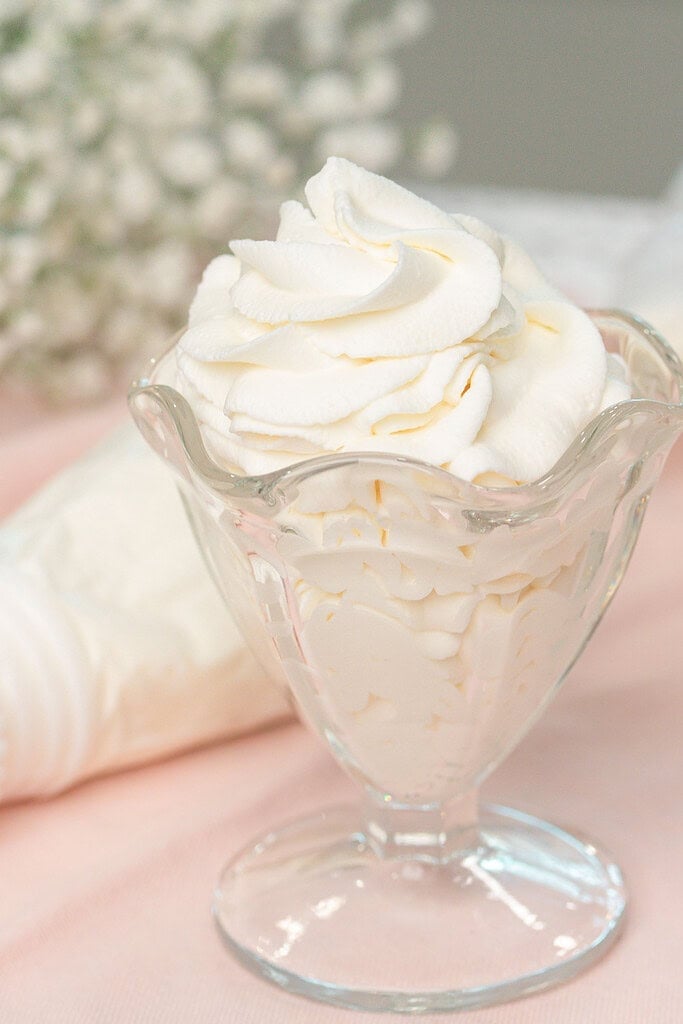
- Use immediately or refrigerate – Spoon or pipe the stabilized whipped cream onto your favorite cakes, cupcakes, pies, fruit desserts, or make-ahead treats.
Freezing and Storage
- Refrigerator – Store stabilized whipped cream in an airtight container for up to 3 days. Give it a gentle stir before serving if any liquid has separated.
- Piped desserts – Once piped onto cakes, cupcakes, or pies, the whipped cream will generally hold its shape for 24 to 48 hours when refrigerated, making it an excellent make-ahead dessert topping.
- Freezer – Freeze dollops or piped swirls on a parchment-lined baking sheet until firm, then transfer them to a freezer-safe container for up to 2 months. They can be placed directly onto desserts while still frozen or thawed in the refrigerator before serving.
- Avoid room temperature for extended periods – Although stabilized whipped cream lasts longer than traditional whipped cream, it should not sit at room temperature for more than about 2 hours, especially during warm weather.
FAQ
Join The Community
Want More Cozy Recipes & Seasonal Inspiration?
Get cozy, from-scratch recipes, seasonal cottage living tips, and slow living inspiration delivered straight to your inbox.
More Recipes from the Cottage
⭐️ Rate This Recipe
Made this recipe? Leave a star ⭐️ rating below, it means the world to me and helps my recipes get found by more people like you.

Stabilized Whipped Cream
 Prep:10 minutes Total:10 minutes
 Equipment
- Large mixing bowl
- Small Mixing Bowl
- Whisk
- Hand mixer with whisk attachments or stand mixer fitted with the whisk attachment
- Measuring cups
- Measuring spoons
- Rubber spatula (optional)
- Piping bag with decorating tip (optional)
Ingredients
- 2 cups cold heavy whipping cream about 480 grams
- ¼ cup powdered sugar 30 grams
- 1 teaspoon vanilla extract 5 grams
- 1 tablespoon cornstarch 8 grams
Instructions
- Combine the dry ingredients – In a small mixing bowl, whisk together the powdered sugar and cornstarch until no lumps remain and the mixture is completely combined.
- Add the cream – Pour the heavy whipping cream into a large mixing bowl or the bowl of a stand mixer. Add the powdered sugar and cornstarch mixture along with the vanilla extract.
- Whip the cream – Using a hand mixer with whisk attachments or a stand mixer fitted with the whisk attachment, beat on medium speed until the mixture begins to thicken. Increase the speed slightly and continue whipping until stiff peaks form, about 3 to 5 minutes.
- Stop mixing – As soon as stiff peaks hold their shape when the whisk is lifted, stop mixing. Overwhipping will cause the cream to separate and eventually turn into butter.
- Use immediately or refrigerate – Spoon or pipe the stabilized whipped cream onto your favorite cakes, cupcakes, pies, fruit desserts, or make-ahead treats.
Notes

Emily Rider
Home miller since 1999 with fresh-milled flour & sourdough experience. Sharing from-scratch recipes and traditional kitchen skills, rooted in the seasons and inspired by everyday cottage living and seasonal rhythms.