Homemade Sauerkraut in a Mason Jar

This post may contain affiliate links. Please read our disclosure policy.

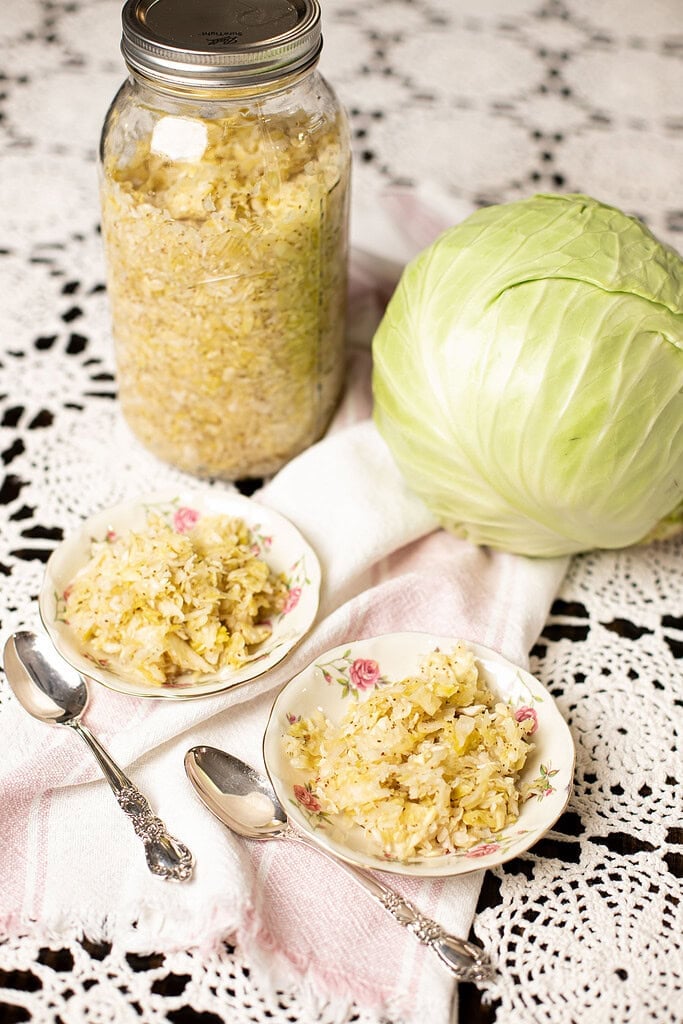
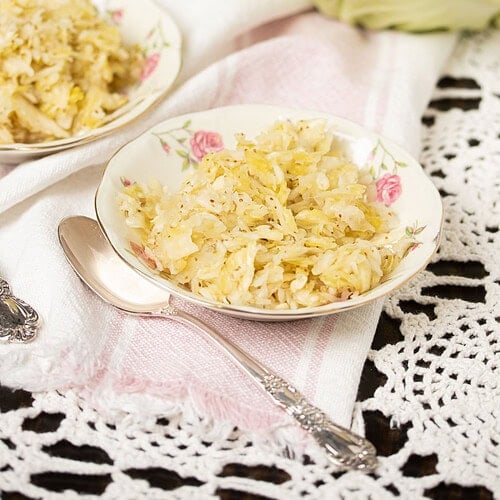
Learning how to make Homemade Sauerkraut in a Mason Jar at home is surprisingly simple with fresh cabbage, sea salt, and a little time. As you massage the cabbage with salt, it begins to soften and release its natural juices, creating the brine that allows the cabbage to ferment.
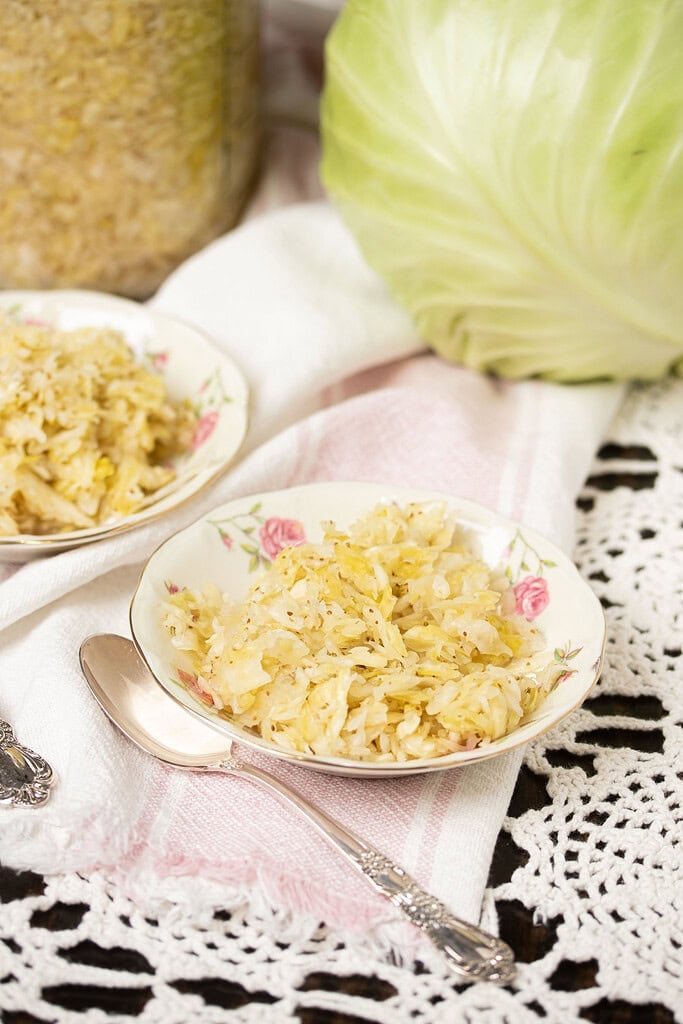
This homemade sauerkraut ferments right in a half-gallon mason jar, making it an approachable way to try traditional fermentation without a crock. Keeping the cabbage tucked beneath the brine is the key as it slowly develops that classic tangy flavor.

Start tasting your sauerkraut after 5–7 days and let your own taste be your guide. Once it has the tangy, slightly sour flavor you enjoy, move the jar to the refrigerator to slow the fermentation.

Why You’ll Love This Recipe

  • Simple ingredients – Fresh cabbage and sea salt are all you need for the base recipe, with optional caraway seeds for a little extra flavor.
  • Made in a mason jar – A half-gallon mason jar makes it easy to make homemade sauerkraut without needing a traditional fermentation crock.
  • Flavor you can follow – Begin tasting after 5–7 days and let the sauerkraut ferment a little longer if you prefer a stronger, tangier flavor.

Ingredients & Supplies To Make This Homemade Sauerkraut in a Mason Jar
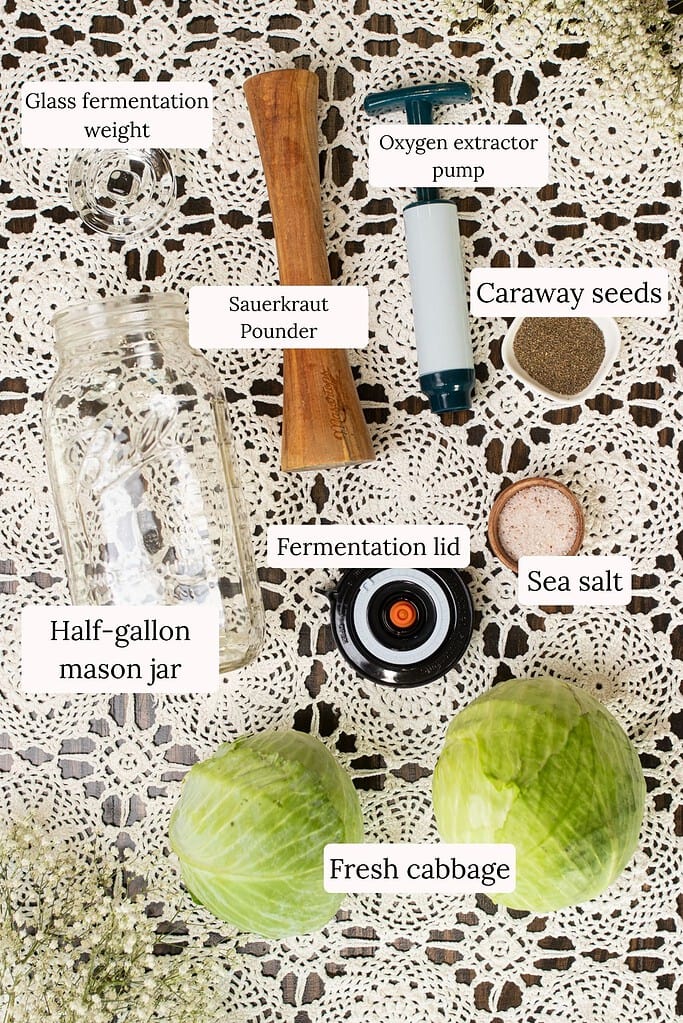
  • Fresh cabbage – Fresh, crisp cabbage forms the base of the sauerkraut and releases the natural juices that create the brine as it is massaged with salt.
  • Sea salt – Draws moisture from the cabbage to create the brine needed during fermentation.
  • Caraway seeds – An optional addition that gives the sauerkraut a warm, earthy flavor.
  • A full ingredient list with exact amounts can be found in the recipe card below.
  • Half-Gallon Mason Jar – This is the fermentation vessel for the cabbage. A half-gallon jar gives the cabbage and brine room to ferment while still being easy to check each day.
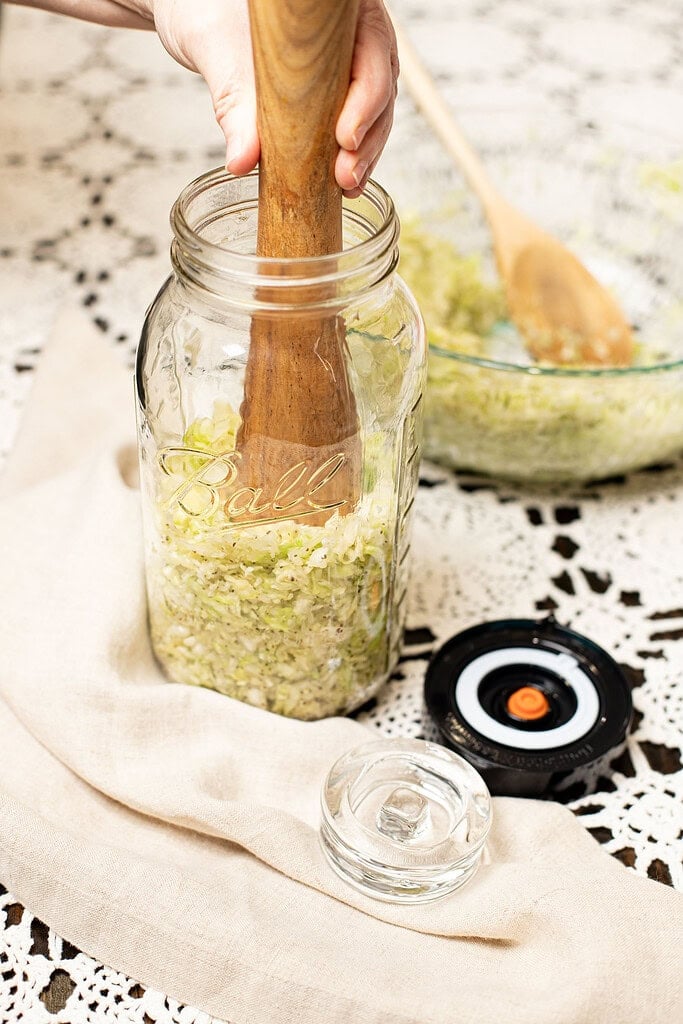
  • Sauerkraut Pounder – Use the pounder to firmly press the salted cabbage into the mason jar as you fill it. This helps compact the cabbage and bring the naturally released brine up around it.
  • Glass Fermentation Weight – Place the weight over the cabbage after packing the jar. It helps keep the shredded cabbage beneath the brine throughout fermentation.
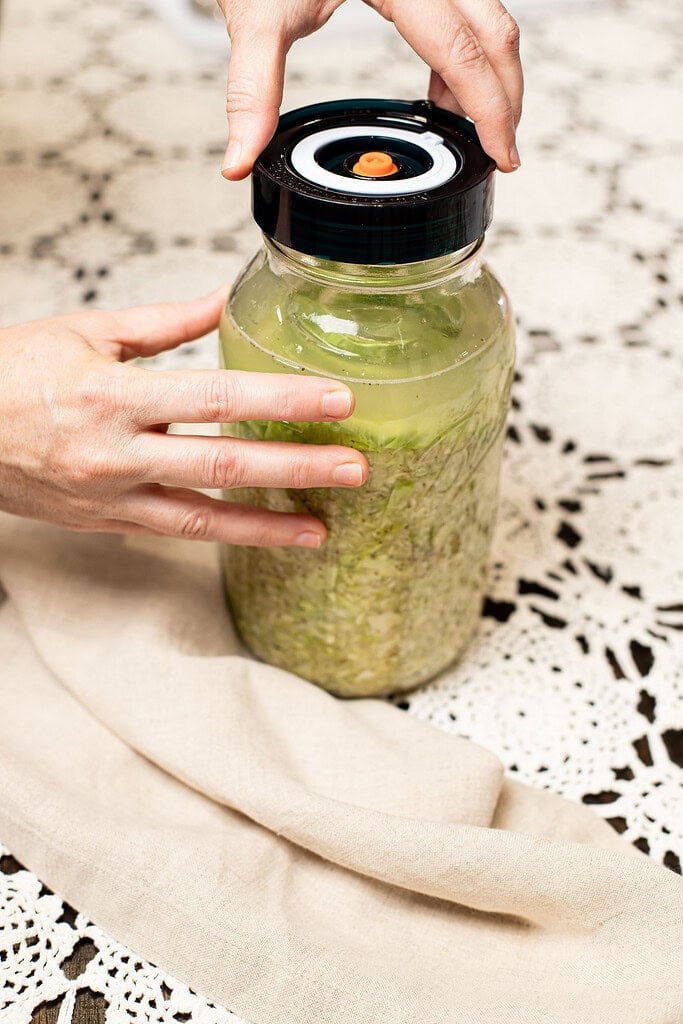
  • Fermentation Lid – Secure the fermentation lid onto the mason jar once the cabbage and weight are in place. The fermentation lid shown with this recipe is designed to be used with the oxygen extractor pump.
  • Oxygen Extractor Pump – Attach the pump to the valve in the fermentation lid and use it to remove air from the jar according to your lid system’s directions. Once the jar is sealed, leave the fermentation lid in place while the sauerkraut ferments.

Variations & Add-Ins

  • Use green cabbage – Fresh green cabbage makes a simple, traditional batch of homemade sauerkraut.
  • Try purple cabbage – Purple cabbage can be prepared using the same method for a colorful variation.
  • Add caraway seeds – Mix in the optional caraway seeds after massaging the cabbage with salt for a warm, earthy flavor.

Emily’s Recipe Tips

  • Slice it thinly – Cut the cabbage into thin, fairly even pieces so it is easier to massage and pack firmly into the mason jar.
  • Look for the brine – Massage the cabbage and sea salt with clean hands for about 10 minutes. As you work it, the cabbage should soften and begin releasing its natural juices.
  • Use the pounder as you fill the jar – Add the cabbage a little at a time and press it firmly with the sauerkraut pounder. This compacts the cabbage and helps bring the naturally released brine up around it.
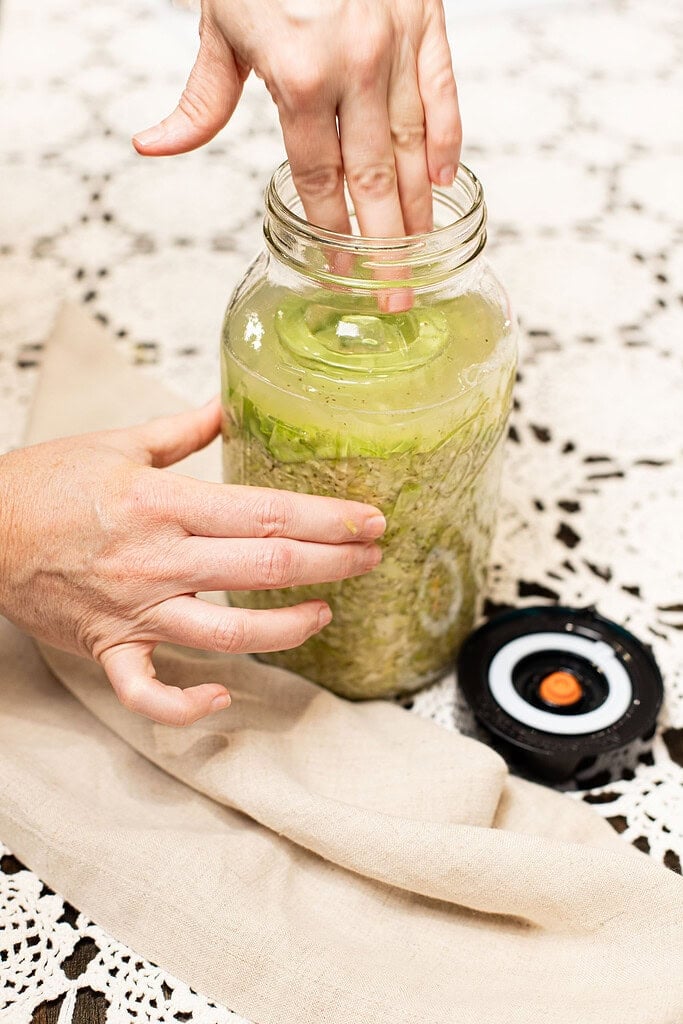
  • Keep it submerged – Place a reserved cabbage leaf over the shredded cabbage and use a glass fermentation weight to keep everything beneath the brine. Check the jar daily to make sure the cabbage remains submerged.
  • Taste instead of watching the clock – Begin tasting after 5–7 days. If you want a stronger, tangier flavor, let it ferment for a few more days before tasting again.
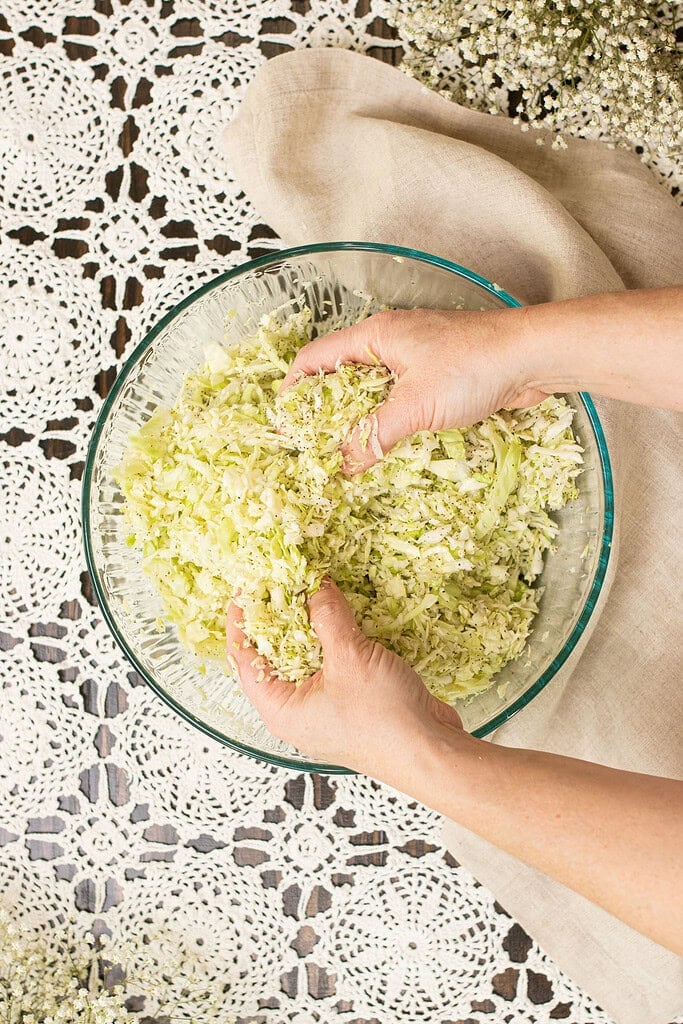
How To Make Homemade Sauerkraut in a Mason Jar

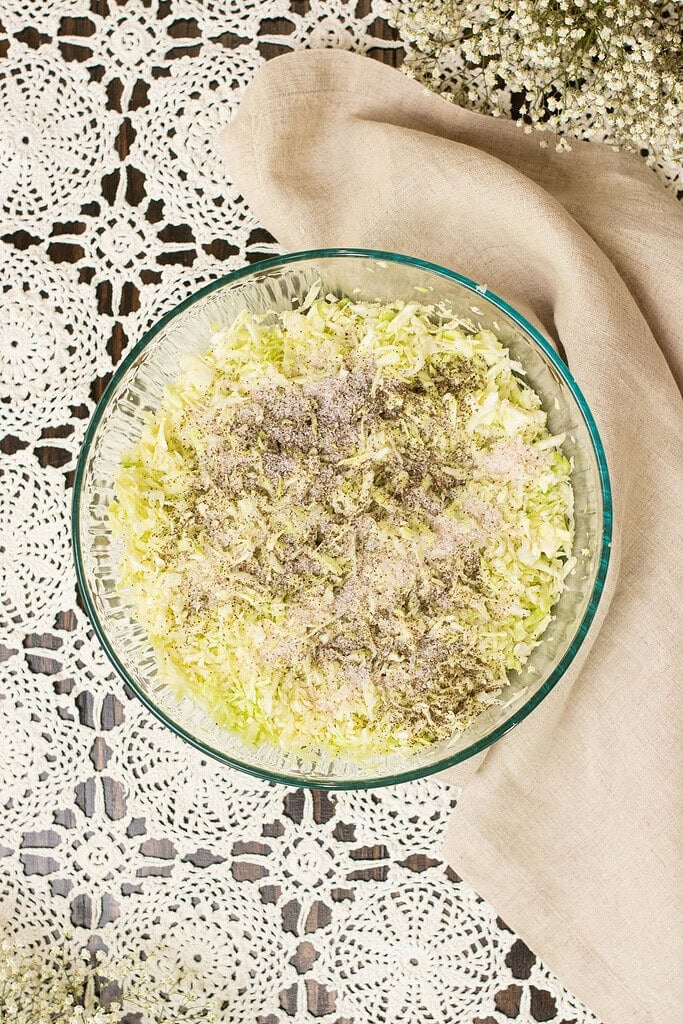
  1. Prepare the cabbage – Remove the outer leaves from 1 medium head of cabbage and set them aside. Thinly slice the remaining cabbage and place it in a large mixing bowl.
  2. Add the sea salt – Sprinkle 2 tablespoons of sea salt over the shredded cabbage. Massage the cabbage and salt together with clean hands for about 10 minutes. As you work, the cabbage should soften and begin releasing its natural juices to create the brine.
  3. Add the caraway seeds – If using, add 1 tablespoon of caraway seeds and mix until they are evenly distributed throughout the cabbage.
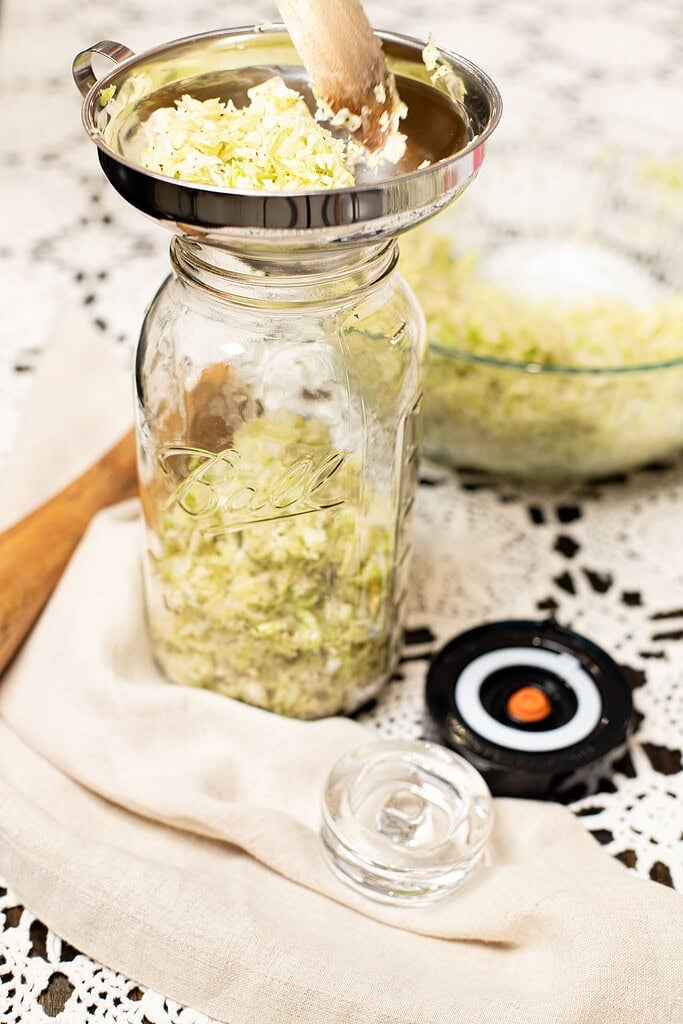
  4. Pack the mason jar – Transfer the cabbage to a clean half-gallon mason jar a little at a time. Use your sauerkraut pounder to firmly press the cabbage down as you fill the jar. Pour any brine remaining in the mixing bowl into the jar.
  5. Keep the cabbage submerged – Place one of the reserved cabbage leaves over the shredded cabbage, then set the glass fermentation weight on top. Press everything down so the cabbage remains beneath the brine.
  6. Add the fermentation lid – Secure the fermentation lid onto the mason jar. Attach the oxygen extractor pump to the valve and use it according to the directions for your particular fermentation lid to remove air from the jar.
  7. Ferment the sauerkraut – Place the jar in a cool, dark place and allow it to ferment for 5–7 days. Check the jar daily to make sure the cabbage remains submerged beneath the brine.
  8. Taste for doneness – Begin tasting the sauerkraut after 5–7 days. When it has the tangy, slightly sour flavor you enjoy, it is ready. If you prefer a stronger flavor, let it ferment for a few more days and taste it again.
  9. Refrigerate the sauerkraut – Once you are happy with the flavor, remove the fermentation setup, cover the jar, and transfer it to the refrigerator. Refrigeration slows the fermentation process.

Storage Suggestions
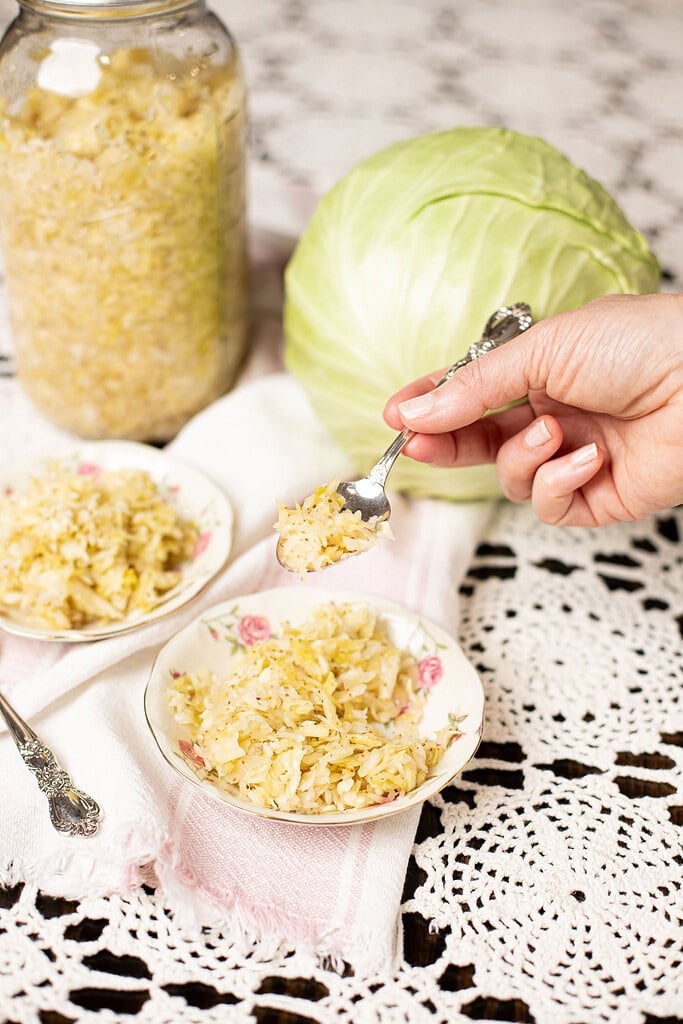
  • Refrigerator storage – Keep the finished sauerkraut covered in the refrigerator. This recipe keeps for several weeks when refrigerated.
  • Glass container storage – Leave the sauerkraut in its mason jar or transfer it to another glass container with an airtight lid. Keep it refrigerated either way.
  • Freezer storage – Transfer the sauerkraut to a freezer-safe container and freeze for up to 6 months. Keep in mind that freezing may soften some of its crunchy texture after thawing.

What To Do With Homemade Sauerkraut

  • Serve it with sausages or bratwurst – Add a spoonful of sauerkraut alongside warm sausages for a simple, savory meal.
  • Add it to sandwiches – Layer sauerkraut onto Reubens, grilled sandwiches, or wraps for a tangy bite.
  • Serve it with roasted meats – A little sauerkraut pairs nicely with pork, chicken, or other hearty roasted dishes.

Homemade Saurkraut in a Mason Jar FAQs

I like to begin tasting the sauerkraut after about 5–7 days. You’re looking for that pleasantly tangy, slightly sour flavor. If it still tastes too mild for you, let it ferment for a few more days and taste it again. Once you love the flavor, move the jar to the refrigerator to slow down the fermentation.

Yes, keeping the cabbage beneath the brine is an important part of the fermentation process. I use one of the reserved cabbage leaves over the shredded cabbage, then place a glass fermentation weight on top to help hold everything down. Take a quick look at your jar each day to make sure the cabbage is still submerged.

The cabbage actually creates its own brine. As you massage the cabbage with sea salt, the salt draws out the cabbage’s natural juices. After about 10 minutes, you’ll notice the cabbage becoming softer and plenty of liquid beginning to collect in the bowl. That liquid is the brine you’ll pour into the jar with the cabbage.

No, you can make a wonderful batch of homemade sauerkraut without a fermentation crock. This recipe uses a half-gallon mason jar, which is a simple way to get started with fermenting cabbage at home.

The best way to know is to taste it. Start checking it after 5–7 days and pay attention to how the flavor changes. When it has that tangy, slightly sour flavor you enjoy, it’s ready to go into the refrigerator. If you like your sauerkraut a little stronger, simply give it a few more days to ferment.

More Fermentation & Preserving Recipes from the Cottage

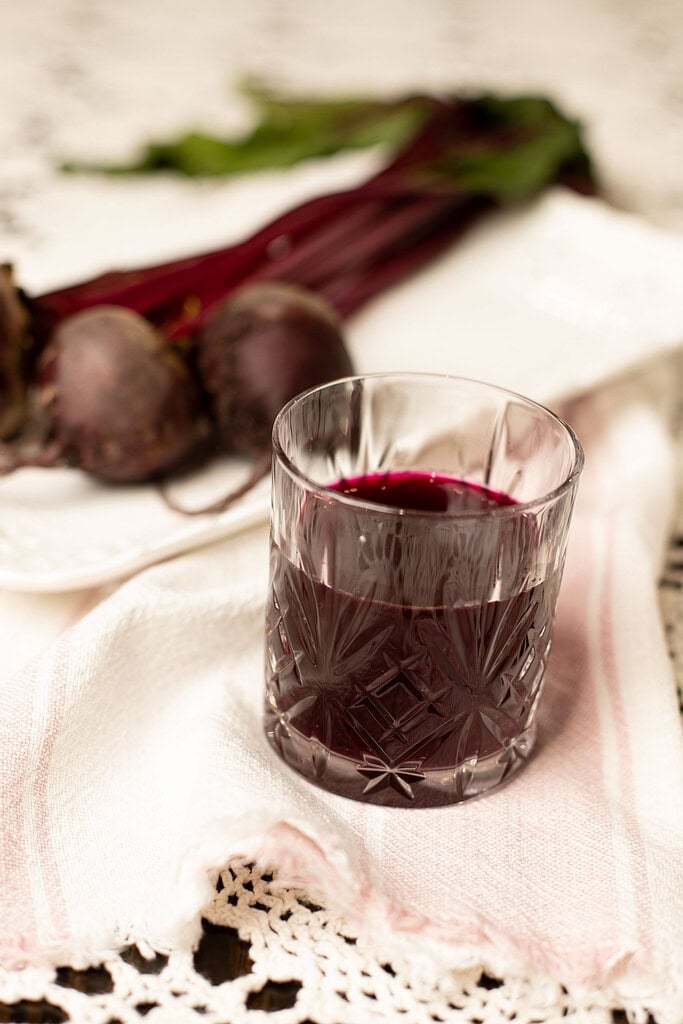
  • Beet Kvass Recipe – Try another simple fermented drink made with beets for an easy way to explore more traditional fermentation at home.
  • Homemade Cherry Jam Recipe – Turn cherries into a sweet homemade jam to keep on hand for toast, biscuits, and other from-scratch favorites.
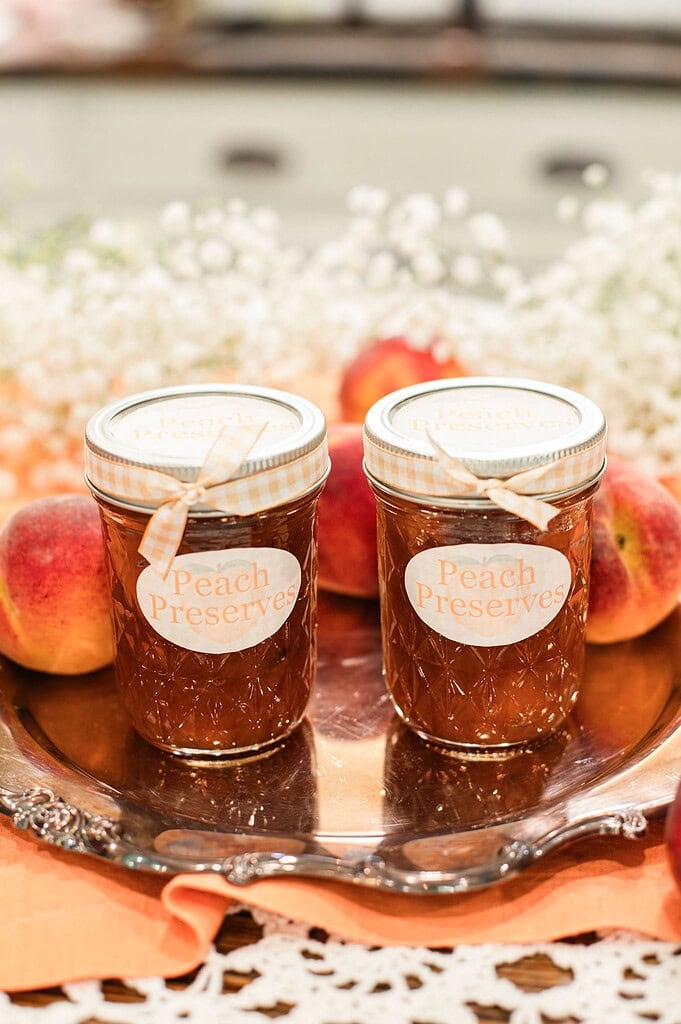
  • Peach Preserves Without Pectin – Preserve ripe peaches without added pectin for another simple way to turn seasonal produce into a homemade pantry staple.

Did you know you can convert your favorite recipes to freshly milled flour? Learn how to convert recipes and find more fresh flour guides at The Cottage Mill.
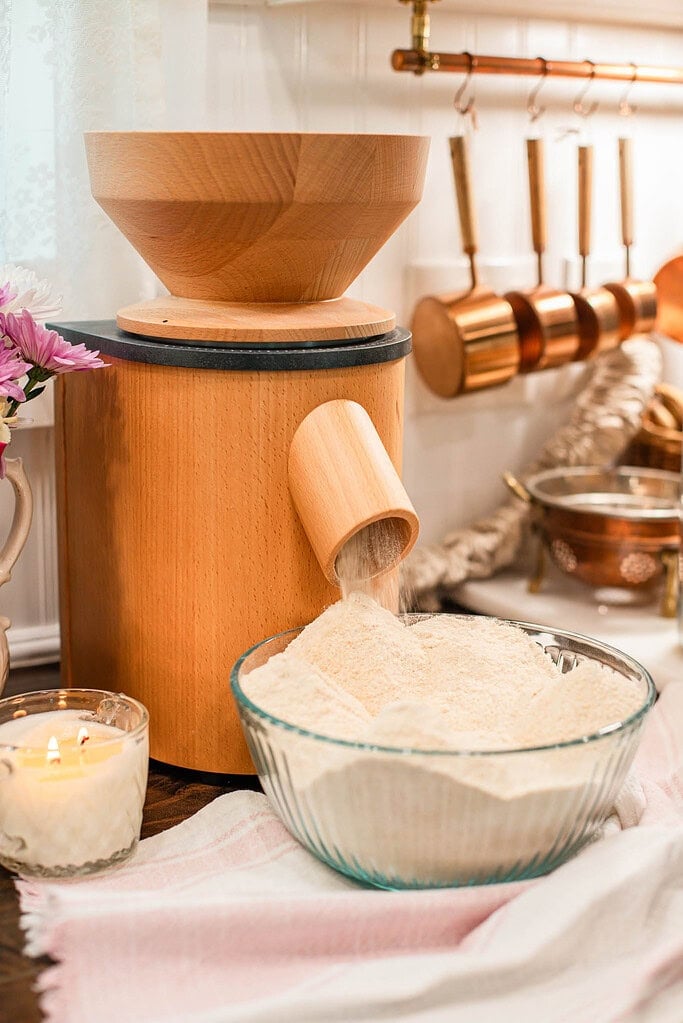
Freshly milled flour flowing from a wooden grain mill into a glass bowl in a cozy kitchen, with a lit candle, copper cookware, and soft pink cloth creating a warm cottage-style setting.

The Cottage Mill | Freshly Milled Flour Guides, Recipes, and More Await!

Join the Cozy Cottage Community Today!

Get from-scratch recipes, seasonal cottage living tips, and cozy cottage living inspiration delivered straight to your inbox.

⭐️ Rate This Recipe

Made this recipe? Leave a star ⭐️ rating below, it means the world to me and helps my recipes get found by more people like you. Tag me on Instagram @themoderndaycottage

If you made this recipe, please leave a comment or question below! I’d love to hear how it turned out and am always happy to help troubleshoot.

Want more from The Cottage? Subscribe here for freshly milled flour, sourdough, and from-scratch recipes, plus slow living inspiration from my cottage straight to your inbox.
No ratings yet

Homemade Sauerkraut

Author: Emily Rider
Learning how to make sauerkraut is a simple way to turn fresh cabbage and sea salt into tangy fermented cabbage right in your cottage kitchen.
Prep:20 minutes
Total:20 minutes
Course: Condiment, Side Dish
Cuisine: American
Servings: 4 -6 cups

Equipment

  • Half-gallon mason jar
  • Large mixing bowl
  • Sharp knife or food processor
  • Cutting Board
  • Glass fermentation weight
  • Fermentation lid or regular mason jar lid
  • Measuring spoons
  • Sauerkraut Pounder

Ingredients

  • 1 medium head fresh cabbage
  • 2 tablespoons sea salt
  • 1 tablespoon caraway seeds optional

Instructions

  1. Prepare the cabbage – Remove the outer leaves from 1 medium head of cabbage and set them aside. Thinly slice the remaining cabbage and place it in a large mixing bowl.
  2. Add the sea salt – Sprinkle 2 tablespoons of sea salt over the shredded cabbage. Massage the cabbage and salt together with clean hands for about 10 minutes. As you work, the cabbage should soften and begin releasing its natural juices to create the brine.
  3. Add the caraway seeds – If using, add 1 tablespoon of caraway seeds and mix until they are evenly distributed throughout the cabbage.
  4. Pack the mason jar – Transfer the cabbage to a clean half-gallon mason jar a little at a time. Use your sauerkraut pounder to firmly press the cabbage down as you fill the jar. Pour any brine remaining in the mixing bowl into the jar.
  5. Keep the cabbage submerged – Place one of the reserved cabbage leaves over the shredded cabbage, then set the glass fermentation weight on top. Press everything down so the cabbage remains beneath the brine.
  6. Add the fermentation lid – Secure the fermentation lid onto the mason jar. Attach the oxygen extractor pump to the valve and use it according to the directions for your particular fermentation lid to remove air from the jar.
  7. Ferment the sauerkraut – Place the jar in a cool, dark place and allow it to ferment for 5–7 days. Check the jar daily to make sure the cabbage remains submerged beneath the brine.
  8. Taste for doneness – Begin tasting the sauerkraut after 5–7 days. When it has the tangy, slightly sour flavor you enjoy, it is ready. If you prefer a stronger flavor, let it ferment for a few more days and taste it again.
  9. Refrigerate the sauerkraut – Once you are happy with the flavor, remove the fermentation setup, cover the jar, and transfer it to the refrigerator. Refrigeration slows the fermentation process.

Notes

Keep It Submerged – Check the jar each day to make sure the cabbage stays beneath the brine. I place a reserved cabbage leaf over the shredded cabbage, then add a glass fermentation weight to help keep the smaller pieces from floating above the liquid.
Pack It Firmly – Add the cabbage to the half-gallon mason jar a little at a time, using a sauerkraut pounder to press it down firmly. This compacts the cabbage and helps bring the naturally released brine up around it.
Use the Fermentation Lid – Once the cabbage is packed and weighted beneath the brine, secure the fermentation lid. Attach the oxygen extractor pump to the valve and use it according to the directions for your particular lid system to remove air from the jar before fermentation.
Fermentation Time – Begin tasting after 5–7 days rather than relying on the calendar alone. When the sauerkraut has the tangy, slightly sour flavor you enjoy, move it to the refrigerator. Give it a few more days if you prefer a stronger flavor.
Serving Suggestion – Serve homemade sauerkraut alongside sausages, roasted meats, sandwiches, or other savory meals. For another beginner-friendly fermentation project from The Modern Day Cottage, try the Beet Kvass Recipe.

Nutrition

Calories: 247kcal, Carbohydrates: 56g, Protein: 13g, Fat: 2g, Saturated Fat: 0.3g, Polyunsaturated Fat: 0.3g, Monounsaturated Fat: 1g, Sodium: 14117mg, Potassium: 1628mg, Fiber: 25g, Sugar: 29g, Vitamin A: 912IU, Vitamin C: 334mg, Calcium: 413mg, Iron: 5mg
Close-up of a woman in a peach blouse smiling and leaning against a kitchen counter, with fresh flour and wheat berries visible beside her.

Emily Rider

Home miller since 1999 with fresh-milled flour & sourdough experience. Sharing from-scratch recipes and traditional kitchen skills, rooted in the seasons and inspired by everyday cottage living and seasonal rhythms.


More From The Cottage...

Leave a Reply

Your email address will not be published. Required fields are marked *

Rate This Recipe


This site uses Akismet to reduce spam. Learn how your comment data is processed.