Getting a tender crumb from cake and pastry flour made with freshly milled flour starts with knowing what wheat to use and how fine to sift it. Soft white wheat is the answer to both, and this guide walks through how to mill it, sift it, and use it in any cake or pastry recipe.
For more on what wheat to use, Best Whole Grains to Mill covers soft wheat varieties in detail, Sifting Freshly Milled Flour explains how sieve size changes the result, and Converting Recipes to Freshly Milled Flour covers hydration adjustments.

Do you want to learn more about freshly milled flour? The Cottage Mill is filled with guides and resources to walk you through recipe conversions, flour blends, and techniques to help you bake with more consistency.

The Cottage Mill: Freshly Milled Flour Guides, Recipes, and More Await!
Wonderful, wonderful site! So glad I found it before starting my journey with fresh-milled flour. Thank you so much for sharing your knowledge. ~Mary
Why You’ll Love This Recipe

Ingredients

Variations & Add-Ins
Recipe Tips
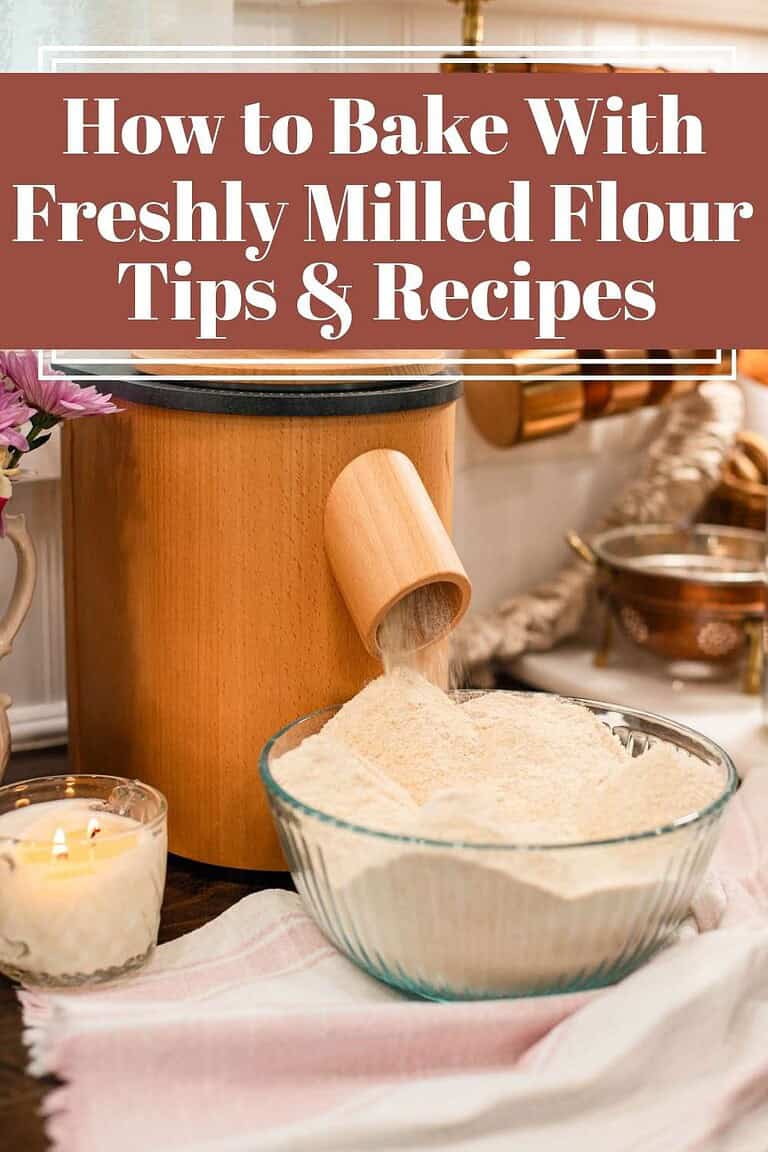
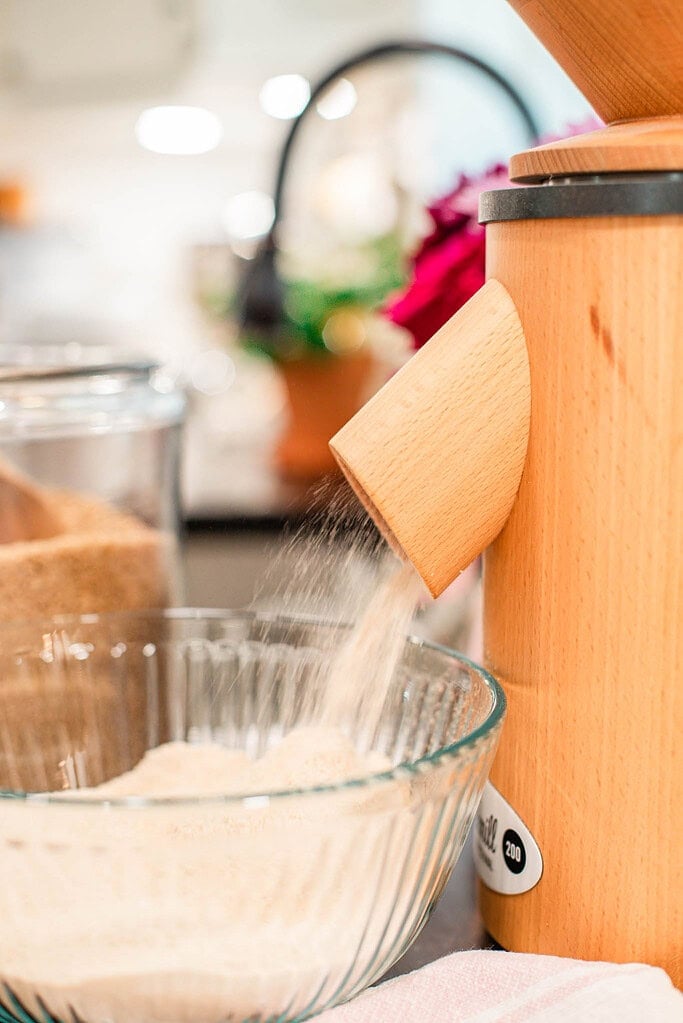
Mill on the finest setting your grain mill allows – the finer the grind, the less bran surface area in the finished flour and the more tender the crumb; a coarser grind produces a grittier texture that sifting alone cannot fully correct, so the mill setting matters before the sieve ever comes into play.
Mill more grain than you think you need – a #60 sieve removes 15 to 30 percent of the flour weight as bran; if your recipe calls for 120 grams of flour, plan to mill ¾ cup (140 to 155 grams) of wheat berries before sifting to end up with the correct final amount.
Always weigh after sifting – the only accurate measurement for this blend is the flour weight after sifting; weighing before sifting means you will end up with significantly less flour than your recipe calls for.
Let warm flour cool before using in pastry – freshly milled flour comes out of the mill warm, often around 105 to 110 degrees; for pie crusts, biscuits, and any pastry that relies on cold butter, spread the sifted flour in a shallow container and chill in the refrigerator for 30 to 60 minutes before mixing.
Sift twice for the finest texture – running the flour through the sieve a second time produces a lighter, more even result in delicate layer cakes and angel food cake; one sift works well for most bakes but a second pass makes a noticeable difference in very tender recipes.
Add liquid gradually in cake batters – freshly milled flour absorbs liquid differently than refined flour; start with the original liquid amount in your recipe, rest the batter five to ten minutes, and add liquid one tablespoon at a time if the batter feels too thick; for full hydration guidance, see Converting Recipes to Freshly Milled Flour.
Save the sifted bran
Save the sifted bran – the bran removed during sifting has real use in your kitchen; stir it into muffin batter, pancake batter, sourdough loaves, or granola rather than discarding it.


Instructions
- Calculate how much grain to mill – for every 120 grams of sifted flour your recipe needs, plan to mill 3/4 (140 to 155 grams) of soft white wheat berries; the #60 sieve removes 15-30 % of the flour weight as bran, so milling extra grain before starting ensures you end up with the correct amount after sifting.
- Mill on the finest setting – run the soft white wheat berries through your grain mill on the finest setting; the flour will come out slightly warm, which is normal; if it feels hot, spread it in a shallow bowl and cool for 10 to 15 minutes before sifting.
- Sift through a #60 mesh sieve – work the freshly milled flour through the sieve using your hand or a spoon, or use an electric sifter; set the sifted bran aside for muffins, pancakes, or sourdough; sift twice for the finest texture in delicate layer cakes and angel food cake.
- Weigh the sifted flour – weigh the flour after sifting to confirm your final amount; 120 grams equals one cup of sifted cake and pastry flour; mill and sift a small additional amount if you are short.
- Add starch if using – remove one to two tablespoons of the sifted flour and replace with one tablespoon of cornstarch or tapioca starch; whisk together thoroughly before adding to your recipe.
- Chill before using in pastry – for pie crusts, biscuits, and any recipe that relies on cold butter, transfer the sifted flour to an airtight container and refrigerate for at least 30 minutes or freeze for 20 minutes before mixing.
- Use now or store – use the flour the same day for best performance; if storing, refrigerate in an airtight container for one week or freeze for up to six months; label with wheat variety, sieve size, and date milled.

Storage
- Same-day use produces the best results – freshly milled and sifted flour performs at its peak the day it is milled, when the natural oils in the bran and germ are freshest; if your baking schedule allows, mill, sift, and bake in the same session.
- Short-term refrigerator storage – store sifted cake and pastry flour in an airtight container in the refrigerator for up to two weeks; label the container with the wheat variety, sieve size used, and date milled so you always know what you are reaching for.
- Long-term freezer storage – sifted flour freezes well in an airtight freezer-safe container or bag for up to six months; portion into recipe-sized amounts before freezing so you can pull exactly what you need without thawing the entire batch.
- Bring to room temperature before baking cakes – cold flour from the refrigerator or freezer can affect how cake batter comes together; set it out 20 to 30 minutes before mixing for the most consistent results in layer cakes and quick breads.
- Keep pastry flour cold – for pie crusts, biscuits, and laminated pastries, cold flour is an advantage rather than an inconvenience; pull it straight from the refrigerator or freezer and mix immediately with cold butter for the flakiest layers.
Flour Storage Guide
For complete short and long-term storage guidance, read this guide: How to Store Freshly Milled Flour.
FAQ
Join The Community
Want More Cozy Recipes & Seasonal Inspiration?
Get cozy, from-scratch recipes, seasonal cottage living tips, and slow living inspiration delivered straight to your inbox.
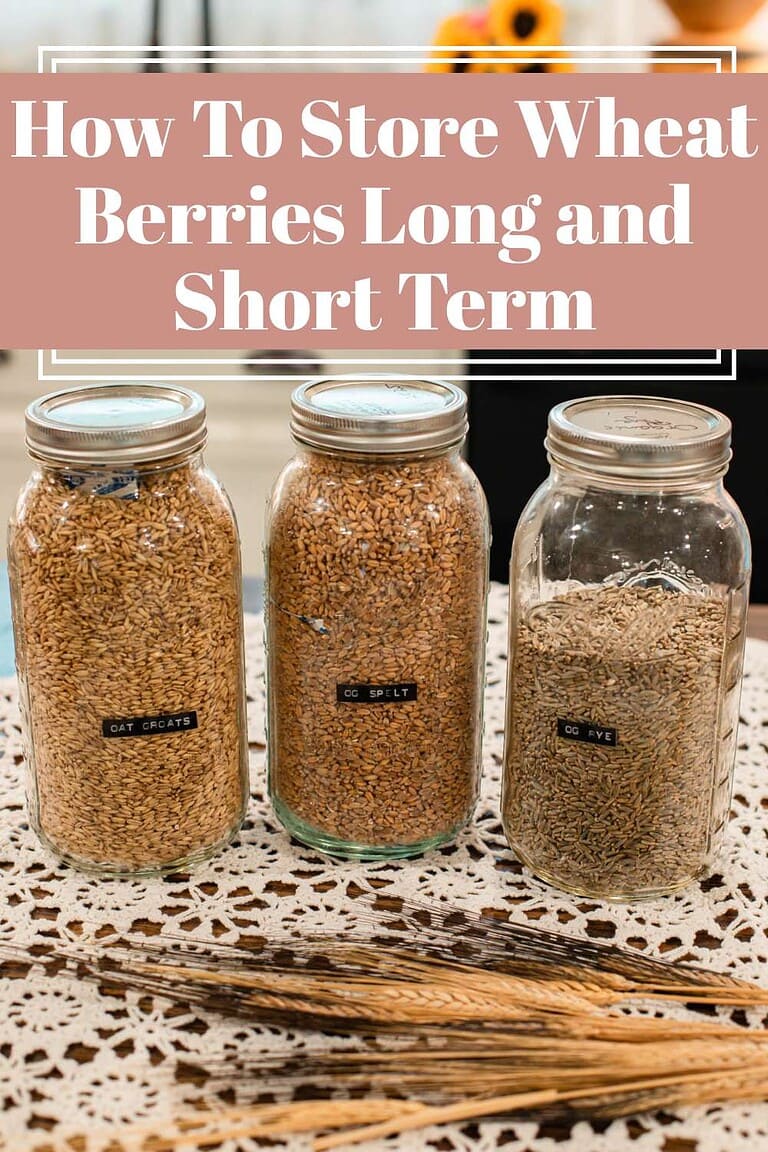
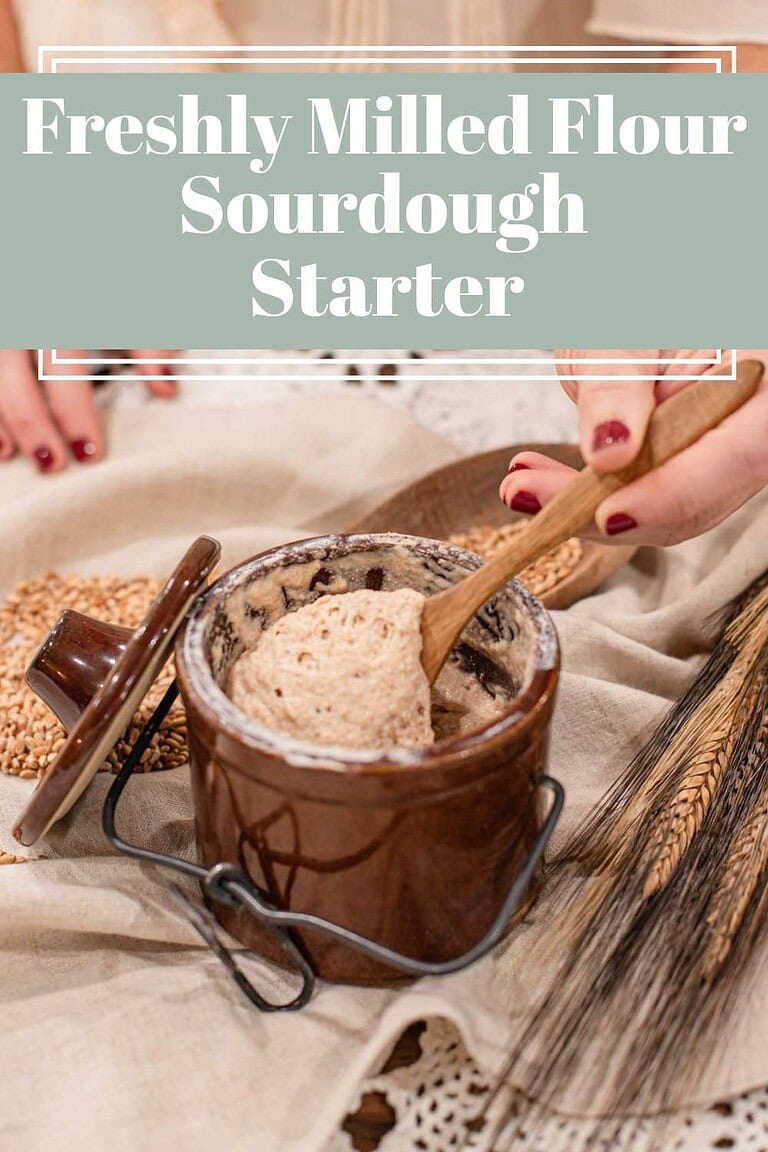
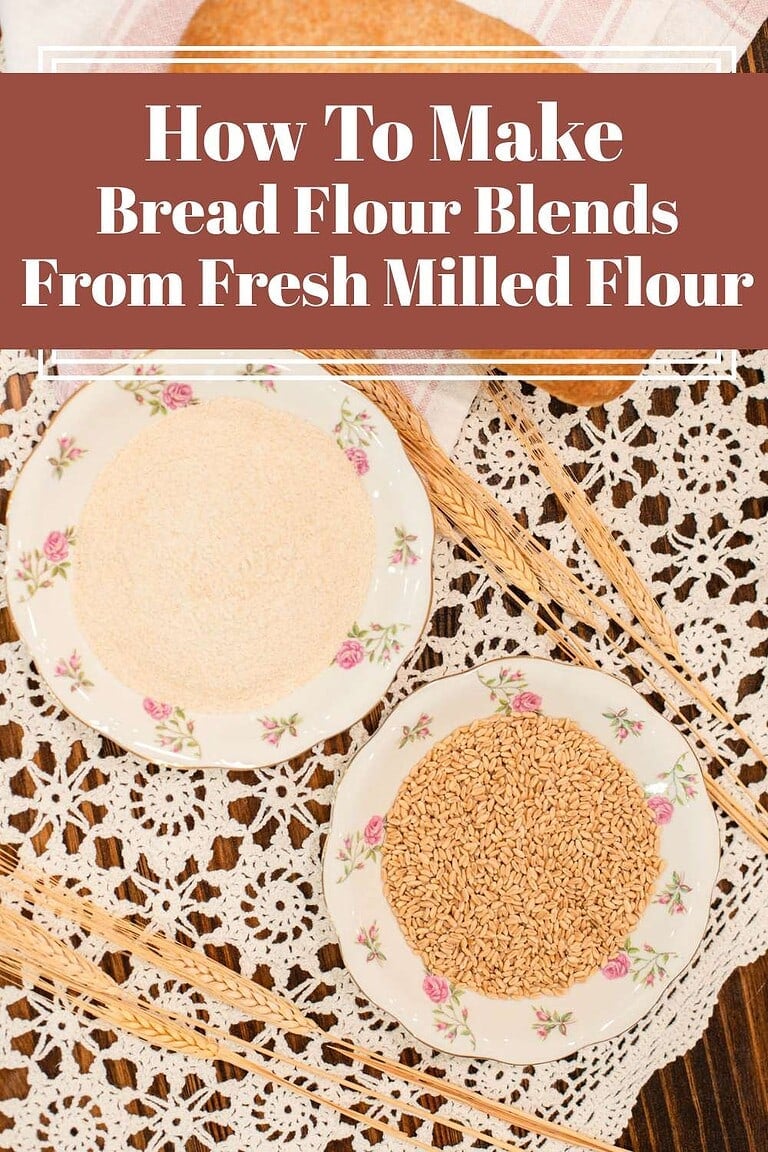
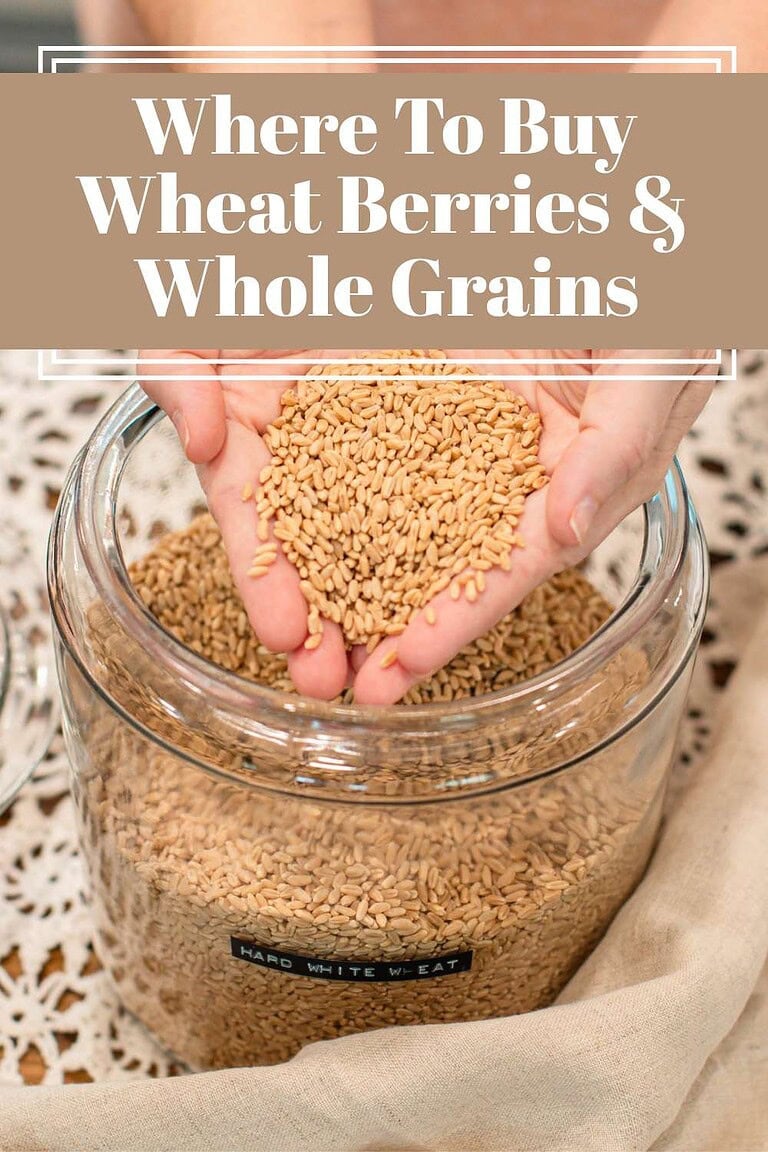
More Fresh Flour Guides from the Cottage
⭐️ Rate This Recipe
Made this recipe? Leave a star ⭐️ rating below, it means the world to me and helps my recipes get found by more people like you.


Cake and Pastry Flour from Freshly Milled Flour
Supplies
- 1 Grain Mill
- 1 Digital kitchen scale
- 1 Large mixing bowl
- 1 Whisk
- 1 No. 60 sieves (manual or electric)
- 1 Airtight container, freezer safe
Elements
- ¾ cup Soft White or Soft Red Wheat Berries weigh out 120 grams for 1 cup
- 1-2 tbsp cornstarch or tapioca starch optional, mimics store bought or refined cake flour
Instructions
- Calculate how much grain to mill – for every 120 grams of sifted flour your recipe needs, plan to mill 3/4 -1 cup (140 to 155 grams) of soft white wheat berries; the #60 sieve removes 15-30 % of the flour weight as bran so milling extra grain before starting ensures you end up with the correct amount after sifting.
- Mill on the finest setting – run the soft white wheat berries through your grain mill on the finest setting; the flour will come out slightly warm, which is normal; if it feels hot, spread in a shallow bowl and cool for 10 to 15 minutes before sifting.
- Sift through a #60 mesh sieve – work the freshly milled flour through the sieve using your hand or a spoon, or use an electric sifter; set the sifted bran aside for muffins, pancakes, or sourdough; sift twice for the finest texture in delicate layer cakes and angel food cake.
- Weigh the sifted flour – weigh the flour after sifting to confirm your final amount; 120 grams equals one cup of sifted cake and pastry flour; mill and sift a small additional amount if you are short.
- Add starch if using – remove one to two tablespoons of the sifted flour and replace with one tablespoon of cornstarch or tapioca starch; whisk together thoroughly before adding to your recipe.
- Chill before using in pastry – for pie crusts, biscuits, and any recipe that relies on cold butter, transfer the sifted flour to an airtight container and refrigerate for at least 30 minutes or freeze for 20 minutes before mixing.
- Use now or store – use the flour the same day for best performance; if storing, refrigerate in an airtight container for one week or freeze for up to six months; label with wheat variety, sieve size, and date milled.
Notes
Did you make this recipe?
Rate it 5 “⭐️” below.
If you liked this recipe, I’d be so grateful if you would share it with others. Use the buttons below to share, comment, or connect.

Emily Rider
Home miller since 1999 with fresh-milled flour & sourdough experience. Sharing from-scratch recipes and traditional kitchen skills, rooted in the seasons and inspired by everyday cottage living and seasonal rhythms.