Getting a reliable loaf from bread flour made with freshly milled flour comes down to two things, choosing the right wheat and knowing which blend fits the bread you are making.
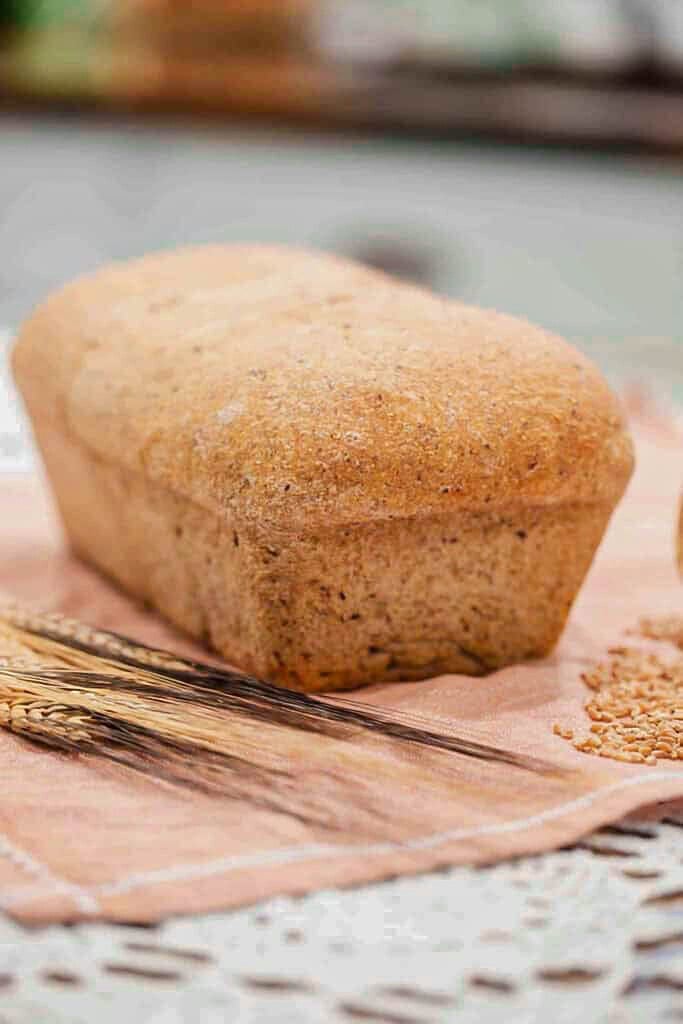
Both blends here use hard wheat as the base, one at 100 percent for artisan loaves and sourdough that need structure and height, and one blended with soft wheat for the kind of tender sandwich bread that slices cleanly and holds together well.
If you are new to milling your own flour, Mill Your Own Flour at Home walks through the full milling process, Best Whole Grains to Mill helps you choose between hard red and hard white wheat, and Converting Recipes to Freshly Milled Flour covers hydration once your blend is ready.
Do you want to learn more about freshly milled flour? The Cottage Mill is filled with guides and resources to walk you through recipe conversions, flour blends, and techniques to help you bake with more consistency.

The Cottage Mill: Freshly Milled Flour Guides, Recipes, and More Await!
Wonderful, wonderful site! So glad I found it before starting my journey with fresh-milled flour. Thank you so much for sharing your knowledge. ~Mary
Why You’ll Love This Recipe
Ingredients
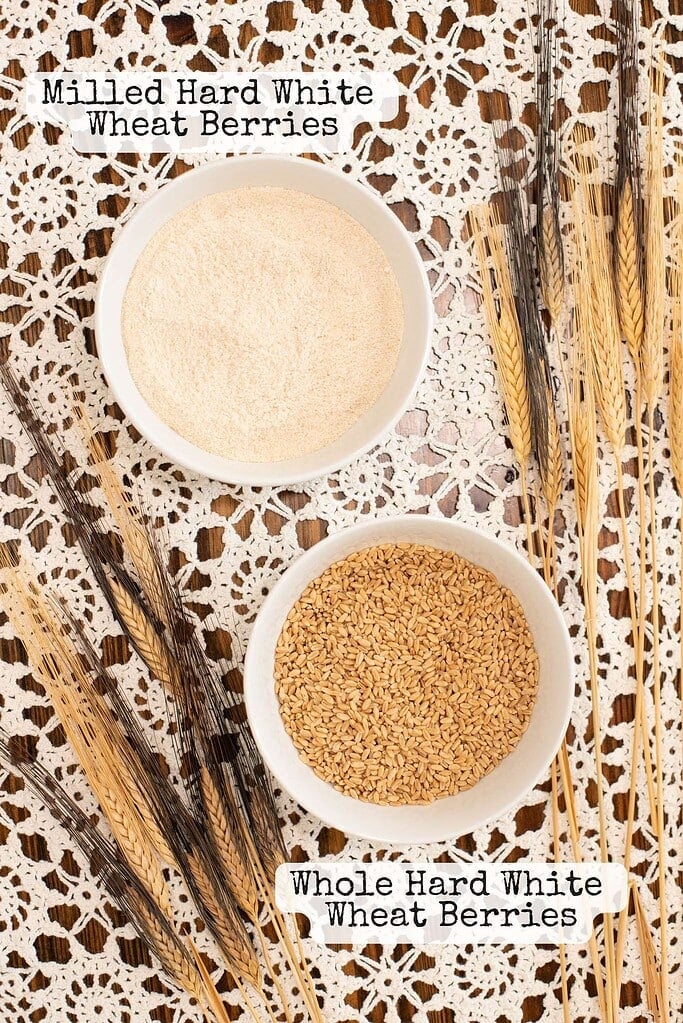
Hard Red or Hard White Wheat
A note on choosing between hard red and hard white wheat:
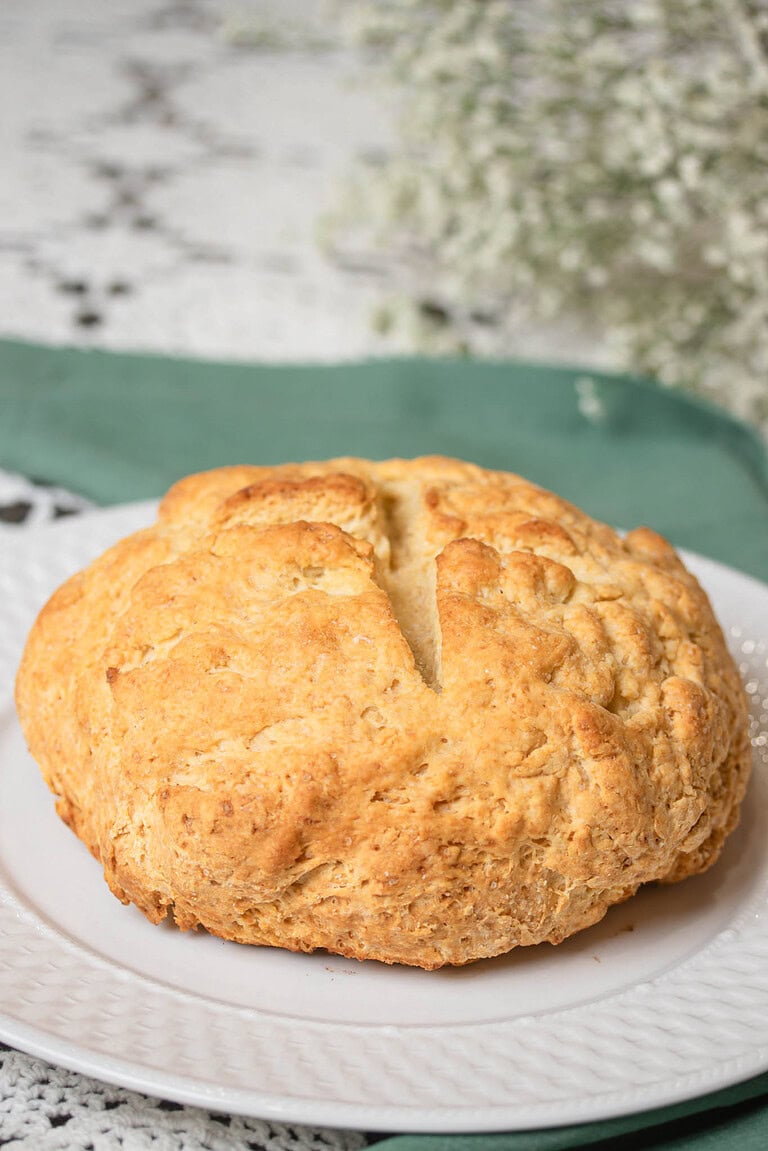
- Hard red wheat produces a deeper, nuttier flavor and a slightly darker crumb, making it a natural fit for rustic loaves, sourdough boules, and artisan breads.
- Hard white wheat has the same protein level but a milder flavor and lighter color, which works beautifully in sandwich bread and everyday loaves. Both work in either blend, the choice comes down to the flavor profile you want. For more guidance on choosing wheat berries, read this guide: Best Whole Grains to Mill.
Variations of Different Bread Flour Blends
Recipe Tips
Weigh your wheat berries before milling – if you are not sifting, weigh the berries before milling, since milling does not change the total weight; this gives you an accurate flour amount without a second weighing step after milling.
If you are sifting, always weigh after – sifting removes 30 to 50 percent of the flour weight, depending on the sieve used; weighing before sifting means you will end up with significantly less flour than the recipe calls for, so mill extra grain and weigh the flour after sifting to confirm your final amount.
Hard red and hard white wheat are interchangeable by weight – both have similar protein levels and perform the same way in these blends; the difference is flavor and color, not structure, so choose based on the loaf you are making rather than worrying about swapping one for the other.
Mill each grain separately for better blending – milling hard and soft wheat together can produce an uneven grind since the two grains have different densities; milling them separately and whisking together afterward gives you a more consistent blend throughout the batch.
Rest the dough before adjusting anything – freshly milled flour absorbs liquid more slowly than refined flour; a 20 to 45 minute rest after mixing almost always resolves dough that feels dry or stiff without adding extra liquid; for full hydration guidance, read this post: Converting Recipes to Freshly Milled Flour.
Check for doneness earlier than the recipe suggests – freshly milled flour contains natural oils and sugars that cause faster browning; begin checking several minutes before the original bake time ends and rely on internal temperature and visual cues rather than time alone. Use the blend the same day for best results – freshly milled flour performs best within the first few days after milling when the natural oils are freshest; if you need to store it, refrigerate in an airtight container for up to one week or freeze for up to three months; for full storage guidance, read this post: How to Store Freshly Milled Flour.

Instructions
- Choose your blend – decide before you mill whether you are making the Maximum Rise and Structure Blend for artisan and sourdough breads, or the Soft and Tender Sandwich Blend for everyday loaves; the wheat ratio changes between the two so it helps to have this settled before you start measuring.
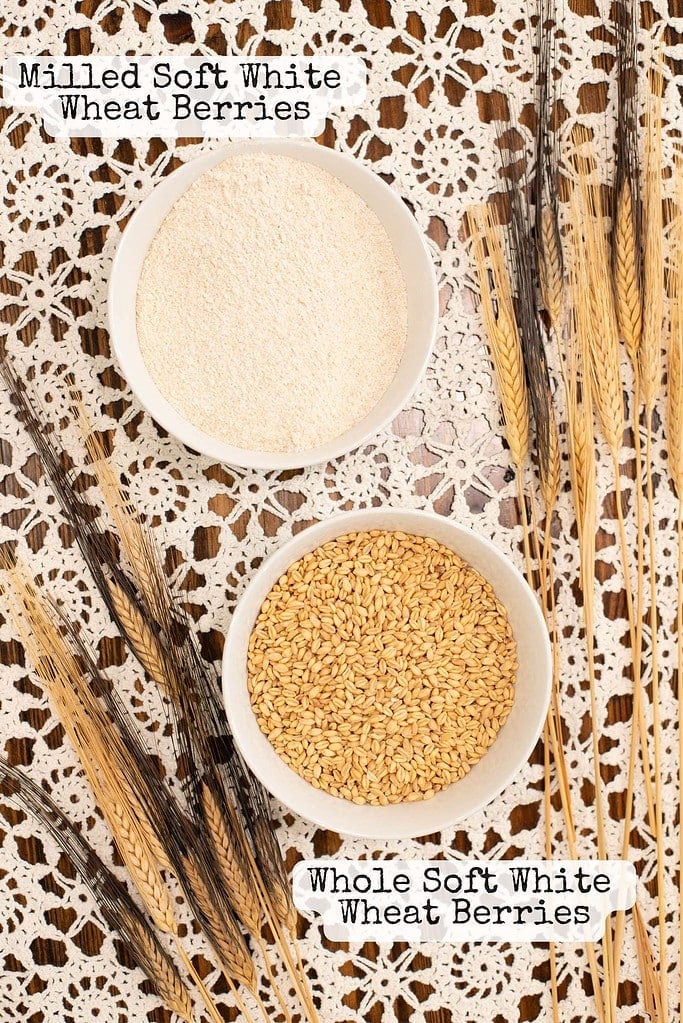
- Measure the wheat berries – for the Maximum Rise and Structure Blend, measure 100 percent hard wheat berries, hard red, hard white, or a 50/50 combination of both; for the Soft and Tender Sandwich Blend, measure 70 to 80 percent hard wheat berries and 20 to 30 percent soft white wheat berries; always weigh for accuracy rather than scooping by volume.
- Decide whether you will sift – if you plan to sift, mill 30 to 50 percent more grain than your target flour weight before you start; sifting removes bran and reduces the total flour yield, so milling extra grain upfront means you will end up with the right amount after sifting; for full sifting guidance, read Sifting Freshly Milled Flour.
- Mill each grain on the finest setting – mill hard wheat and soft wheat separately on your grain mill’s finest setting for the most even grind; milling them separately also gives you better control over the final blend ratio.
- Sift if using that method – run the freshly milled flour through a #40 or #50 sieve to remove a portion of bran; this improves rise and softens the crumb while keeping the character of fresh milled flour intact; weigh the flour after sifting to confirm your final amount.
- Combine the flours – whisk the milled flours together thoroughly in a large bowl until fully blended; even combining ensures consistent gluten strength and baking behavior throughout the batch.
- Weigh the finished blend – weigh out 120 grams per cup called for in your bread recipe; this is your reliable starting point for any conversion from a recipe written for refined bread flour.
- Use now or store – use the blend the same day for best performance; if storing, transfer to an airtight container and refrigerate for up to one week or freeze for up to three months; bring to room temperature before mixing into your recipe.
- Mix into your bread recipe – add the blend to your recipe as you would any bread flour, mix with the original liquid amount first, rest the dough 20 to 45 minutes before adjusting hydration, and expect to increase liquid by 5 to 10 percent if using unsifted flour.
Storage
- Same-day use – freshly milled flour performs best the day it is milled when the natural oils are at their freshest; if your baking schedule allows, mill and use the blend in the same session for the most consistent results.
- Short-term refrigerator storage – store the finished blend in an airtight container in the refrigerator for up to one week; label the container with the blend type, grain variety, whether it was sifted, and the date milled so you always know what you are reaching for.
- Long-term freezer storage – the finished blend freezes well in an airtight freezer-safe container or bag for up to three months; portion into recipe-sized amounts before freezing so you can pull exactly what you need without thawing the entire batch.
- Bring to room temperature before using – cold flour from the refrigerator or freezer affects how the dough comes together; set the flour out 30 to 60 minutes before mixing for the most consistent hydration and gluten development.
- Store blends separately – the Maximum Rise and Structure Blend and the Soft and Tender Sandwich Blend behave differently in recipes; storing them in clearly labeled separate containers prevents mix-ups and keeps your baking results consistent batch to batch.
Storing Freshly Milled Flour
Note: For a complete guide on storing freshly milled flour short and long term, read this post: How to Store Freshly Milled Flour.
A Cottage Milling Note
I’ve been milling my own grains since the late 1990s, and I still remember the first time I learned how simple it was to make flour blends from freshly milled flour in my own kitchen. That discovery changed my baking forever.
My Grandmaw Nub always said the best baking starts with the simplest ingredients, and that wisdom rings true every time I reach for freshly milled wheat. This is the same method I use in my own cottage kitchen, and it’s the one I love teaching home millers like you.
Once you try it, you’ll see just how easy and rewarding it is to create your own cake & pastry flour, all-purpose flour, bread flour blends, and self-rising flour at home.
FAQ
Join The Community
Want More Cozy Recipes & Seasonal Inspiration?
Get cozy, from-scratch recipes, seasonal cottage living tips, and slow living inspiration delivered straight to your inbox.
More Fresh Flour Guides from the Cottage
⭐️ Rate This Recipe
Made this recipe? Leave a star ⭐️ rating below, it means the world to me and helps my recipes get found by more people like you.

Bread Flour Blends from Freshly Milled Flour
Equipment
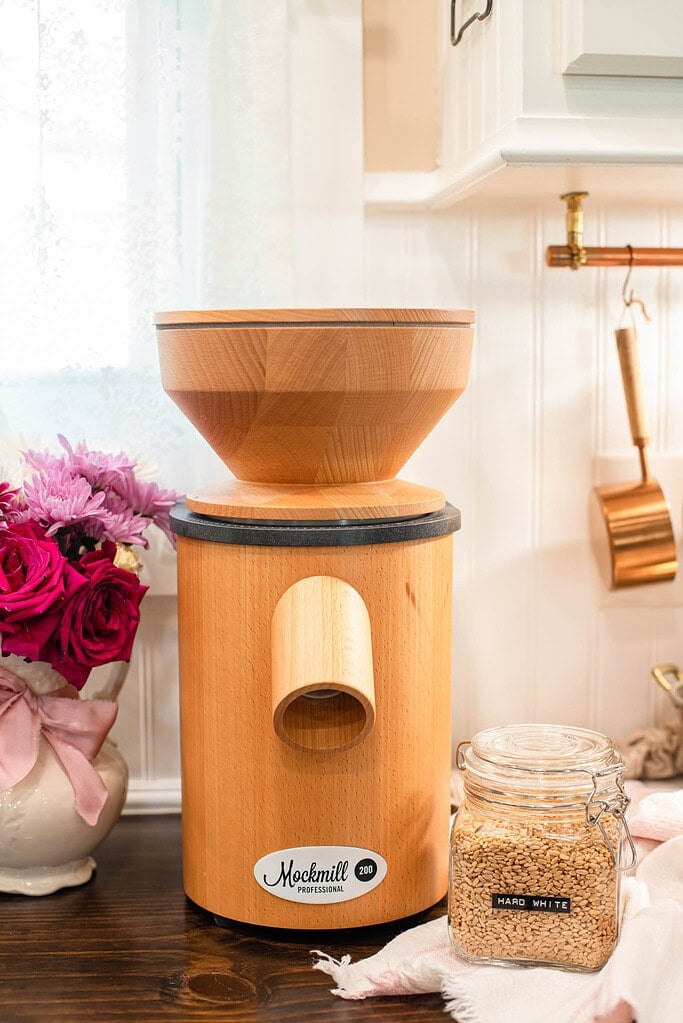
- 1 Grain Mill
- 1 Digital kitchen scale
- 1 Large mixing bowl
- 1 Whisk
- 1 #40 or #50 Sieve *optional
- 1 Air Tight Container *Freezer Safe
Ingredients
Maximium Rise & Structure Blend
- 1 cup Hard wheat berries (red or white) 120g
Soft & Tender Sandwich Blend
- ¾ cup Hard wheat berries (red or white) 90g
- ¼ cup Soft wheat berries (red or white) 30g
Instructions
- Choose your blend – decide before milling whether you are making the Maximum Rise and Structure Blend for artisan and sourdough breads or the Soft and Tender Sandwich Blend for everyday sandwich loaves.
- Measure the wheat berries – for the Maximum Rise and Structure Blend, weigh 120 grams of hard wheat berries; for the Soft and Tender Sandwich Blend, weigh 90 grams hard wheat berries and 30 grams soft white wheat berries.
- Decide whether to sift – if sifting, mill 30 to 50 percent more grain than your target flour weight before starting; sifting removes bran and reduces total flour yield so milling extra grain upfront ensures you end up with the correct amount after sifting.
- Mill each grain separately – mill hard wheat and soft wheat on the finest setting separately for the most even grind and better control over the final blend ratio.
- Sift if using that method – run freshly milled flour through a #40 or #50 sieve to remove a portion of bran; weigh the flour after sifting to confirm your final amount.
- Combine the flours – whisk the milled flours together thoroughly in a large bowl until fully blended for consistent gluten strength throughout the batch.
- Weigh the finished blend – weigh out 120 grams per cup called for in your bread recipe as your reliable starting point.
- Use now or store – use the same day for best performance or refrigerate in an airtight container for up to one week or freeze for up to three months; bring to room temperature before mixing.
Notes
Did you make this recipe?
Rate it 5 “⭐️” below.
If you liked this recipe, I’d be so grateful if you would share it with others. Use the buttons below to share, comment, or connect.

Emily Rider
Home miller since 1999 with fresh-milled flour & sourdough experience. Sharing from-scratch recipes and traditional kitchen skills, rooted in the seasons and inspired by everyday cottage living and seasonal rhythms.

Any advice for breadmachine users when using a blend?
Hi Ronna,
Great question. When using a bread machine, always follow the standard order: liquids first, then flour, with yeast last. When using this freshly milled flour blend, you can treat it just as you would bread flour in any bread machine recipe.
For the exact recipe I use in my own bread machine, you can find it here:
https://themoderndaycottage.com/how-to-mill-flour-at-home/
Simply use this blend for the flour called for. It makes our weekly sandwich bread without fail.
I personally use the dough setting only and remove the dough as soon as the mixing and kneading cycle is finished. I don’t let it sit or rise in the machine, as the heat can cause freshly milled flour to ferment too quickly due to its natural nutrients.
From here, the second rise is completely optional. I like to let the dough rest in a lightly oiled bowl for about 30 minutes because I find it develops a richer flavor, but you can absolutely skip this step if you prefer.
If you choose to skip the second rise, simply remove the dough from the machine, shape it, place it into prepared loaf pans, and let it rise until the dough is 1–2 inches above the rim of the pan. Bake at 350°F for 30 minutes.
If you have any other questions, please feel free to reach out. I’m always happy to help.
Warmly,
Emily
Great information and easy to follow. Thank you!
Hi Sandy,
Thank you so much for taking the time to leave such a kind note. I’m really glad the post felt easy to follow and genuinely helpful, that’s always my goal here at The Modern Day Cottage. Knowing it made the process feel more approachable truly means a lot. Happy baking, and I’m so glad you’re here.
Warmly,
Emily