
This homemade waffle cone recipe with freshly milled flour is an easy way to make crispy, buttery homemade waffle cones from scratch in your own kitchen. Whether you’re serving homemade ice cream for a summer gathering or simply want to make dessert a little more special, these homemade ice cream cones deliver the fresh flavor and satisfying crunch.

A blend of freshly milled hard white and soft white wheat creates waffle cones that are light, crisp, and full of rich homemade flavor without becoming heavy. They bake into thin, flexible waffles that are easy to roll into classic waffle cones or shape into homemade waffle bowls while they’re still warm.
These homemade waffle cones were made to pair with Brown Butter Peach Custard Ice Cream, but they’re just as delicious with your favorite frozen treats. If you’re new to baking with fresh milled flour, All-Purpose Flour from Freshly Milled Flour and Baking with Freshly Milled Flour are great places to start.
Did you know you can convert your favorite recipes to freshly milled flour? Learn how to convert recipes and find more fresh flour guides at The Cottage Mill.
The Cottage Mill | Freshly Milled Flour Guides, Recipes, and More Await!
Why You’ll Love This Recipe
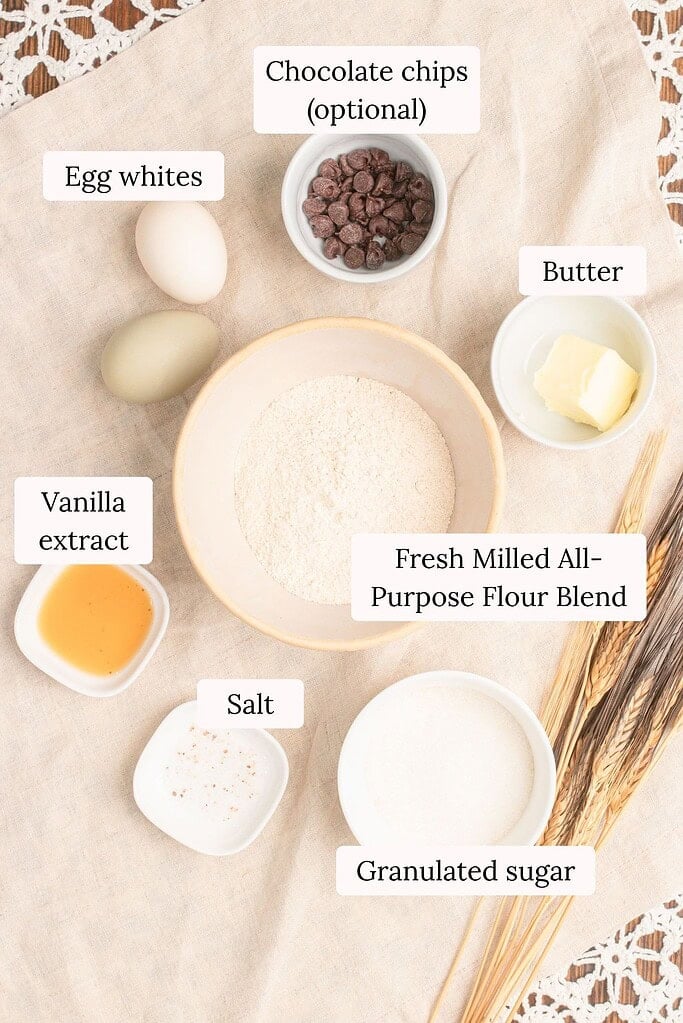
Ingredients
For the Freshly Milled All-Purpose Flour Blend
For the Waffle Cones

Variations & Add-Ins
Recipe Tips
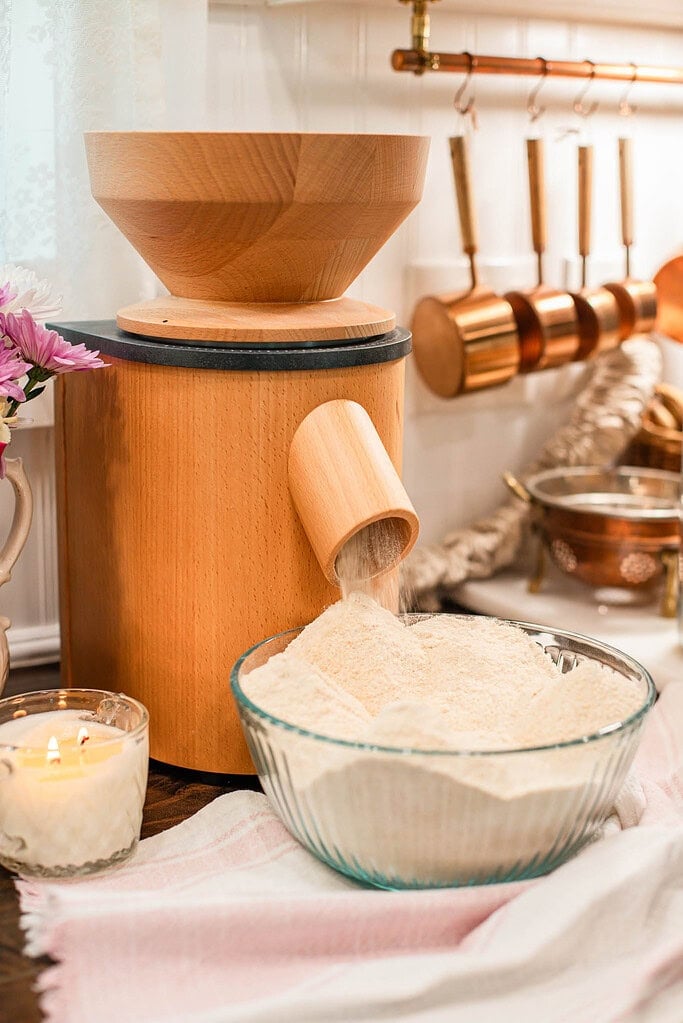
Use a fine flour for the best texture – Mill the hard white and soft white wheat berries as finely as possible before mixing the flour blend. A fine grind creates smooth batter and helps the waffle cones bake thin and crisp instead of coarse or heavy.
Keep the batter smooth and pourable – The batter should spread easily when it hits the waffle cone maker. If it thickens while sitting, whisk in an additional teaspoon of water until it reaches the same smooth consistency you started with.
Preheat the waffle cone maker completely – A fully heated waffle cone maker helps the batter cook evenly and develop a beautiful golden color. If the plates aren’t hot enough, the cones may be pale and soft instead of crisp.
Don’t overfill the waffle cone maker – About 2 tablespoons of batter is all you need for a thin, crispy waffle cone. Using too much batter can create thick cones that are harder to roll before they cool.
Work quickly once the waffle is cooked – Homemade waffle cones begin to firm up within seconds of leaving the waffle cone maker. Have your cone mold ready so you can roll each waffle while it’s still warm and flexible.
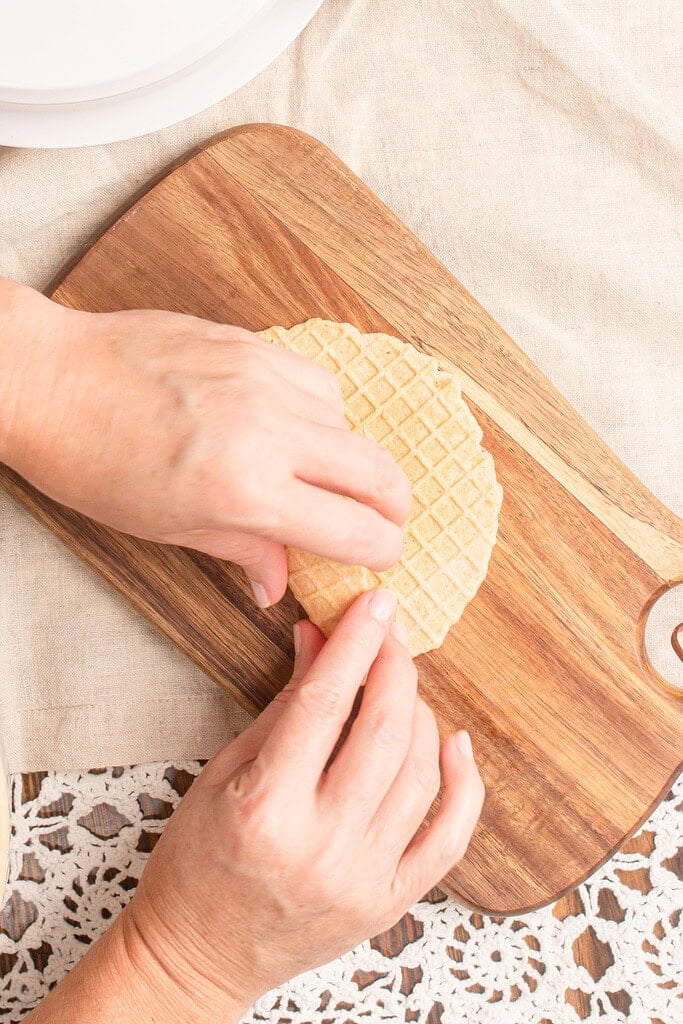
Roll on a cool countertop – Rolling the cone on a cool countertop or clean kitchen towel gives you more control than shaping it in the air. Gently press the seam until it holds its shape, then allow it to cool completely before filling.
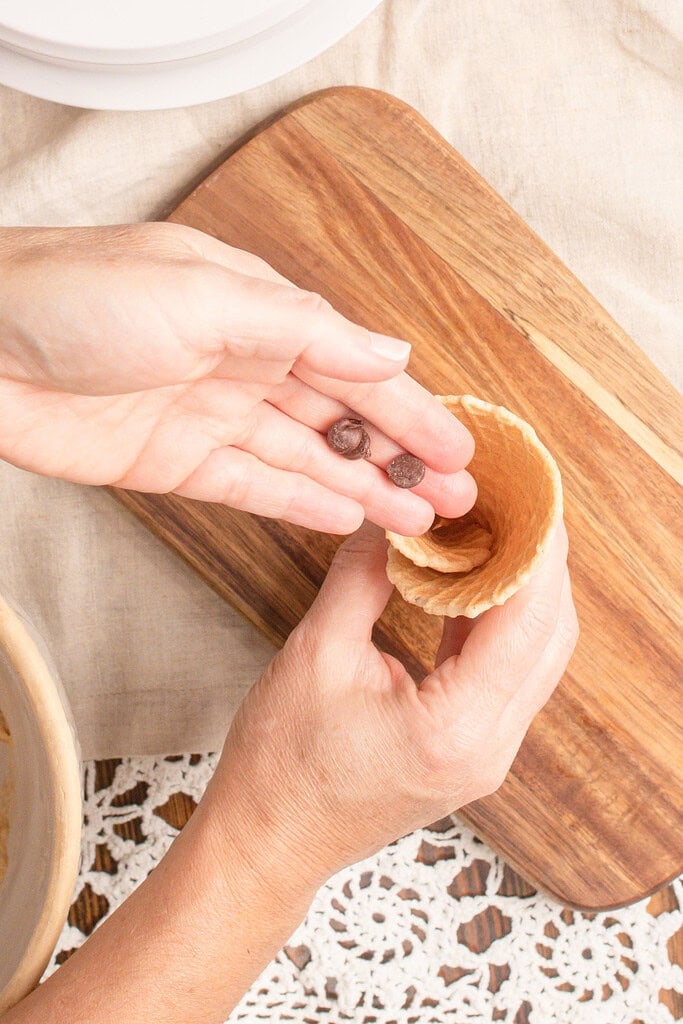
Seal the bottom with chocolate – While the cone is still warm, place a few chocolate chips into the tip. The residual heat melts the chocolate just enough to seal the bottom, helping prevent melted ice cream from dripping through the cone.
Let the cones cool completely – Resist the temptation to fill them right away. Cooling completely allows the cones to crisp up and helps them stay sturdy once they’re filled with ice cream.
Store them in an airtight container – Homemade waffle cones stay crisp longest when stored in a tightly sealed container at room temperature. Moisture is their biggest enemy, so avoid storing them in the refrigerator.
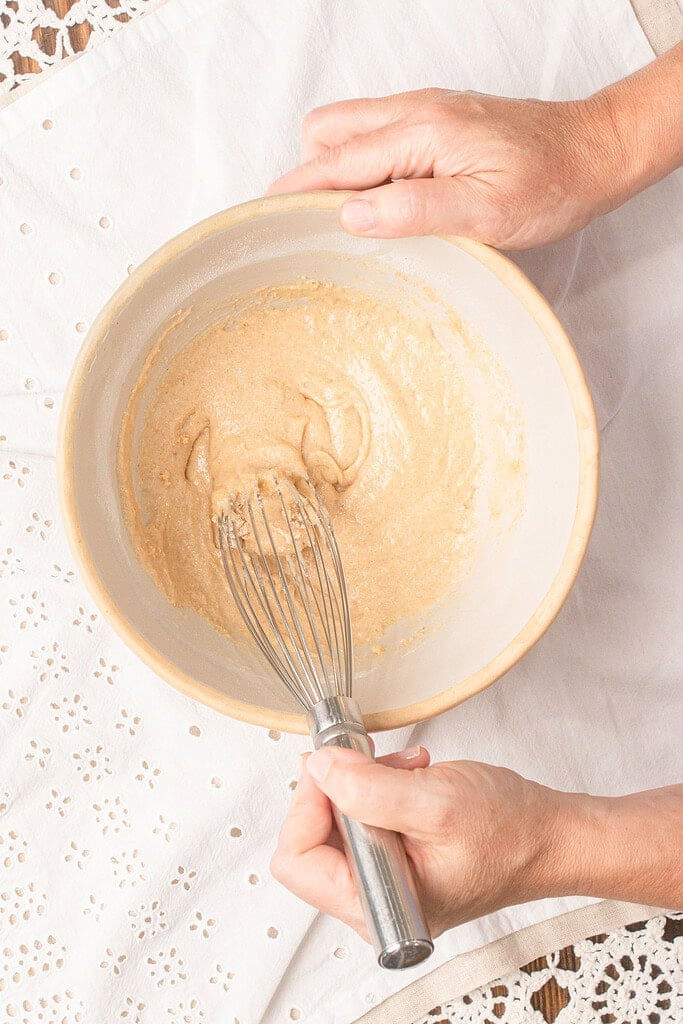
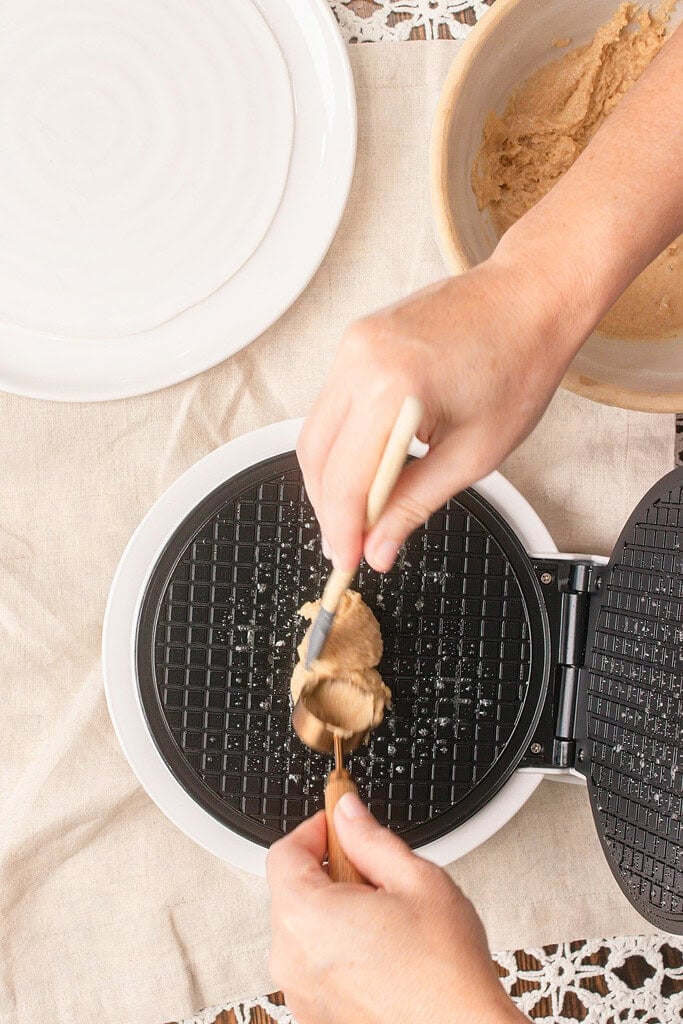
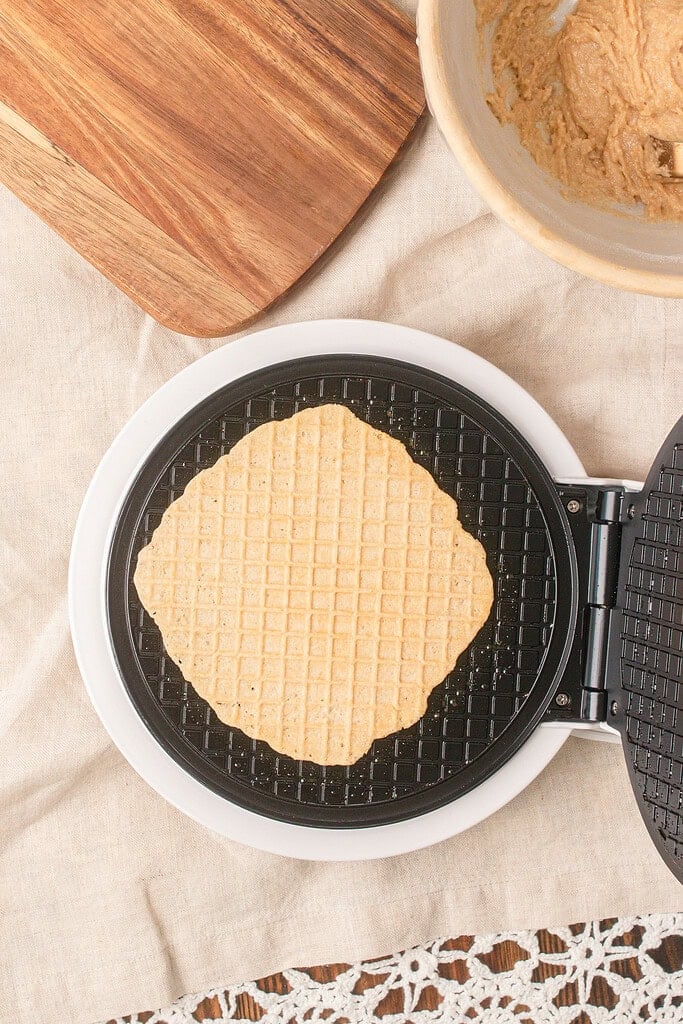
Instructions
- Mill the wheat berries – Mill the hard white and soft white wheat berries into a fine flour. Whisk them together to create the Freshly Milled All-Purpose Flour Blend, then measure 90 grams (¾ cup) for the recipe.
- Preheat the waffle cone maker – Preheat the waffle cone maker to a medium setting (about 4). If needed, lightly brush the cooking plates with melted butter or a neutral oil.
- Mix the wet ingredients – In a medium mixing bowl, whisk together the egg whites, granulated sugar, and vanilla extract until well combined.
- Add the flour – Whisk in the salt and half of the Fresh Milled All-Purpose Flour Blend until smooth. Add the melted butter, then whisk in the remaining flour until no dry flour remains.
- Adjust the batter – Add the water and whisk until the batter is smooth and pourable.
- Cook the waffle – Spoon about 2 tablespoons of batter into the center of the preheated waffle cone maker. Close and latch the lid, then cook for about 1 minute and 30 seconds, or until the waffle is lightly golden. Adjust the cooking time if needed for your waffle cone maker.
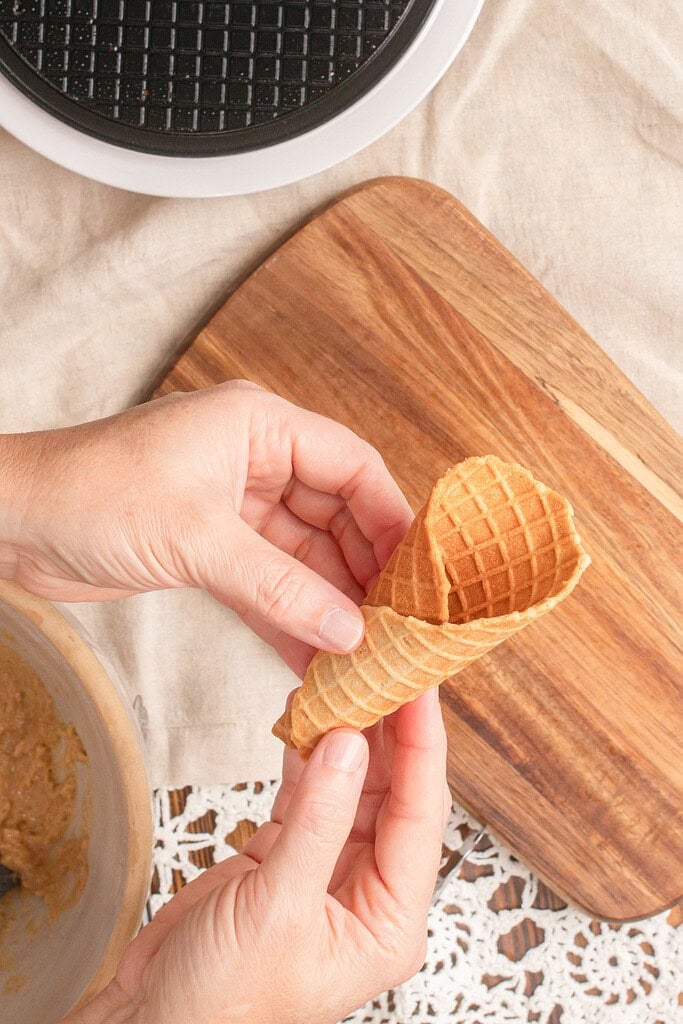
- Roll the cone – Carefully remove the hot waffle with a wooden or silicone utensil. Immediately place it on a cool countertop or clean kitchen towel and roll it tightly around a waffle cone mold. Gently press the seam and hold it in place for about 10 seconds until it sets.
- Seal the tip – Before the cone cools completely, place 4 chocolate chips into the bottom of the cone. The heat from the cone melts the chocolate, creating a simple seal that helps keep melted ice cream from dripping through the tip.
- Repeat – Continue with the remaining batter until all of the waffle cones have been cooked and shaped.

Freezing and Storage
- Room Temperature – Store completely cooled waffle cones in an airtight container at room temperature for up to 1 week. Keep them in a cool, dry place to maintain their crisp texture.
- Avoid Humidity – Moisture will soften homemade waffle cones quickly. Keep the container tightly sealed and avoid storing them in the refrigerator.
- Freezing – Freezing isn’t recommended because the cones lose their crisp texture once thawed.
- Make Ahead – Homemade waffle cones are perfect for making several days before serving. Prepare them in advance and store them in an airtight container until you’re ready for homemade ice cream.
- Refresh the Texture – If the cones lose a little crispness after storage, warm them in a 300°F oven for 2 to 3 minutes, then allow them to cool completely before serving.
FAQ
Join The Community
Want More Cozy Recipes & Seasonal Inspiration?
Get cozy, from-scratch recipes, seasonal cottage living tips, and slow living inspiration delivered straight to your inbox.
More Recipes from the Cottage
⭐️ Rate This Recipe
Made this recipe? Leave a star ⭐️ rating below, it means the world to me and helps my recipes get found by more people like you. Tag me on Instagram @themoderndaycottage


Homemade Waffle Cones with Freshly Milled Flour
 Prep:15 minutes Cook:12 minutes Total:27 minutes
 Equipment
- Grain Mill
- Waffle cone maker
- Medium Mixing Bowl
- Whisk
- Measuring spoons
- Waffle cone mold
- Wooden or silicone utensil
Ingredients
For the Waffle Cone Batter
- 2 large egg whites
- 7 tablespoons granulated sugar about 88 grams
- 1 teaspoon vanilla extract 5 grams
- ⅛ teaspoon salt
- Fresh Milled All-Purpose Flour Blend 90 grams
- 2 tablespoons unsalted butter melted, 28 grams
- 1 teaspoon water about 5 grams
- 24 chocolate chips optional
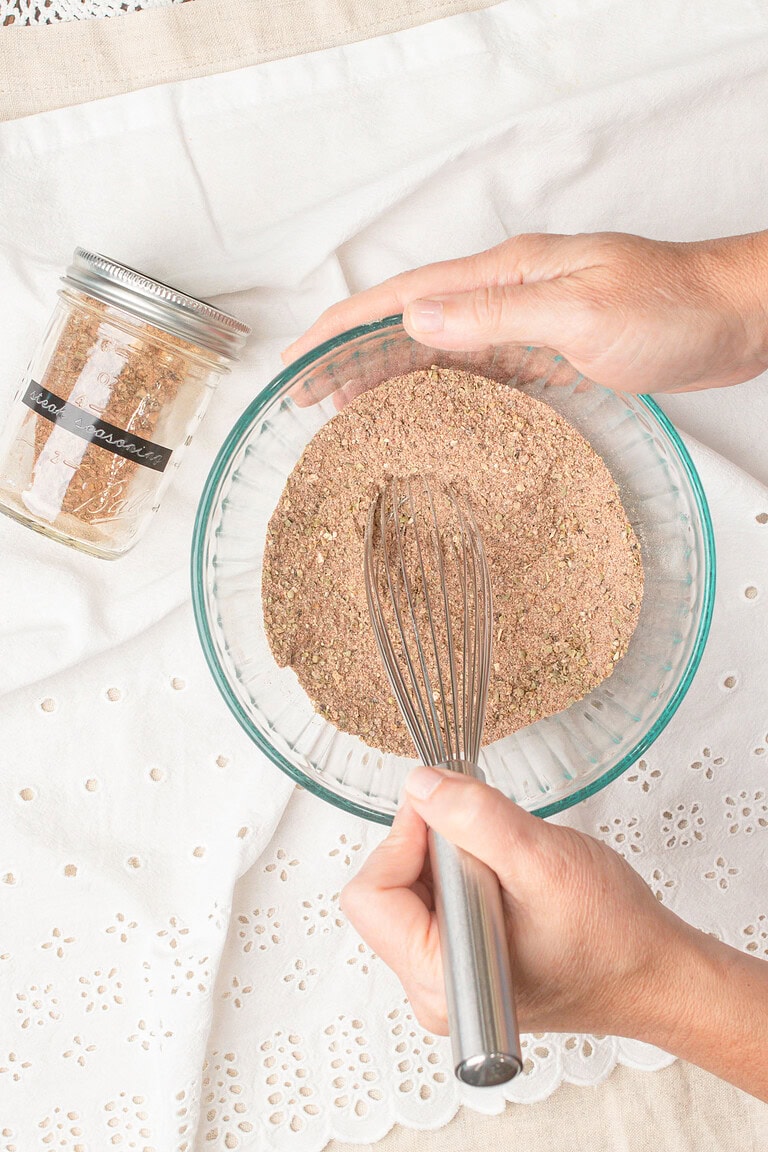
For the Fresh Milled All-Purpose Flour Blend: Mill the wheat berries into a fine flour to make approximately 1 cup (120 grams) of Fresh Milled All-Purpose Flour Blend. Measure out 90 grams (¾ cup) for this recipe.
- 72 grams hard white wheat berries
- 48 grams soft white wheat berries
Instructions
- Mill the flour – Mill the hard white and soft white wheat berries into a fine flour. Whisk them together until evenly combined, then measure out 90 grams (¾ cup) of the Fresh Milled All-Purpose Flour Blend.
- Preheat the waffle cone maker – Heat the waffle cone maker to a medium setting (about 4). If needed, lightly brush the cooking plates with melted butter or a neutral oil.
- Mix the wet ingredients – In a medium mixing bowl, whisk together the egg whites, granulated sugar, and vanilla extract until smooth and well combined.
- Add the flour – Whisk in the salt and half of the Fresh Milled All-Purpose Flour Blend until smooth. Add the melted butter, then whisk in the remaining flour until no dry flour remains.
- Adjust the batter – Whisk in the water until the batter is smooth and pourable.
- Cook the waffle cone – Spoon about 2 tablespoons of batter into the center of the preheated waffle cone maker. Close and latch the lid, then cook for about 1 minute 30 seconds, or until the waffle is lightly golden. Adjust the cooking time if needed for your waffle cone maker.
- Shape the cone – Carefully remove the hot waffle using a wooden or silicone utensil. Immediately place it on a cool countertop or clean kitchen towel and roll it tightly around a waffle cone mold. Gently press the seam closed and hold it in place for about 10 seconds until set.
- Seal the cone – Before the cone cools completely, place 4 chocolate chips into the bottom of the cone. The heat melts the chocolate, creating a seal that helps prevent melted ice cream from dripping through.
- Repeat and cool – Continue with the remaining batter until all the waffle cones are shaped. Let the cones cool completely before filling or storing.
Notes

Emily Rider
Home miller since 1999 with fresh-milled flour & sourdough experience. Sharing from-scratch recipes and traditional kitchen skills, rooted in the seasons and inspired by everyday cottage living and seasonal rhythms.