This sourdough baguette made with fresh milled flour is built from freshly milled hard white and hard red wheat berries, an active sourdough starter, water, and salt, baking into a crackling golden crust, an open chewy crumb, and a warm nutty grain flavor that develops through the slow fermentation process.
The dough comes together through an autolyse, stretch and folds, and a lamination step before a long slow ferment — same day or overnight.
If you are planning a cozy from-scratch dinner, this baguette pairs naturally with Italian Bruschetta Recipe, Einkorn Pasta | Sourdough and Fresh Milled Flour, and Homemade Tiramisu for dessert.


The Cottage Mill: Freshly Milled Flour Guides, Recipes, and More Await!
Why You’ll Love This Recipe

Ingredients

Variations & Add-Ins
Recipe Tips
Mill your flour right before mixing – freshly milled flour is most active and flavorful within the first few hours after milling, and the oils in the bran and germ are still fully present, which affects both how the dough ferments and how the finished baguette tastes.
Do not skip the full autolyse hour – with freshly milled whole wheat, the bran needs the full 60 minutes to soften and hydrate before the starter is added. A shortened autolyse produces a dough that resists the folds and a finished crumb that is tighter than it should be.
Wet hands are your best tool – keep a small bowl of water beside your work surface during the stretch and fold sets. Wet hands prevent the dough from sticking without adding extra flour, which would tighten the crumb and throw off the hydration balance.
Lamination builds the structure this dough needs – this step is where the dough develops the strength to hold its shape during shaping and produce an ear when scored. With whole grain flour, skipping lamination almost always results in a baguette that spreads rather than rises.
Score at a shallow angle – hold your bread lame nearly parallel to the surface of the dough, not straight down. A shallow angle is what creates the classic baguette ear as the dough springs open in the oven.
A fully preheated stone makes a difference – give your baking stone or cast iron griddle a full 45 to 60 minutes in a 500°F oven before the baguettes go in. A stone that has not fully absorbed the heat will produce a baguette with a pale, soft bottom and reduced oven spring.
Do not open the oven door in the first 10 minutes – the steam trapped in those first minutes is what allows the crust to stay pliable long enough for the baguette to fully expand. Opening the door early releases the steam and sets the crust before the dough has finished springing.
Cold dough shapes more cleanly – if you bulk fermented overnight in the refrigerator, shape the baguettes directly from the cold dough without bringing it to room temperature first. Cold dough holds its tension better during shaping and produces a cleaner, more defined baguette.


Instructions
- Mill and measure the flour – Mill the hard white and hard red wheat berries immediately before mixing, dividing them evenly for a half and half blend. Weigh the freshly milled flour to 425 grams on a kitchen scale for an accurate result.
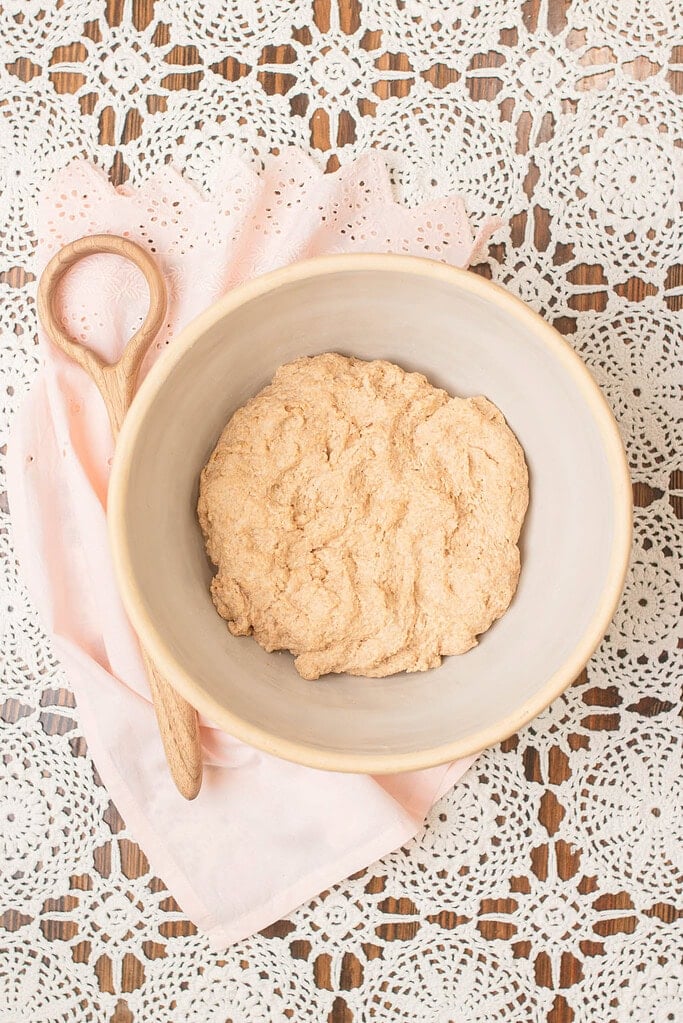
- Build the autolyse – Combine the freshly milled flour, 370 grams of room temperature filtered water, and 9 grams of fine salt in a large mixing bowl. Mix until no dry flour remains, cover the bowl, and allow the dough to rest undisturbed for a full 60 minutes. The dough will feel shaggy and rough at frist and noticeably smoother and more cohesive after the resting time and remixing.
- Add the sourdough starter – Add 100 grams of active sourdough starter directly to the rested dough. Work it in with wet hands or a Danish whisk, folding and mixing until fully incorporated. The dough will feel sticky and uneven at first, which is completely normal. Cover and rest for 30 minutes at room temperature.
- Stretch and fold the dough – Perform three sets of stretch and folds, resting 45 minutes between each set. To fold, wet your hand, grab one edge of the dough, pull it upward until it resists, and fold it over the center. Rotate the bowl a quarter turn and repeat around all four sides. The dough will feel progressively smoother and stronger with each set.
- Laminate the dough – Turn the dough out onto a clean, lightly damp surface. Gently stretch it into a large, thin rectangle, working slowly from the center outward so it does not tear. Fold it back onto itself from both sides, then roll it into a loose ball. Cover and rest for 30 minutes. This step builds the gluten strength the dough needs for shaping and scoring.
- Bulk ferment the dough – Cover the bowl and allow the dough to bulk ferment at room temperature for 4 to 6 hours, until it has grown noticeably, the surface is domed and slightly bubbly, and the dough jiggles gently when you shake the bowl. For an overnight cold ferment, cover tightly and refrigerate after the lamination step, then shape the following morning directly from the refrigerator.
- Preheat the oven – Place a baking stone or cast iron griddle on the middle rack and a heavy rimmed pan on the lower rack. Preheat the oven to 500°F and allow a full 45 to 60 minutes for the stone to fully heat before baking.
- Pre-shape and rest the dough – Divide the dough into two or three equal portions using a bench scraper. Gently flatten each piece into a rough rectangle, fold it into a loose cylinder, and place seam-side down on a lightly floured surface. Cover with a kitchen towel and rest for 30 minutes, this allows the gluten to relax so the dough extends without shrinking back during final shaping.
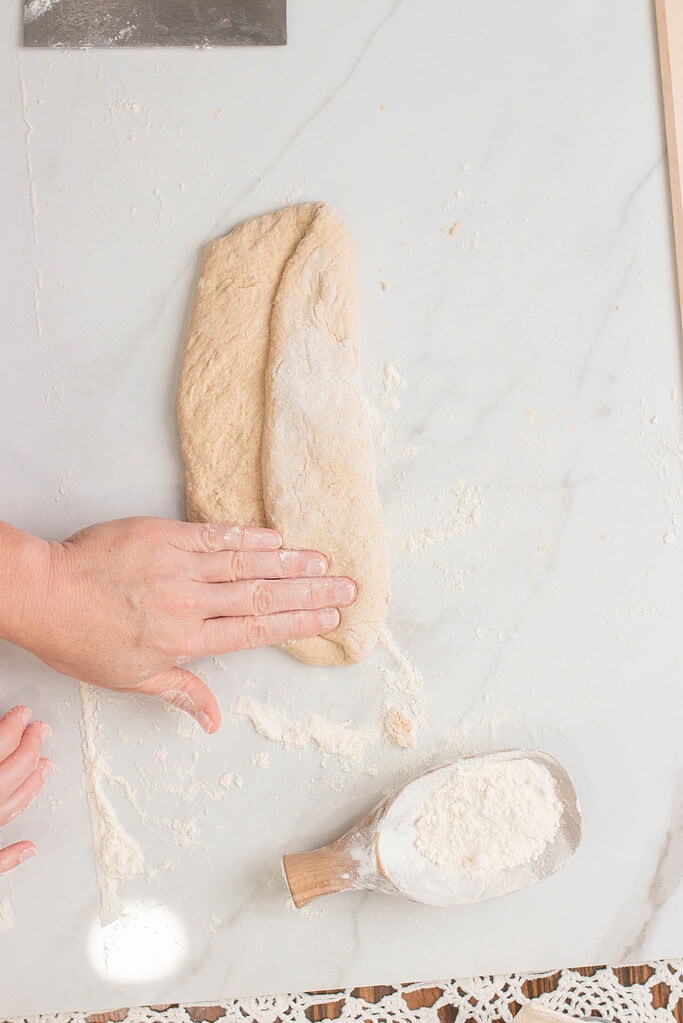
- Begin the letter fold – Place one rested piece seam-side up on a lightly floured surface. Pat gently to release any large air pockets, elongating it slightly left to right as you go. Fold the far edge two-thirds of the way toward you along the long axis and press gently to seal. Rotate the dough 180 degrees and repeat, the piece should now be 6 to 8 inches long.
- Fold and seal – Fold the dough in half along the same long axis, bringing the far edge to meet the edge closest to you. Press gently to seal with your fingertips or the heel of your palm. The dough will naturally elongate slightly as you work.
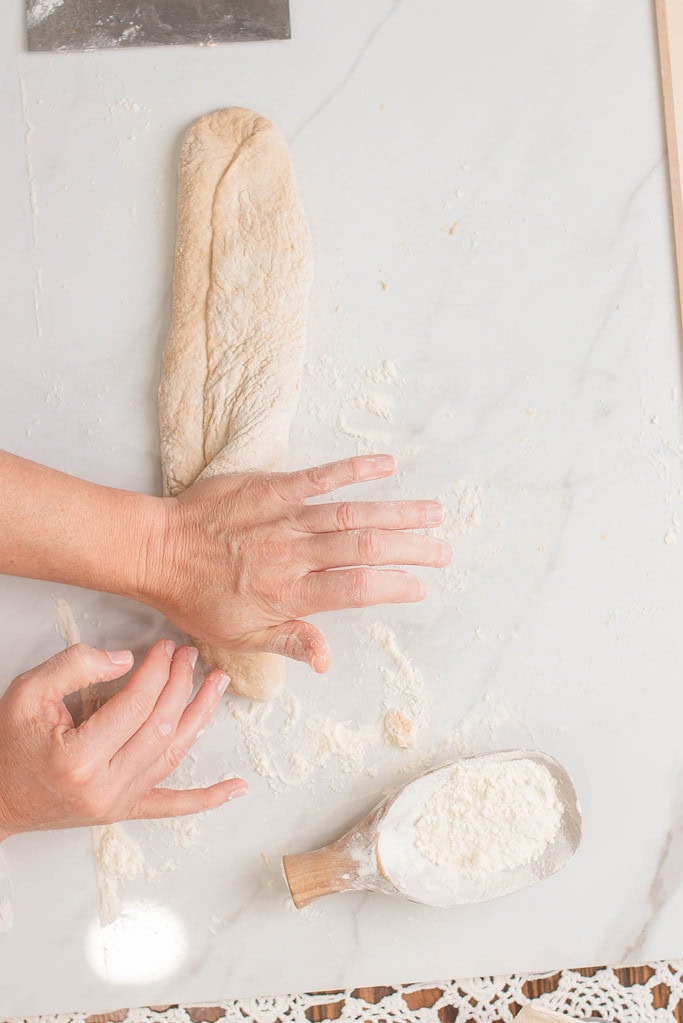
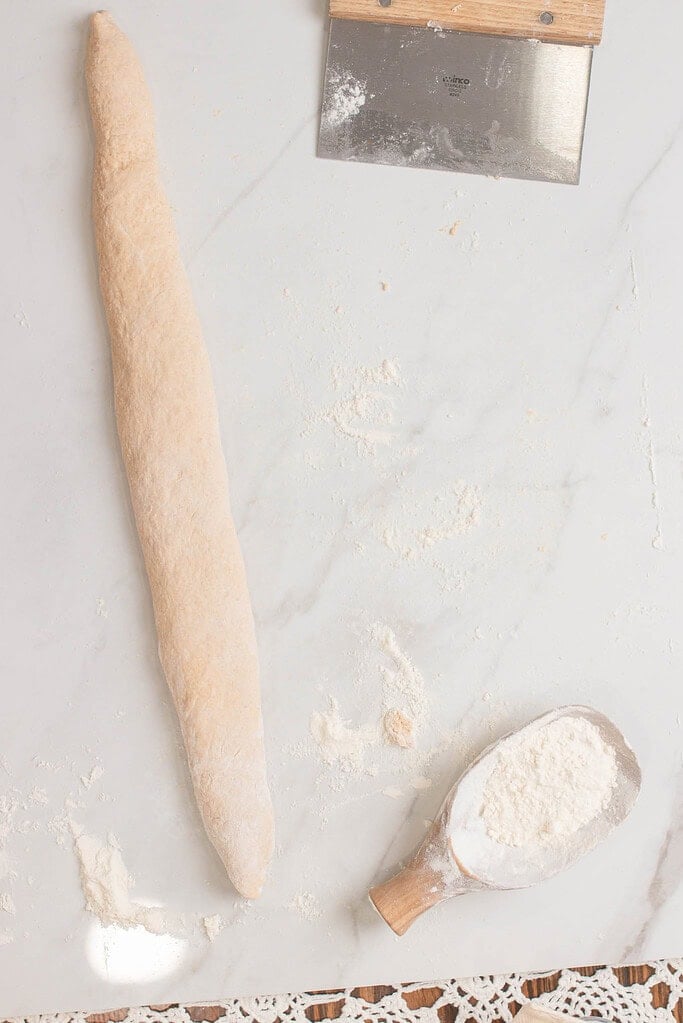
- Roll to length – Place the tube seam-side down and begin rolling from the center outward with both hands, moving toward the ends as you go and applying light pressure to taper the tips. The shape will look uneven at first, thicker at the ends and narrower in the middle, this is normal and evens out as you continue rolling. The finished baguette should reach 14 to 16 inches.
- Transfer to the couche – Place each shaped baguette seam-side up on a well-floured linen couche or kitchen cloth, tucking a fold of fabric between each one to support the sides during the final proof. If the dough resists elongating at any point, cover it and rest for 5 more minutes before continuing, a good baguette is coaxed, not forced.
- Score the baguettes – Transfer the proofed baguettes to a parchment-lined baking peel or baking sheet. Score each one with three diagonal cuts using a bread lame or sharp serrated knife, holding the blade at a shallow angle nearly parallel to the surface of the dough. This angle is what produces the classic baguette ear as the dough opens in the oven.
- Bake with steam – Slide the baguettes onto the hot baking stone. Immediately pour one cup of boiling water into the pan on the lower rack and close the oven door quickly to trap the steam. Bake for 15 minutes, rotating the pan once at the 10-minute mark if your oven runs unevenly. The baguettes are ready when they are deep golden brown and sound hollow when tapped firmly on the bottom.
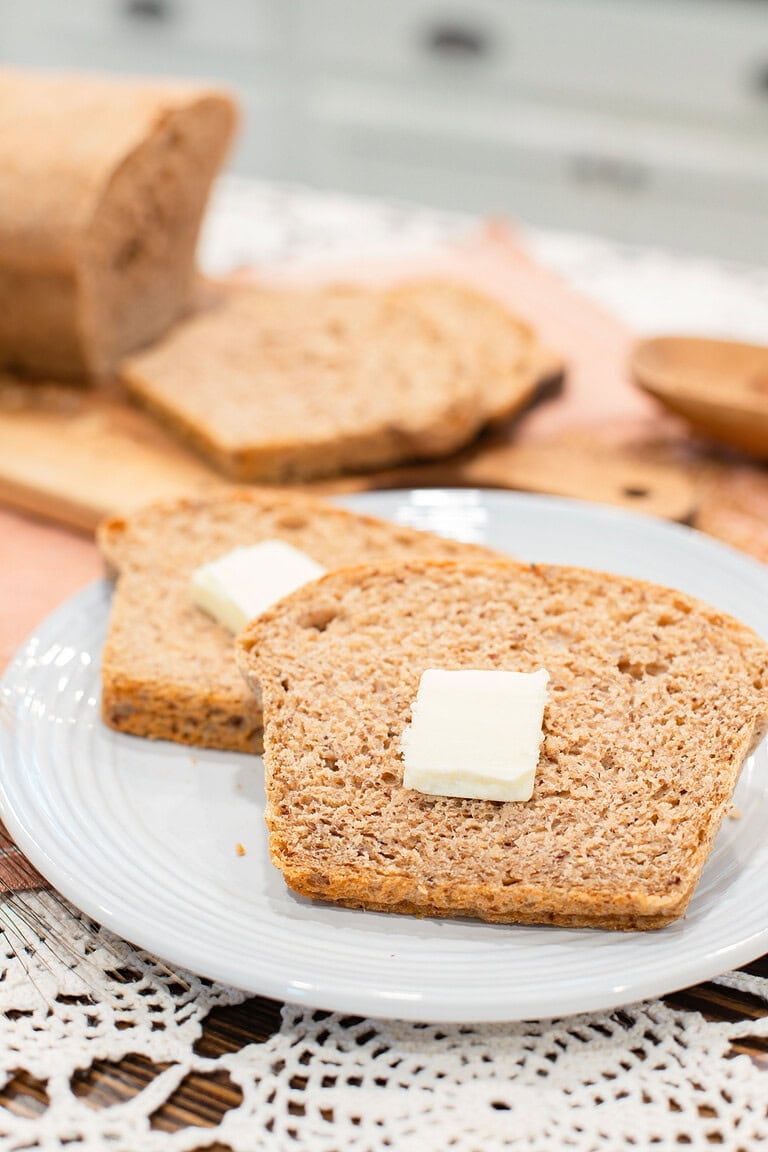
- Cool and serve – Transfer the baguettes to a wire rack and allow to cool for at least 20 minutes before slicing. The crumb continues to set as the steam releases from the interior, slicing too early will compress it. Serve warm with cultured butter alongside Italian Bruschetta Recipe.

Freezing and Storage
- Room temperature – wrap the cooled baguettes in a kitchen towel or tuck into a paper bag and store at room temperature for up to 2 days. The crust will soften slightly by day two, but the flavor develops further as the crumb settles.
- Freezer – cool the baguettes completely before freezing. Wrap each one tightly in plastic wrap and place in a freezer-safe bag for up to 3 months. Reheat directly from frozen in a 375°F oven for 10 to 12 minutes to revive the crust and warm the crumb through.
- Refresh a day-old baguette – run the baguette briefly under cold water, just enough to dampen the crust, then place directly in a 375°F oven for 8 to 10 minutes. The steam created inside the loaf as it heats brings the crust back and warms the crumb without drying it out.
- Avoid the refrigerator – cold storage accelerates staling in lean breads like baguettes. If you need to keep the baguette beyond two days, the freezer is the better option.
- Slice before freezing for easier portions – if you plan to use the baguette for bruschetta, crostini, or individual servings, slice it before freezing so you can pull exactly what you need without thawing the entire loaf.
FAQ
Join The Community
Want More Cozy Recipes & Seasonal Inspiration?
Get cozy, from-scratch recipes, seasonal cottage living tips, and slow living inspiration delivered straight to your inbox.
More Sourdough Recipes from the Cottage
⭐️ Rate This Recipe
Made this recipe? Leave a star ⭐️ rating below, it means the world to me and helps my recipes get found by more people like you.


Sourdough Baguette Made with Fresh Milled Flour
Equipment
- 1 Kitchen digital scale
- 1 Large mixing bowl
- 1 Linen baker's couche or floured cean kitchen towel
- 1 Baking stone or cast iron griddle
- 1 Bread lame or sharp serrated knife
- 1 Baguette transfer peel
- 1 Wire Cooling Rack
Ingredients
- 1¼ cups hard white wheat berries freshly milled, 212 grams
- 1¼ cups hard red wheat berries freshly milled, 213 grams
- 1½ cups water filtered, room temperature, 370 grams
- 1½ teaspoons fine salt 9 grams
- ½ cup active sourdough starter at peak rise, 100 grams
Instructions
- Mill and measure the flour – Mill the hard white and hard red wheat berries immediately before mixing, dividing them evenly for a half and half blend. Weigh the freshly milled flour to 425 grams on a kitchen scale for an accurate result.
- Build the autolyse – Combine the freshly milled flour, 370 grams of room temperature filtered water, and 9 grams of fine salt in a large mixing bowl. Mix until no dry flour remains, cover the bowl, and allow the dough to rest undisturbed for a full 60 minutes. The dough will feel shaggy and rough at frist and noticeably smoother and more cohesive after the resting time and remixing.
- Add the sourdough starter – Add 100 grams of active sourdough starter directly to the rested dough. Work it in with wet hands, folding and squeezing until fully incorporated, the dough will feel sticky and uneven at first, which is completely normal. Cover and rest for 30 minutes at room temperature.
- Stretch and fold the dough – Perform three sets of stretch and folds, resting 45 minutes between each set. To fold, wet your hand, grab one edge of the dough, pull it upward until it resists, and fold it over the center. Rotate the bowl a quarter turn and repeat around all four sides. The dough will feel progressively smoother and stronger with each set.
- Laminate the dough – Turn the dough out onto a clean, lightly damp surface. Gently stretch it into a large, thin rectangle, working slowly from the center outward so it does not tear. Fold it back onto itself from both sides, then roll it into a loose ball. Cover and rest for 30 minutes. This step builds the gluten strength the dough needs for shaping and scoring.
- Bulk ferment the dough – Cover the bowl and allow the dough to bulk ferment at room temperature for 4 to 6 hours, until it has grown noticeably, the surface is domed and slightly bubbly, and the dough jiggles gently when you shake the bowl. For an overnight cold ferment, cover tightly and refrigerate after the lamination step, then shape the following morning directly from the refrigerator.
- Preheat the oven – Place a baking stone or cast iron griddle on the middle rack and a heavy rimmed pan on the lower rack. Preheat the oven to 500°F and allow a full 45 to 60 minutes for the stone to fully heat before baking.
- Pre-shape and rest the dough – Divide the dough into two or three equal portions using a bench scraper. Gently flatten each piece into a rough rectangle, fold it into a loose cylinder, and place seam-side down on a lightly floured surface. Cover with a kitchen towel and rest for 30 minutes, this allows the gluten to relax so the dough extends without shrinking back during final shaping.
- Begin the letter fold – Place one rested piece seam-side up on a lightly floured surface. Pat gently to release any large air pockets, elongating it slightly left to right as you go. Fold the far edge two-thirds of the way toward you along the long axis and press gently to seal. Rotate the dough 180 degrees and repeat, the piece should now be 6 to 8 inches long.
- Fold and seal – Fold the dough in half along the same long axis, bringing the far edge to meet the edge closest to you. Press gently to seal with your fingertips or the heel of your palm. The dough will naturally elongate slightly as you work.
- Roll to length – Place the tube seam-side down and begin rolling from the center outward with both hands, moving toward the ends as you go and applying light pressure to taper the tips. The shape will look uneven at first, thicker at the ends and narrower in the middle, this is normal and evens out as you continue rolling. The finished baguette should reach 14 to 16 inches.
- Transfer to the couche – Place each shaped baguette seam-side up on a well-floured linen couche or kitchen cloth, tucking a fold of fabric between each one to support the sides during the final proof. If the dough resists elongating at any point, cover it and rest for 5 more minutes before continuing, a good baguette is coaxed, not forced.
- Score the baguettes – Transfer the proofed baguettes to a parchment-lined baking peel or baking sheet. Score each one with three diagonal cuts using a bread lame or sharp serrated knife, holding the blade at a shallow angle nearly parallel to the surface of the dough. This angle is what produces the classic baguette ear as the dough opens in the oven.
- Bake with steam – Slide the baguettes onto the hot baking stone. Immediately pour one cup of boiling water into the pan on the lower rack and close the oven door quickly to trap the steam. Bake for 15 minutes, rotating the pan once at the 10-minute mark if your oven runs unevenly. The baguettes are ready when they are deep golden brown and sound hollow when tapped firmly on the bottom.
- Cool and serve – Transfer the baguettes to a wire rack and allow to cool for at least 20 minutes before slicing. The crumb continues to set as the steam releases from the interior, slicing too early will compress it. Serve warm with cultured butter alongside Italian Cottage Style Tomato Basil Bruschetta Recipe.
Video
Notes

Emily Rider
Home miller since 1999 with fresh-milled flour & sourdough experience. Sharing from-scratch recipes and traditional kitchen skills, rooted in the seasons and inspired by everyday cottage living and seasonal rhythms.


I can’t find your video on the Baguettes?? The dough is really wet after the first pull, is this normal? Should I add more flour??
Dear Karan,
Thank you again for reaching out—and for baking along with me!
Yes, the dough will feel sticky at first, which is totally normal for baguettes. I recommend holding off on adding any extra flour until the second or third stretch and fold. Baguette dough is meant to be stickier than sandwich bread—it should feel elastic and soft, but not so wet that it falls apart when you touch it. Trust the process, and the dough will come together beautifully as the gluten develops.
As for the video—it is included in the vlog post! You can fast-forward to 3:01 where the baguette section begins. I shape the loaves through 7:30, and then I slice into the baked baguettes around 11:15 if you’d like to see the final crumb.
Let me know if you need anything else along the way—I’m always happy to help!
Warmly,
Emily
Thank you… It just really seems really wet. I’ll be patient, thank you..
I’ll let you know how it comes out.
Karan
Hi Karan,
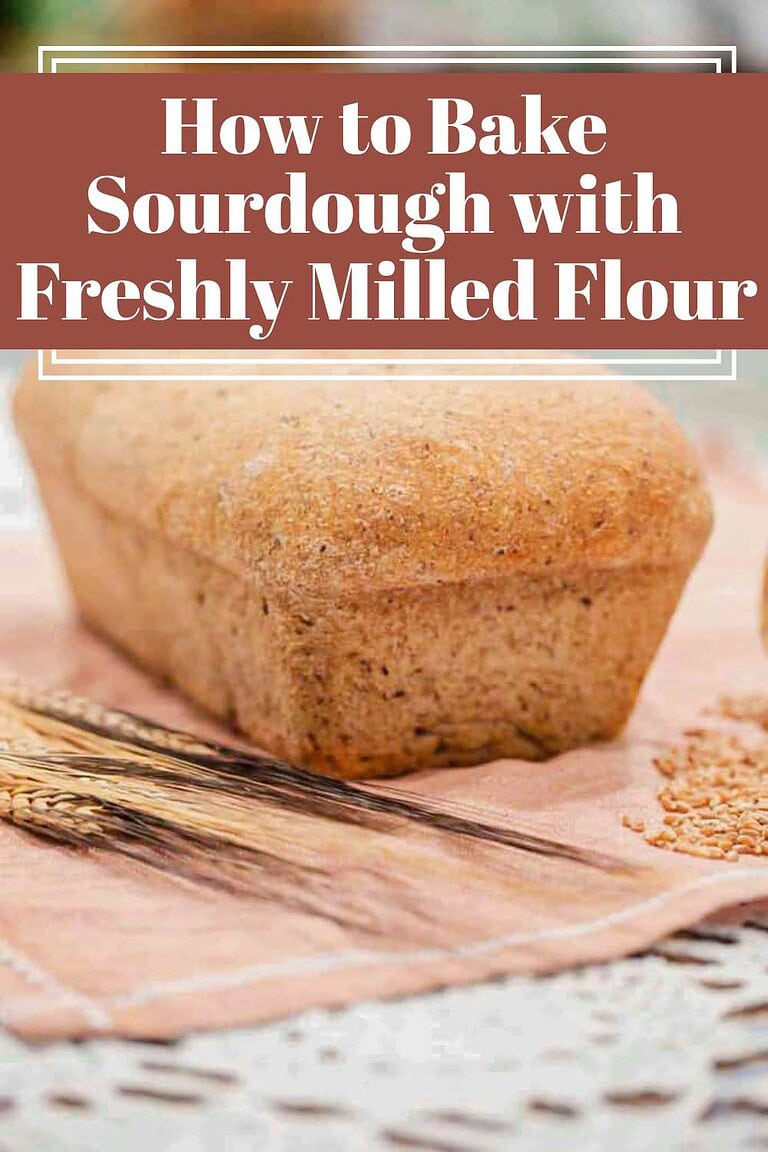
How did your baguettes turn out after a few more folds? This dough can be tricky—wetter, and more sensitive to climate and grain type. If you had any more trouble, feel free to comment here—I’m happy to help. This post on Baking Sourdough with Freshly Milled Flour might be helpful, too. I’m here to support you—that’s why I started this blog.
Warmly,
Emily
Mixing it up now using all hard white-that’s all I had. Do you bake in a convection oven or regular? Thanks
Hi Melisa,
Thanks for your comment! Using all hard white is a great choice—it should still turn out beautifully. 😊 I bake baguettes in a regular oven, but if you’re using a convection oven, it’s definitely doable! Just keep in mind that convection ovens tend to bake faster and more evenly, so you might want to lower the temperature by about 25°F and check on your baguettes a few minutes earlier than the recipe suggests. Let me know how they turn out—I’d love to hear about your results!
Happy baking! 🍞✨