How to make a freshly milled flour sourdough starter guide walks through the process day by day, from the first mix of flour and fresh-squeezed orange juice (or water) to a bubbly, active culture ready to leaven bread, covering hydration, feeding ratios, sifting, and exactly what to expect at each stage.
Fresh flour ferments differently from refined commercial flour, and understanding that from day one is what keeps most beginners from giving up too soon.
If you are new to milling, The Beginner’s Guide to Milling Flour at Home and Best Whole Grains to Mill give helpful background before you begin.
Grain quality and storage matter too, which Where to Buy Wheat Berries, How to Store Wheat Berries, and How to Store Freshly Milled Flour explain in detail. If the rise feels hard to see in the early days, Sifting Freshly Milled Flour can help you understand why, when, and how to sift.
Do you want to learn more about freshly milled flour? The Cottage Mill is filled with guides and resources to walk you through recipe conversions, flour blends, and techniques to help you bake with more consistency.

The Cottage Mill: Freshly Milled Flour Guides, Recipes, and More Await!
Wonderful, wonderful site! So glad I found it before starting my journey with fresh-milled flour. Thank you so much for sharing your knowledge. ~Mary
What You’ll Learn in This Guide
Tools & Ingredients You’ll Need

Tips
Fresh flour ferments faster – whole grain flour contains natural yeast and enzymes that speed fermentation. Faster movement in the early days is normal and expected, not a sign that something is wrong.
Hydration takes time – freshly milled flour absorbs water slowly. A starter may loosen after resting without needing any additional water, so wait and watch before adjusting.
Texture matters more than timing – aim for a thick, easy-to-stir consistency that holds bubbles without running thin. That texture is a more reliable guide than any clock.
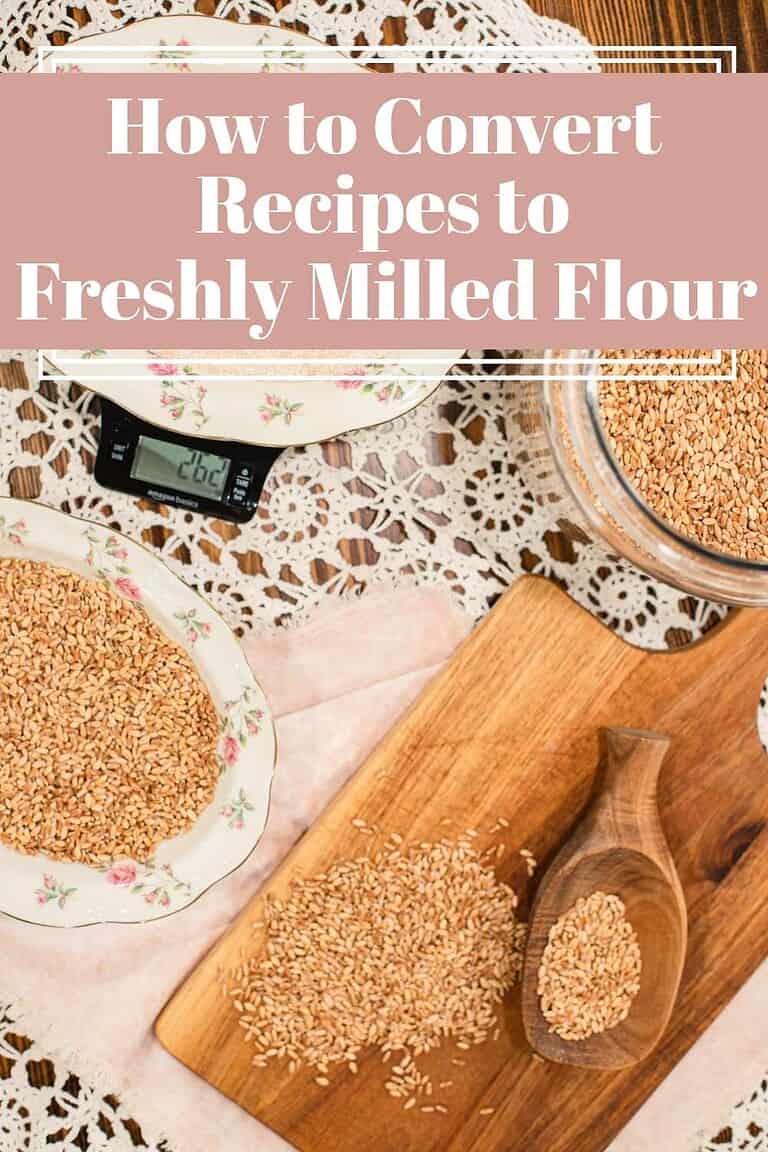
Weighing beats measuring – whole grains vary by season, soil, and variety. A kitchen scale keeps ratios steady in a way that measuring cups simply cannot.
The 1¼ cup rule is only a guideline – you may see this substitution advice for fresh flour in recipes. It works sometimes but is not reliable for whole foods with variable starch content. Weight gives more consistent results.
Bran can hide rise – bran adds weight and can make a healthy starter look flat even when fermentation is genuinely active. The starter can be working well even when the jar does not look like much is happening.
Sifting helps beginners – removing some bran early with a #40, #50, or #60 sieve makes rise easier to see and builds confidence in reading starter cues without changing the feeding method. Read this guide, Sifting Freshly Milled Flour ,for full guidance.
Warmth supports activity – starters ferment best around 70 to 75 degrees Fahrenheit. Cooler kitchens slow things down without anything being wrong with the culture.
Fast rise means hunger – if your starter rises and collapses quickly, it needs more food, not a restart. Feed more often or increase the flour ratio before making any other changes.
Early smells can be strong — sharp or grainy smells are common in the first few days and usually balance out with regular feeding as the right bacteria establish dominance.
Discard early, save later – throw discard away in the beginning. Save it only once the starter smells pleasant and rises consistently well after feeding.
Consistency matters most – regular feedings and patience build strength faster than constant adjustments or grain changes. Pick a routine and hold to it.

Instructions To Make a Freshly Milled Flour Sourdough Starter (Day-by-Day)
01
Day 1 – Mill, Mix, and Rest
- Mill the grain – mill wheat berries on a fine setting and plan to use the flour within a few hours. Fresh flour is most active in the hours right after milling and gives the culture its strongest possible start.
- Choose and mark your jar – use a clean, wide-mouth jar so stirring stays easy. After each feeding, mark the level with a rubber band and write the time with a dry-erase marker. These two marks make it easy to read rise patterns across the week without guessing.
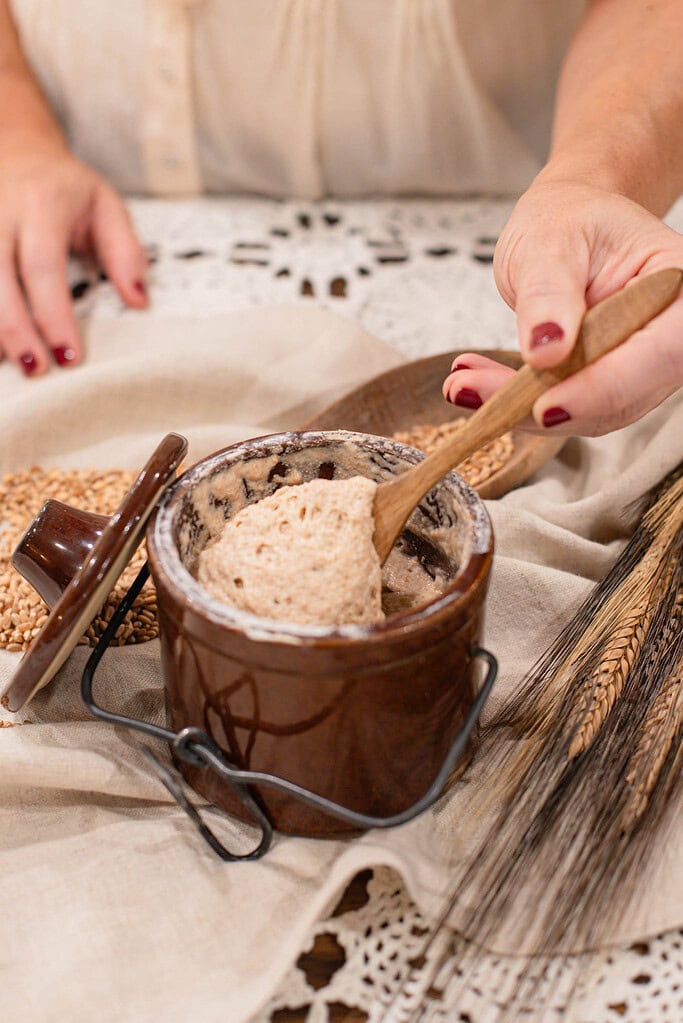
- Day 1 — Mix and rest – stir together 50 grams freshly milled whole wheat flour and 50 grams filtered water or fresh squeezed orange juice until no dry flour remains. Scrape down the sides, cover loosely, and keep the jar warm around 70 to 75 degrees Fahrenheit. Optional: replace the water with fresh orange juice on day one to support a friendly pH early on. This approach has given the most consistent early results across decades of starting new cultures and I recommend it to every beginner.
- What you will notice: the mixture looks like thick paste or batter, and the smell is usually neutral, like warm grain or cereal. That is perfectly normal on day one.
02
Day 2 – Stir for oxygen
- Day 2 — Stir for oxygen – do not feed today. Stir the starter once or twice to introduce oxygen, then scrape down the sides and cover loosely again.
- What you will notice: a few tiny bubbles may appear, though some jars stay completely quiet. The smell may be grainy or lightly tangy. Both are normal.
03
Days 3–5 – Begin daily feedings
- Days 3 to 5 — Begin daily feedings – discard all but 30 grams of starter. Add 50 grams freshly milled flour and 50 grams filtered water, then stir until fully combined with no dry flour remaining. Scrape down the sides, mark the level and time, and keep the jar warm.
- What you will notice: a sudden rise followed by collapse often appears around day three or four. This false rise is normal and part of the culture settling into itself as the right bacteria establish dominance. Stay consistent and keep feeding.
04
Days 6–10 – Build strength
- Days 6 to 10 — Build strength – continue the same daily feeding routine. If the starter peaks and falls before 12 hours, begin feeding twice daily.
- Simple rule: if it peaks and falls before 12 hours, it needs more food.
- Optional rye boost: keep 30 grams starter and feed 45 grams freshly milled wheat, 5 grams rye, and 50 grams water for two to three days. Rye carries enzymes that often wake up a sluggish culture with remarkable speed. This is my go-to move when a starter feels stuck around day six.
05
Days 10–14 – Stay consistent
- Days 10 to 14 — Stay consistent – cool kitchens may need extra time. Avoid restarting. Keep the starter warm, feed regularly, and watch its behavior rather than the calendar. Activity and pattern matter more than any specific day count.
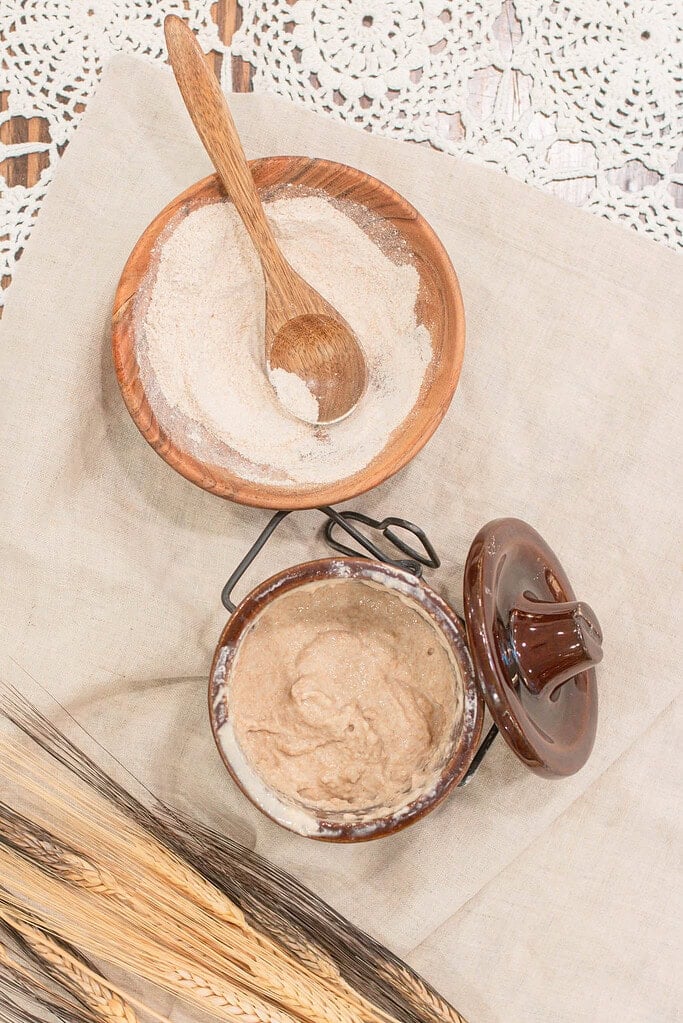
- How to tell if it is ready – a mature freshly milled flour sourdough starter doubles within four to six hours after feeding, smells pleasantly tangy and mildly yeasty, shows bubbles throughout the jar, and stretches into a web-like structure when lifted from the jar. These signs matter more than any float test or specific day count.
- If it rises and collapses quickly: this means the starter is hungry, not weak. Feed more often or increase the flour ratio. After day seven, a slightly thicker starter often improves strength and timing noticeably.
Troubleshooting
Cottage Living Community
Join the Cozy Cottage Living Community
Sign up for The Modern Day Cottage Community newsletter to receive recipes. how-tos, exclusives, and more from my kitchen to your inbox every week.
The Cottage Mill: Freshly Milled Flour Guides, Recipes, and More Await!
FAQ
More Fresh Flour Guides from The Cottage

Freshly Milled Flour Sourdough Starter | Day-by-Day Guide
Equipment
- 1 Grain Mill
- 1 Wide Mouth Glass Jar
- 1 Digital kitchen scale
- 1 Wooden spoon or spatula
- 1 Rubber band or tape
- 1 Fine Sieves #50 or #60
Ingredients
Base Ingredients (for every feeding)
- 50 g Freshly milled hard red or hard white wheat flour sifted #50–60 — 50 g per feed
- 50 g Filtered or mineral water — 50 g per feed
- 50 g Fresh-squeezed orange juice optional, Day 1 only — 50 g
- 10-15 g Rye flour* optional only use on days 4-5 in place of part of the flour optional, for sluggish starter, Day 4–5 only — 10–15 g in place of part of the flour
Ingredient Totals (so you know what to mill or buy)
7 day build: ~350 g flour + 350 g water + 50 g orange juice if using
- 50 g Optional* Fresh squeezed orange juice instead of the water
- 350 g Freshly Milled Flour
- 350 g Water
- 10-15 g Rye flour (optional, for sluggish starter, Day 4–5 only) in place of part of the flour
14 day build: ~700 g flour + 700 g water
- 700 g Freshly Milled Flour
- 700 g Water
Instructions
- Mill the grain — mill wheat berries on a fine setting and plan to use the flour within a few hours. Fresh flour is most active in the hours right after milling and gives the culture its strongest possible start.
- Choose and mark your jar — use a clean wide-mouth jar so stirring stays easy. After each feeding, mark the level with a rubber band and write the time with a dry erase marker. These two marks make it easy to read rise patterns across the week without guessing.
- Day 1 — Mix and rest — stir together 50 grams freshly milled whole wheat flour and 50 grams filtered water or optional freshly squeezed orange juice until no dry flour remains. Scrape down the sides, cover loosely, and keep the jar warm around 70 to 75 degrees Fahrenheit. Optional: replace the water with fresh orange juice on day one to support a friendly pH early on. This approach has given the most consistent early results across decades of starting new cultures and I recommend it to every beginner. What you will notice: the mixture looks like thick paste or batter, and the smell is usually neutral, like warm grain or cereal. That is perfectly normal on day one.
- Day 2 — Stir for oxygen — do not feed today. Stir the starter once or twice to introduce oxygen, then scrape down the sides and cover loosely again. What you will notice: a few tiny bubbles may appear, though some jars stay completely quiet. The smell may be grainy or lightly tangy. Both are normal.
- Days 3 to 5 — Begin daily feedings — discard all but 30 grams of starter. Add 50 grams freshly milled flour and 50 grams filtered water, then stir until fully combined with no dry flour remaining. Scrape down the sides, mark the level and time, and keep the jar warm. What you will notice: a sudden rise followed by collapse often appears around day three or four. This false rise is normal and part of the culture settling into itself as the right bacteria establish dominance. Stay consistent and keep feeding.
- Days 6 to 10 — Build strength — continue the same daily feeding routine. If the starter peaks and falls before 12 hours, begin feeding twice daily. Simple rule: if it peaks and falls before 12 hours, it needs more food. Optional rye boost: keep 30 grams starter and feed 45 grams freshly milled wheat, 5 grams rye, and 50 grams water for two to three days. Rye carries enzymes that often wake up a sluggish culture with remarkable speed. This is my go-to move when a starter feels stuck around day six.
- Days 10 to 14 — Stay consistent — cool kitchens may need extra time. Avoid restarting. Keep the starter warm, feed regularly, and watch its behavior rather than the calendar. Activity and pattern matter more than any specific day count. How to tell it is ready — a mature freshly milled flour sourdough starter doubles within four to six hours after feeding, smells pleasantly tangy and mildly yeasty, shows bubbles throughout the jar, and stretches into a web-like structure when lifted from the jar. These signs matter more than any float test or specific day count. If it rises and collapses quickly: this means the starter is hungry, not weak. Feed more often or increase the flour ratio. After day seven, a slightly thicker starter often improves strength and timing noticeably.
Notes
Was this guide helpful?
If you learned something valuable, I’d be so grateful if you would rate it ⭐️⭐️⭐️⭐️⭐️ below, share it with others. Use the buttons below to share, comment, or connect. I truly enjoy seeing and celebrating your fresh flour journey.

Emily Rider
Home miller since 1999 with fresh-milled flour & sourdough experience. Sharing from-scratch recipes and traditional kitchen skills, rooted in the seasons and inspired by everyday cottage living and seasonal rhythms.
This is awesome. Love all the detailed instructions.
Thank you so much, Megan! I’m thrilled you enjoyed the post and found the detailed instructions helpful. Working with freshly milled flour can feel a little different at first, but once you see your starter come to life, it’s so rewarding. I hope your starter is bubbling beautifully!
Warmly,
Emily Rider | The Modern Day Cottage
This is absolutely wonderful! You’ve included so much information in an easy to digest way. 😉 plus the troubleshooting and FAQ guide is such a huge help. Thanks for sharing!
Thank you so much, Emily! I’m so glad you found it helpful. A sourdough starter can be tricky at first, but once you understand its rhythm, it becomes such a joy to care for. I’m delighted the FAQ & troubleshooting section came in handy — that’s exactly why I included them.
Warmly,
Emily Rider | The Modern Day Cottage