
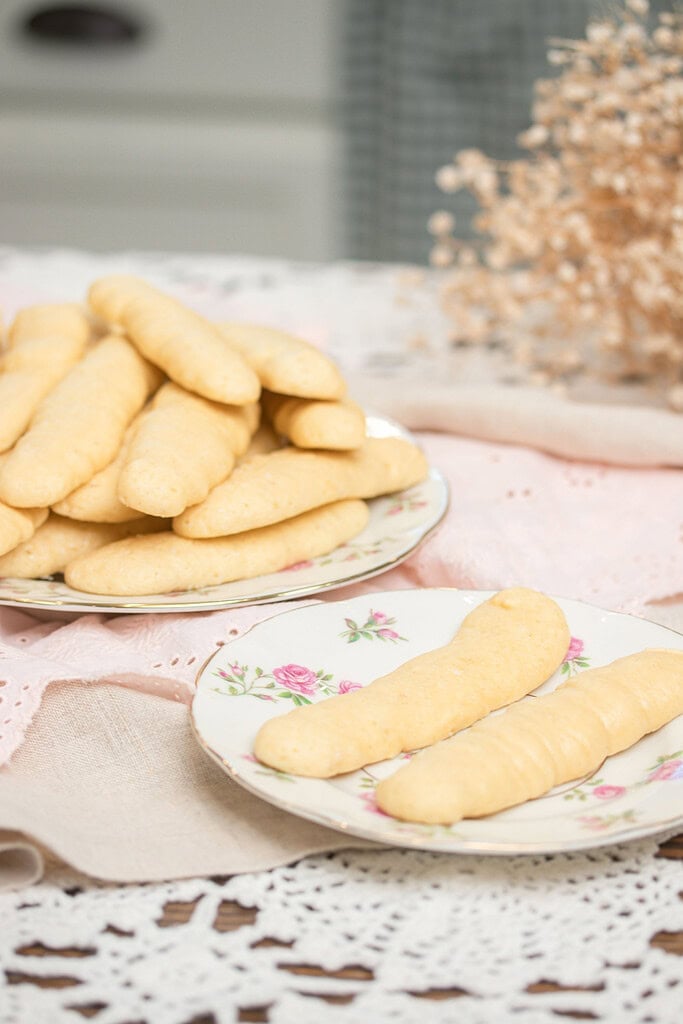
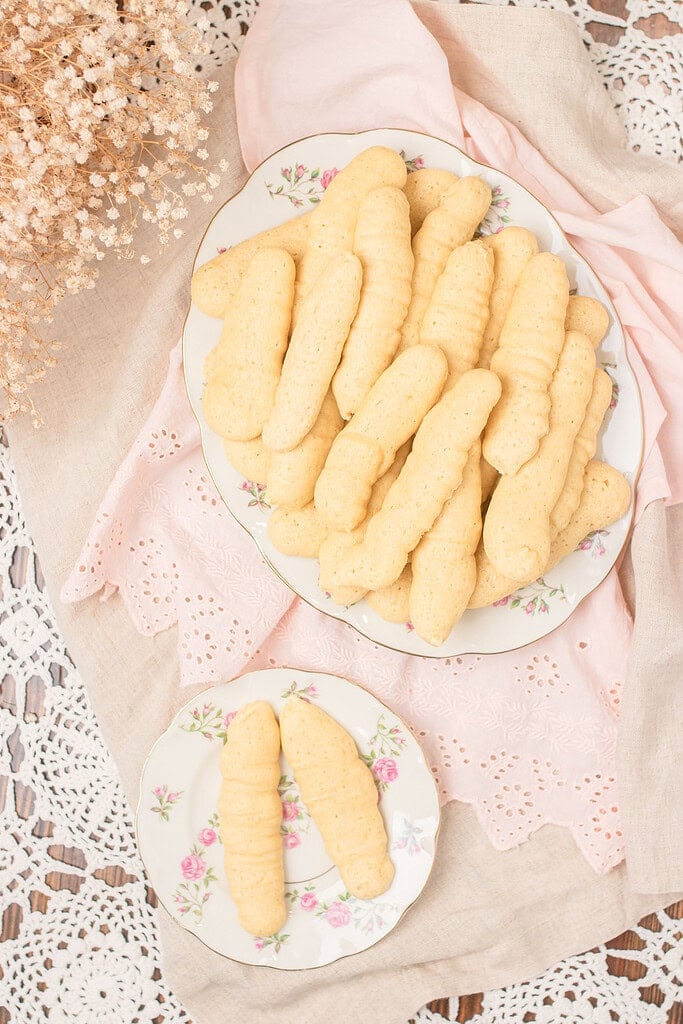
This sourdough ladyfingers recipe makes light, airy, crisp biscuits using sourdough discard or an active starter, ready in under 30 minutes, and delicate enough for tiramisu or lovely enough to serve alongside a cup of tea on their own.
The batter comes together by folding a sourdough mixture into whipped egg whites, which gives these ladyfingers their signature crisp exterior and soft spongy interior that soaks up coffee or espresso without turning to mush.
If you are planning to use these in a layered dessert, Homemade Tiramisu Recipe | No Eggs, Authentic Italian Flavor is the companion recipe these were made for, and for more ways to bake with sourdough discard, Sourdough Discard Carrot Cake and Sourdough No-Bake Oatmeal Cookies are both worth having nearby.
Did you know you can convert your favorite recipes to freshly milled flour? Learn how to convert recipes and find more fresh flour guides at The Cottage Mill.
The Cottage Mill | Freshly Milled Flour Guides, Recipes, and More Await!
Why You’ll Love This Recipe
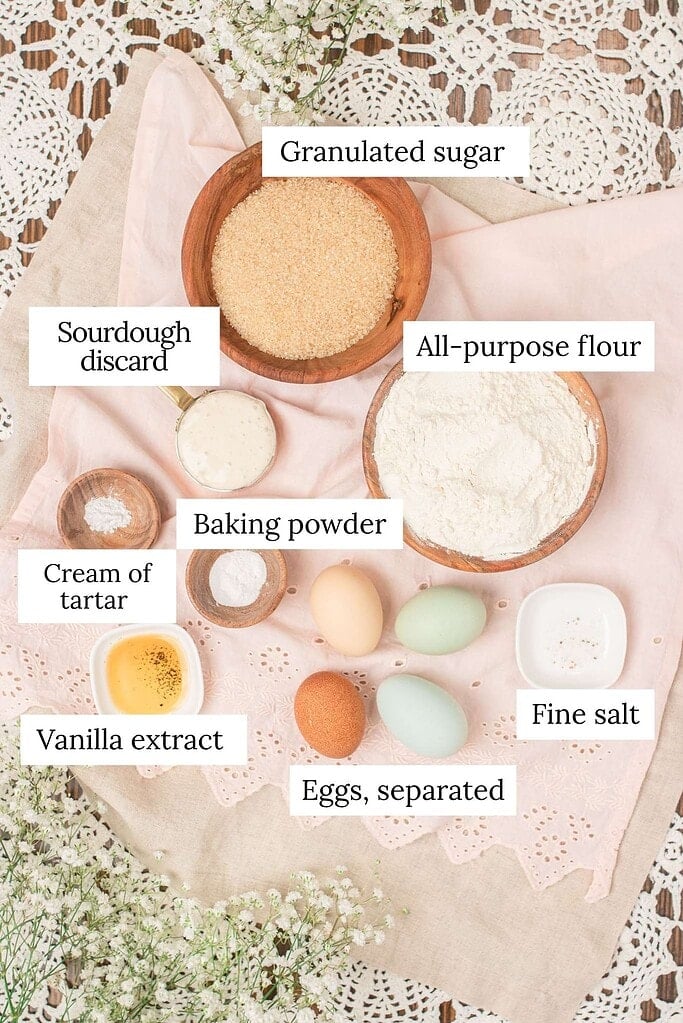
Ingredients
Variations & Add-Ins
Recipe Tips
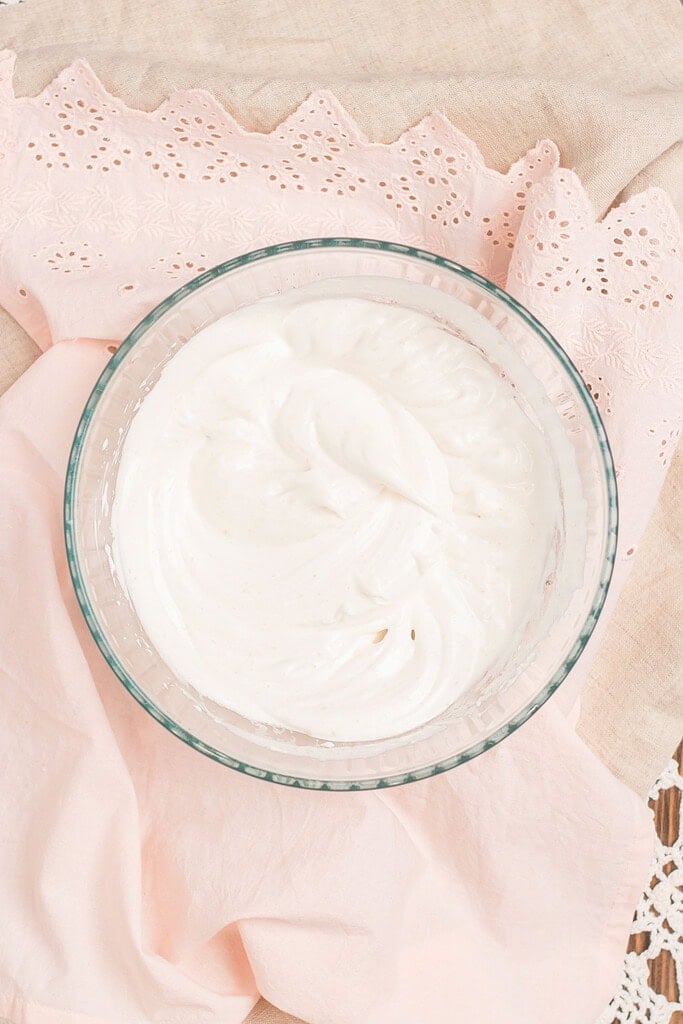
Whip egg whites to stiff glossy peaks, not dry peaks – The egg whites should hold a firm peak that curls slightly at the tip when you lift the beater. If they look dry or grainy they have been overwhipped and the batter will not pipe smoothly. Stop as soon as the peaks are firm and glossy.
Fold, never stir – Use a wide spatula and fold the yolk mixture into the whites in large, slow strokes that go down through the center and up along the side of the bowl. Stirring deflates the batter and produces flat, dense ladyfingers. Ten to twelve gentle folds is usually enough.
Sift the flour in, never dump it – Sift the flour and baking powder directly over the batter in two additions and fold each addition in gently before adding the next. Sifting prevents lumps and keeps the batter as light as possible.
Use a piping bag with a round tip – A round tip about half an inch wide pipes the most consistent 3-inch logs. If you do not have a piping bag, a zip-lock bag with the corner snipped works well. Consistent sizing means even baking across the whole tray.
Space them an inch apart – The ladyfingers spread slightly as they bake. Spacing them about an inch apart on the parchment-lined sheet prevents them from merging at the edges and gives each one a clean, defined shape.
Check at 6 minutes – These bake fast. Start checking at 6 minutes and pull them when the tops are lightly golden and the edges look set and dry. Overbaked ladyfingers are too crisp to soak up liquid properly for tiramisu and lose the slightly spongy interior that makes them worth making from scratch.
Cool completely before storing – Ladyfingers continue to crisp as they cool on the wire rack. Do not store them while still warm or they will soften inside the container and lose their texture. Give them a full 20 to 30 minutes on the rack before transferring to an airtight container.
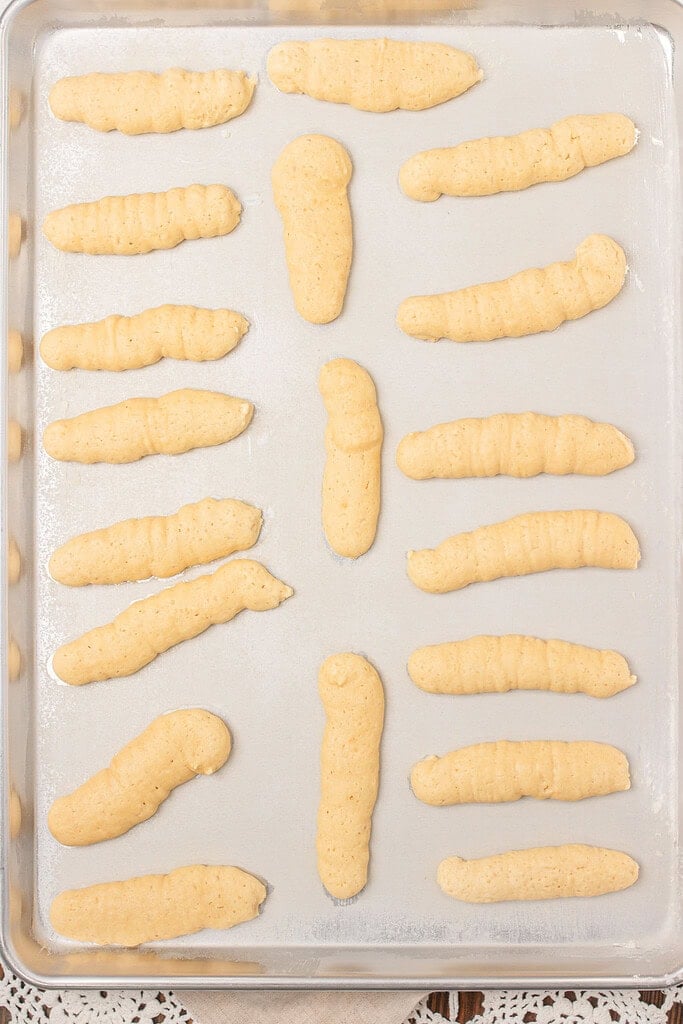
Instructions
- Preheat and prepare – Preheat your oven to 350°F. Line two baking sheets with parchment paper and set aside. Do not grease the parchment — ladyfingers release cleanly from an ungreased surface once fully cooled.
- Sift the dry ingredients – Sift the all-purpose flour and baking powder together into a medium bowl and set aside.
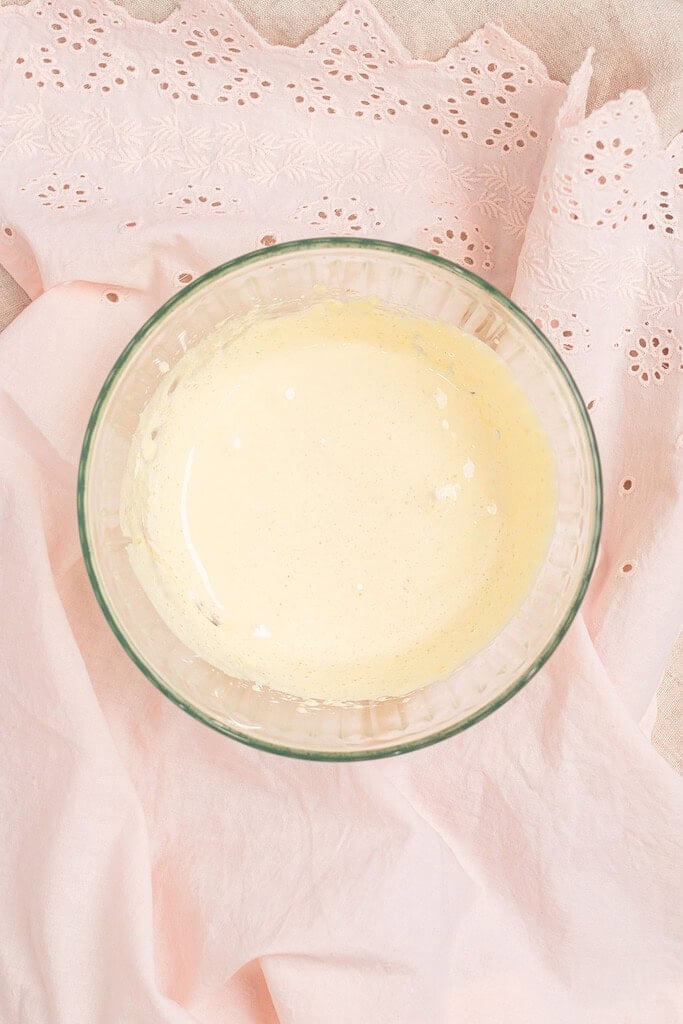
- Beat the egg yolks – In a large bowl beat the egg yolks, vanilla extract, salt, and ¼ cup of sugar with a hand mixer or stand mixer on medium speed until the mixture is thick, pale, and ribbons off the beater when lifted, about 3 to 4 minutes.
- Fold in the sourdough discard – Add the sourdough discard to the egg yolk mixture and beat on low speed until fully incorporated with no streaks of discard visible. The mixture will loosen slightly — that is expected.
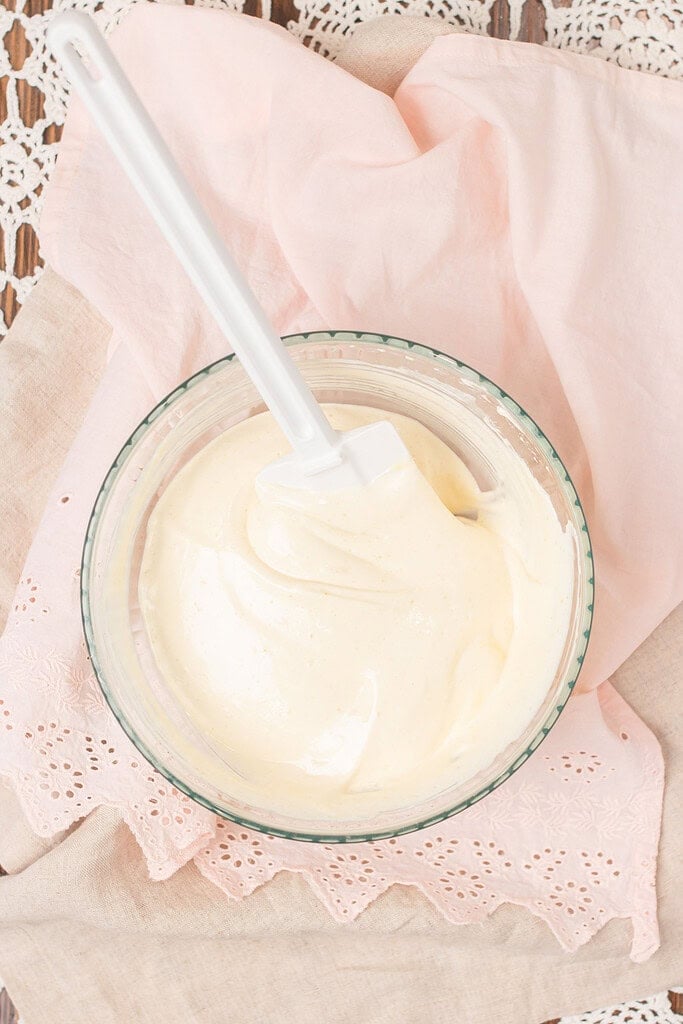
- Whip the egg whites – In a clean bowl with clean beaters, beat the egg whites and cream of tartar on medium speed until soft peaks form. Gradually add the remaining ½ cup of sugar and continue beating on medium-high until stiff, glossy peaks form. The whites should hold a firm peak that curls slightly at the tip.
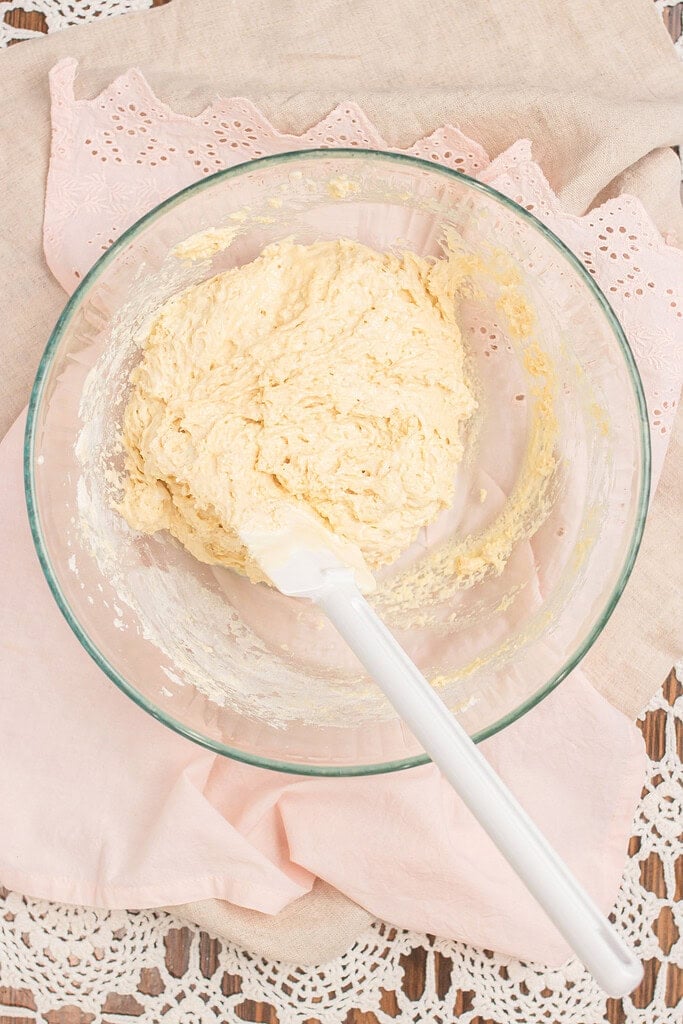
- Fold the mixtures together – Gently fold the egg yolk mixture into the whipped egg whites in three additions using a wide spatula and slow, deliberate strokes. Stop folding as soon as the mixture is just combined with no visible streaks of yolk remaining.
- Fold in the flour – Sift the flour mixture over the batter in two additions, folding each in gently before adding the next. The batter should look light, airy, and just barely hold its shape when lifted on the spatula.
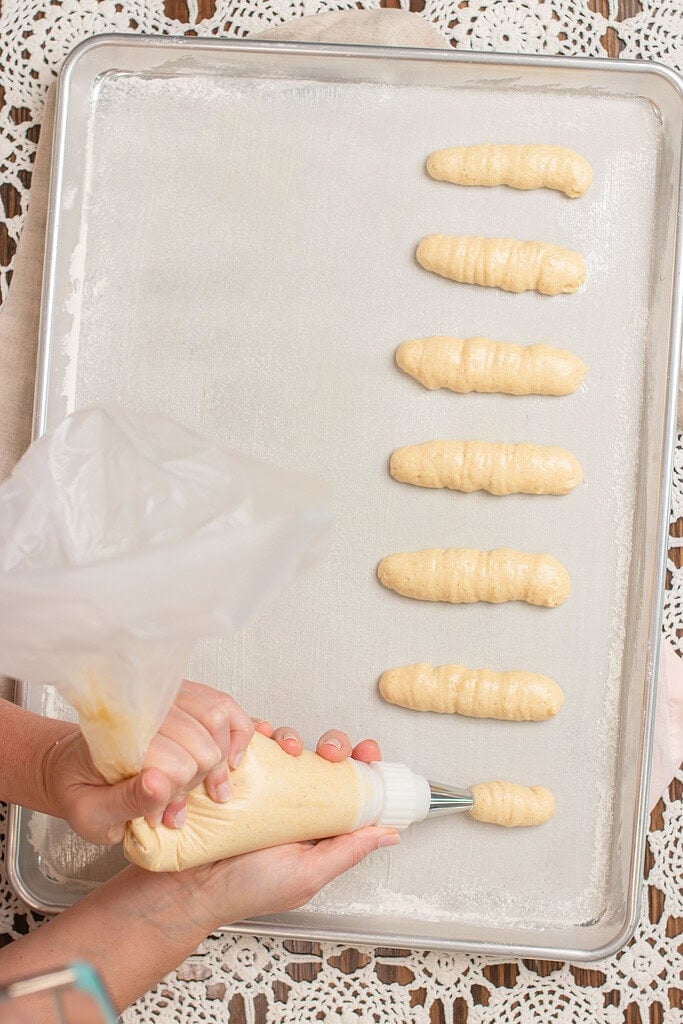
- Pipe the ladyfingers – Transfer the batter to a piping bag fitted with a round tip. Pipe 3-inch logs onto the prepared baking sheets spacing them about 1 inch apart. Hold the bag at a slight angle and apply even pressure for consistent logs.
- Dust with powdered sugar – Dust the piped fingers generously with powdered sugar. Let sit for 2 minutes then dust again for a crispier top and a more defined shape after baking.
- Bake until lightly golden – Bake for 6 to 8 minutes until the tops are lightly golden and the edges look set and dry. Begin checking at the 6-minute mark as these bake quickly and the difference between perfectly done and overbaked is about 1 minute.
- Cool completely – Remove from the oven and let cool on the baking sheet for 5 minutes before transferring to a wire rack. Cool completely for at least 20 to 30 minutes before storing or using in a dessert.
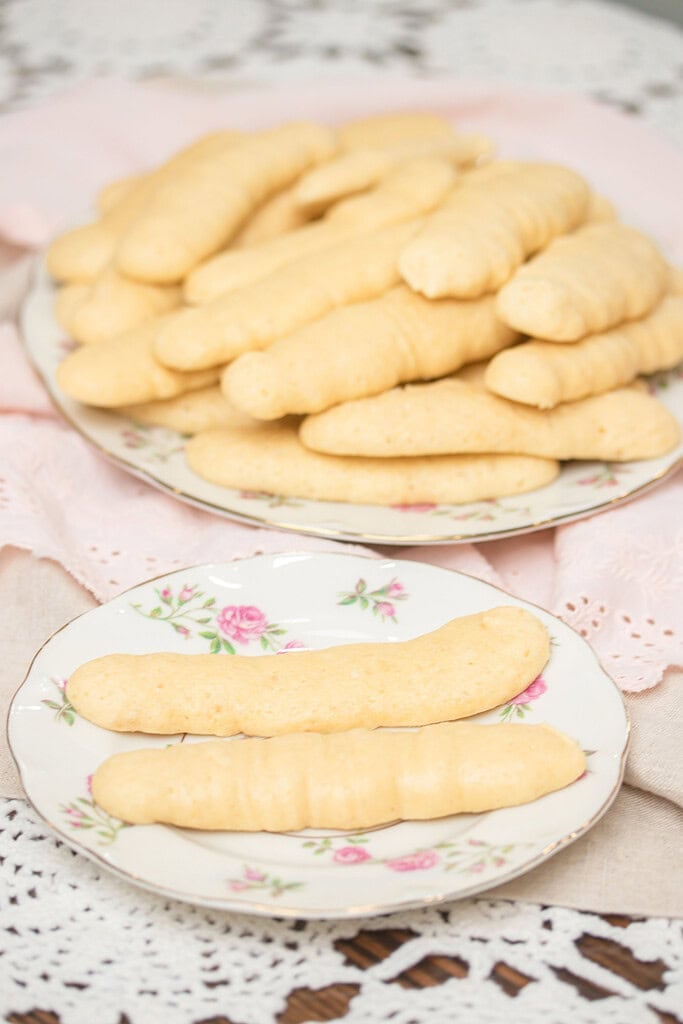
Freezing and Storage
- Room temperature – Store completely cooled ladyfingers in an airtight container at room temperature for up to 5 days. They will remain crisp for the first 2 to 3 days and soften slightly after that, which actually makes them better for tiramisu on day two.
- For tiramisu use – Leave the baked ladyfingers uncovered at room temperature for 24 hours before using in Homemade Tiramisu Recipe | No Eggs, Authentic Italian Flavor. The extra drying time gives them the structure to soak up espresso without turning to mush in the layers.
- Freezer – Layer cooled ladyfingers between sheets of parchment paper in a freezer-safe container and freeze for up to 2 months. Thaw at room temperature uncovered for 30 minutes before using. They will crisp back up as they come to temperature.
- Do not refrigerate unfrozen – Refrigerating ladyfingers without freezing them first causes them to absorb moisture from the air and go soft quickly. Room temperature in an airtight container is the right storage method for short-term keeping.
FAQ
Join The Community
Want More Cozy Recipes & Seasonal Inspiration?
Get cozy, from-scratch recipes, seasonal cottage living tips, and slow living inspiration delivered straight to your inbox.
More Cozy Recipes from the Cottage
⭐️ Rate This Recipe
Made this recipe? Leave a star ⭐️ rating below, it means the world to me and helps my recipes get found by more people like you. Tag me on Instagram @themoderndaycottage

Sourdough Ladyfingers | Discard or Starter
 Prep:25 minutes Cook:8 minutes Total:8 minutes
 Equipment
- 2 Baking sheets
- 1 Piping bag with a round tip
- 1 hand Mixer or Stand Mixer
- 2 Large mixing bowls
- 1 fine mesh sifter
Ingredients
- ½ teaspoon baking powder 2 grams
- 1½ cups all-purpose flour 180 grams
- 4 large eggs 200 grams (separated, room temperature)
- ¼ teaspoon cream of tartar 1 gram
- ¾ cup granulated sugar 150 grams (divided into ½ cup and ¼ cup)
- 1 teaspoon vanilla extract 5 grams
- ⅛ teaspoon fine sea salt 1 gram
- ¼ cup sourdough discard 60 grams (or active starter) powdered sugar for dusting, to taste
Instructions
- Preheat and prepare – Preheat your oven to 350°F. Line two baking sheets with parchment paper and set aside. Do not grease the parchment — ladyfingers release cleanly from an ungreased surface once fully cooled.
- Sift the dry ingredients – Sift the all-purpose flour and baking powder together into a medium bowl and set aside.
- Beat the egg yolks – In a large bowl beat the egg yolks, vanilla extract, salt, and ¼ cup of sugar with a hand mixer on medium speed until the mixture is thick, pale, and ribbons off the beater when lifted, about 3 to 4 minutes.
- Fold in the sourdough discard – Add the sourdough discard to the egg yolk mixture and beat on low speed until fully incorporated with no streaks of discard visible. The mixture will loosen slightly.
- Whip the egg whites – In a clean bowl with clean beaters, beat the egg whites and cream of tartar on medium speed until soft peaks form. Gradually add the remaining ½ cup of sugar and continue beating on medium-high until stiff, glossy peaks form.
- Fold the mixtures together – Gently fold the egg yolk mixture into the whipped egg whites in three additions using a wide spatula and slow deliberate strokes. Stop folding as soon as the mixture is just combined with no visible streaks of yolk remaining.
- Fold in the flour – Sift the flour mixture over the batter in two additions, folding each in gently before adding the next. The batter should look light, airy, and just barely hold its shape when lifted on the spatula.
- Pipe the ladyfingers – Transfer the batter to a piping bag fitted with a round tip. Pipe 3-inch logs onto the prepared baking sheets spacing them about 1 inch apart.
- Dust with powdered sugar – Dust the piped fingers generously with powdered sugar. Let sit for 2 minutes then dust again for a crispier top and a more defined shape after baking.
- Bake until lightly golden – Bake for 6 to 8 minutes until the tops are lightly golden and the edges look set and dry. Begin checking at the 6-minute mark.
- Cool completely – Remove from the oven and let cool on the baking sheet for 5 minutes before transferring to a wire rack. Cool completely for at least 20 to 30 minutes before storing or using in a dessert.
Video
Notes

Emily Rider
Home miller since 1999 with fresh-milled flour & sourdough experience. Sharing from-scratch recipes and traditional kitchen skills, rooted in the seasons and inspired by everyday cottage living and seasonal rhythms.