
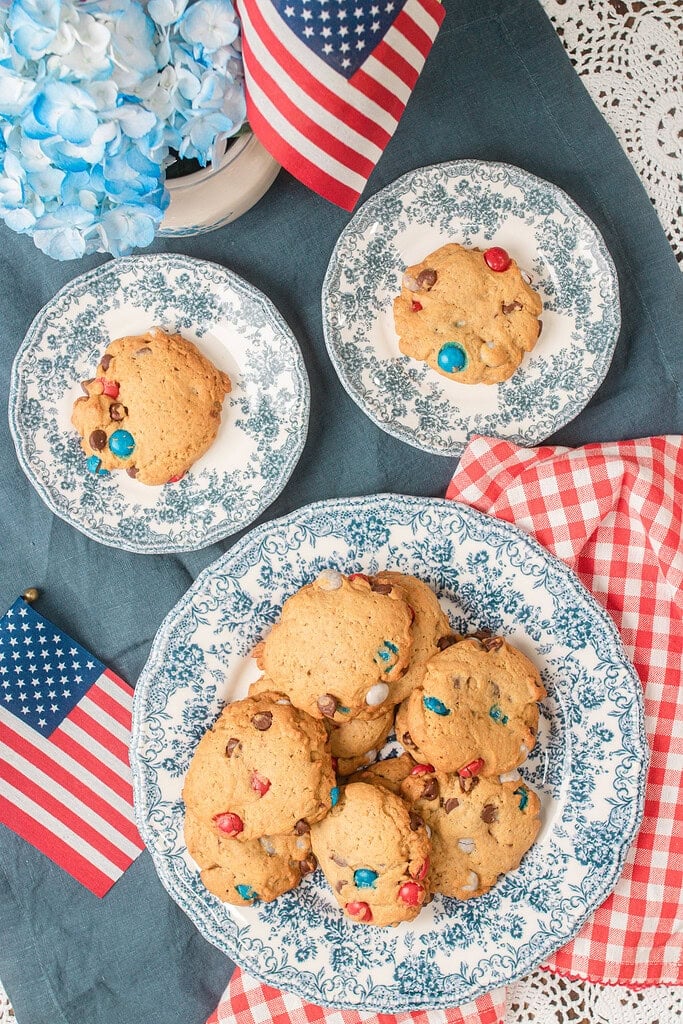
Golden brown edges, soft, chewy centers, and bursts of red, white, and blue chocolate candies make these Red, White & Blue Sourdough Chocolate Chip Cookies a favorite for summer celebrations. They start with the same rich brown butter cookie dough I use year-round, then get a festive twist that’s perfect for Memorial Day, the Fourth of July, Labor Day, and backyard cookouts.
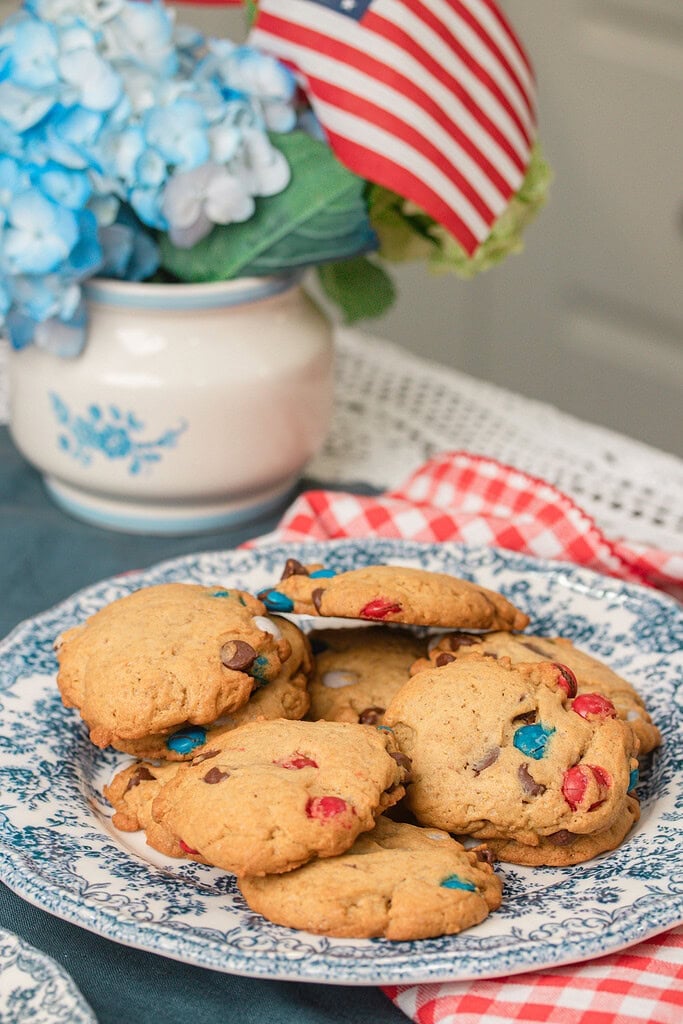
After making countless batches of these sourdough chocolate chip cookies, I realized I didn’t need a completely different recipe for every holiday. Adding patriotic chocolate candies transforms the cookies into a colorful dessert without changing the soft texture, crisp edges, or rich brown butter flavor that makes the original recipe so dependable. It’s one of my favorite ways to make a familiar recipe feel special with just one simple addition.
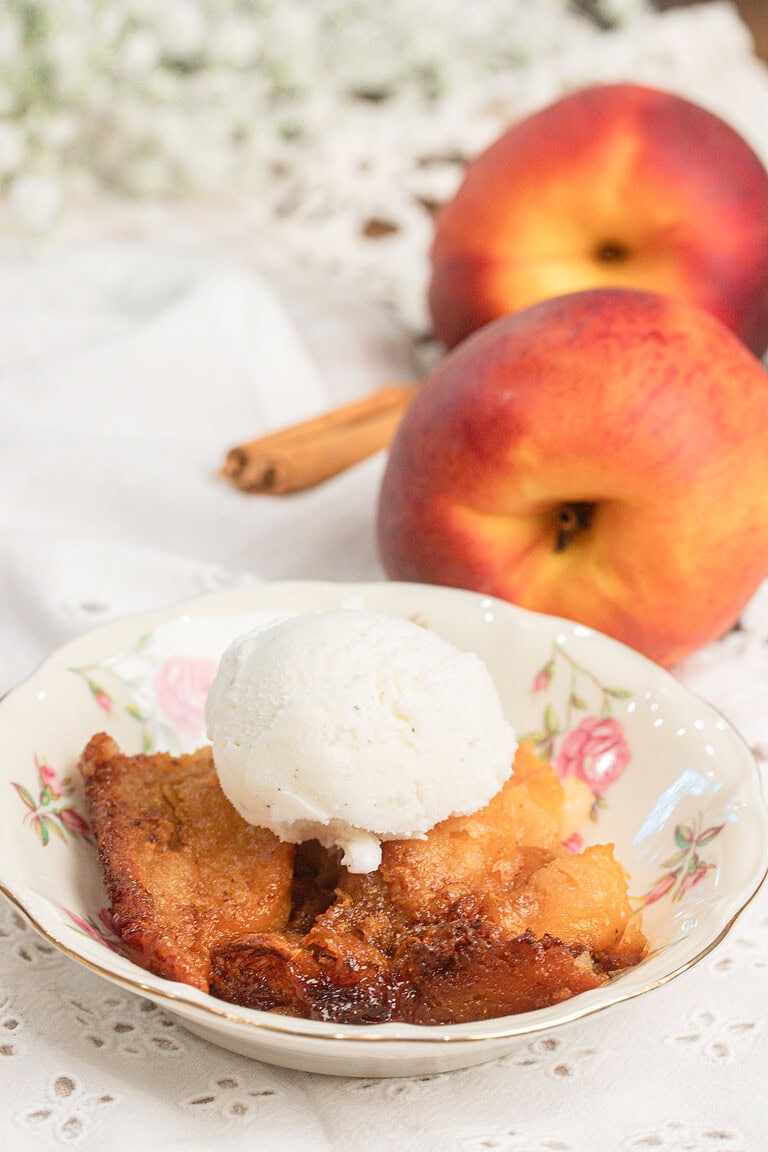
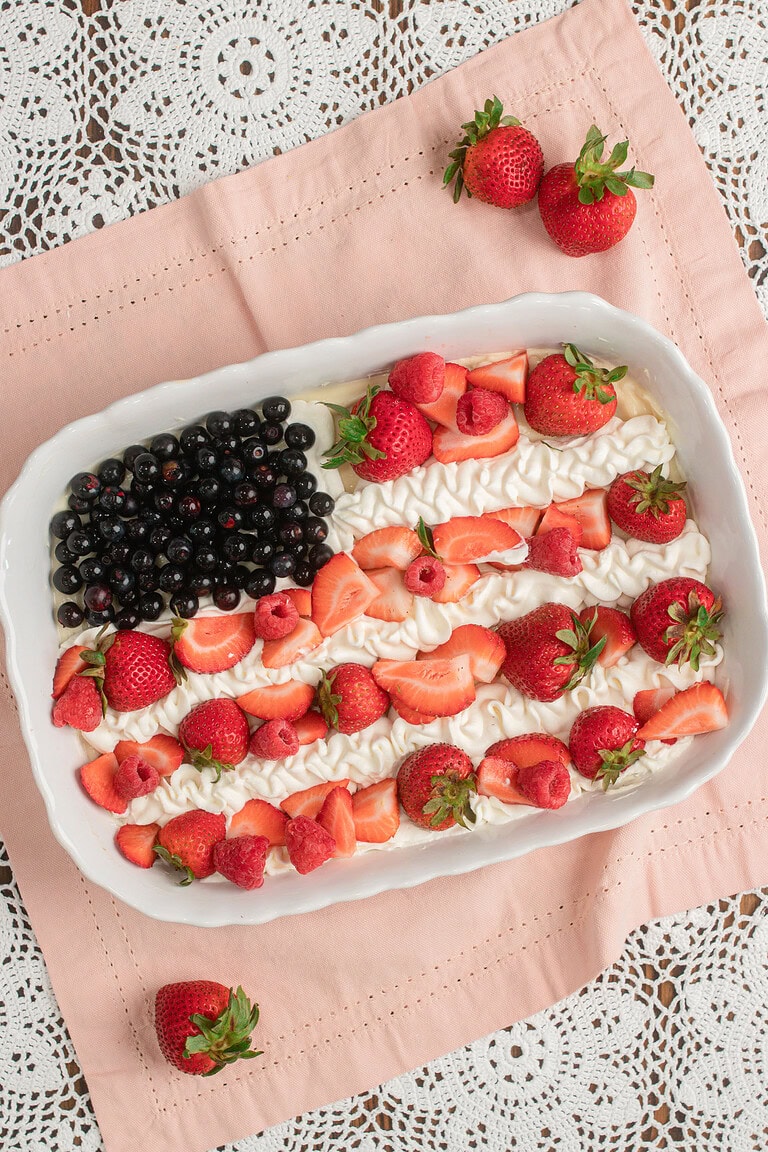
If you’re planning a full summer dessert spread, serve these cookies alongside Fruit Pizza with Freshly Milled Flour, Peach Lemonade, and Brown Butter Peach Ice Cream Custard for a homemade dessert table that’s perfect for sharing with family and friends.
Did you know you can convert your recipes to freshly milled flour? I share how to convert your recipes and more at The Cottage Mill.
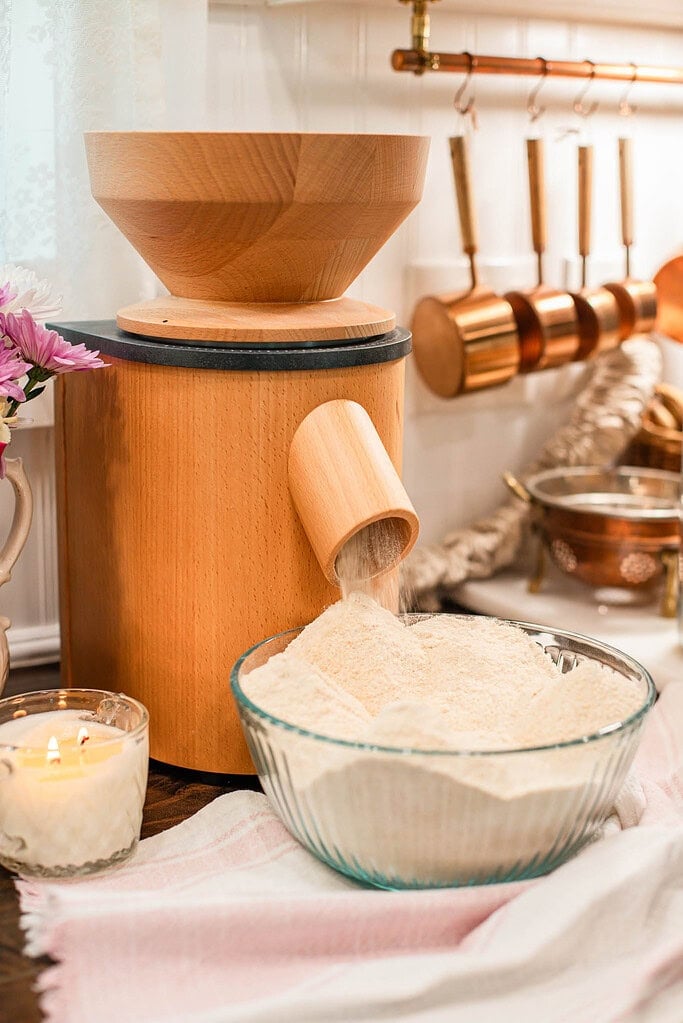
The Cottage Mill: Freshly Milled Flour Guides, Recipes, and More Await!
Why You’ll Love This Recipe
Ingredients
Variations & Add-Ins
Recipe Tips
Start with room temperature ingredients. Let the eggs and sourdough discard sit on the counter for about 30 minutes before mixing. Room temperature ingredients blend more easily into the browned butter, creating a smoother dough and a more even bake.
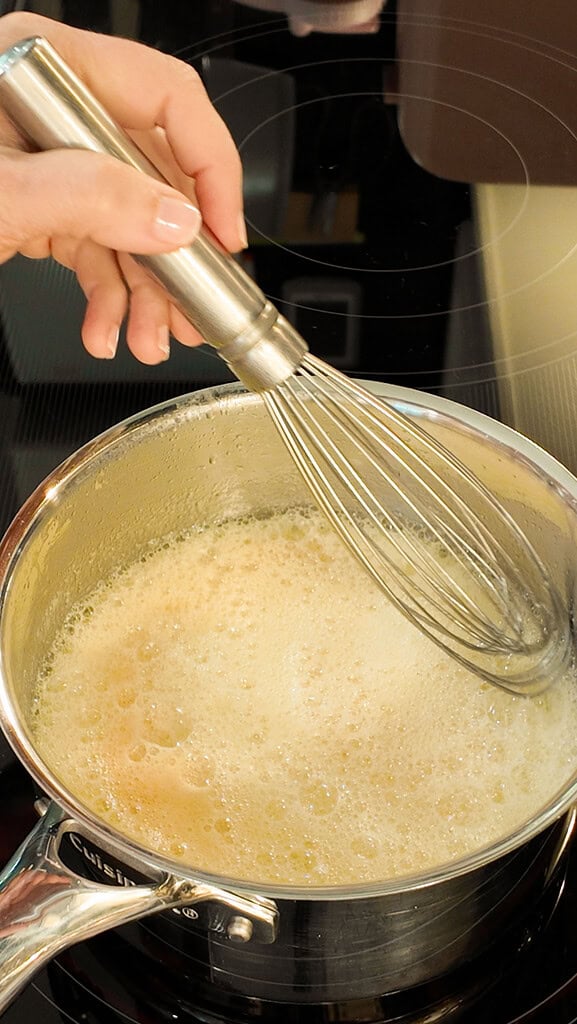
Brown the butter carefully. Brown butter is what gives these cookies their signature flavor. Once the butter turns a deep golden brown and smells nutty, immediately pour it into your mixing bowl, including all of the browned bits at the bottom of the pan. They hold some of the best flavor.
Don’t overmix the dough. After adding the flour and sourdough discard, mix only until no dry streaks remain. Overmixing develops the gluten and can make the cookies less tender.
Fold in the candies gently. The chocolate candies have a candy shell that can crack if they’re mixed too aggressively. Fold them in just until they’re evenly distributed throughout the dough.
Save a handful for the tops. Before baking, press a few extra red, white, and blue chocolate candies into each dough ball. This simple step gives the finished cookies a colorful, bakery-style look.
Chill the dough for thicker cookies. If you prefer thick cookies with soft, chewy centers, chill the scooped dough for about 30 minutes before baking. If you like thinner cookies with crispier edges, bake them right away.
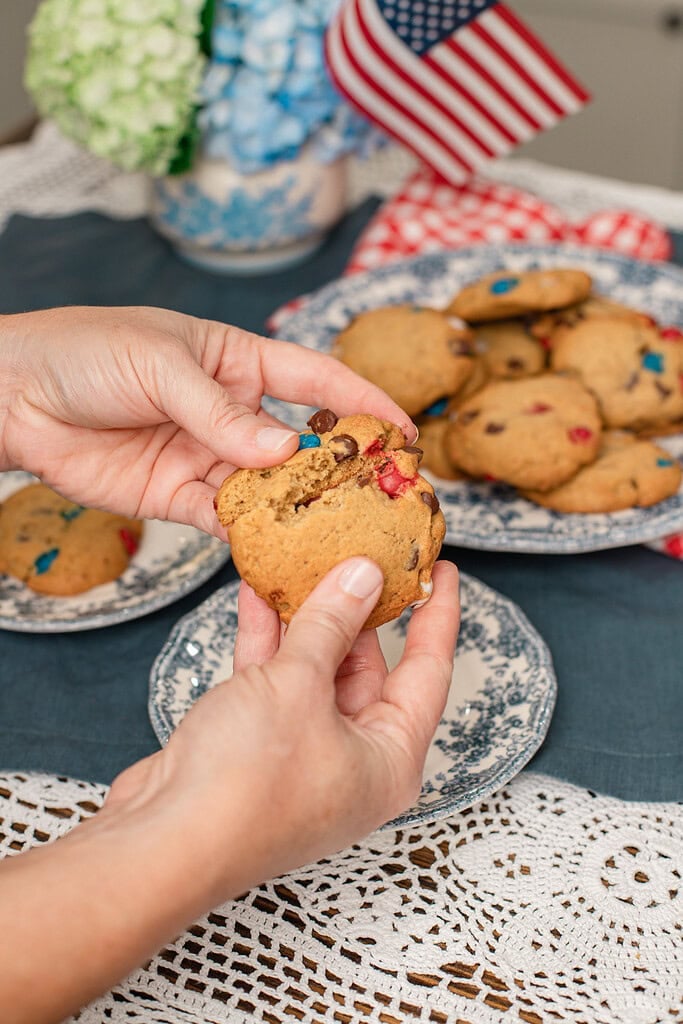
Bake just until the edges are set. The cookies should look lightly golden around the edges while the centers still appear slightly underbaked. They’ll continue setting as they cool, giving you a soft center every time.
Let the cookies cool on the baking sheet. Leave them on the hot baking sheet for 5 to 10 minutes before transferring them to a cooling rack. This helps the centers finish baking without drying out.


Instructions
- Brown the butter – Place the salted butter in a medium saucepan over medium heat. Stir occasionally as the butter melts, foams, and begins to brown. Watch carefully for a deep amber color and a rich, nutty aroma. Once browned, immediately pour the butter, including all the browned bits, into a large mixing bowl to stop the cooking. Let cool for 5–8 minutes until no longer hot but still fluid.
- Preheat the oven – Preheat the oven to 350°F (177°C). Line baking sheets with parchment paper.
- Mix the butter and sugars – Add the granulated sugar and brown sugar to the cooled brown butter. Mix until fully incorporated. The mixture will look glossy and slightly grainy, which is exactly what you want.
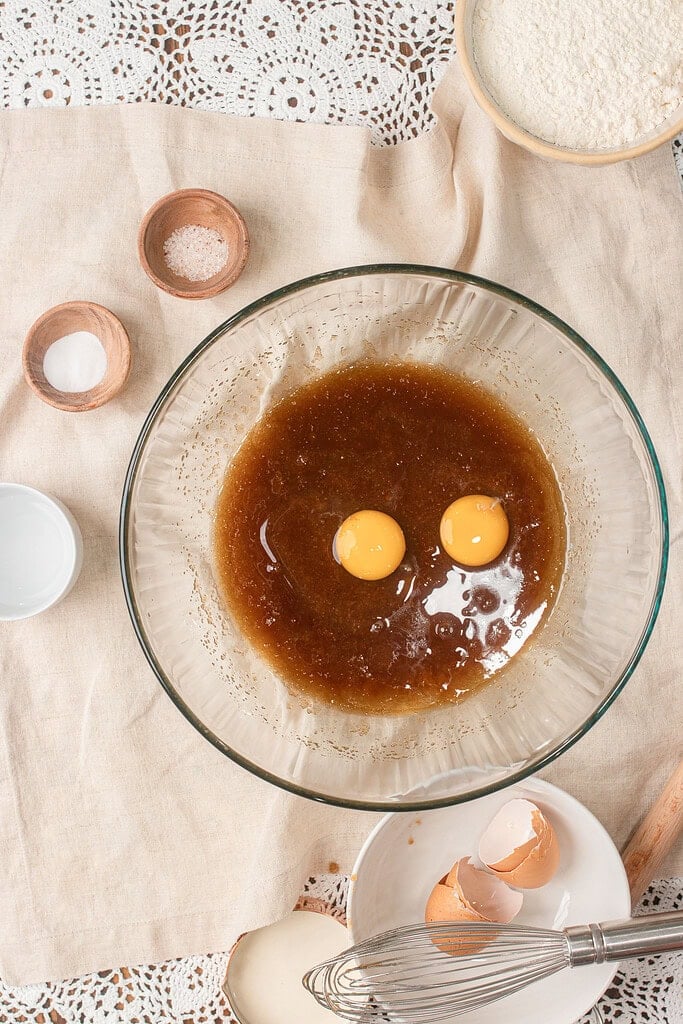
- Add the eggs and vanilla – Mix in the eggs and vanilla extract until the mixture becomes smooth and slightly thickened.
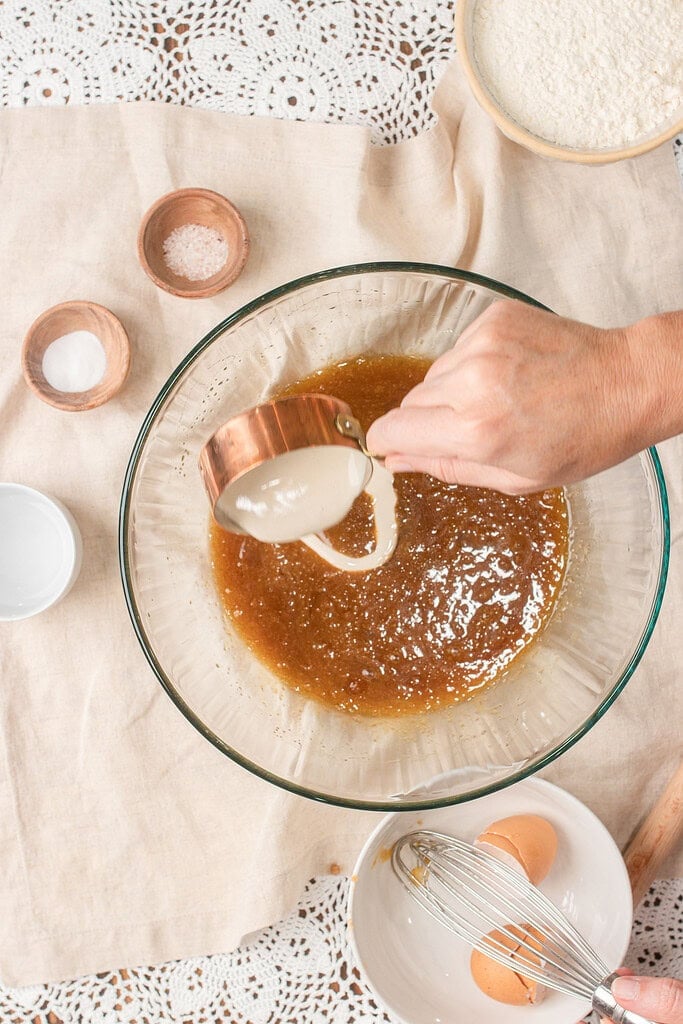
- Dissolve the baking soda – In a small bowl, whisk together the baking soda, hot water, and salt until dissolved. Stir the mixture into the wet ingredients to evenly distribute the leavening and salt.
- Mix in the sourdough discard – Stir the sourdough discard into the wet ingredients until fully incorporated and no streaks remain.
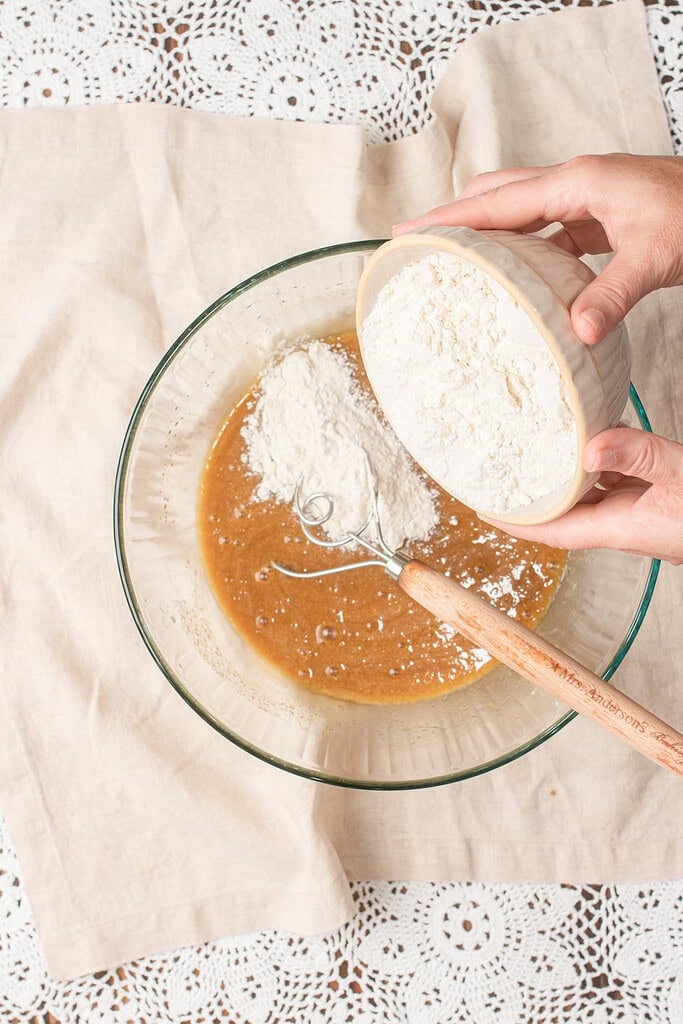
- Add the flour – Mix in the all-purpose flour just until no dry streaks remain. The dough will be thick. Avoid overmixing to keep the cookies tender.
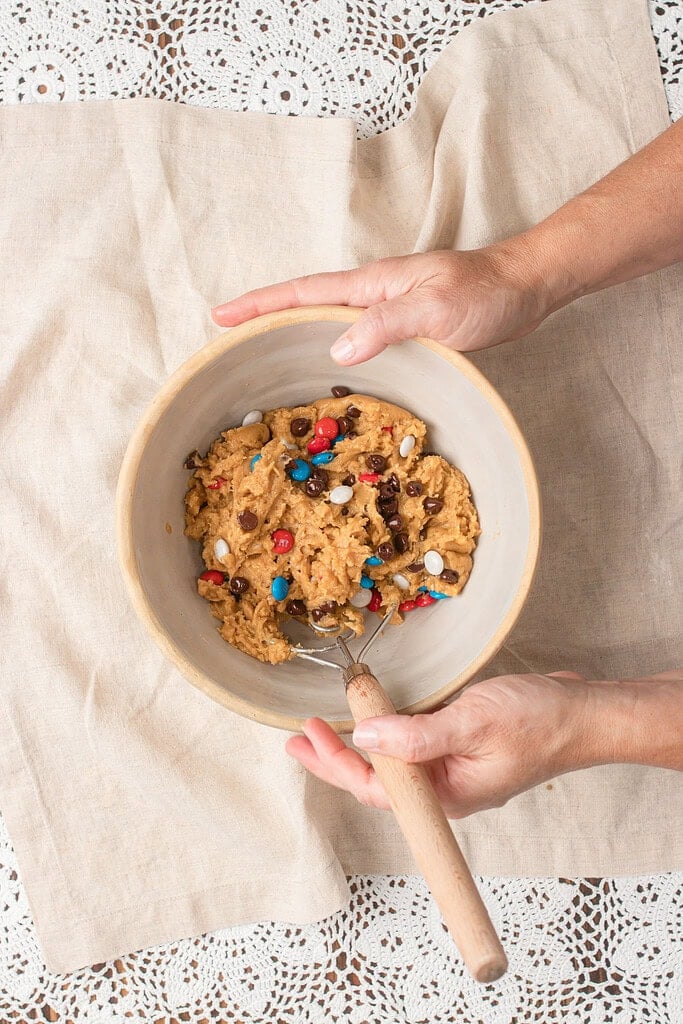
- Fold in the chocolate – Gently fold the chocolate chips and the red, white, and blue chocolate candies into the dough with a rubber spatula until evenly distributed. Stop mixing as soon as everything is incorporated.
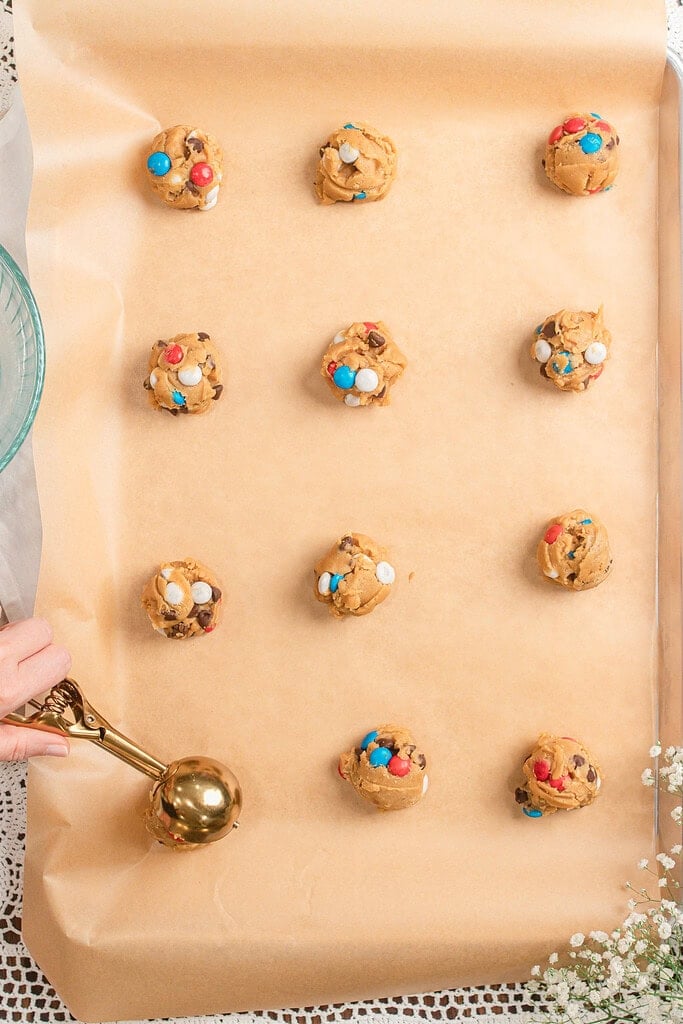
- Scoop and chill if desired – Scoop the dough using a 2-inch cookie scoop onto the prepared baking sheets. For thicker cookies with soft, bakery-style centers, refrigerate the scooped dough for 30 minutes before baking. For thinner cookies with crispier edges, bake immediately.
- Bake the cookies – Bake for 10–15 minutes, until the edges are set and lightly golden while the centers still appear slightly underdone and soft.
- Cool before serving – Allow the cookies to rest on the baking sheet for 5–10 minutes before transferring them to a cooling rack. They finish setting as they cool, and the rich brown butter flavor deepens even more. Enjoy warm or completely cooled.
Gifting Ideas
Freezing and Storage
- Room Temperature: Store completely cooled cookies in an airtight container for up to 5 days. Placing a slice of bread in the container helps keep them soft.
- Refrigerator: While it’s not necessary, the cookies can be refrigerated for up to 1 week in an airtight container if your kitchen is especially warm.
- Freeze the Dough: Scoop the cookie dough onto a parchment-lined baking sheet and freeze until solid. Transfer the frozen dough balls to a freezer-safe container or bag and freeze for up to 3 months. Bake straight from frozen, adding 1 to 2 minutes to the baking time.
- Freeze Baked Cookies: Once completely cooled, freeze the baked cookies in a freezer-safe container for up to 3 months. Thaw at room temperature before serving.
- Make-Ahead Tip: This is one of the recipes I rely on for holiday entertaining because the dough can be made well before Memorial Day, the Fourth of July, or Labor Day. Baking fresh cookies the morning of your gathering gives you that just-baked flavor with very little last-minute work.
- Serving Suggestion – Create a festive patriotic dessert board by serving these cookies with Red, White & Blue Brownie Fruit Kabobs, Fruit Pizza with Freshly Milled Flour, and glasses of Peach Lemonade or Peach Iced Tea. It’s an easy dessert spread for backyard cookouts, Fourth of July parties, Memorial Day, and Labor Day celebrations.
FAQ
Join The Community
Want More Cozy Recipes & Seasonal Inspiration?
Get cozy, from-scratch recipes, seasonal cottage living tips, and slow living inspiration delivered straight to your inbox.
More Summer Recipes from the Cottage
⭐️ Rate This Recipe
Made this recipe? Leave a star ⭐️ rating below, it means the world to me and helps my recipes get found by more people like you.

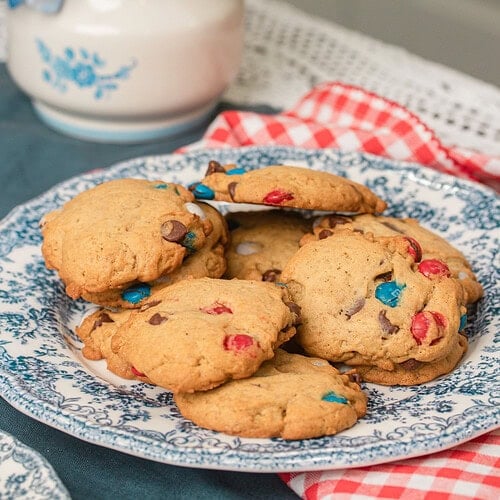
Red, White & Blue Sourdough Chocolate Chip Cookies
 Prep:20 minutes Cook:15 minutes Total:35 minutes
 Equipment
- Medium saucepan
- Large mixing bowl
- Small bowl or measuring cup
- Whisk
- hand Mixer or Stand Mixer
- Rubber Spatula
- Measuring Cups and Spoons
- 2-inch cookie scoop
- Baking sheets
- Parchment Paper
- Cooling rack
Ingredients
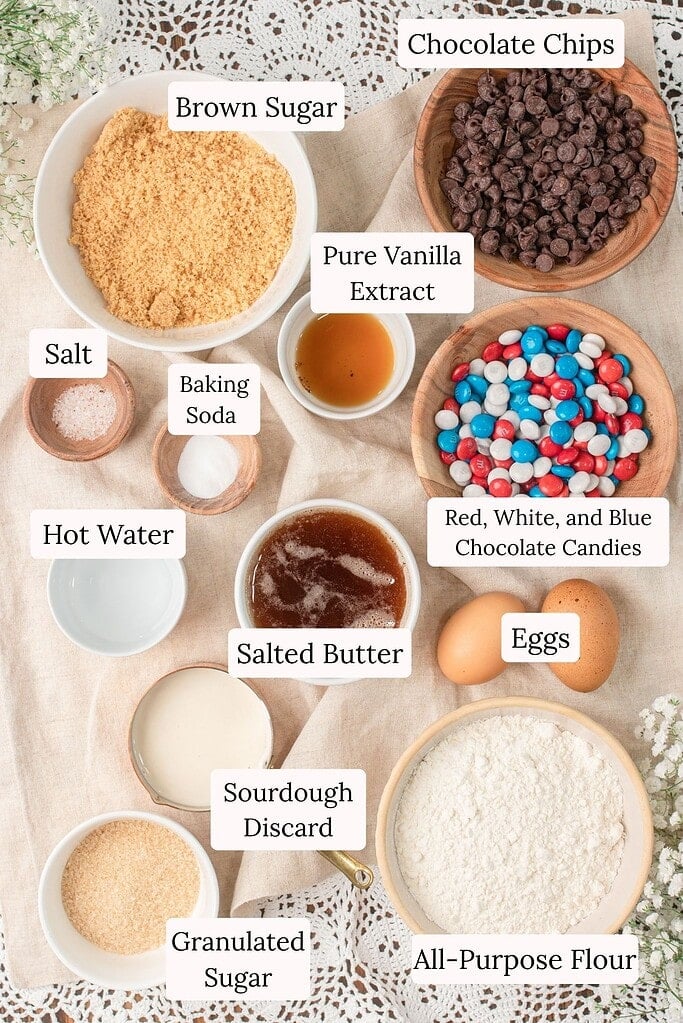
- 1½ sticks salted butter browned, 170 grams
- ⅓ cup granulated sugar 67 grams
- ¾ cup brown sugar packed, 165 grams
- 2 large eggs
- 1 tablespoon pure vanilla extract 15 grams
- 1 teaspoon baking soda 5 grams
- 2 teaspoons hot water
- ¾ teaspoon salt 4 grams
- 1 cup plus 2 tablespoons all-purpose flour 310 grams
- ⅓ cup sourdough discard about 80 grams
- 1 cup chocolate chips 170 grams
- 1 cup red, white, and blue chocolate candies 170 grams
Instructions
- Brown the butter – Place the salted butter in a medium saucepan over medium heat. Stir occasionally as the butter melts, foams, and begins to brown. Watch carefully for a deep amber color and a rich, nutty aroma. Once browned, immediately pour the butter, including all the browned bits, into a large mixing bowl to stop the cooking. Let cool for 5–8 minutes until no longer hot but still fluid.
- Preheat the oven – Preheat the oven to 350°F (177°C). Line baking sheets with parchment paper.
- Mix the butter and sugars – Add the granulated sugar and brown sugar to the cooled brown butter. Mix until fully incorporated. The mixture will look glossy and slightly grainy, which is exactly what you want.
- Add the eggs and vanilla – Mix in the eggs and vanilla extract until the mixture becomes smooth and slightly thickened.
- Dissolve the baking soda – In a small bowl, whisk together the baking soda, hot water, and salt until dissolved. Stir the mixture into the wet ingredients to evenly distribute the leavening and salt.
- Mix in the sourdough discard – Stir the sourdough discard into the wet ingredients until fully incorporated and no streaks remain.
- Add the flour – Mix in the all-purpose flour just until no dry streaks remain. The dough will be thick. Avoid overmixing to keep the cookies tender.
- Fold in the chocolate – Gently fold the chocolate chips and the red, white, and blue chocolate candies into the dough with a rubber spatula until evenly distributed. Stop mixing as soon as everything is incorporated.
- Scoop and chill if desired – Scoop the dough using a 2-inch cookie scoop onto the prepared baking sheets. For thicker cookies with soft, bakery-style centers, refrigerate the scooped dough for 30 minutes before baking. For thinner cookies with crispier edges, bake immediately.
- Bake the cookies – Bake for 10–15 minutes, until the edges are set and lightly golden while the centers still appear slightly underdone and soft.
- Cool before serving – Allow the cookies to rest on the baking sheet for 5–10 minutes before transferring them to a cooling rack. They finish setting as they cool, and the rich brown butter flavor deepens even more. Enjoy warm or completely cooled.
Notes
Freezing – Freeze baked cookies or unbaked cookie dough balls in a freezer-safe container for up to 3 months. Bake the cookie dough straight from frozen, adding 1–2 minutes to the baking time.
Sourdough Tip – Both recently fed and unfed sourdough discard work well in this recipe. The discard adds subtle flavor without making the cookies taste sour.
Serving Suggestion – Pair these cookies with Homemade Vanilla Extract for an extra-rich flavor, or serve alongside Brown Butter Peach Custard Ice Cream or Red, White and Blue Brownie Kabobs for an indulgent summer dessert.
Nutrition

Emily Rider
Home miller since 1999 with fresh-milled flour & sourdough experience. Sharing from-scratch recipes and traditional kitchen skills, rooted in the seasons and inspired by everyday cottage living and seasonal rhythms.