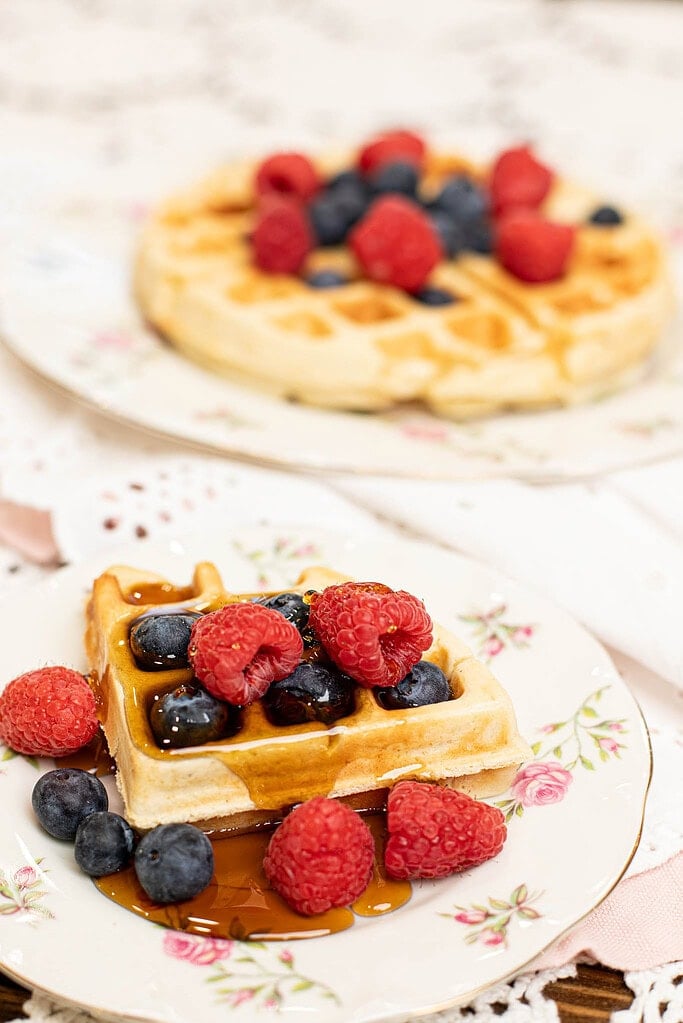
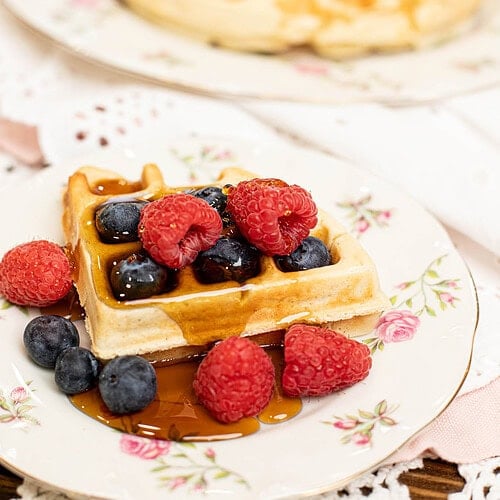
This sourdough discard waffles recipe comes together with sourdough discard or active starter, whole milk, eggs, and butter for a batter that cooks up crisp on the outside and soft and fluffy in the center.
The same batter works for pancakes too, and it can be cooked right away or left to ferment overnight, depending on your morning.
If you already use sourdough discard for breakfast bakes, this pairs well with Homemade Sourdough Pop-Tarts, Sourdough Salted Caramel Apple Dutch Baby Pancake.
Did you know you can convert your recipes to freshly milled flour? I share how to convert your recipes and more at The Cottage Mill.
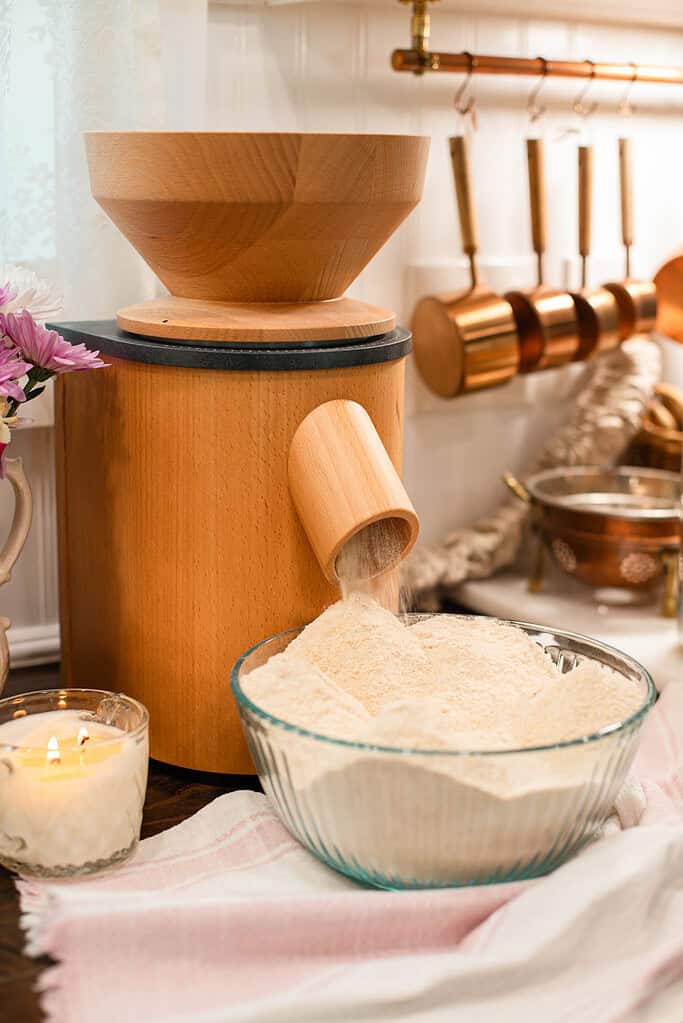
Step into The Cottage Mill: Freshly Milled Flour Guides, Recipes, and More Await!
Why You’ll Love This Recipe

Ingredients

Variations & Add-Ins
Recipe Tips
Use room temperature ingredients – Cold eggs, milk, and discard can cause the butter to seize and create an uneven batter. Pull everything from the fridge about 30 minutes before mixing for a smooth, cohesive batter.
Preheat the waffle iron fully – A properly preheated iron is the single most important factor in crispy waffles. Give it at least 5 minutes to heat completely before pouring the first batch, and lightly grease between each waffle.
Do not overmix the batter – Stir the wet and dry ingredients together until just combined, even if a few small lumps remain. Overmixing develops gluten and produces tough, dense waffles instead of a light, tender interior.
Cook until steam stops – The most reliable visual cue for a done waffle is when steam has mostly stopped escaping from the sides of the iron. Opening the lid too early tears the waffle and leaves the exterior soft.
Keep waffles warm and crisp – Place cooked waffles in a single layer on a wire rack set inside a 200°F oven while finishing the batch. Stacking waffles on a plate traps steam and softens the exterior within minutes.
Let the batter rest – Even a 10 to 15 minute rest after mixing gives the flour time to hydrate fully and produces a noticeably lighter waffle with better texture than batter cooked immediately.

Instructions
- Preheat your cooking surface – Preheat a waffle iron according to the manufacturer’s instructions, or heat a skillet or griddle over medium heat. Lightly grease with butter or a neutral oil before cooking.
- Mix the wet ingredients – In a large bowl, whisk together the sourdough discard, whole milk, melted butter, maple syrup or honey, eggs, and vanilla extract until smooth and fully combined.
- Combine the dry ingredients – In a separate bowl, stir together the all-purpose flour, baking powder, and sea salt until evenly distributed. Adding the dry ingredients separately prevents clumping and keeps the leavening evenly distributed throughout the batter.
- Make the batter – Pour the dry ingredients into the wet ingredients and stir until just combined. The batter should be thick but pourable, and a few small lumps are fine. Overmixing develops gluten and results in tough waffles and dense pancakes.
- Cook the waffles – Pour ¾ cup of batter into the center of the preheated waffle iron and spread slightly toward the edges before closing the lid. Cook for 3 to 5 minutes until the waffles are deep golden brown and steam has mostly stopped escaping from the sides.
- Remove and keep warm – Carefully lift each waffle with tongs and place on a wire rack set inside a low oven at 200°F to keep warm and maintain crispness while finishing the remaining batter. Avoid stacking waffles directly on a plate, as trapped steam will soften the exterior.
- Adjust the batter for pancakes – If the batter feels too thick for pancakes, stir in 1 to 2 tablespoons of whole milk until it pours easily and spreads naturally in the skillet without needing to be nudged.
- Cook the pancakes – Pour ¼ cup of batter onto the greased skillet for each pancake. Cook over medium heat for 2 to 3 minutes until bubbles form across the entire surface and the edges look set, then flip once and cook for another 1 to 2 minutes until golden brown on both sides.
- Serve warm – Transfer waffles and pancakes to plates and serve immediately with a pat of butter, a drizzle of maple syrup, and fresh berries, or top with this Strawberry Simple Syrup Recipe for a seasonal finishing touch.

Freezing & Storage
- Refrigerate cooked waffles and pancakes – Store cooled waffles and pancakes in an airtight container or zip-top bag in the refrigerator for up to 3 days. Waffles will soften slightly in the fridge but crisp back up well when reheated.
- Freeze for longer storage – Arrange cooled waffles and pancakes in a single layer on a baking sheet and freeze until solid, then transfer to a freezer-safe bag or airtight container for up to 2 months. Freezing in a single layer first prevents them from sticking together.
- Reheat waffles in the toaster or oven – Reheat frozen or refrigerated waffles in a toaster or in the oven at 350°F for 5 to 8 minutes until the edges are crisp and the center is heated through. The toaster gives the best results for restoring a crisp exterior.
- Reheat pancakes in the microwave or skillet – Warm refrigerated or frozen pancakes in the microwave in 20 to 30 second intervals until heated through, or reheat in a skillet over low heat for 1 to 2 minutes per side. Pancakes reheat well and stay soft either way.
- Store uncooked batter overnight – The batter can be mixed the night before and refrigerated for up to 12 hours before cooking. Add the eggs, baking powder, salt, and vanilla in the morning if doing a true overnight ferment, or store fully mixed batter and cook the next day for a same-day style result.
FAQ
Join The Community
Want More Cozy Recipes & Seasonal Inspiration?
Get cozy, from-scratch recipes, seasonal cottage living tips, and slow living inspiration delivered straight to your inbox.
More Recipes from the Cottage

Sourdough Discard Waffles | or Pancakes
Equipment
- 1 Large mixing bowl
- 1 Medium Mixing Bowl
- 1 Whisk
- 1 Spatula
- 1 Waffle Iron or cast iron skillet
Ingredients
- 1 cup sourdough discard or active starter room temperature, 240 grams
- 4 tablespoons butter melted and warm, 56 grams
- ½ cup whole milk room temperature, 120 grams
- 3 tablespoons maple syrup or honey about 60 grams
- 2 large eggs room temperature, 100 grams
- 1½ cups plus 2 tablespoons all-purpose flour 196 grams
- ½ teaspoon sea salt about 3 grams
- 1½ teaspoons baking powder about 6 grams
- 2 teaspoons vanilla extract about 10 grams
Instructions
- Preheat your cooking surface – Preheat a waffle iron according to the manufacturer's instructions, or heat a skillet or griddle over medium heat. Lightly grease with butter or a neutral oil before cooking.
- Mix the wet ingredients – In a large bowl, whisk together the sourdough discard, whole milk, melted butter, maple syrup or honey, eggs, and vanilla extract until smooth and fully combined.
- Combine the dry ingredients – In a separate bowl, stir together the all-purpose flour, baking powder, and sea salt until evenly distributed.
- Make the batter – Pour the dry ingredients into the wet ingredients and stir until just combined. The batter should be thick but pourable, and a few small lumps are fine. Overmixing develops gluten and results in tough waffles and dense pancakes.
- Cook the waffles – Pour ¾ cup of batter into the center of the preheated waffle iron and spread slightly toward the edges before closing the lid. Cook for 3 to 5 minutes until deep golden brown and steam has mostly stopped escaping from the sides.
- Remove and keep warm – Carefully lift each waffle with tongs and place on a wire rack set inside a low oven at 200°F to maintain crispness while finishing the remaining batter. Avoid stacking waffles directly on a plate as trapped steam will soften the exterior.
- Adjust the batter for pancakes – If the batter feels too thick for pancakes, stir in 1 to 2 tablespoons of whole milk until it pours and spreads naturally in the skillet without nudging.
- Cook the pancakes – Pour ¼ cup of batter onto the greased skillet for each pancake. Cook over medium heat for 2 to 3 minutes until bubbles form across the entire surface and the edges look set, then flip once and cook for another 1 to 2 minutes until golden brown on both sides.
- Serve warm – Transfer waffles and pancakes to plates and serve immediately with a pat of butter, a drizzle of maple syrup, and fresh berries, or top with Strawberry Simple Syrup Recipe for a seasonal finishing.
Notes
Did you make this recipe?
Rate it 5 “⭐️” below.
If you liked this recipe, I’d be so grateful if you would share it with others. Use the buttons below to share, comment, or connect.

Emily Rider
Home miller since 1999 with fresh-milled flour & sourdough experience. Sharing from-scratch recipes and traditional kitchen skills, rooted in the seasons and inspired by everyday cottage living and seasonal rhythms.