How to sift freshly milled flour is one of the most debated questions in the home milling community, and this guide gives you honest answers so you can decide what works best for you and your bake.
Whether you are baking a soft sandwich loaf, a tender cake, or a hearty rustic sourdough, this guide walks you through when to sift, which mesh size to reach for, and what to do with the bran so nothing goes to waste.
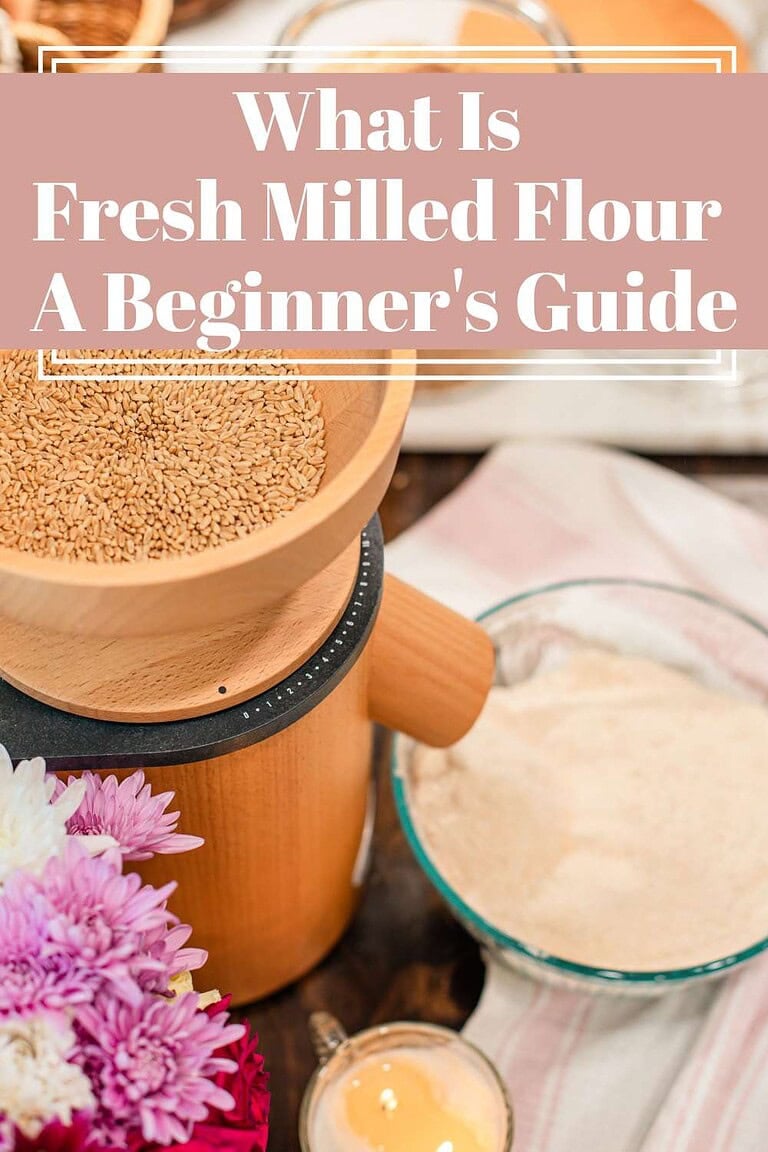
If you are just getting started, the Milling Fresh Flour at Home for Baking guide covers grain and mill basics. From there How to Convert Recipes to Freshly Milled Flour and Best Whole Grains to Mill build the foundation that makes sifting easier to understand.

Do you want to learn more about freshly milled flour? The Cottage Mill is filled with guides and resources to walk you through recipe conversions, flour blends, and techniques to help you bake with more consistency.
Step into The Cottage Mill: Freshly Milled Flour Guides, Recipes, and More Await!
This was one of the most helpful and informative sites I’ve found on using freshly milled flour in baking. Thank you, Emily ~ Tammy (Pinterest)
What You’ll Learn in This Guide
What Sifting Does to Freshly Milled Flour
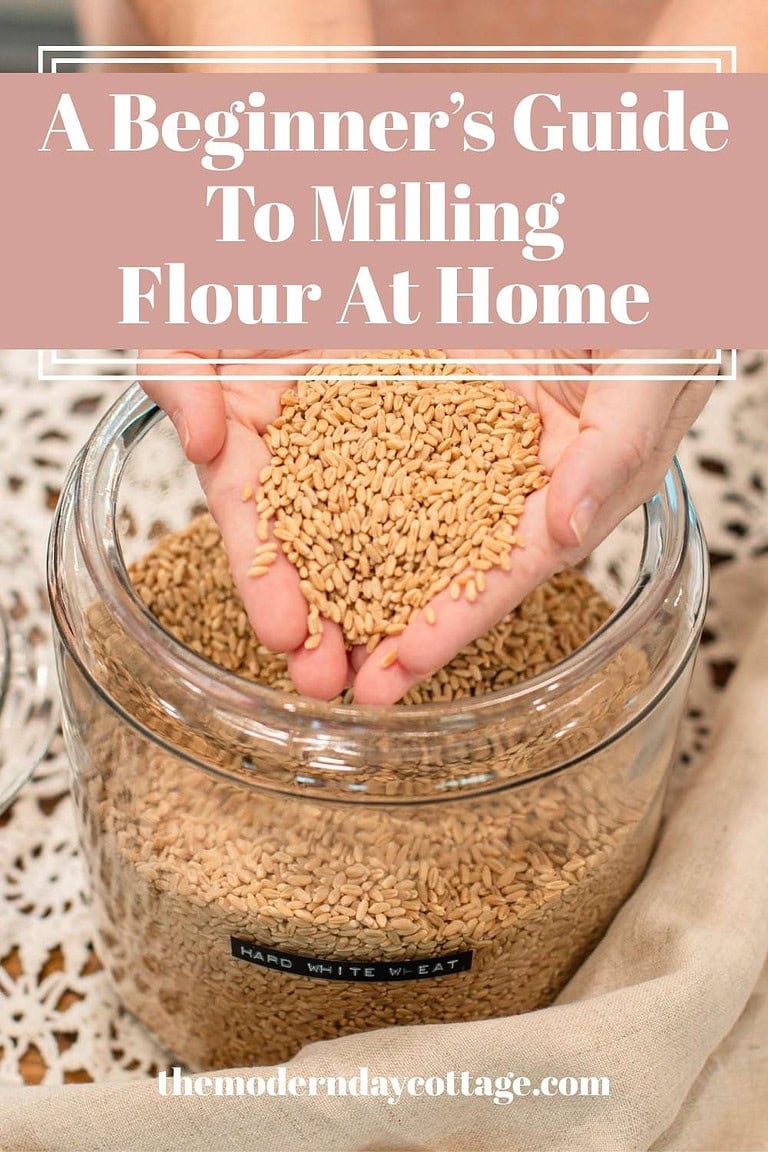
Freshly milled flour contains the whole grain, bran, germ, and endosperm, ground together in one pass.
Inside every bowl of fresh flour are bran pieces in a range of sizes. Some are fine and soft. Some are larger and more rigid. Those coarser pieces can interrupt gluten development and add grit to tender bakes.
Sifting simply separates the larger bits so the flour performs closer to what a recipe expects.
It is not an all-or-nothing choice. It is a dial you turn based on the bake. A finer sift supports tall sandwich bread and light cakes. Leaving more bran in brings chew and fuller flavor to sourdough loaves and whole-grain baked goods.
One thing worth knowing, sifting a portion of bran at home is not the same as commercial flour processing. When you sift freshly milled flour, you are simply adjusting texture and sifting out a portion of the bran not all of it
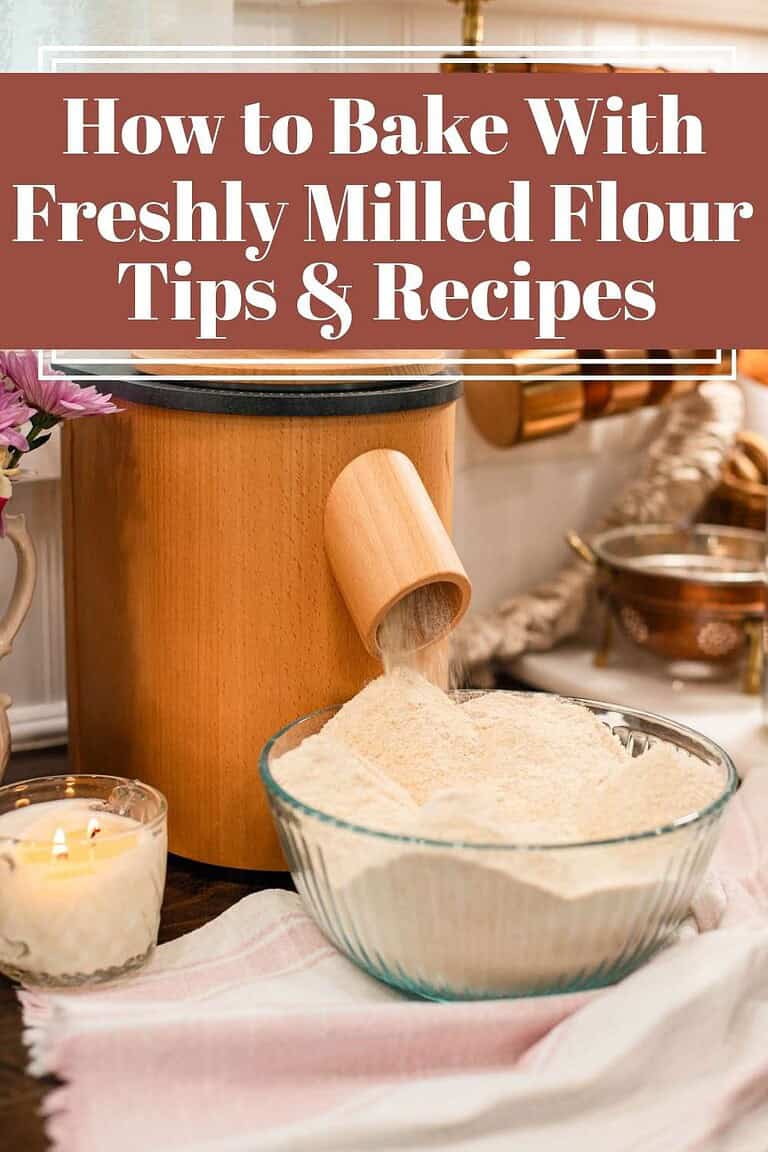
For more on how flour behaves once it hits liquid, the How to Bake with Freshly Milled Flour and How to Convert Recipes to Freshly Milled Flour guides go deeper on both.
What Freshly Milled Flour Is Actually Made Of
A wheat berry has three parts, and each one changes how your flour behaves in your baked goods:
- The bran – roughly 14 to 16 percent of the kernel. Contains fiber, B vitamins including thiamine, riboflavin, niacin, and B6, plus iron, magnesium, and zinc. Stays in when you mill at home.
- The germ – roughly 2 to 3 percent of the kernel. Contains vitamin E, folate, healthy fats, and antioxidants. The natural oils are why fresh flour smells alive and why milling close to bake time matters.
- The endosperm – roughly 83 percent of the kernel. Almost entirely starch and protein. This is what refined white flour is made from.
Commercial refining removes some of the vitamins and minerals in the whole kernel. Enriched flour adds back some of those. Freshly milled whole grain flour retains over 40 micronutrients in their natural form.
One important distinction: when we sift freshly milled flour, we are not refining it. Sifting removes some, but not all of the bran, to adjust the texture or make fermentation more visible. The germ, endosperm, and some bran are still whole and intact. Sifting at home and commercial refining are two entirely different things.
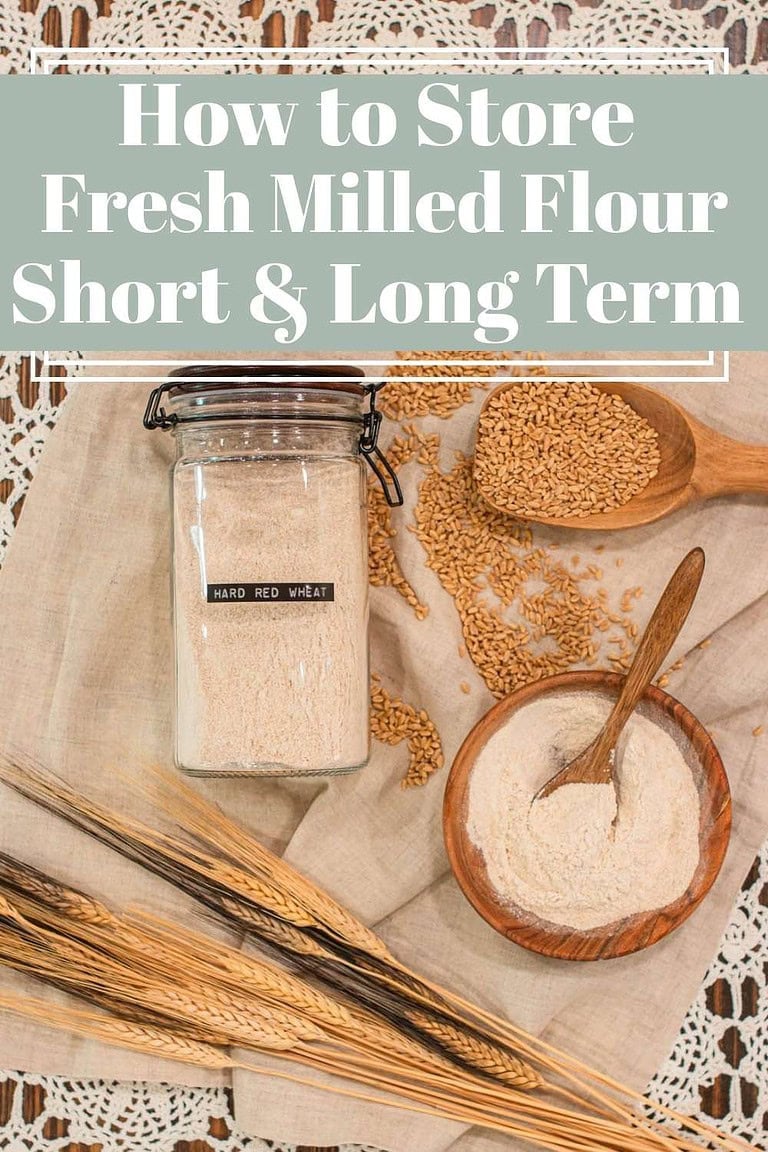
For guidance on storing fresh milled flour after milling, How to Store Freshly Milled Flour covers everything.
When to Sift Freshly Milled Flour
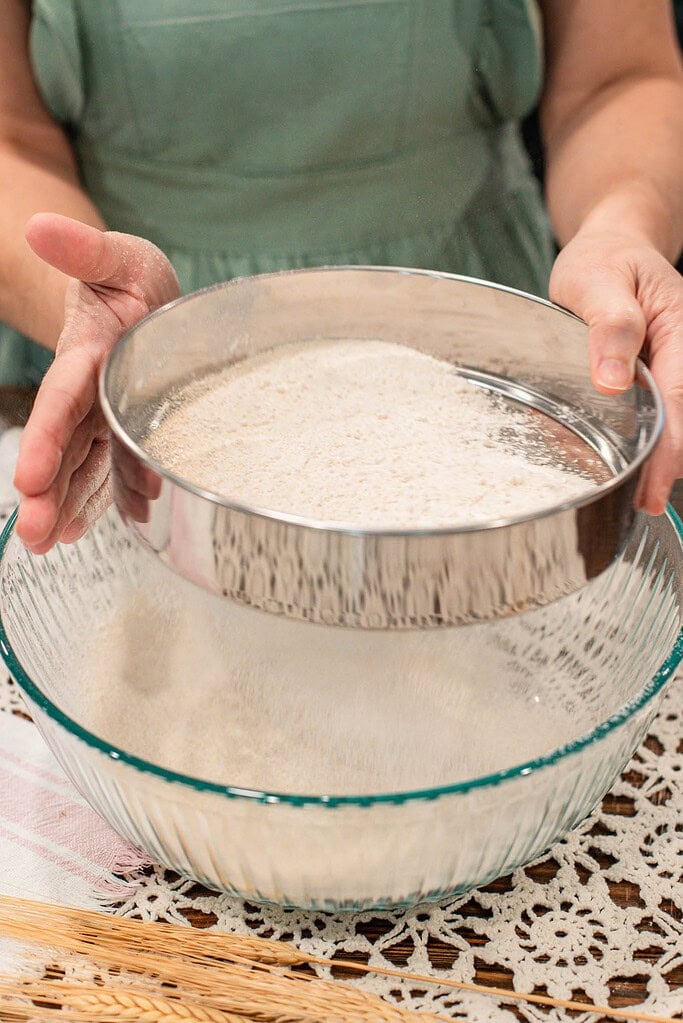
Sift immediately after milling, before the flour cools and settles. Fresh flour is naturally aerated, and the bran is still loose. Waiting even 10 to 15 minutes allows the bran to absorb moisture from the air, making sifting slower and less effective.
Sift for these bakes:
- Cakes and pastries
- Soft sandwich breads
- Enriched doughs and biscuits
- Cookies and muffins
Skip sifting for these bakes:
- Artisan sourdough
- Rustic batards and country loaves
- Hearty whole-grain breads
If a loaf consistently bakes heavy or tight, sifting a small amount of bran or using a finer mesh often helps the dough relax and rise more evenly.
One practical note, because sifting removes some of the bran, you will need to mill about 30 to 50 percent more grain to reach the weight your recipe calls for.
The How to Convert Recipes to Freshly Milled Flour guide covers the full process. For storage, the How to Store Fresh Milled Flour guide covers storage details.
Choosing the Right Mesh Size
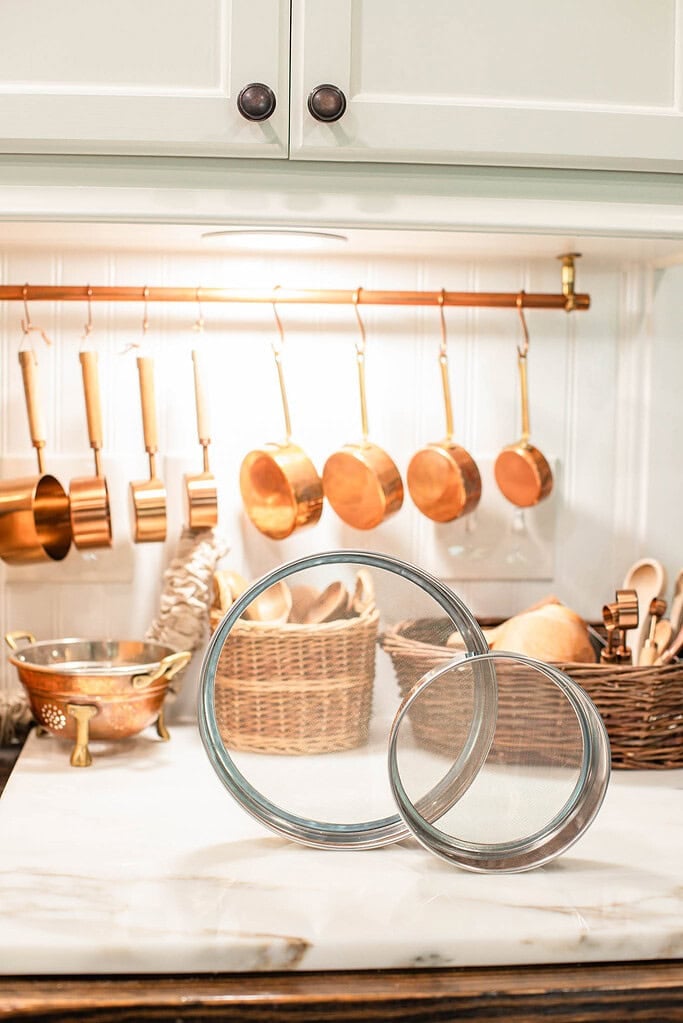

Supplies
Instructions for Sifting Fresh Milled Flour
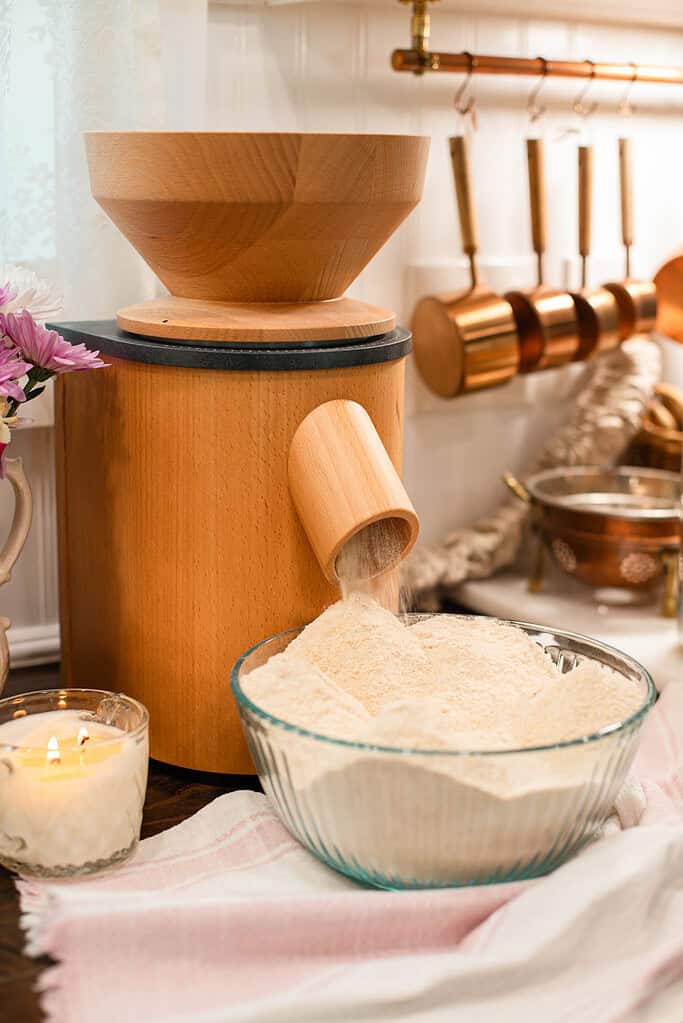
- Mill your grain first – Aim for the finest grind your mill allows. Sift immediately while the flour is still warm and aerated.
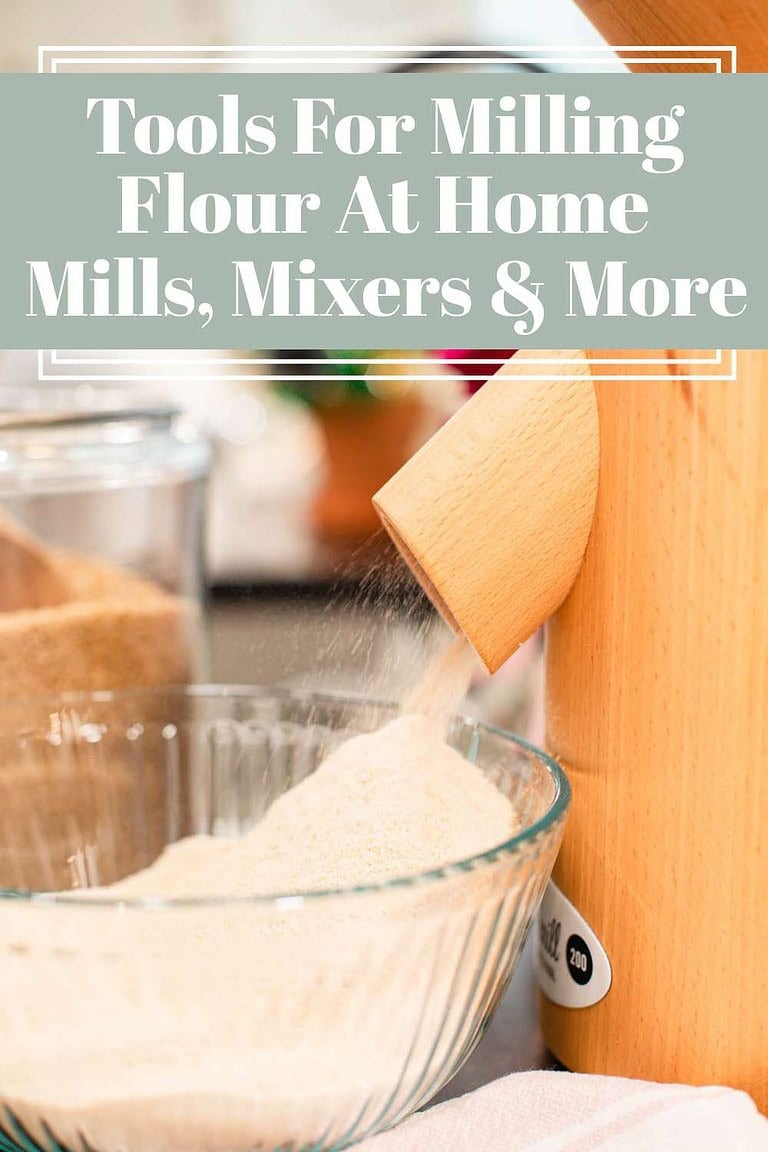
- Choose your mesh size – A #40 for rustic breads, a #50 for everyday baking, a #60 for cakes and pastries. When in doubt, start with a #50. Tool recommendations are in the Tools for Milling Flour at Home guide.
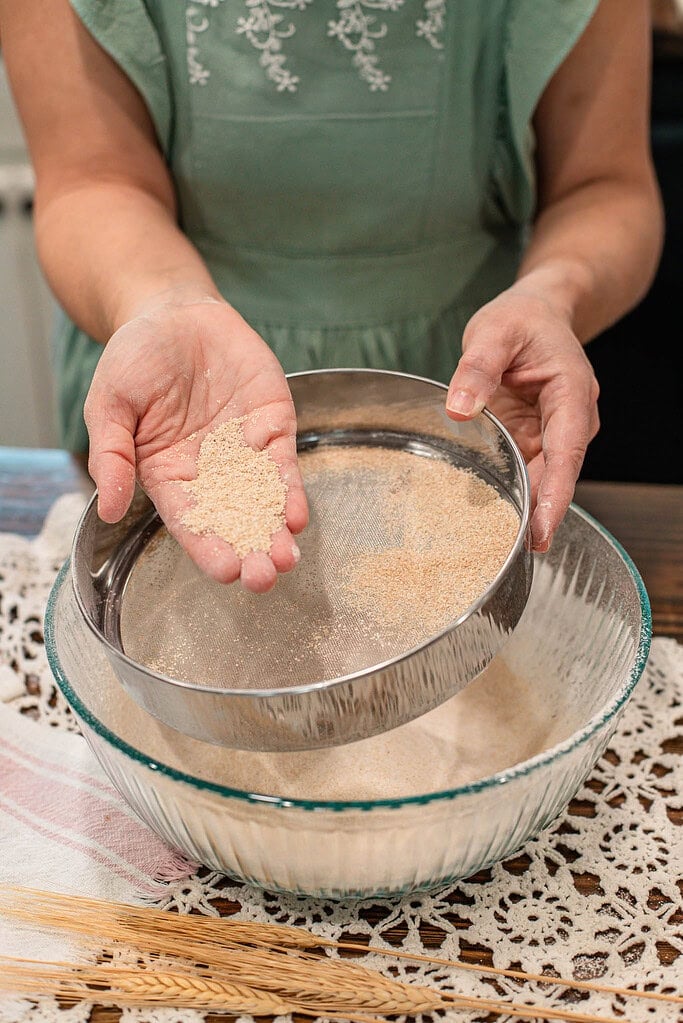
- Pour flour into the sieve in small batches – Fill no more than halfway to keep sifting even and controlled.
- Sift with gentle, steady motions – Light circular motions. Let the flour fall naturally. Do not press the bran through the mesh.
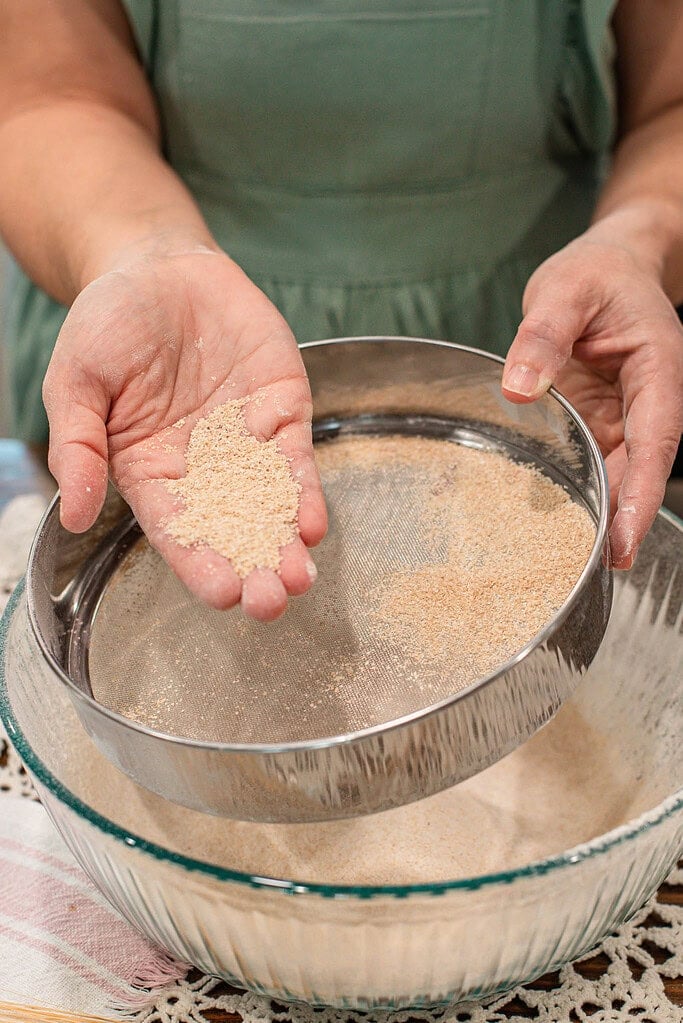
- Set the bran aside – Transfer coarse bran to a separate container. Do not discard it.
- Weigh your sifted flour – Always weigh after sifting to keep recipe measurements accurate.
- Use or store properly – Bake right away or cool completely before sealing airtight.
Note: When in doubt, start with a #50. You can always sift again through a #60 for a finer result. If you are using an electric sifter, follow your manufacturer’s instructions for batch size and speed settings.
What to Do with the Bran
Do not discard it. Keep a jar of it and use it throughout the week.
For baking – Add to muffins, quick breads, waffles, or pancakes for a nutty depth. Mix into hearty doughs. Sprinkle over shaped loaves before baking for a rustic finish.
For bread handling – Use to dust bannetons or line parchment. Prevents sticking without a heavy floury residue.
For the kitchen – Stir into oatmeal, porridge, or granola for added texture.
For the homestead – Backyard hens love bran. My grandmother Nub always saved hers, saying they would give it back in quality eggs. Nothing goes to waste here at the cottage.
For more ways to work bran and fresh flour components into your baking, the How to Bake with Freshly Milled Flour guide is a natural next step.

Sifting vs Soaking
Both solve the same challenge, bran can interrupt gluten development. But they work differently.
Sifting removes a portion of the bran before mixing. Best for soft breads, cakes, pastries, and anything needing a tender crumb.
Soaking, or hot soaking, softens the bran without removing it. Pour hot liquid over the flour, let it rest, then mix. Best for whole-grain sourdough and hearty rustic loaves.
When to choose sifting:
- Cakes and pastries
- Soft sandwich breads
- Enriched doughs and biscuits
When to choose soaking:
- Whole-grain sourdough
- Hearty rustic loaves
- Recipes where you want full flavor and intact bran
Both belong in a milling kitchen. Use the one that serves you and your bake best. The How to Convert Recipes to Freshly Milled Flour guide covers hydration and technique adjustments in detail.
Storing Sifted and Unsifted Fresh Flour
Freshly milled flour is a living ingredient. For best flavor and baking performance, use within 2 to 3 days at room temperature in an airtight container, refrigerate for 4 to 7 days, or freeze for up to 6 months.
Storing Fresh Milled Flour Info
For the full breakdown of containers, methods, and short and long term options, the How to Store Fresh Milled Flour guide covers everything you need.
A Cottage Milling Note
Sifting is one of the simplest ways to guide freshly milled flour toward the texture a recipe needs, and it was one of the first things my grandmother Nub taught me in her kitchen.
She sifted most of her baked goods. Her reasoning was straightforward, nobody wants a sandy, gritty texture in their baked goods.
The difference between a gritty biscuit and a light, tender one came down to whether she had sifted some of the bran out first.
Nothing was ever wasted, either. The bran went to the ducks, geese, and chickens, got sprinkled over sourdough loaves before baking, and on the parchment-lined Dutch oven, or found its way into a hot soak with scalded milk or hot water for heartier breads.
That rhythm of using every part of the grain is something I carry with me here at the cottage every time I mill.
Sifting is not about overthinking or stripping your flour of the good stuff; it is about knowing what serves you and your baking results best.
Troubleshooting
Cottage Living Community
Join the Cozy Cottage Living Community
Sign up for The Modern Day Cottage Community newsletter to receive recipes. how-tos, exclusives, and more from my kitchen to your inbox every week.
FAQ
More Fresh Flour Guides from The Cottage
Was this guide helpful?
Please share this post with others if you found this guide helpful.

Emily Rider
Home miller since 1999 with fresh-milled flour & sourdough experience. Sharing from-scratch recipes and traditional kitchen skills, rooted in the seasons and inspired by everyday cottage living and seasonal rhythms.