
This post may contain affiliate links. Please read our disclosure policy.
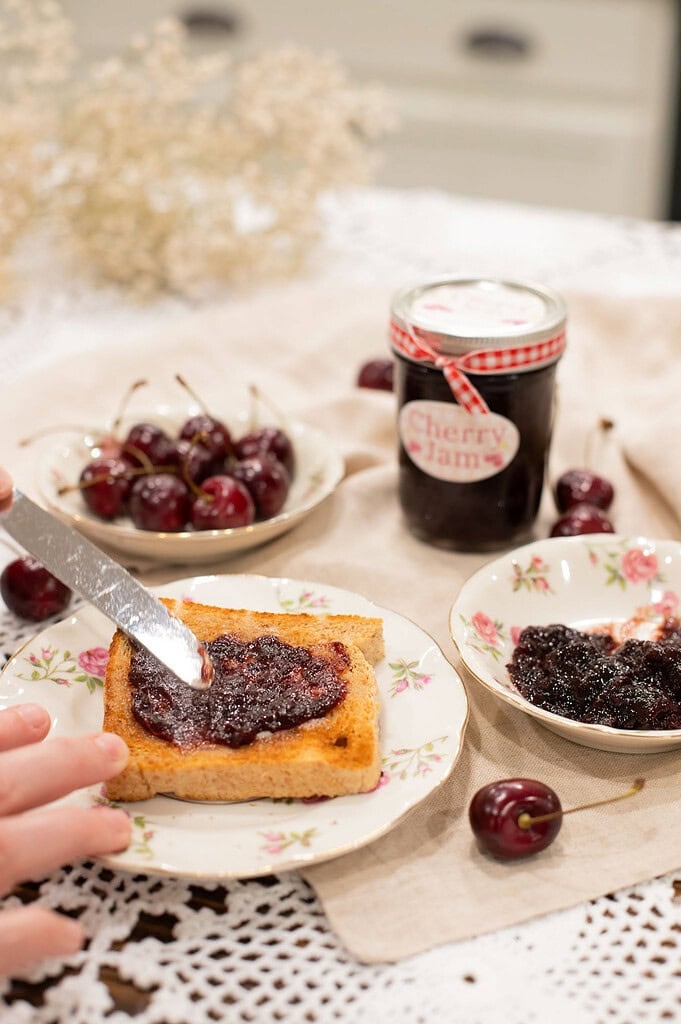
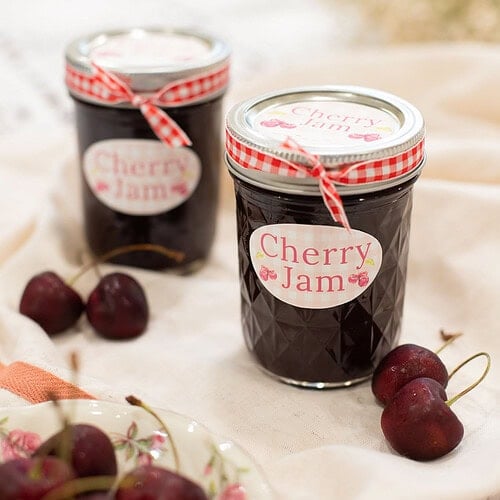
This cherry jam recipe turns fresh or frozen sweet cherries into a rich, fruity homemade preserve. Pomona’s Pectin and calcium water give the jam its set while letting the flavor of the cherries stay front and center. GRAB YOUR FREE PRINTABLE LABELS BELOW:)!
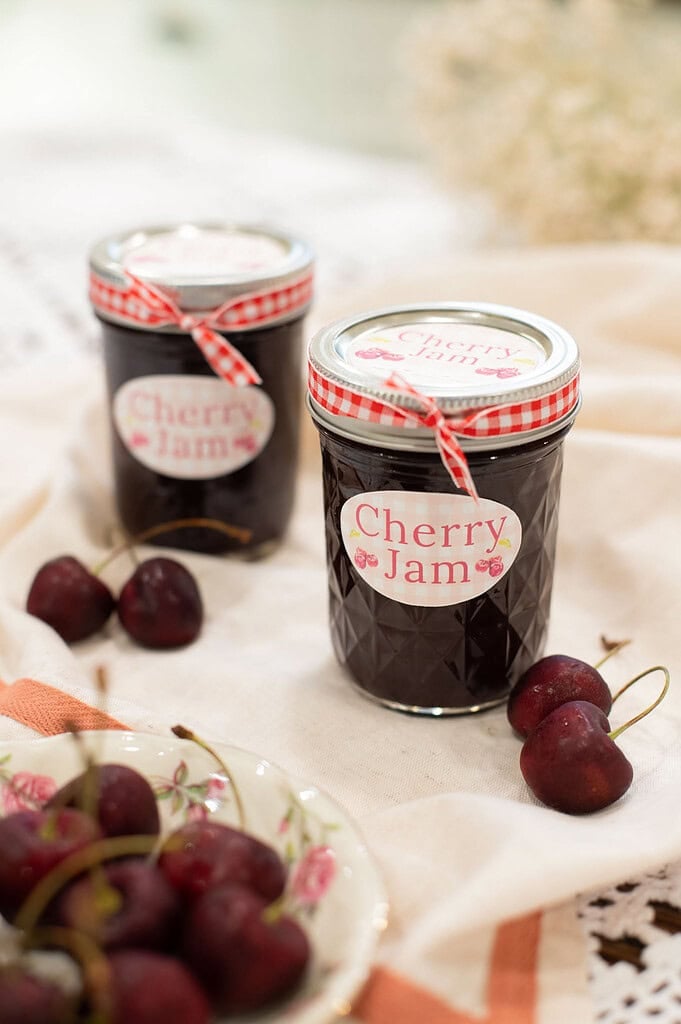
I made this jam with frozen cherries, so you can make a batch even when fresh cherries aren’t in season. Fresh sweet cherries work too, you can use whichever you have on hand and follow the recipe the same way.
If you enjoy filling the pantry with homemade preserves, try these Peach Preserves next. It is another lovely way to can seasonal fruit and enjoy it long after harvest.
Why You’ll Love This Recipe
Ingredients To Make This Cherry Jam
Variations & Add-Ins
Emily’s Recipe Tips
Measure the cooked cherries – The important fruit measurement comes after the cherries have cooked. Measure 4 cups of the cooked cherry mixture before adding the lemon juice and calcium water.
Mix the pectin with the sugar first – Whisk the Pomona’s Pectin thoroughly into the sugar before adding it to the cherries. This helps the pectin distribute evenly through the hot fruit.
Keep the calcium water separate – Prepare the calcium water using the calcium powder included with Pomona’s Pectin, then measure only the amount called for in this recipe. Store the remaining calcium water in the refrigerator for later use.
Prepare the canner before cooking the jam – Water bath canning takes some time to come up to temperature. Have the canner, jars, and water heating before you begin cooking the fruit so everything is ready when the hot jam needs to be jarred.
Work in smaller batches — I like to make this recipe three times so I end up with about 12 half-pint jars, enough to fill my water bath canner. However, I cook only 2½ pounds of fruit at a time because larger batches can burn quickly and are much more likely to bubble over and make a huge mess. If you want to make 12 half-pint jars like I do, have three times the ingredients listed below ready, then cook the recipe in three separate batches rather than combining everything into one large batch.
How To Make Homemade Cherry Jam
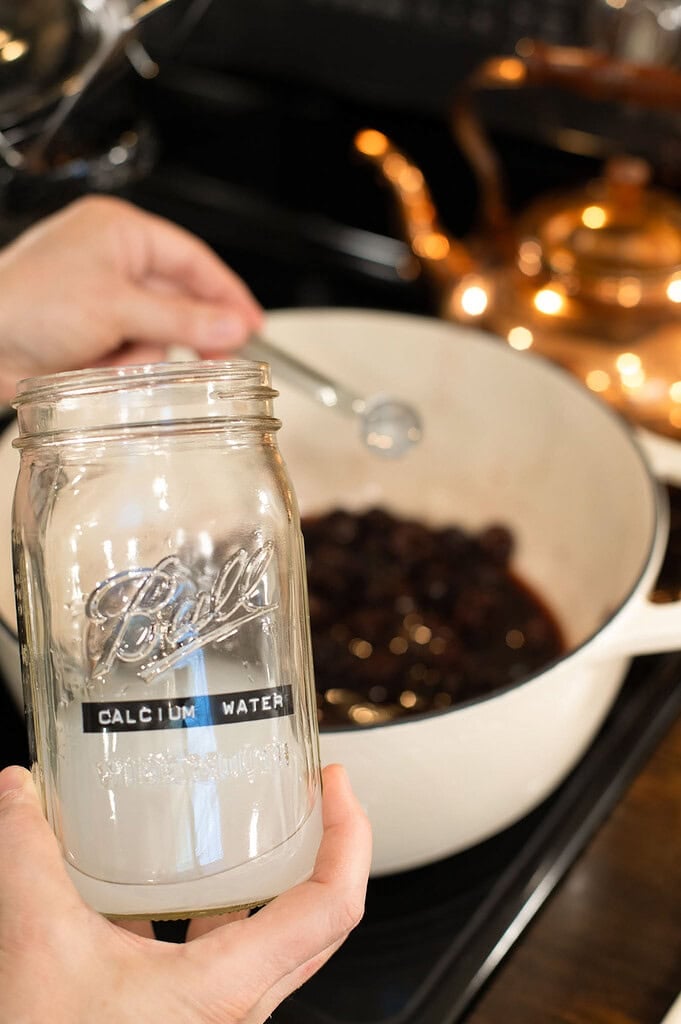
- Prepare the calcium water – Add ½ teaspoon calcium powder from the Pomona’s Pectin package and ½ cup water to a small jar with a lid. Shake well to combine. Measure 3 teaspoons for the cherry jam and refrigerate the remaining calcium water for another use.
- Set up the water bath canner – Place a canning rack in the bottom of a water bath canner. Fill the canner about two-thirds full with water, making sure there will be enough water to cover the filled jars by 1 to 2 inches once they are added. Place the canner on the stove and begin heating the water.
- Prepare the jars – Wash the jars, lids, and bands. Place the clean jars upright on the rack in the canner and bring the water to a rolling boil. Sterilize the jars for 10 minutes, adding 1 additional minute for every 1,000 feet above sea level. Keep the jars warm in the hot water until the jam is ready to be filled.
- Prepare the cherries – If using fresh sweet cherries, rinse them, remove the stems, slice them in half, and remove the pits. If using frozen sweet cherries, use them in place of the fresh cherries.
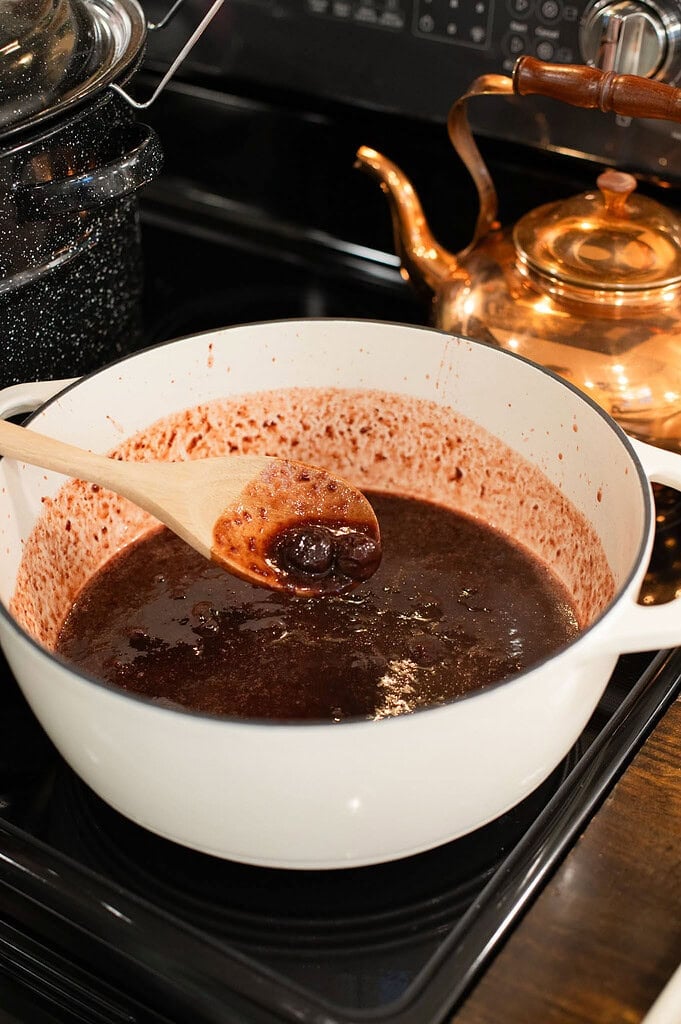
- Cook the cherries – Place 2½ pounds sweet cherries and ½ cup water in a saucepan. Bring the mixture to a boil over high heat, then reduce the heat to a simmer. Cover and cook for 5 minutes, stirring occasionally, then remove from the heat.
- Measure the cooked cherries – Measure 4 cups of the cooked cherry mixture and return it to the saucepan. Set aside any extra cooked fruit for another use.
- Add the lemon juice and calcium water – Stir ¼ cup bottled lemon juice and 3 teaspoons prepared calcium water into the 4 cups of cooked cherries. Mix well.
- Combine the sugar and pectin – In a separate bowl, whisk together 1¼ cups sugar and 2½ teaspoons Pomona’s Pectin until thoroughly combined. Mixing them together before they go into the fruit helps distribute the pectin evenly.
- Cook the jam – Bring the cherry mixture to a full boil over high heat. Gradually stir in the sugar and pectin mixture, stirring constantly. Continue stirring vigorously for 1 to 2 minutes to dissolve the pectin. When the cherry jam returns to a full boil, remove the saucepan from the heat.
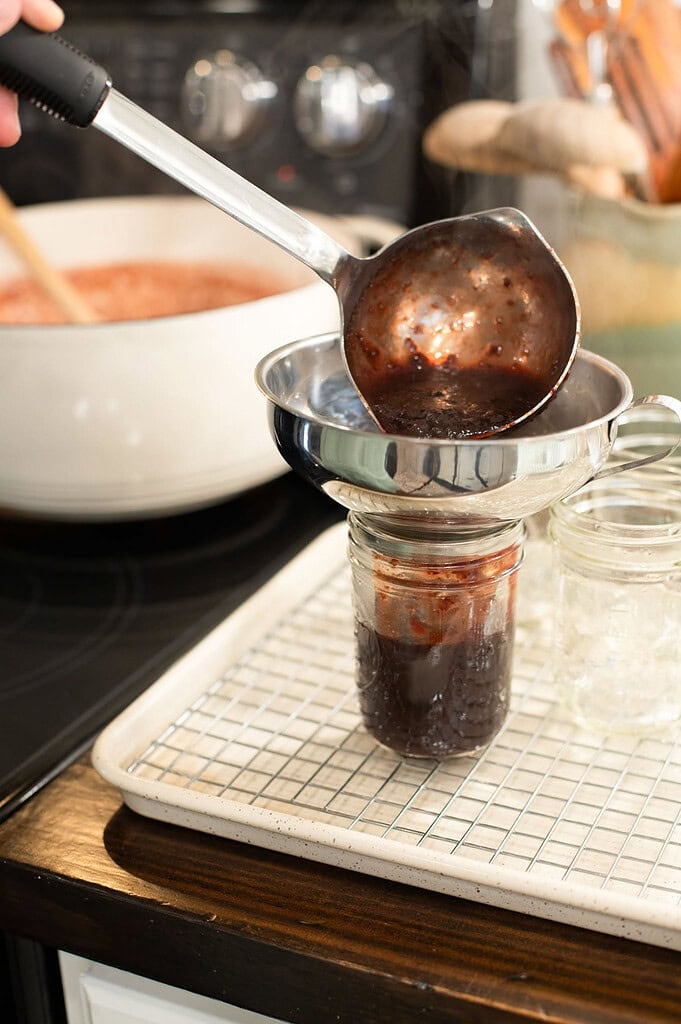
- Remove and fill the hot jars – Carefully lift the hot jars from the canner and empty any water inside them back into the canner. Place the jars on a towel or heat-safe surface. Ladle the hot cherry jam into the hot jars, leaving ¼ inch of headspace at the top.
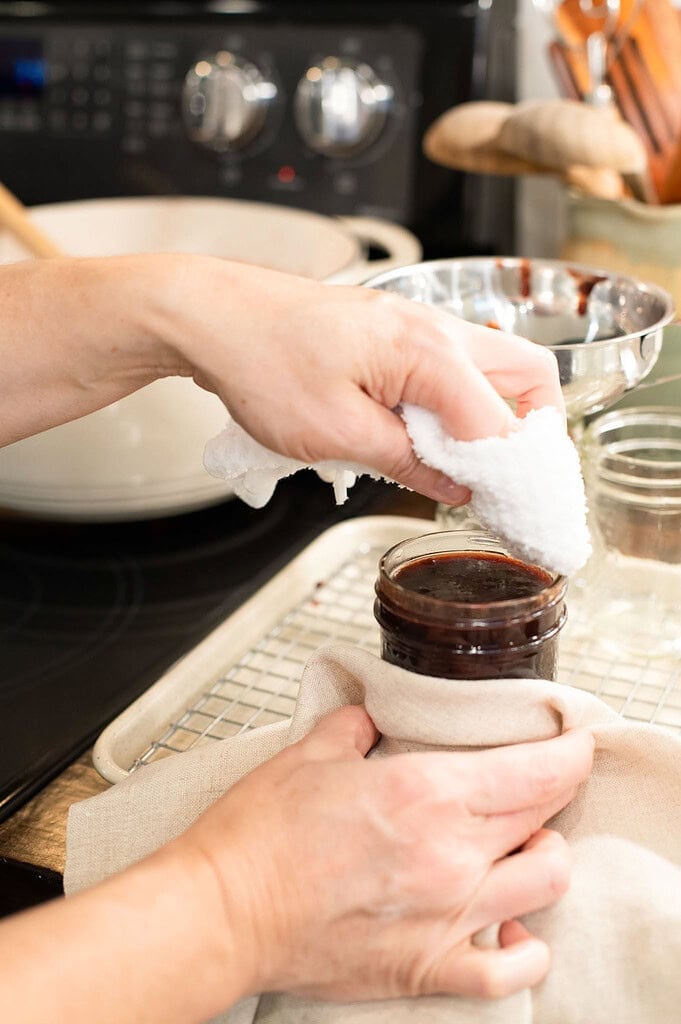
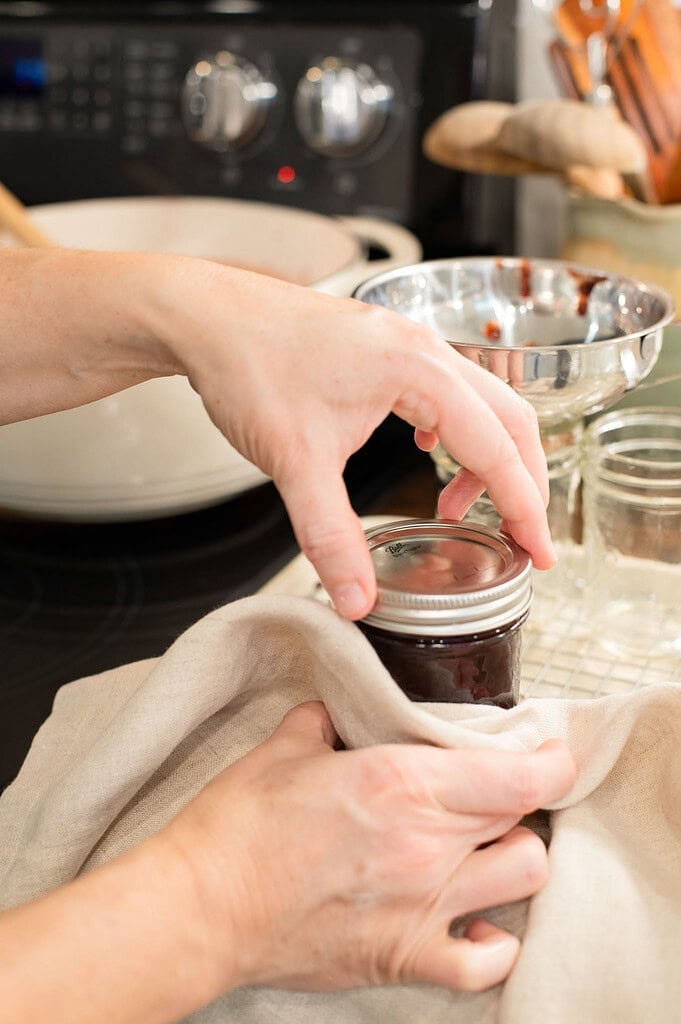
- Remove air bubbles and add the lids – Run a bubble remover or clean utensil around the inside of each jar to release trapped air. Check the headspace again and adjust if necessary. Wipe the jar rims clean, center the lids on the jars, and screw on the bands until fingertip tight.
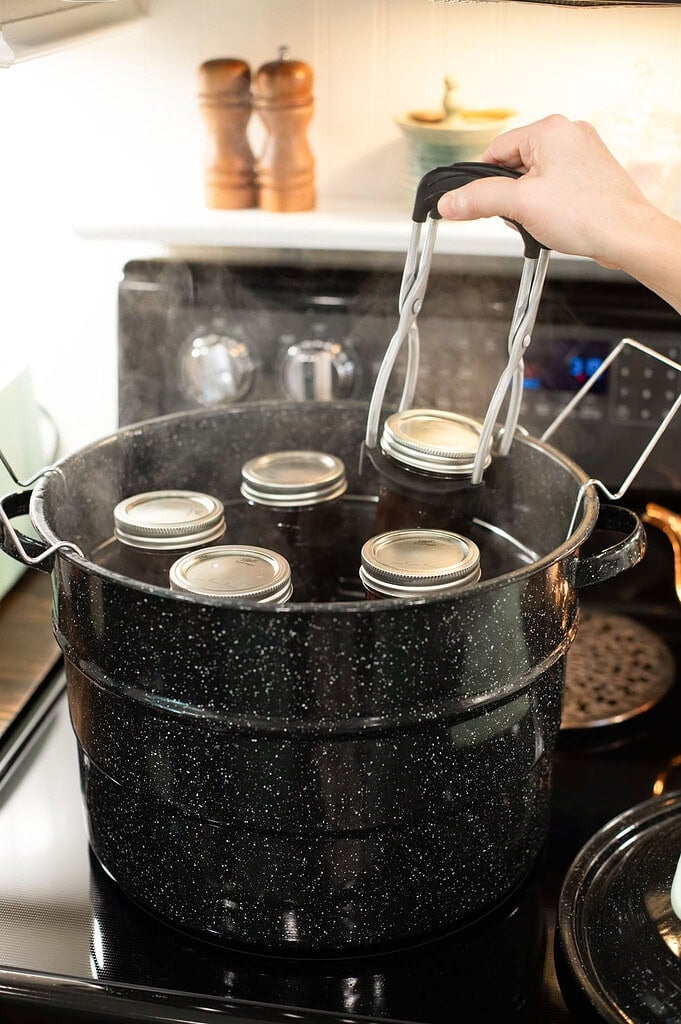
- Return the jars to the canner – Place the filled jars upright on the canning rack and lower them into the hot water. Make sure the jars are covered by 1 to 2 inches of water. Add more hot water if needed.
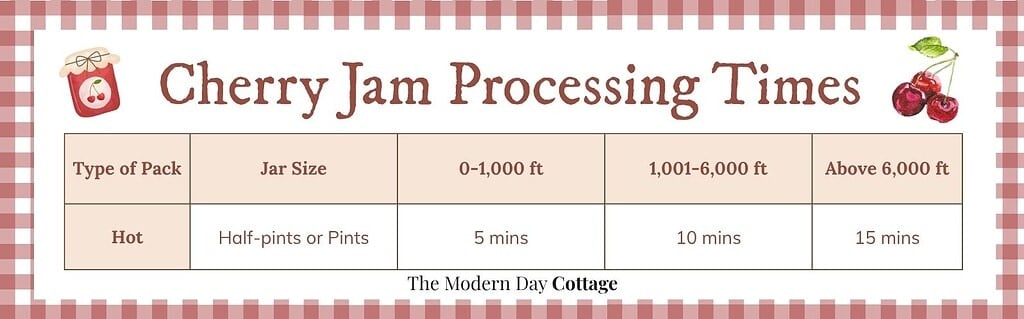
- Process the cherry jam – Cover the canner and bring the water to a full rolling boil. Once the water reaches a rolling boil, begin the processing time. Process the jars for 10 minutes, adding 1 additional minute for every 1,000 feet above sea level.
- Let the jars rest in the canner – When the processing time is complete, turn off the heat. Leave the jars in the hot water for 5 minutes before removing them.
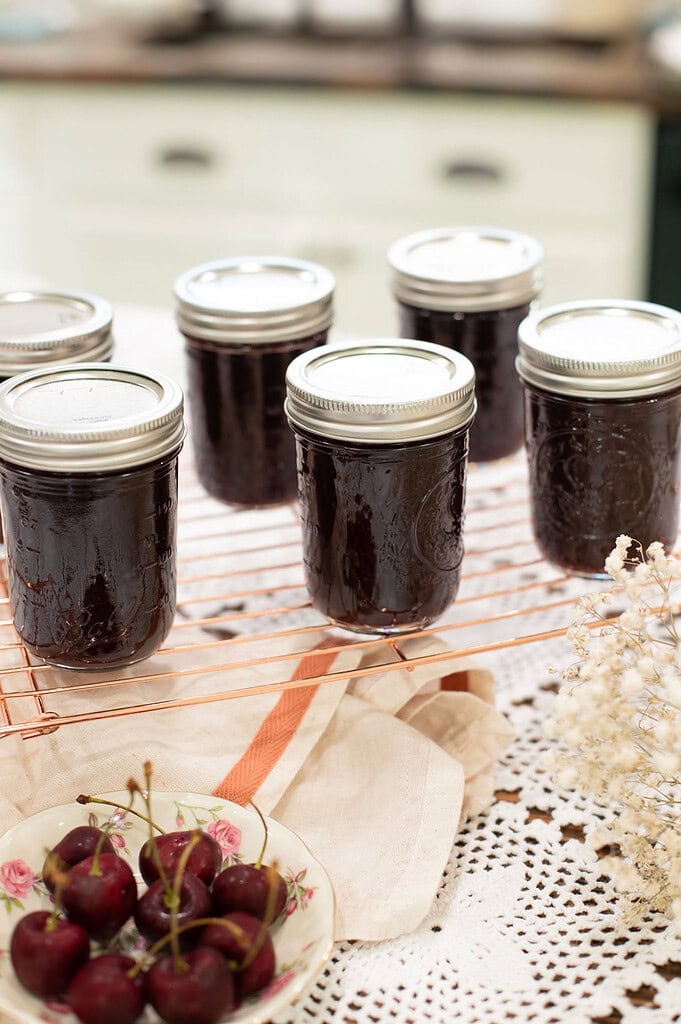
- Cool the jars – Lift each jar straight out of the canner and place it on a towel. Leave the jars undisturbed for 12 to 24 hours while they cool and the seals form.
- Check the seals – Once the jars are completely cool, check that each lid has sealed before moving the jam into pantry storage. Any jar that has not sealed should be refrigerated rather than stored at room temperature.
Storage Suggestions
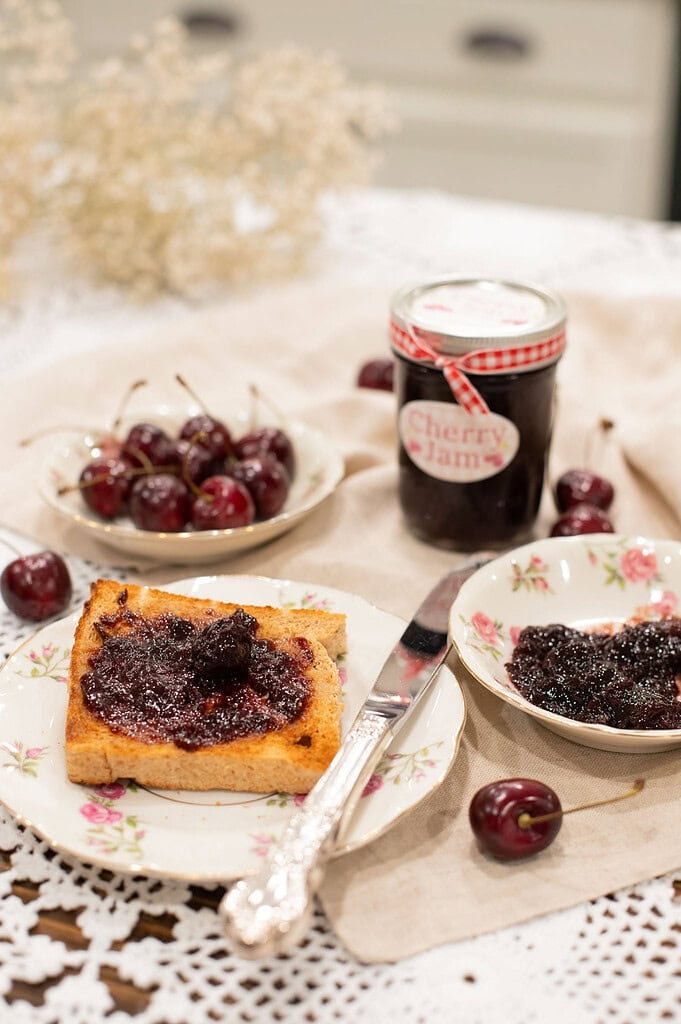
Ways To Use Cherry Jam
Cherry Jam FAQs
More Recipes from the Cottage
Join the Cozy Cottage Community Today!
Get from-scratch recipes, seasonal cottage living tips, and cozy cottage living inspiration delivered straight to your inbox.
⭐️ Rate This Recipe
Made this recipe? Leave a star ⭐️ rating below, it means the world to me and helps my recipes get found by more people like you. Tag me on Instagram @themoderndaycottage

If you made this recipe, please leave a comment or question below! I’d love to hear how it turned out and am always happy to help troubleshoot.
Want more from The Cottage? Subscribe here for freshly milled flour, sourdough, and from-scratch recipes, plus slow living inspiration from my cottage straight to your inbox.


Homemade Cherry Jam with Fresh or Frozen Cherries
 Prep:30 minutes Cook:20 minutes Total:50 minutes
 Equipment
- Canning Funnel
- Bubble remover or clean spoon
- Jar Lifter
- Water Bath Canner
- 4 Half Pint Mason Jars
Ingredients
For the Cherry Preserves
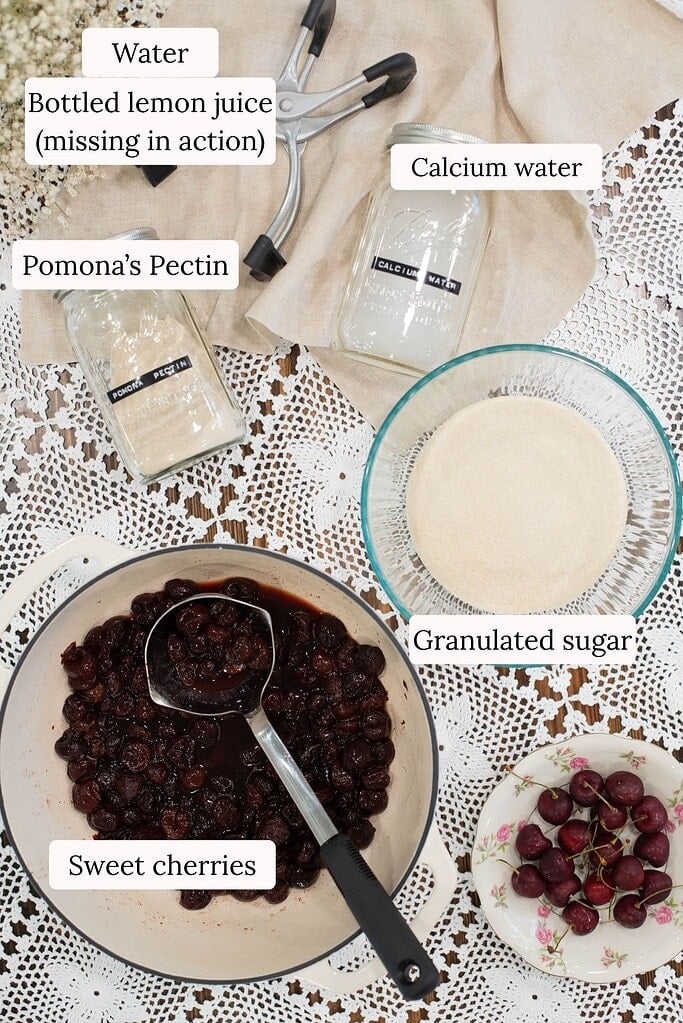
- 2½ pounds sweet cherries
- ½ cup water
- ¼ cup bottled lemon juice
- 3 teaspoons calcium water
- 1¼ cups granulated sugar
- 2½ teaspoons Pomona’s Pectin
For the Calcium Water
- ½ teaspoon calcium powder from the Pomona’s Pectin package
- ½ cup water
Instructions
- Prepare the calcium water – Add ½ teaspoon calcium powder from the Pomona’s Pectin package and ½ cup water to a small jar with a lid. Shake well to combine. Measure 3 teaspoons for the cherry jam and refrigerate the remaining calcium water for another use.
- Set up the water bath canner – Place a canning rack in the bottom of a water bath canner. Fill the canner about two-thirds full with water, making sure there will be enough water to cover the filled jars by 1 to 2 inches once they are added. Place the canner on the stove and begin heating the water.
- Prepare the jars – Wash the jars, lids, and bands. Place the clean jars upright on the rack in the canner and bring the water to a rolling boil. Sterilize the jars for 10 minutes, adding 1 additional minute for every 1,000 feet above sea level. Keep the jars warm in the hot water until the jam is ready to be filled.
- Prepare the cherries – If using fresh sweet cherries, rinse them, remove the stems, slice them in half, and remove the pits. If using frozen sweet cherries, use them in place of the fresh cherries.
- Cook the cherries – Place 2½ pounds sweet cherries and ½ cup water in a saucepan. Bring the mixture to a boil over high heat, then reduce the heat to a simmer. Cover and cook for 5 minutes, stirring occasionally, then remove from the heat.
- Measure the cooked cherries – Measure 4 cups of the cooked cherry mixture and return it to the saucepan. Set aside any extra cooked fruit for another use.
- Add the lemon juice and calcium water – Stir ¼ cup bottled lemon juice and 3 teaspoons prepared calcium water into the 4 cups of cooked cherries. Mix well.
- Combine the sugar and pectin – In a separate bowl, whisk together 1¼ cups sugar and 2½ teaspoons Pomona’s Pectin until thoroughly combined. Mixing them together before they go into the fruit helps distribute the pectin evenly.
- Cook the jam – Bring the cherry mixture to a full boil over high heat. Gradually stir in the sugar and pectin mixture, stirring constantly. Continue stirring vigorously for 1 to 2 minutes to dissolve the pectin. When the cherry jam returns to a full boil, remove the saucepan from the heat.
- Remove and fill the hot jars – Carefully lift the hot jars from the canner and empty any water inside them back into the canner. Place the jars on a towel or heat-safe surface. Ladle the hot cherry jam into the hot jars, leaving ¼ inch of headspace at the top.
- Remove air bubbles and add the lids – Run a bubble remover or clean utensil around the inside of each jar to release trapped air. Check the headspace again and adjust if necessary. Wipe the jar rims clean, center the lids on the jars, and screw on the bands until fingertip tight.
- Return the jars to the canner – Place the filled jars upright on the canning rack and lower them into the hot water. Make sure the jars are covered by 1 to 2 inches of water. Add more hot water if needed.
- Process the cherry jam – Cover the canner and bring the water to a full rolling boil. Once the water reaches a rolling boil, begin the processing time. Process the jars for 10 minutes, adding 1 additional minute for every 1,000 feet above sea level.
- Let the jars rest in the canner – When the processing time is complete, turn off the heat. Leave the jars in the hot water for 5 minutes before removing them.
- Cool the jars – Lift each jar straight out of the canner and place it on a towel. Leave the jars undisturbed for 12 to 24 hours while they cool and the seals form.
- Check the seals – Once the jars are completely cool, check that each lid has sealed before moving the jam into pantry storage. Any jar that has not sealed should be refrigerated rather than stored at room temperature.
Notes

Emily Rider
Home miller since 1999 with fresh-milled flour & sourdough experience. Sharing from-scratch recipes and traditional kitchen skills, rooted in the seasons and inspired by everyday cottage living and seasonal rhythms.