This beginner sourdough starter uses orange juice and bread flour to create a strong, reliable culture. I share both a simple daily feeding method and a no-fuss refrigerator routine I have used for over 25 years and still use today. This thick refrigerated method was passed down to me from my Grandmother Nub.
In just 7-14 days, you’ll have a bubbly, sourdough starter that fits naturally into your kitchen rhythm for years to come.
This post may contain affiliate links. Please read our disclosure policy for details.

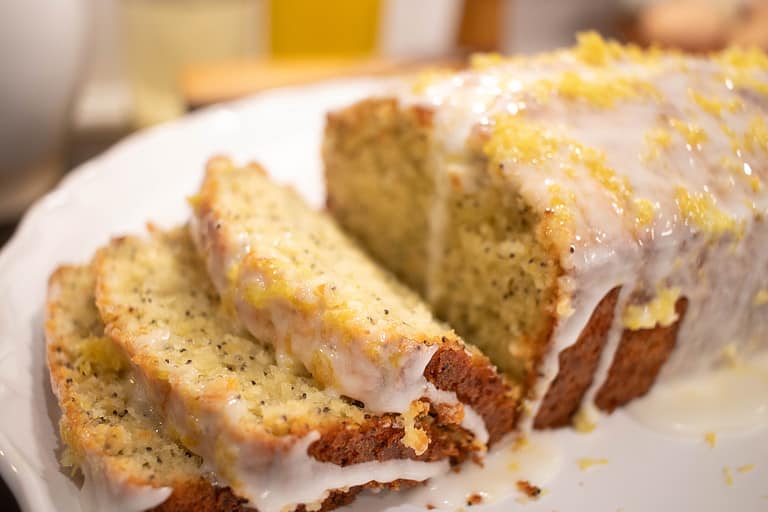
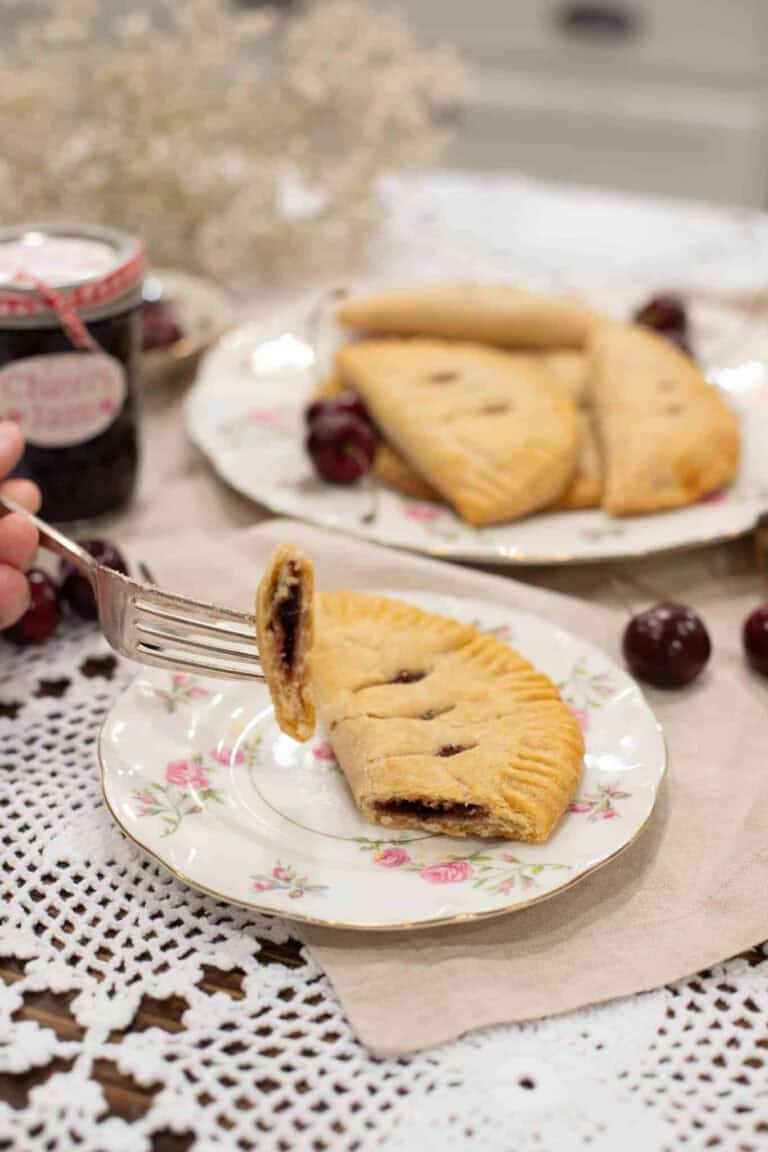
Once your no-fail sourdough starter is active, it opens the door to so many cozy bakes from your own kitchen. A little scoop can add flavor and depth to simple breakfasts, snacks, or weekend cozy bakes. If you’re keeping a refrigerated starter, you can use it straight from the fridge in any of my Sourdough Discard Recipes — or explore all of my Sourdough Recipes when you’re ready for that perfect, tender crumb loaf.
For something a little special, try the rustic Sourdough Blackberry Peach Galette or serve a warm Skillet Sourdough Discard Cornbread with dinner. Homemade Sourdough Pop-Tarts make a fun morning treat, and a Sourdough Pie Crust brings those buttery, flaky layers everyone loves.
Whether you feed your starter daily or follow the no-fuss refrigerated routine my grandmother taught me, you’ll find both methods explained step-by-step below. Each one fits easily into real home life — steady, simple, and designed to work in your own rhythm.
A Cottage Note
When you keep a thick sourdough starter in the refrigerator, it’s stable, zero waste, and easy to work with. You don’t need to feed it every day, and that means you want have extra waste. That’s a good thing — it gives you the flexibility to bake whenever you want. You can use that thicker starter straight from the refrigerator in any of my Sourdough Discard Recipes, or feed a small portion of flour and water to wake it up when you need it active for baking.
This no-fuss rhythm came from my Grandmother Nub, who taught me the refrigerator method more than 43 years ago when I spent summers on her homestead. It’s the same calm, reliable process I still use today — simple upkeep, no babysitting, and a starter that’s always ready when you are.
Once you fall into that rhythm, sourdough becomes second nature. Feed, bake, and enjoy — it’s that easy.
Why You’ll Love This Sourdough Starter Recipe

Ingredients
Equipment
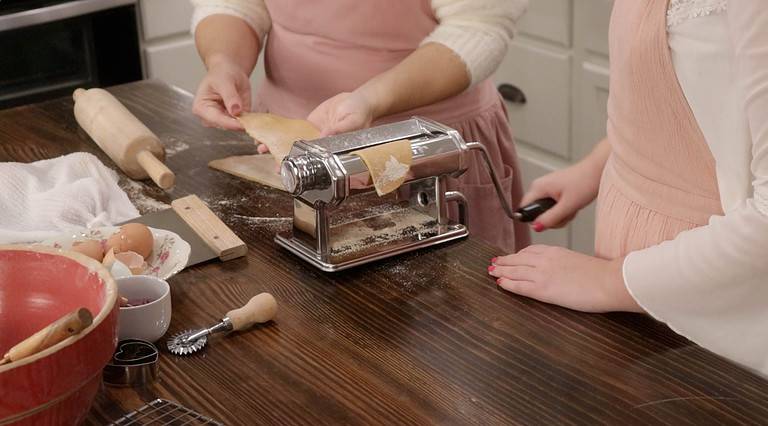
Featured Video
How to Make a Sourdough Starter | A Beginner’s Guide
Watch the full YouTube tutorial and learn step-by-step how to create, feed, and care for your sourdough starter at home.
Tips
Feed by weight: A kitchen scale keeps everything consistent. Equal parts of flour and water by weight (not cups) give the most reliable results.
Keep it cozy: Aim for 68–75°F (20–24°C). A steady, warm spot helps the starter stay active — the top of the fridge or inside the oven (light on, oven off) both work well.
Mark the rise: Use a rubber band or marker line after each feeding. Watching it double within 4–8 hours is the best sign your starter is strong and ready.
Keep it tidy: Scrape the sides clean after stirring to prevent mold and make it easier to track bubbles and growth.
Check the texture: You’re looking for a thick pancake batter. Add a splash of water if it’s stiff or a spoonful of flour if it’s runny — small adjustments keep it balanced.
Refrigerated rhythm: If you’re using the no-fuss refrigerator method, always feed before chilling so it stays strong and stable between bakes.

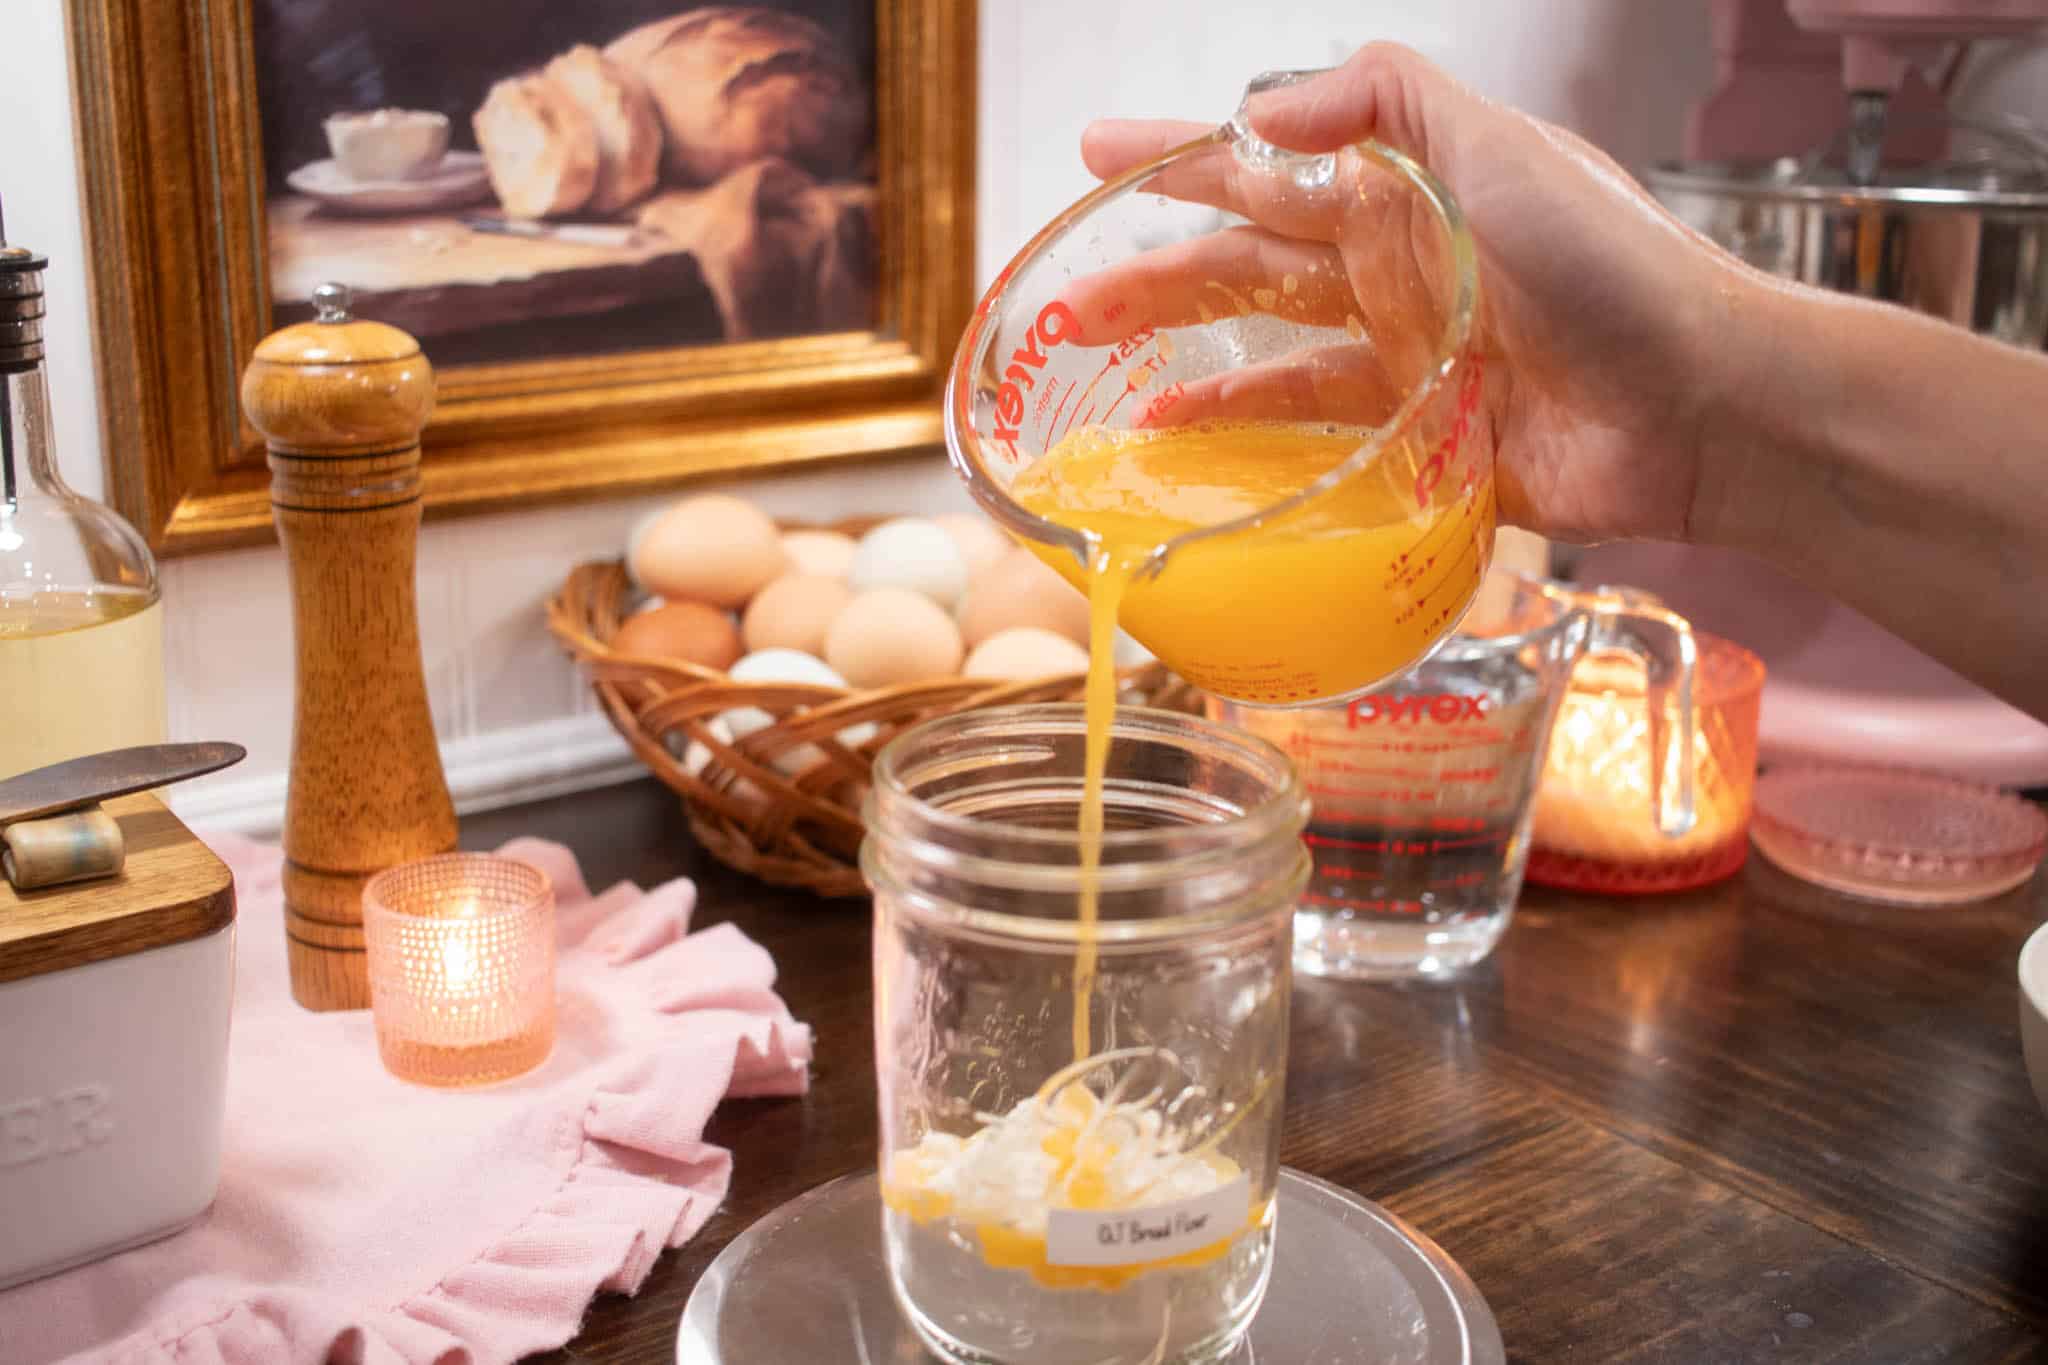
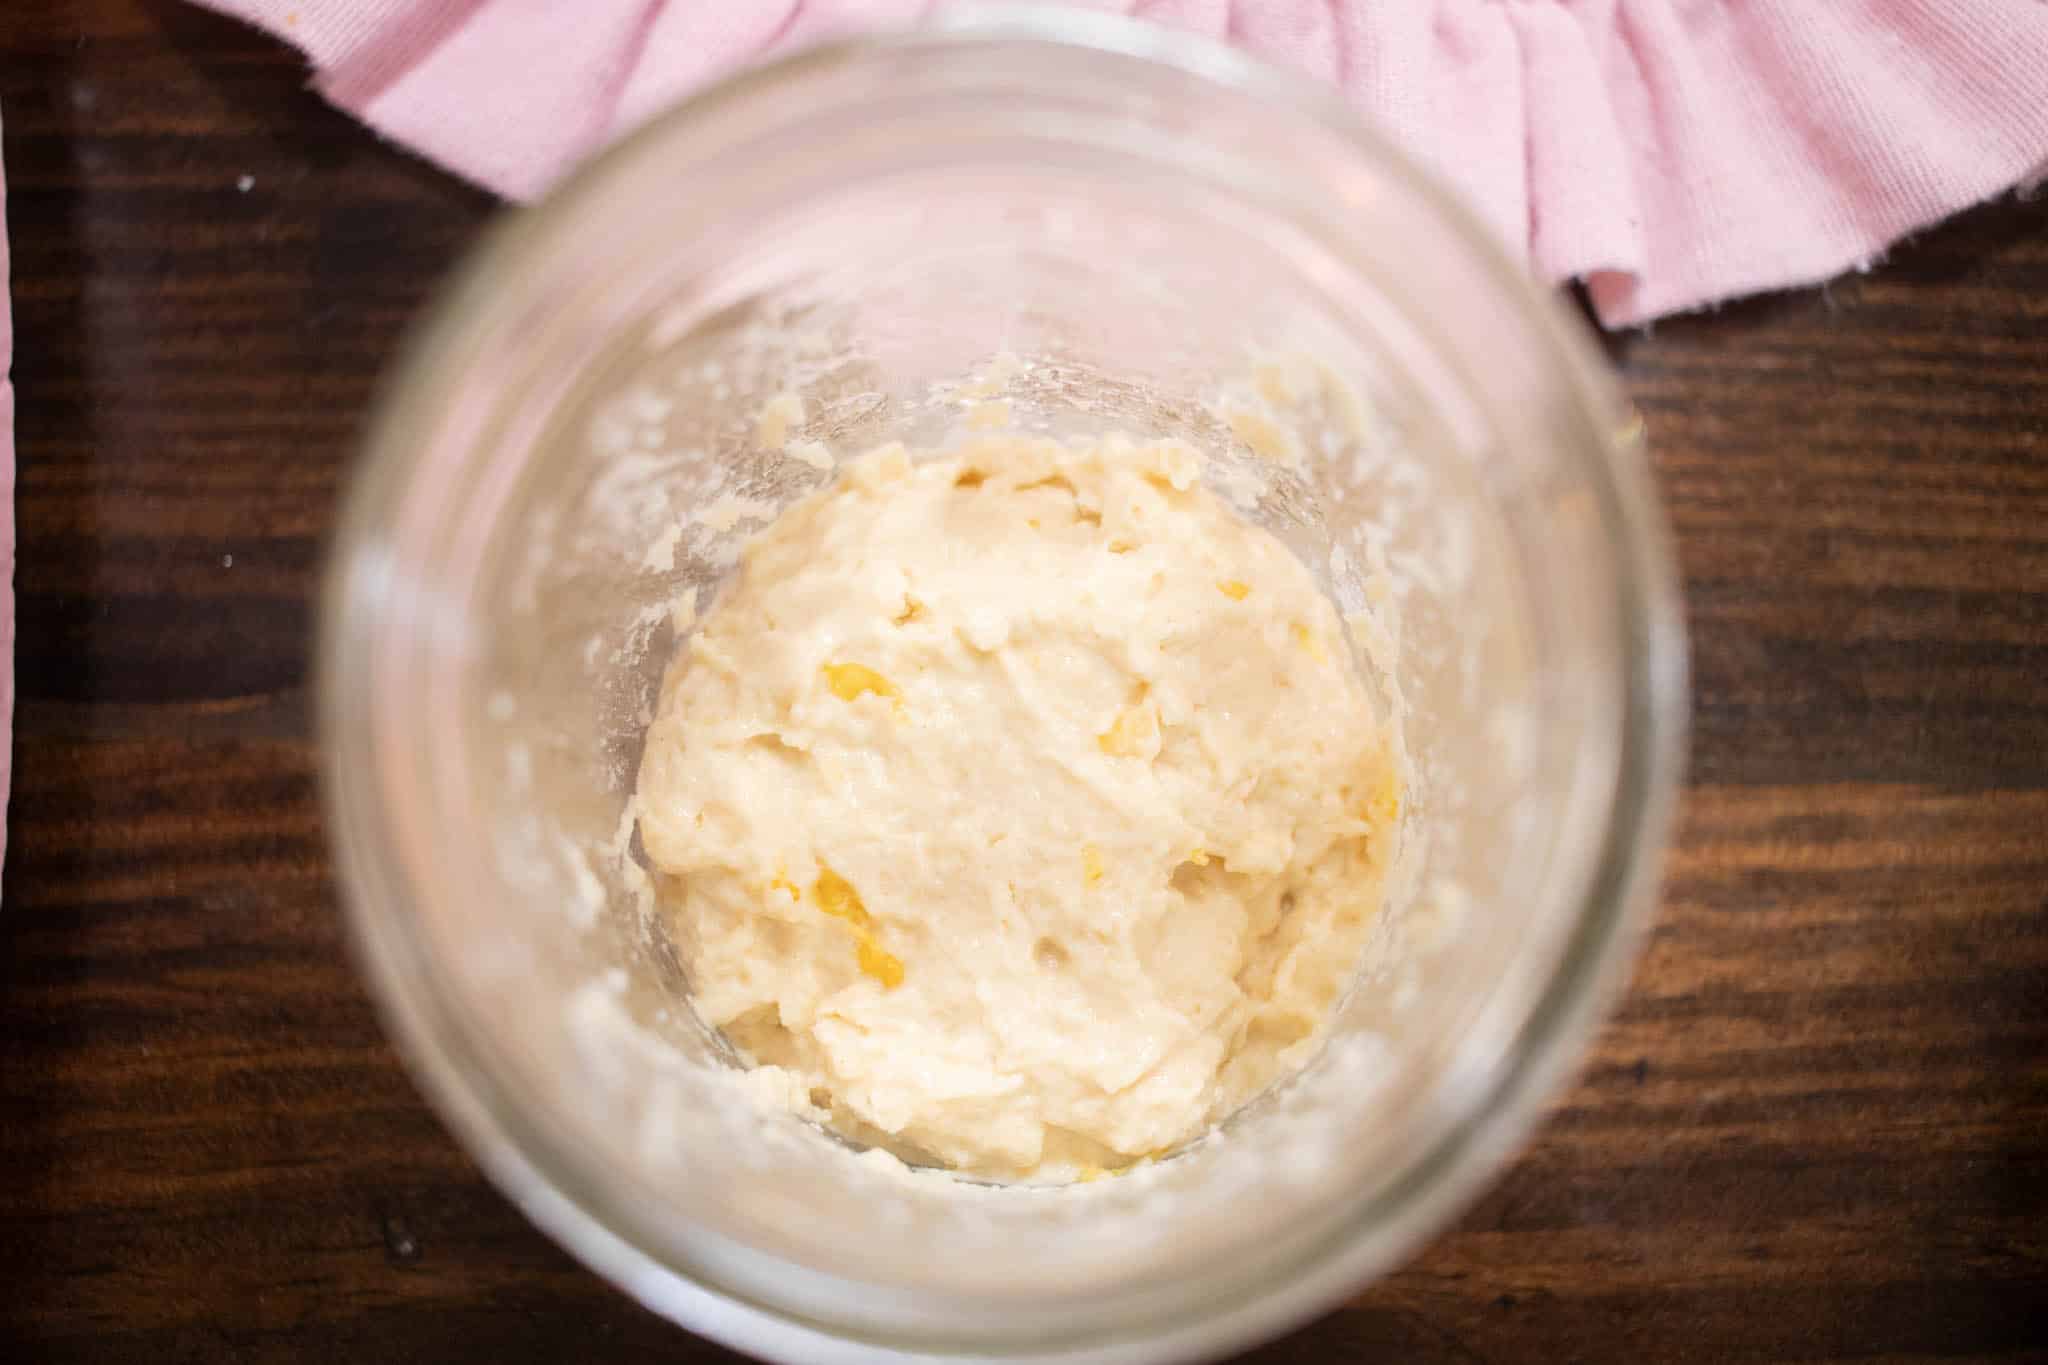
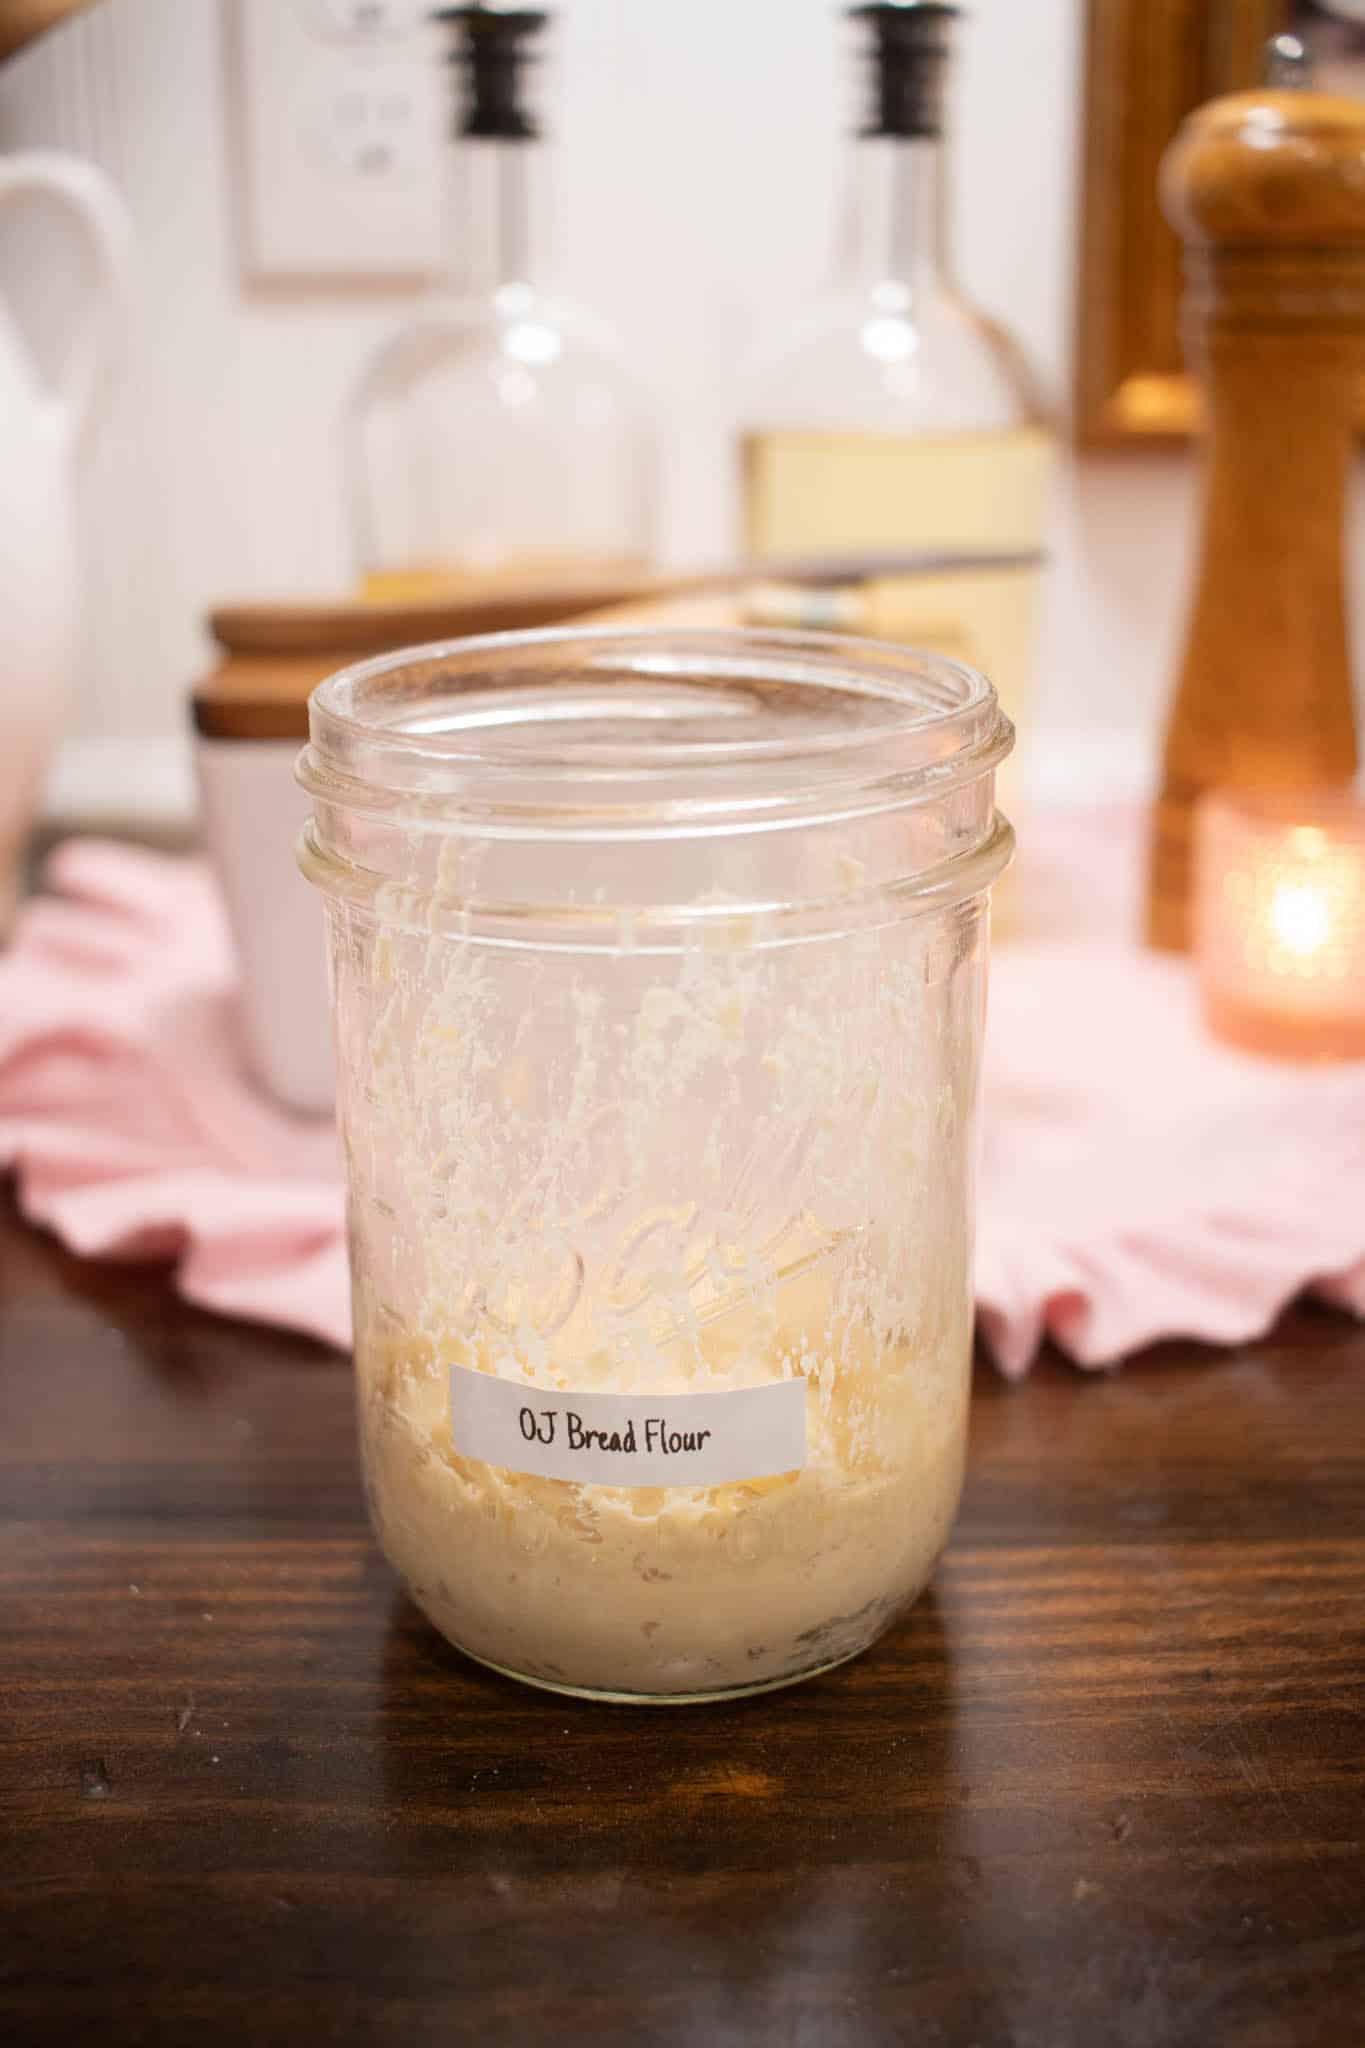
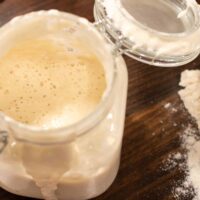
Day 1: Mix and Rest: In a clean jar, stir together 50 g fresh orange juice and 50 g bread flour until smooth and thick. Scrape the sides clean, level the top, and mark the height with a rubber band. Cover loosely so air can move but dust stays out, then rest in a warm, steady spot (68–75°F / 20–24°C) for 24 hours. What to expect: maybe a bubble or two and a mild citrus-grain smell. Quiet is normal on day one.
Day 2: Observe, Stir, Rest: Look for small bubbles around the sides or on top. Give the mixture a quick stir to add oxygen, scrape the sides, and cover again. Let it rest warm for another 24 hours. What to expect: if nothing is happening, that’s perfectly fine. Fermentation often wakes up around days three to four.
Day 3: First Regular Feeding: Stir, then discard all but 30 g of starter (save the rest for discard recipes once it smells pleasant). Feed with 50 g bread flour and 50 g water. Mix smooth, scrape sides, mark the level, cover, and rest warm. What to expect: more bubbles through the day, maybe a gentle dome, then a soft “collapse” once it gets hungry again.
Day 4: Repeat the Rhythm: Discard all but 30 g, feed with 50 g bread flour and 50 g water. Keep your temperature consistent and routine steady. What to expect: a slower rise today is normal — starters often pause as microbes rebalance. Stay the course.
Day 5: Activity Builds: Discard tall but 30 g, feed with 50 g bread flour and 50 g water. Mark the level and note the time fed. Start tracking how long it takes to rise and dome. Optional boost: if it still feels sluggish, swap 10–15 g of the bread flour for rye flour at this feeding, then return to 100% bread flour tomorrow. What to expect: more lift, a rounded dome, and a pleasantly tangy scent.
Day 6: Stronger Signs: Discard to 30 g, then feed with 50 g bread flour and 50 g water. The mixture should have the texture of thick pancake batter; add a splash of water if it’s stiff or a spoonful of flour if it’s thin. Keep the jar in a warm, steady spot (68–75 °F / 20–24 °C) and stay consistent with your feedings. What to expect: More bubbles throughout, a light dome on top, and a clean, mildly tangy scent. These are the first strong signs that your starter is gaining strength, even if it hasn’t doubled yet.
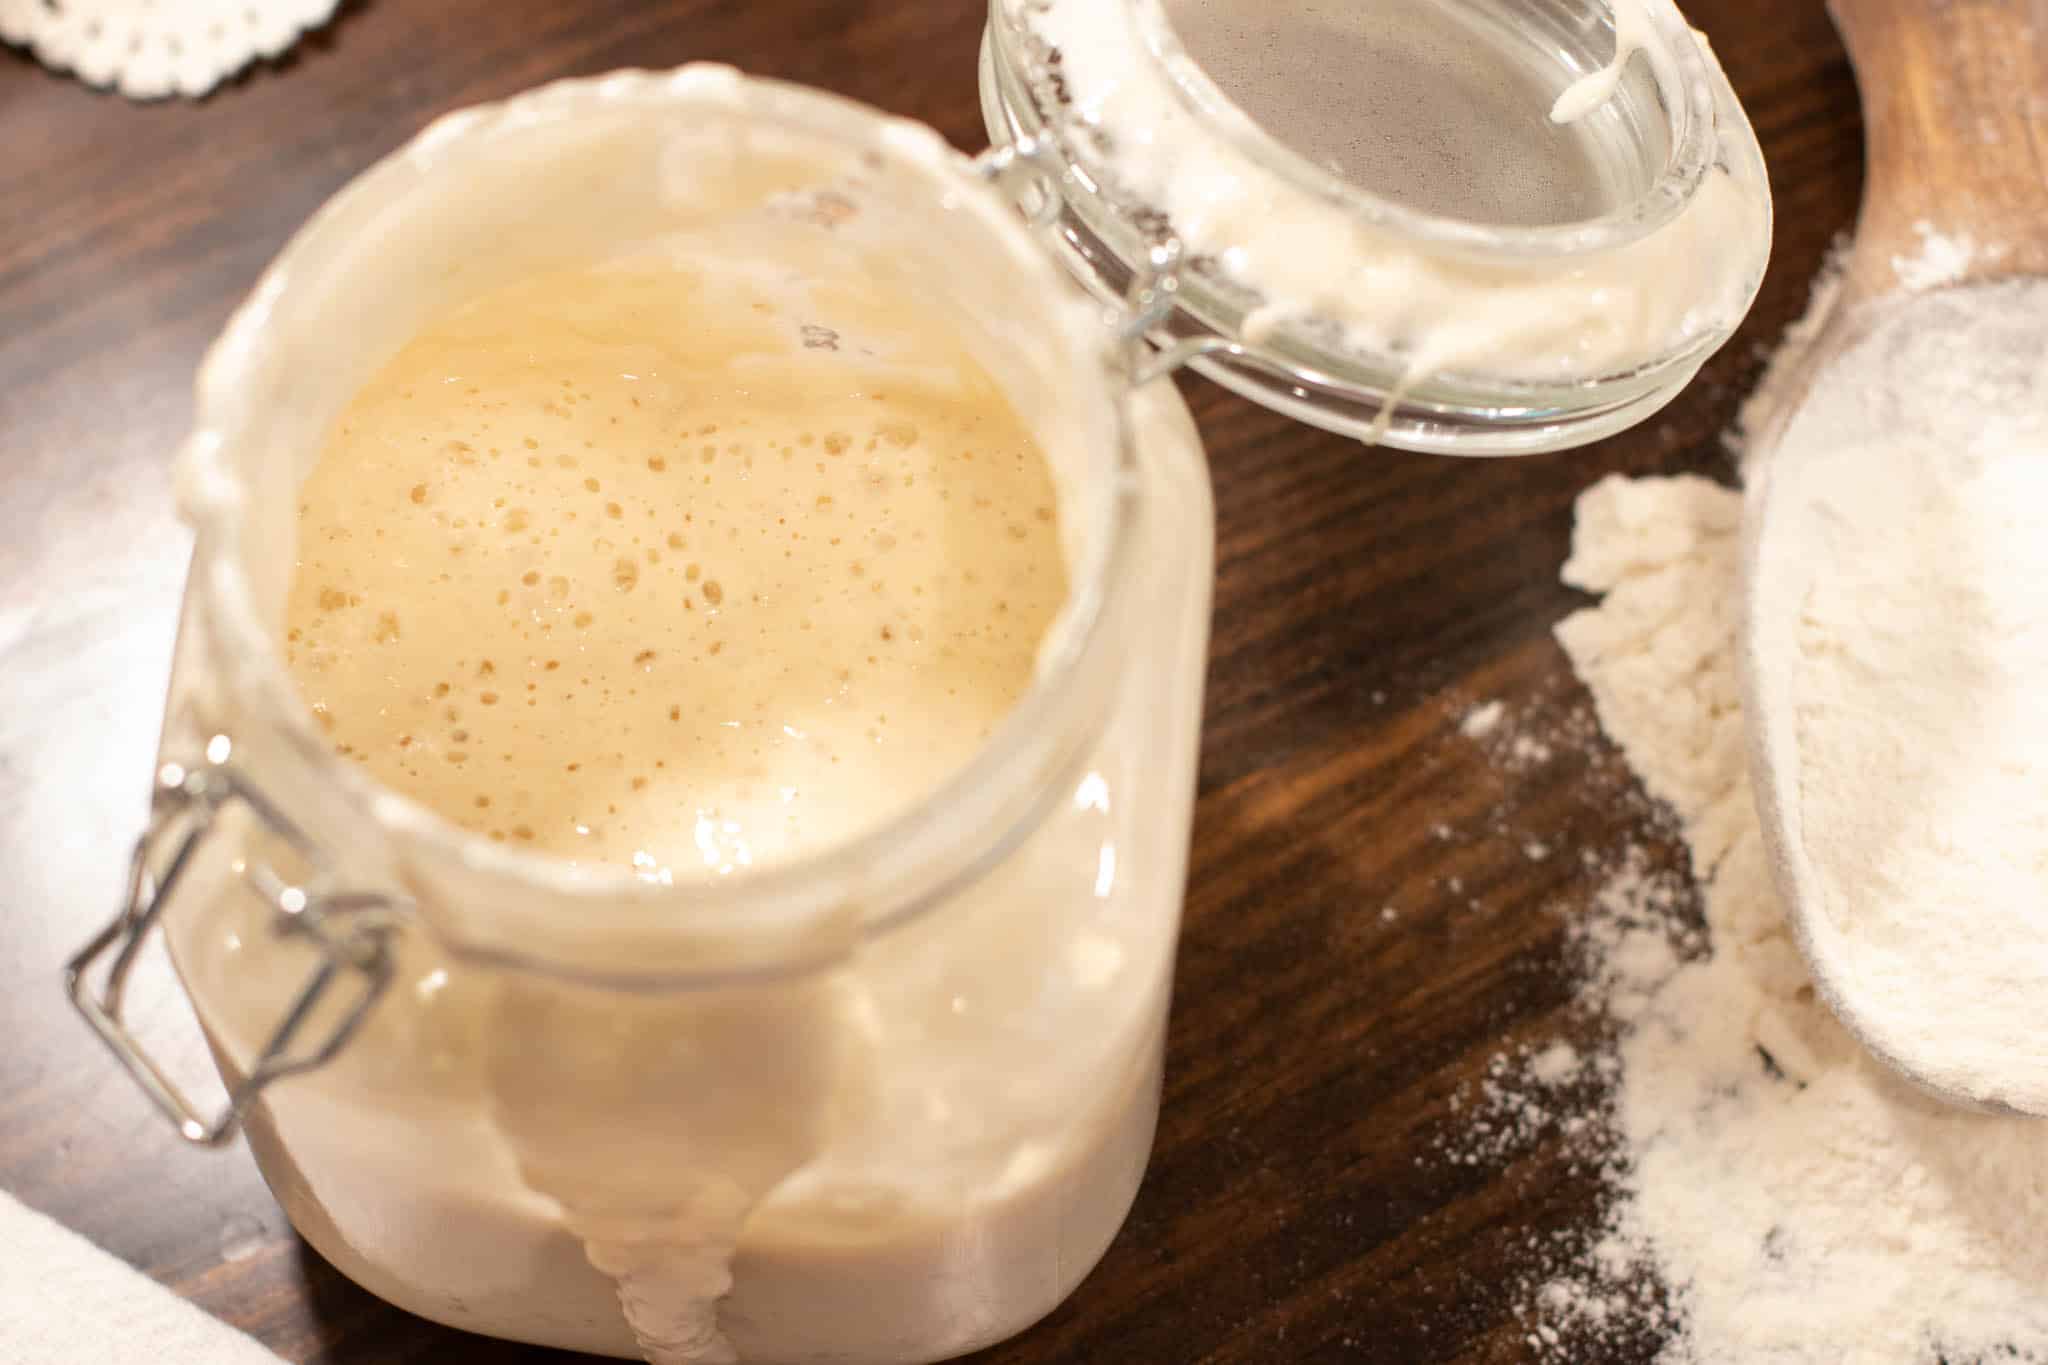
Day 7: Watching for Readiness: Continue the same feeding routine and start timing how long it takes your starter to rise. A healthy, balanced starter will double in volume within 4–6 hours of feeding, then slowly fall back down. That’s your sign, it’s strong and ready to bake with.
If you don’t see a full double yet, keep feeding once a day and stay patient — depending on flour quality, kitchen temperature, and air conditions, it may take up to day 14 to reach full strength. In warmer or more humid climates, it might ferment faster and need feeding twice a day.
A faint “nail-polish” smell simply means it’s hungry; feed it again, and it will balance out. As long as there’s no mold or unpleasant odor, keep going — slow starters often become the strongest.
Now that your starter is reliably doubling and falling, you can bake with it or move it into your maintenance routine of choice below, either the no-fuss refrigerated routine for easy long-term care or daily on the counter feedings.

Feeding & Maintaining Your Starter
Once your sourdough starter is strong and active, keeping it healthy is simple. Choose the routine that fits your baking rhythm — daily on the counter or my grandmother’s fridge-friendly, no-fuss method. Both will keep your starter ready whenever you want to bake.
Room Temperature Routine Tips
Note: For faster builds, feed a smaller portion at 1:1:1 (30 g starter + 30 g flour + 30 g water). This quick ratio boosts activity for same-day bakes, while 1:2:2 remains best for steady maintenance.
Instructions for Room Temp Routine
- Keep your starter warm: Store between 68–75°F so it stays active and ready daily.
- Measure for recipes: When baking, scoop out what your recipe calls for and use it directly.
- Set aside discard: Any extra becomes discard—save it for other recipes or refrigerate it.
- Feed after baking: Leave 30 g in the jar, add 60 g flour + 60 g water (1:2:2), mix smooth, scrape sides.
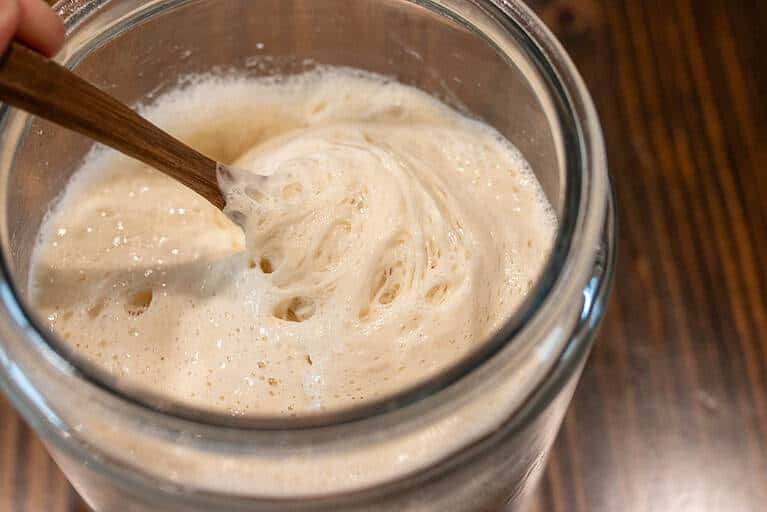
- Watch the rise: Let it double with a soft dome and stringy webbing when lifted (4–6 hours).
Fridge-Friendly Routine (Thick Starter Method)
Note: If you bake often, make a larger batch of thick starter to last the week or up to a month. For example, if baking four recipes needing 150 g each, feed 60 g starter + 300 g flour + 240 g water (1:5:4) and store in the fridge. Use portions as needed for same-day or overnight bakes.
Instructions for the Fridge-Friendly Routine (Same-Day Baking)
- Remove starter: Take what you need directly from the fridge (the mother).
- Feed what you need: Build it 1:1:1 to match your recipe (example: 40 g starter + 40 g flour + 40 g water).
- Stir and mark: Mix smooth, mark with a band, and let it rise.
- Let it peak: Use when doubled, domed, and bubbly (usually 4–6 hours).
- Bake with it: No need to save any back—the thick fridge starter remains your mother culture.
Instructions for the Fridge-Friendly Routine (Next-Day Baking)
- Remove starter: Use exactly what your recipe calls for straight from the fridge (no feeding).
- Mix into dough: Add the chilled starter directly to your ingredients.
- Allow slow fermentation: Because it’s cold and not at peak performance, the dough will rise slowly—perfect for an overnight ferment.
- Choose timing: In warm kitchens (above 73°F), refrigerate the dough overnight. In cooler kitchens, leave it covered at room temperature for a slower, gentle rise.
- Bake the next day: By morning, your dough will be airy, flavorful, and ready to shape, rest, and bake.
Tip: Using thick starter straight from the fridge gives a deep, mild flavor—ideal for unhurried, cozy baking days.
Don’t forget to pin this for later!
Troubleshooting
FAQ
More Sourdough Recipes from the Cottage
Join The Community
Want More Cozy Recipes & Seasonal Inspiration?
Get cozy, from-scratch recipes, seasonal cottage living tips, and slow living inspiration delivered straight to your inbox.
Together, we’re tending the rhythm of the starter, the patience of the dough, and the quiet joy of bread made by hand. May your crumb be to your satisfaction, your crust golden, and your loaves always rise high.
With love & gratitude,
Emily
Beginner Sourdough Starter Recipe
Equipment
- Glass jar (pint or quart size)
- Kitchen scale
- Spoon or spatula (non-metal preferred)
- Rubber band or tape to mark the rise)
Ingredients
- 400 g unbleached bread flour used across the first 7–14 days
- 400 g filtered or bottled water room temperature
- 50 g fresh orange juice day 1 only, to kickstart acidity
- Optional: 10–15 g rye flour one-time feed boost if activity is sluggish
Instructions
- Day 1: Mix and Rest: In a clean jar, stir together 50 g fresh orange juice and 50 g bread flour until smooth and thick. Scrape the sides clean, level the top, and mark the height with a rubber band. Cover loosely so air can move but dust stays out, then rest in a warm, steady spot (68–75°F / 20–24°C) for 24 hours. What to expect: maybe a bubble or two and a mild citrus-grain smell. Quiet is normal on day one.
- Day 2: Observe, Stir, Rest: Look for small bubbles around the sides or on top. Give the mixture a quick stir to add oxygen, scrape the sides, and cover again. Let it rest warm for another 24 hours. What to expect: if nothing is happening, that’s perfectly fine. Fermentation often wakes up around days three to four.
- Day 3: First Regular Feeding: Stir, then discard all but 30 g of starter (save the rest for discard recipes once it smells pleasant). Feed with 50 g bread flour and 50 g water. Mix smooth, scrape sides, mark the level, cover, and rest warm. What to expect: more bubbles through the day, maybe a gentle dome, then a soft “collapse” once it gets hungry again.
- Day 4: Repeat the Rhythm: Discard all but 30 g, feed with 50 g bread flour and 50 g water. Keep your temperature consistent and routine steady. What to expect: a slower rise today is normal — starters often pause as microbes rebalance. Stay the course.
- Day 5: Activity Builds: Discard tall but 30 g, feed with 50 g bread flour and 50 g water. Mark the level and note the time fed. Start tracking how long it takes to rise and dome. Optional boost: if it still feels sluggish, swap 10–15 g of the bread flour for rye flour at this feeding, then return to 100% bread flour tomorrow. What to expect: more lift, a rounded dome, and a pleasantly tangy scent.
- Day 6: Stronger Signs: Discard to 30 g, then feed with 50 g bread flour and 50 g water. The mixture should have the texture of thick pancake batter; add a splash of water if it’s stiff or a spoonful of flour if it’s thin. Keep the jar in a warm, steady spot (68–75 °F / 20–24 °C) and stay consistent with your feedings. What to expect: More bubbles throughout, a light dome on top, and a clean, mildly tangy scent. These are the first strong signs that your starter is gaining strength, even if it hasn’t doubled yet.
- Day 7: Watching for Readiness: Continue the same feeding routine and start timing how long it takes your starter to rise. A healthy, balanced starter will double in volume within 4–6 hours of feeding, then slowly fall back down. That’s your sign it’s strong and ready to bake with. If you don’t see a full double yet, keep feeding once a day and stay patient — depending on flour quality, kitchen temperature, and air conditions, it may take up to day 14 to reach full strength. In warmer or more humid climates, it might ferment faster and need feeding twice a day.
Notes
Nutrition
Did you make this recipe?
If you gave it a try and loved it, I’d be so grateful if you came back to leave a 5 “⭐️” rating. Use the buttons below to share, comment, or connect—I truly enjoy seeing and celebrating your beautiful bakes.

Emily Rider
Cottage lifestyle blogger and home miller with 25+ years of sourdough and fresh-milled flour experience.
Sharing cozy homemade recipes that help you bake with confidence, celebrate each season, and savor the beauty of everyday cottage living.