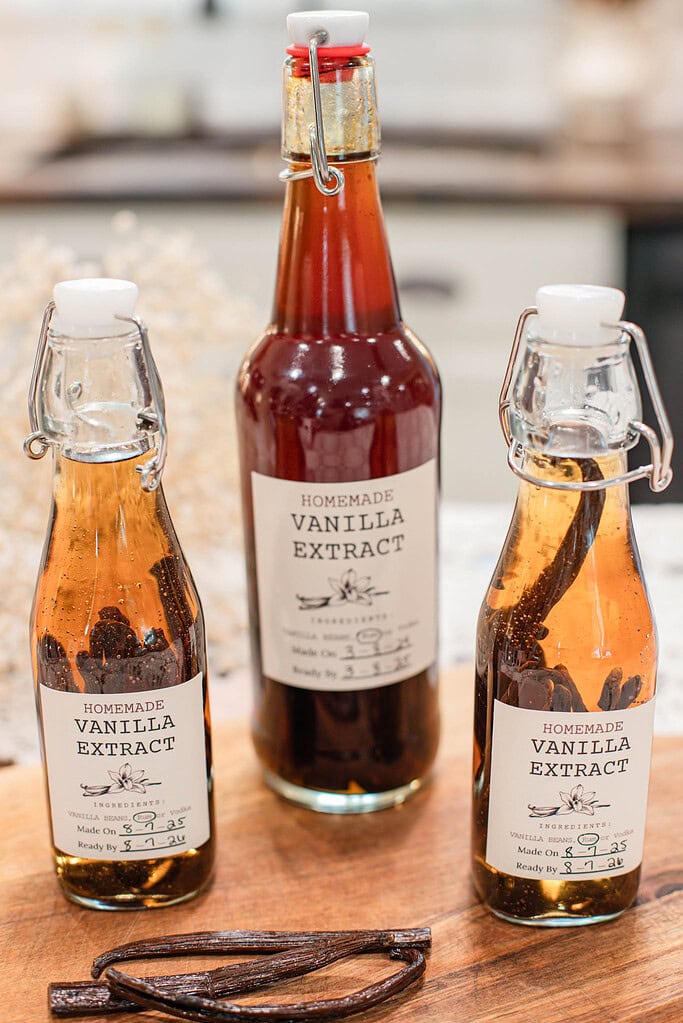
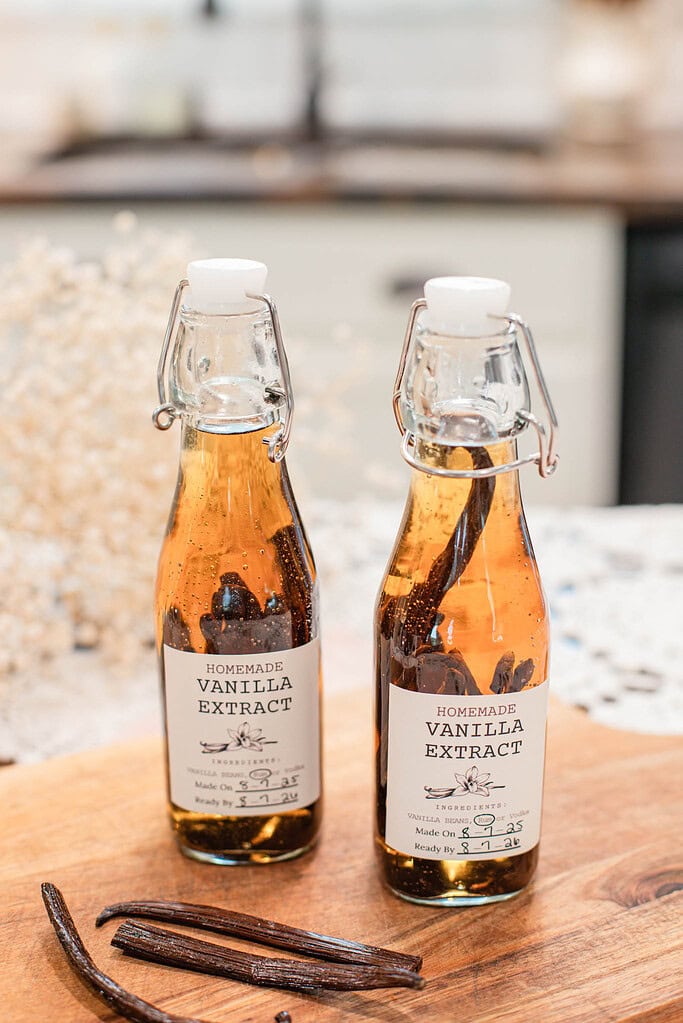
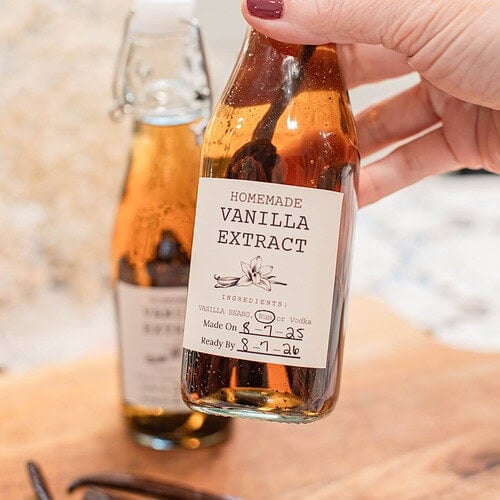
This homemade vanilla extract recipe combines vanilla beans with vodka, bourbon, or spiced rum at the correct bean-to-alcohol ratio to produce a smooth, deeply amber infusion with a warm, rounded flavor that blends seamlessly into everyday baking.
Vodka produces the cleanest, most neutral extract, bourbon adds subtle caramel and oak depth, and spiced rum brings a warmer, slightly sweeter finish — all three work beautifully and the choice comes down to how you bake and what flavor you want in the finished extract.
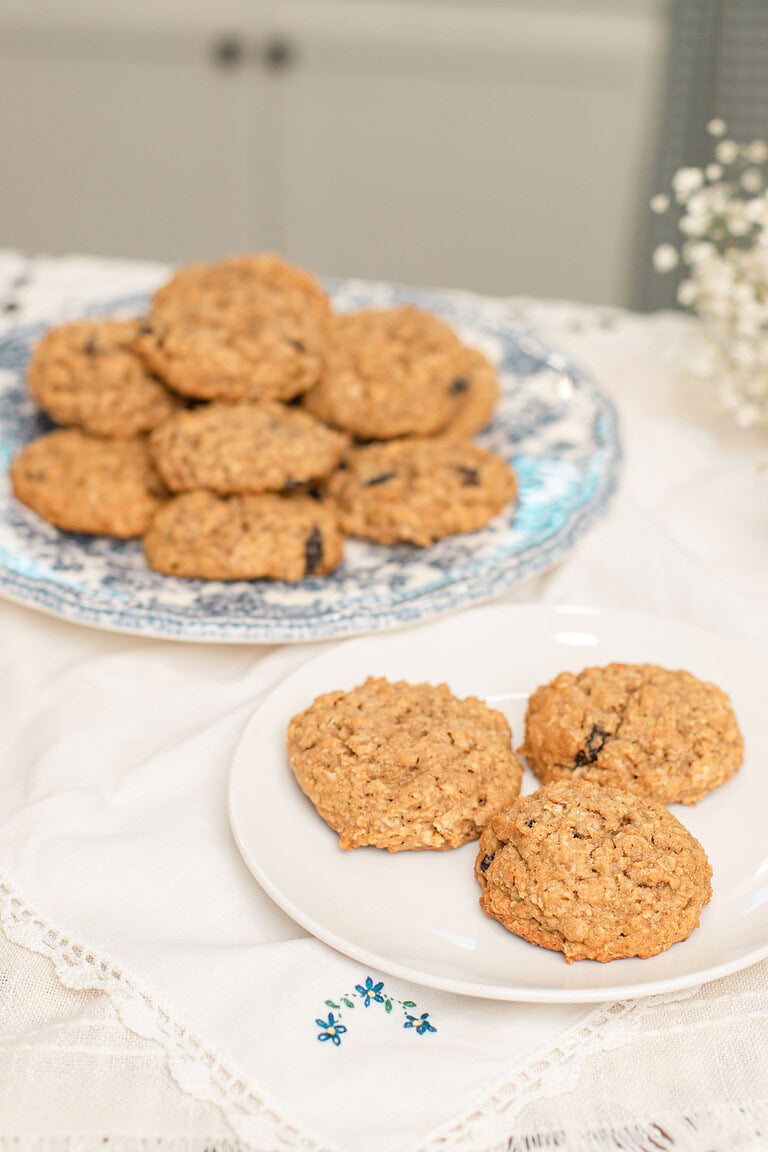
If you bake with vanilla often, you might also enjoy Sourdough Lemon Poppy Seed Pound Cake, No-Bake Sourdough Discard Chocolate Oatmeal Cookies, and Sourdough Animal Crackers with Freshly Milled Flour.
Loved how you explained how to make vanilla extract with correct ratio and cutting the beans! ~ Carol
Why You’ll Love This Recipe
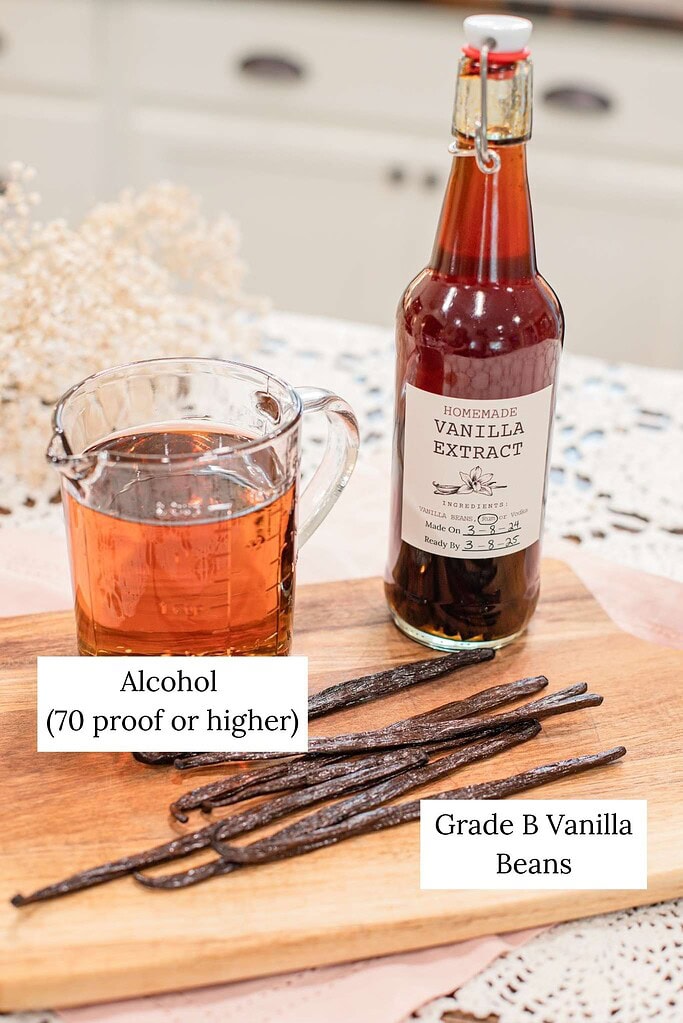
Ingredients
Variations & Add-Ins
Recipe Tips
Choose plump, flexible beans – Soft beans split cleanly and release more flavor into the alcohol from the start. Look for beans that bend without snapping and feel slightly moist rather than dry and brittle when you press them.
Measure by weight for accuracy – Use 1 ounce of vanilla beans, about 8 to 10 beans, for every 8 ounces of alcohol for a balanced single-fold extract that works reliably for everyday baking. Measuring by weight rather than bean count gives you a consistent ratio every time regardless of bean size.
Use alcohol at 70 proof or higher – Lower proof alcohol will not extract the vanilla compounds properly and affects both the flavor development and the long-term preservation of the finished extract. Check the label before using and choose a bottle that is at least 35 percent alcohol by volume.
Keep beans fully submerged – Every piece of vanilla bean should stay covered by the alcohol at all times. Press beans down gently if they float and add a small splash more alcohol if the level drops enough to expose any part of the bean.
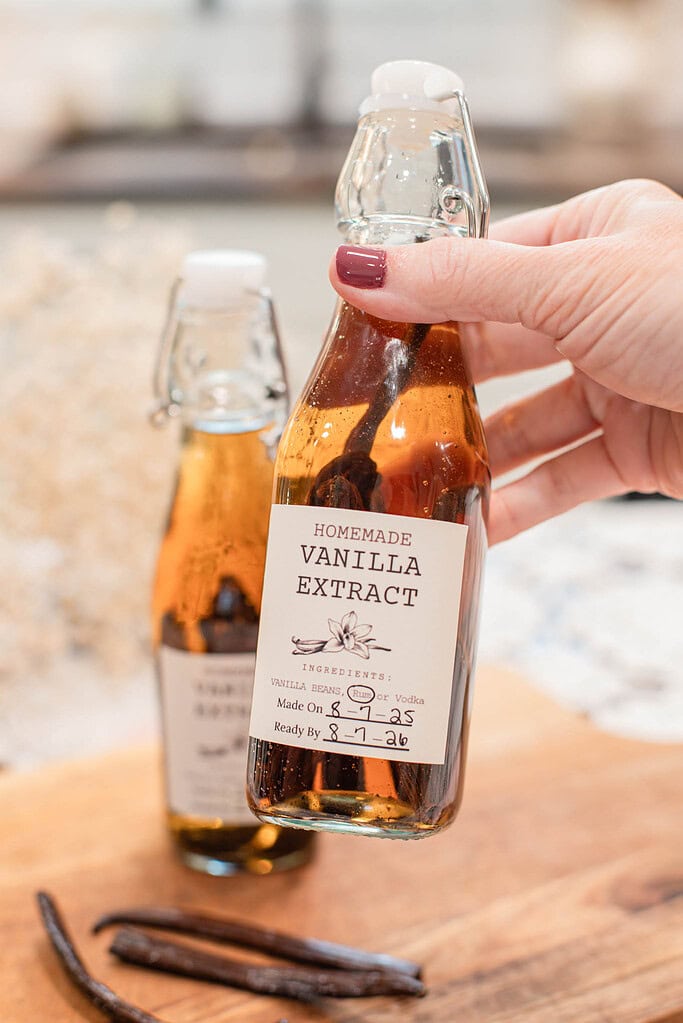
Watch for color change as a guide – The liquid shifts from clear to a light gold within the first few weeks and deepens to a rich amber as the extract matures. A deeper color and fuller aroma each time you open the jar are reliable indicators that the flavor is developing well.
Allow enough steeping time – You can begin using the extract after 6 to 8 weeks but waiting at least 6 months produces a significantly smoother, more rounded flavor. Twelve months creates the richest, most developed extract and is worth the patience if you plan ahead.
Store in a cool, dark place – A pantry or cupboard away from direct sunlight and heat works best throughout the entire steeping period and beyond. Consistent cool temperatures protect the infusion and support steady flavor development over time.
Instructions
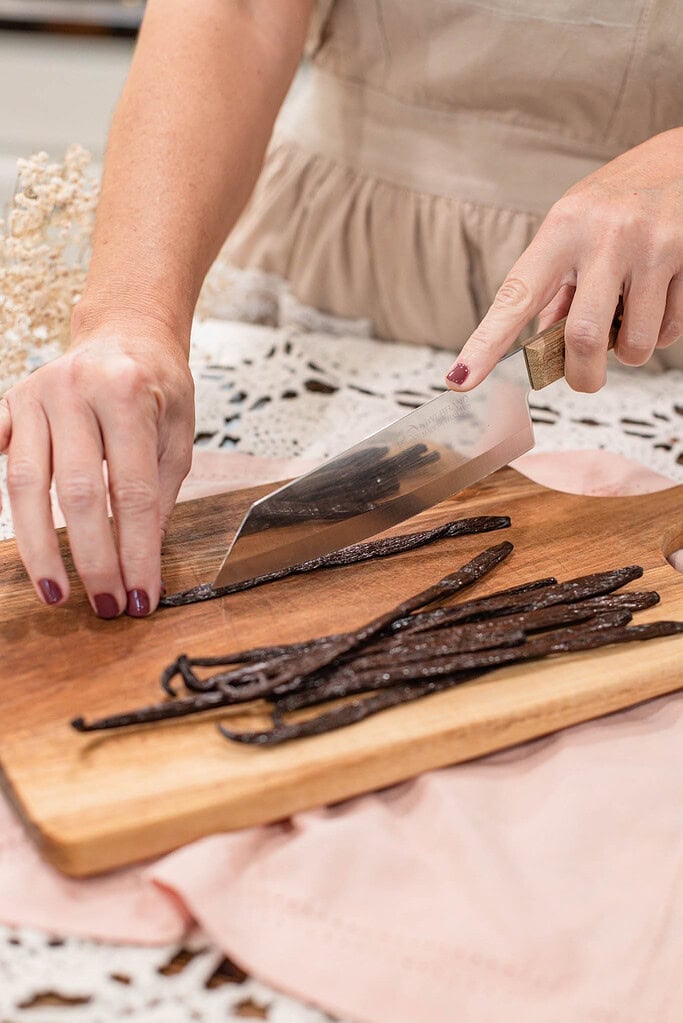
- Prepare the vanilla beans – Using a sharp knife on a clean cutting board, slice each bean lengthwise down the center to expose the seeds inside. There is no need to scrape the seeds out at this stage — opening the pod is enough to allow the full flavor to release into the alcohol throughout the steeping process.
- Cut to fit your jar – If the beans are longer than your glass container, cut them into smaller pieces so they sit completely below the liquid line once the alcohol is added. More exposed surface area helps the infusion develop more efficiently and creates a stronger extract over time.
- Add beans to a clean jar – Place the split beans into a completely clean and dry glass jar with a tight-fitting lid. Make sure the beans lie flat and are not sticking up above where the liquid will sit once the alcohol is added.
- Pour alcohol over the beans – Slowly pour your vodka, bourbon, or spiced rum over the beans until every piece is fully submerged with no part of the bean visible above the liquid line. Press any floating beans gently down below the surface before sealing.
- Seal and shake gently – Secure the lid tightly and give the jar a gentle shake to distribute the seeds and begin moving the vanilla compounds into the alcohol. This first shake starts the infusion right away and helps the seeds spread evenly through the liquid.
- Store and allow to infuse – Place the jar in a cool, dark pantry away from direct sunlight and heat and shake gently once a week during the first month. Let the extract steep for at least 6 months for a smooth, rounded flavor or up to 12 months for the richest, most developed result. Watch for the liquid to shift from clear to a deep amber color as the extract matures.
- Check for readiness – Watch for the liquid to shift from clear to a deep amber color as the extract matures. Once it reaches a full amber color and a warm, rounded aroma when you open the jar, it is ready to use in your baking.
Gifting Ideas
Freezing & Storage
- Sealed glass container – Keep your vanilla extract in a tightly sealed glass jar or bottle throughout the entire steeping period and beyond. Glass preserves the purity of the infusion and prevents any off-notes from developing over time that plastic containers can introduce during long steeping periods.
- Cool, dark pantry – Store in a cupboard or pantry away from direct sunlight and heat sources for the entire steeping period and beyond. Consistent cool temperatures protect the infusion and support steady flavor development throughout the months of steeping.
- Shelf life – Alcohol-based vanilla extract stored properly in a sealed glass jar has an indefinite shelf life and will continue to deepen in flavor over time. A well-made batch improves with age rather than declining, which means there is no rush to use it up once it reaches full flavor.
- No refrigeration needed – Cold temperatures slow flavor development and are unnecessary due to the preserving nature of the alcohol. Freezing can also cause slight cloudiness without improving the flavor in any way.
FAQ
Join The Community
Want More Cozy Recipes & Seasonal Inspiration?
Get cozy, from-scratch recipes, seasonal cottage living tips, and slow living inspiration delivered straight to your inbox.
More Homemade Recipes from the Cottage
Did you make this recipe?
Rate it 5 “⭐️” below.
If you liked this recipe, I’d be so grateful if you would share it with others. Use the buttons below to share, comment, or connect.

Homemade Vanilla Extract
Equipment
- 1 Cutting Board
- 1 Knife
- 1 16 Ounce Glass Air Tight Container
Ingredients
- 2 ounces Grade B vanilla beans Madagascar, Tahitian, or Mexican
- 16 ounces Spiced Rum, Bourbon, or Vodka (70 proof or higher) 2 cups / 480 ml
Instructions
- Prepare the vanilla beans – Using a sharp knife on a clean cutting board, slice each bean lengthwise down the center to expose the seeds inside. There is no need to scrape the seeds out.
- Cut to fit your jar – If the beans are longer than your jar, cut them into smaller pieces so they sit completely below the liquid line once the alcohol is added.
- Add beans to a clean jar – Place the split beans into a completely clean and dry glass jar with a tight-fitting lid. Make sure the beans lie flat below where the liquid will sit.
- Pour alcohol over the beans – Slowly pour your vodka, bourbon, or spiced rum over the beans until every piece is fully submerged. Press any floating beans gently down before sealing.
- Seal and shake gently – Secure the lid tightly and give the jar a gentle shake to distribute the seeds and begin the infusion.
- Store and allow to infuse – Place the jar in a cool, dark pantry and shake gently once a week during the first month. Let the extract steep for at least 6 months for a smooth, rounded flavor or up to 12 months for the richest result.
- Check for readiness – Once the liquid has shifted to a deep amber color and the jar has a warm, rounded aroma when opened, it is ready to use.
Video
Notes

Emily Rider
Home miller since 1999 with fresh-milled flour & sourdough experience. Sharing from-scratch recipes and traditional kitchen skills, rooted in the seasons and inspired by everyday cottage living and seasonal rhythms.
I have grade A beans. Do I need to keep beans in refrigerator if I’m not ready to make vanilla at this time.
Hi Jeri, Great question! I wouldn’t refrigerate vanilla beans at all, even short-term. Refrigeration can actually dry them out. If your beans are vacuum-sealed from the supplier, keep them sealed and store them in a cool, dark place. I usually keep mine in the spice cabinet so I know exactly where they are.
Once that vacuum-sealed package is opened, I try to use the beans fairly quickly. If you can’t get to making vanilla extract right away, just make sure they’re stored airtight in a cool, dark place. You can always set a quick reminder on your phone or Alexa so they don’t get forgotten. Happy Vanilla Extract Making!
Warmly,
Emily
I do not see the link the ordering the vanilla beans. Will you please let me know? I loved your video!
Donna, thank you for your sweet compliment. It has been a lot of work to bring our vision to light. My daughter and I are doing everything ourselves. Thank you for being part of our little cottage community. It means the world to us for your support and encouragement. Here is the link for Vanilla Beans.
https://www.amazon.com/shop/themoderndaycottage/list/1DWWS6IDN6T69?ref_=cm_sw_r_cp_ud_aipsflist_aipsfthemoderndaycottage_1K148GPY0CSS3TDVK53X
They have an Fb group, but the link wouldn’t work here or on the Youtube channel. The FB group is called Vanilla Bean Kings. Happy Vanilla Extract Making!!
Loved how you explained how to make vanilla extract with correct ratio and cutting the beans!
Thank you Carol, for your positive feedback! We’re glad you found our tutorial helpful in making your own vanilla extract. Getting the right ratio and cutting the beans are crucial steps in the process to ensure a high-quality and delicious end product. Let us know how your vanilla extract turns out!