Learning how to mill flour at home is one of those kitchen skills that, once you start, you wonder how you ever baked without it.
This guide walks you through the three things you need to get started: a grain mill, whole grains, and a good storage container, plus a beginner-friendly freshly milled flour sandwich bread recipe I have been making on repeat for over 20 years.
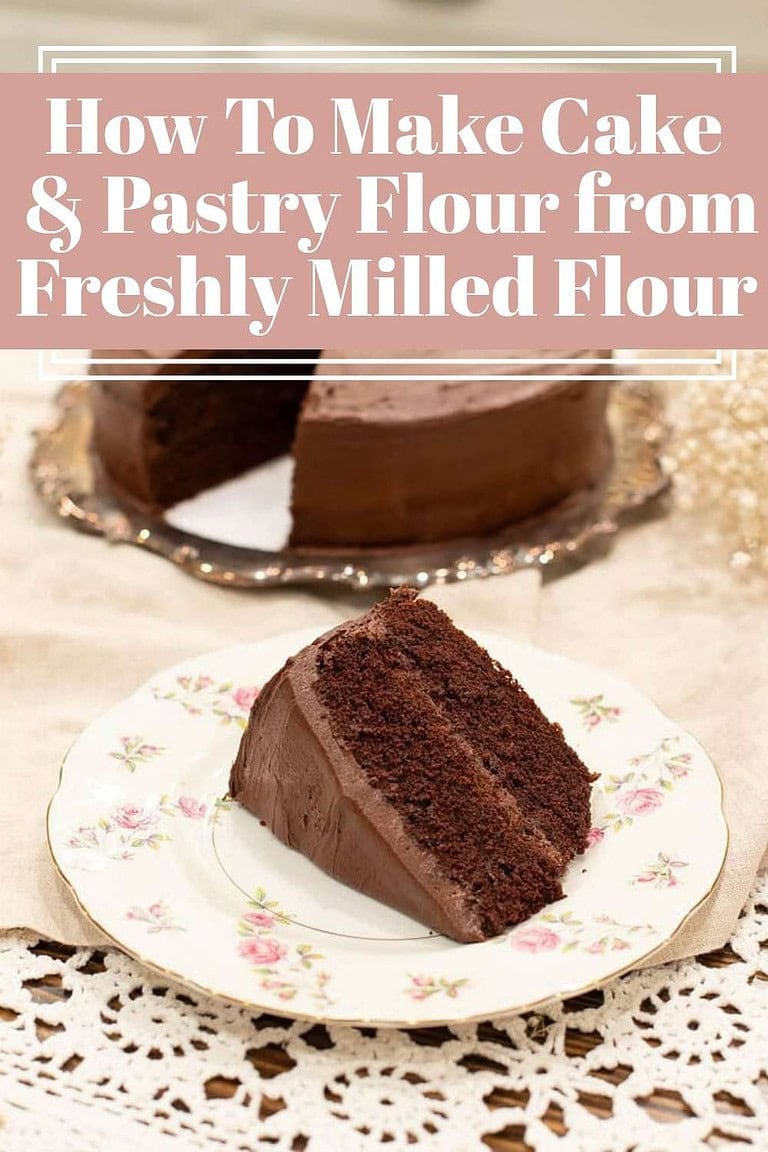
When you are ready to go deeper, Baking with Freshly Milled Flour, Best Whole Grains to Mill for Baking Bread & More, and Sifting Freshly Milled Flour are all here whenever you need them.
If you’re new to baking with freshly milled flour, The Cottage Mill resource library gathers helpful guides, tools, and recipes to get you started.
Wonderful, wonderful site! So glad I found it before starting my journey with fresh-milled flour. Thank you so much for sharing your knowledge. ~Mary
What You’ll Learn in This Guide
A Cottage Milling Note
I grew up with the sound of a mill humming in my Grandmother Nub’s kitchen, flour-dusted aprons, and the simple rhythm of fresh sourdough bread being baked.
Those memories never left me. In 1999, a conversation with a neighbor about milling flour stopped me in my tracks, and it felt like coming home. That day I came home, bought a mill and some grains, and have never looked back. Now with more than 25 years of daily practice, I carry forward the same tradition my grandmother lived by, turning whole grains into flour for bread, sourdough, cakes, and everything in between.
My hope is that you feel confident knowing you are learning from someone who has walked this path for decades. If you ever feel stuck, please reach out. I will do my very best to help you.
3 Things You Need To Start Milling Flour
You do not need a fancy setup to begin. A mill, wheat berries or whole grain, and a good airtight storage container are all it takes.
Let’s get right to it.
01
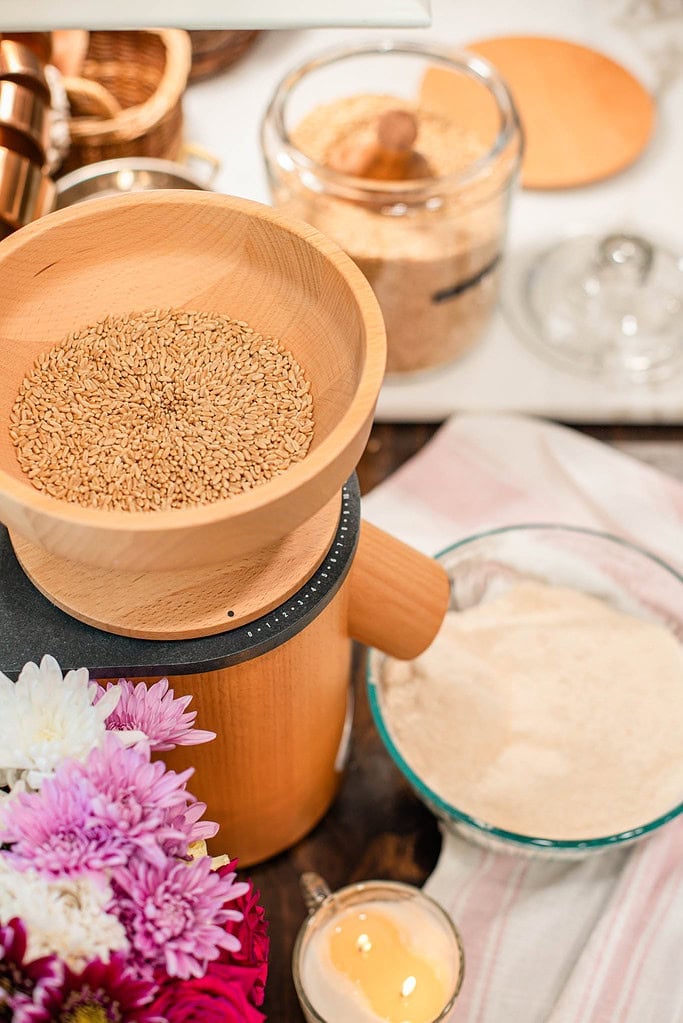
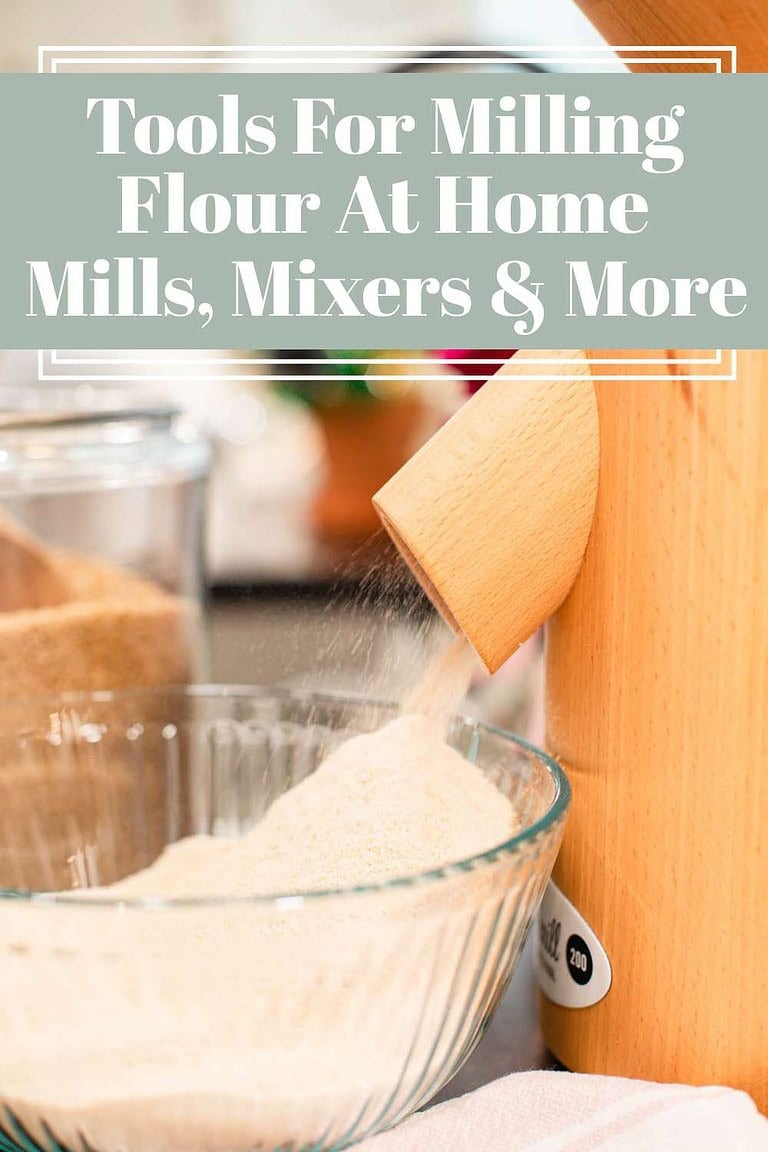
A Grain Mill
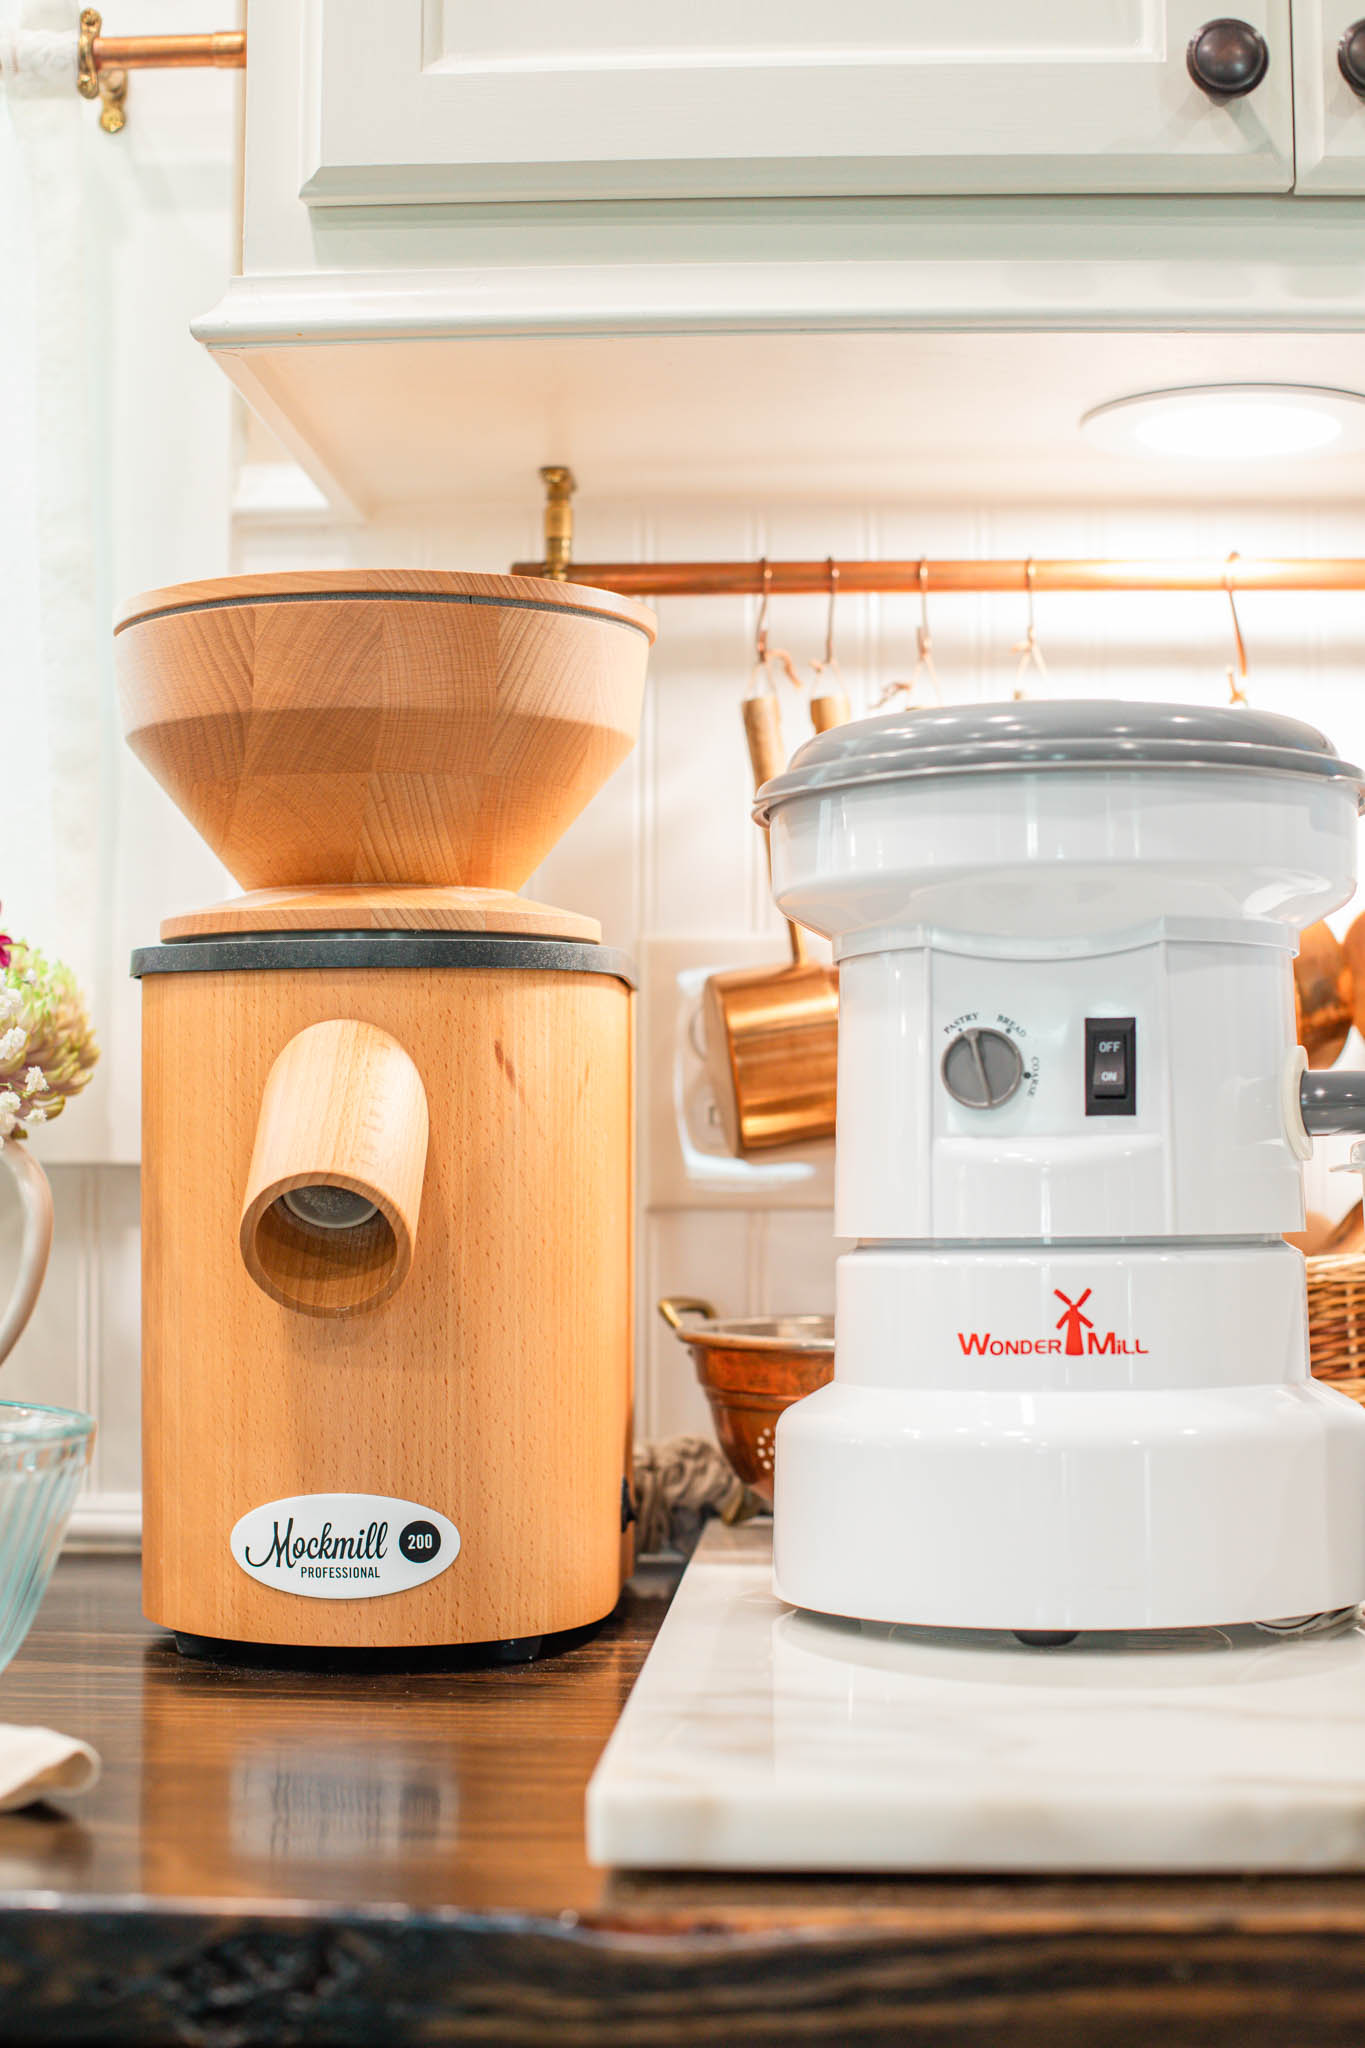
Manual, Electric (Stone or Impact) Milling Options
Manual mills (not pictured) – most are affordable, quiet, and portable. They are a good fit if you bake occasionally, enjoy the hands-on rhythm of cranking flour yourself, or want an off-grid option. They are slower, but very satisfying.
Electric mills (left to right: MockMill Pro 200 series and WonderMill) are fast, consistent, and easy to use. They are a good fit if you bake regularly or want flour ready within minutes. They do cost more, but many everyday bakers find them worth the investment once milling becomes part of their routine. I personally use both a stone mill and an impact mill.
If you’d like a closer look at different milling tools, I share more here: Tools for Milling Flour at Home | Mills, Mixer, & More.
Many bakers start with a manual mill and upgrade to electric once milling becomes part of their rhythm. Manual mills are great for off-grid baking while electric mills shine for larger amounts.
02
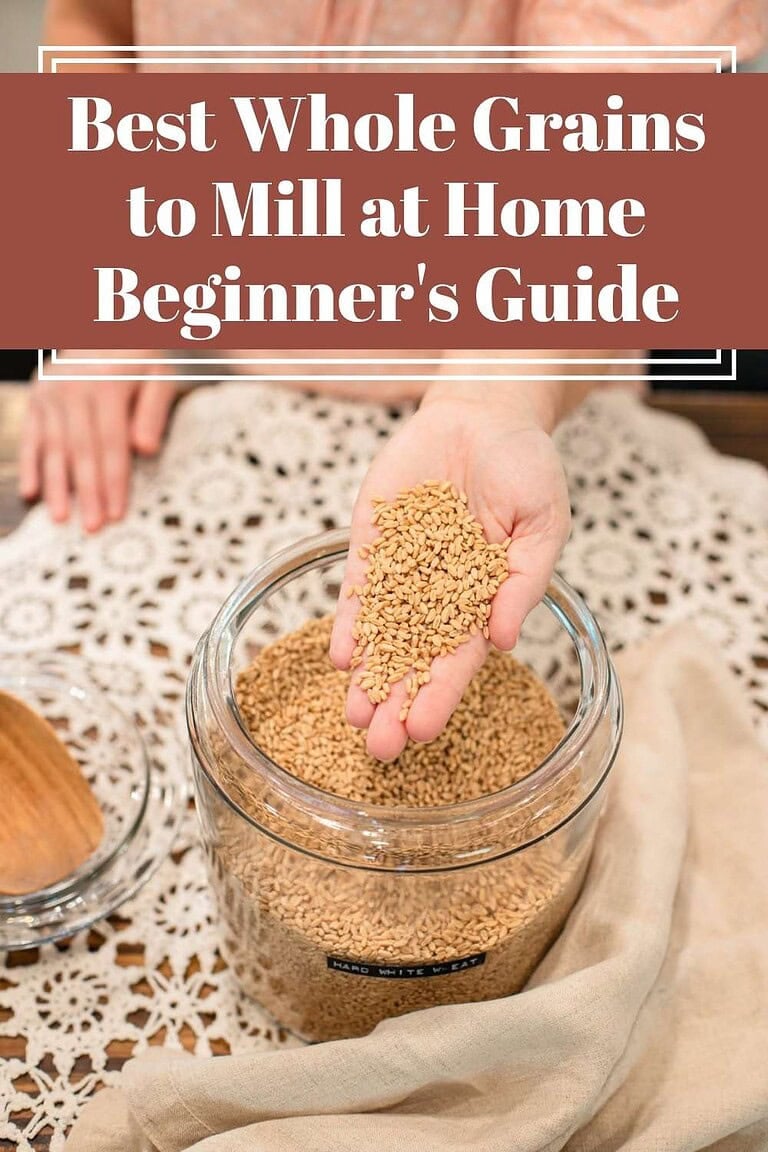
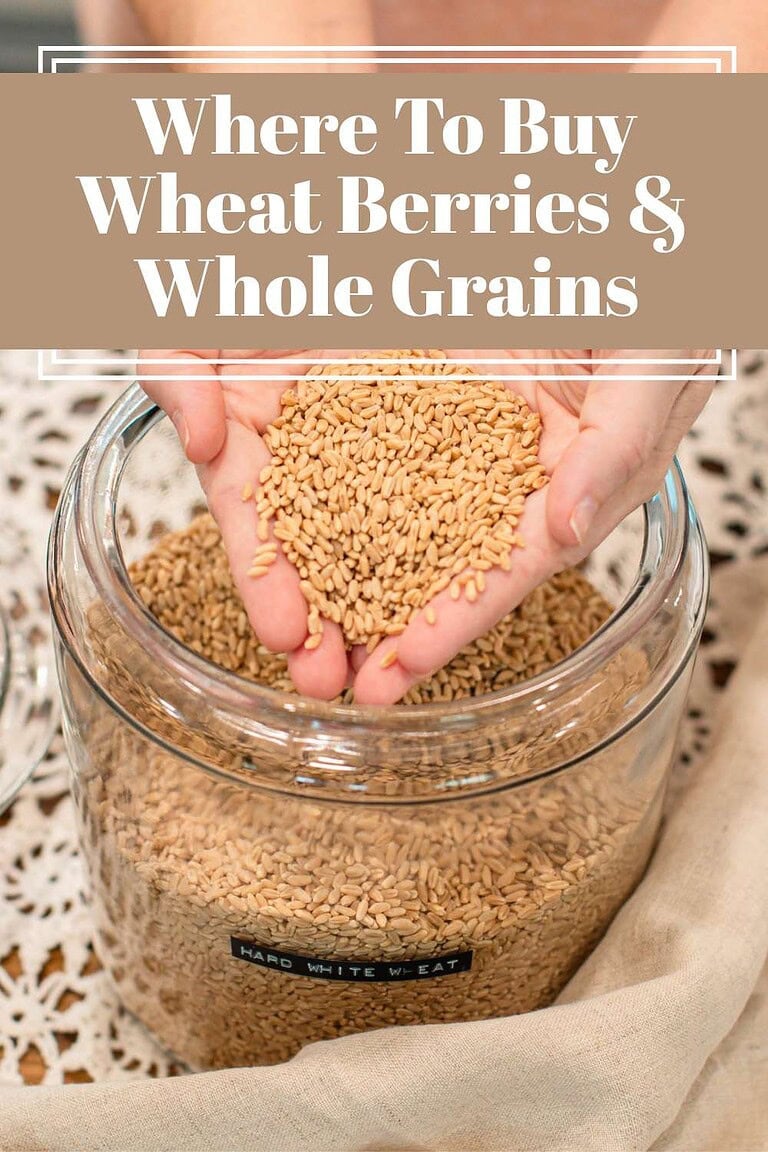
Wheat Berries & Whole Grains
High-Protein, Low-Protein, and Ancient Grains
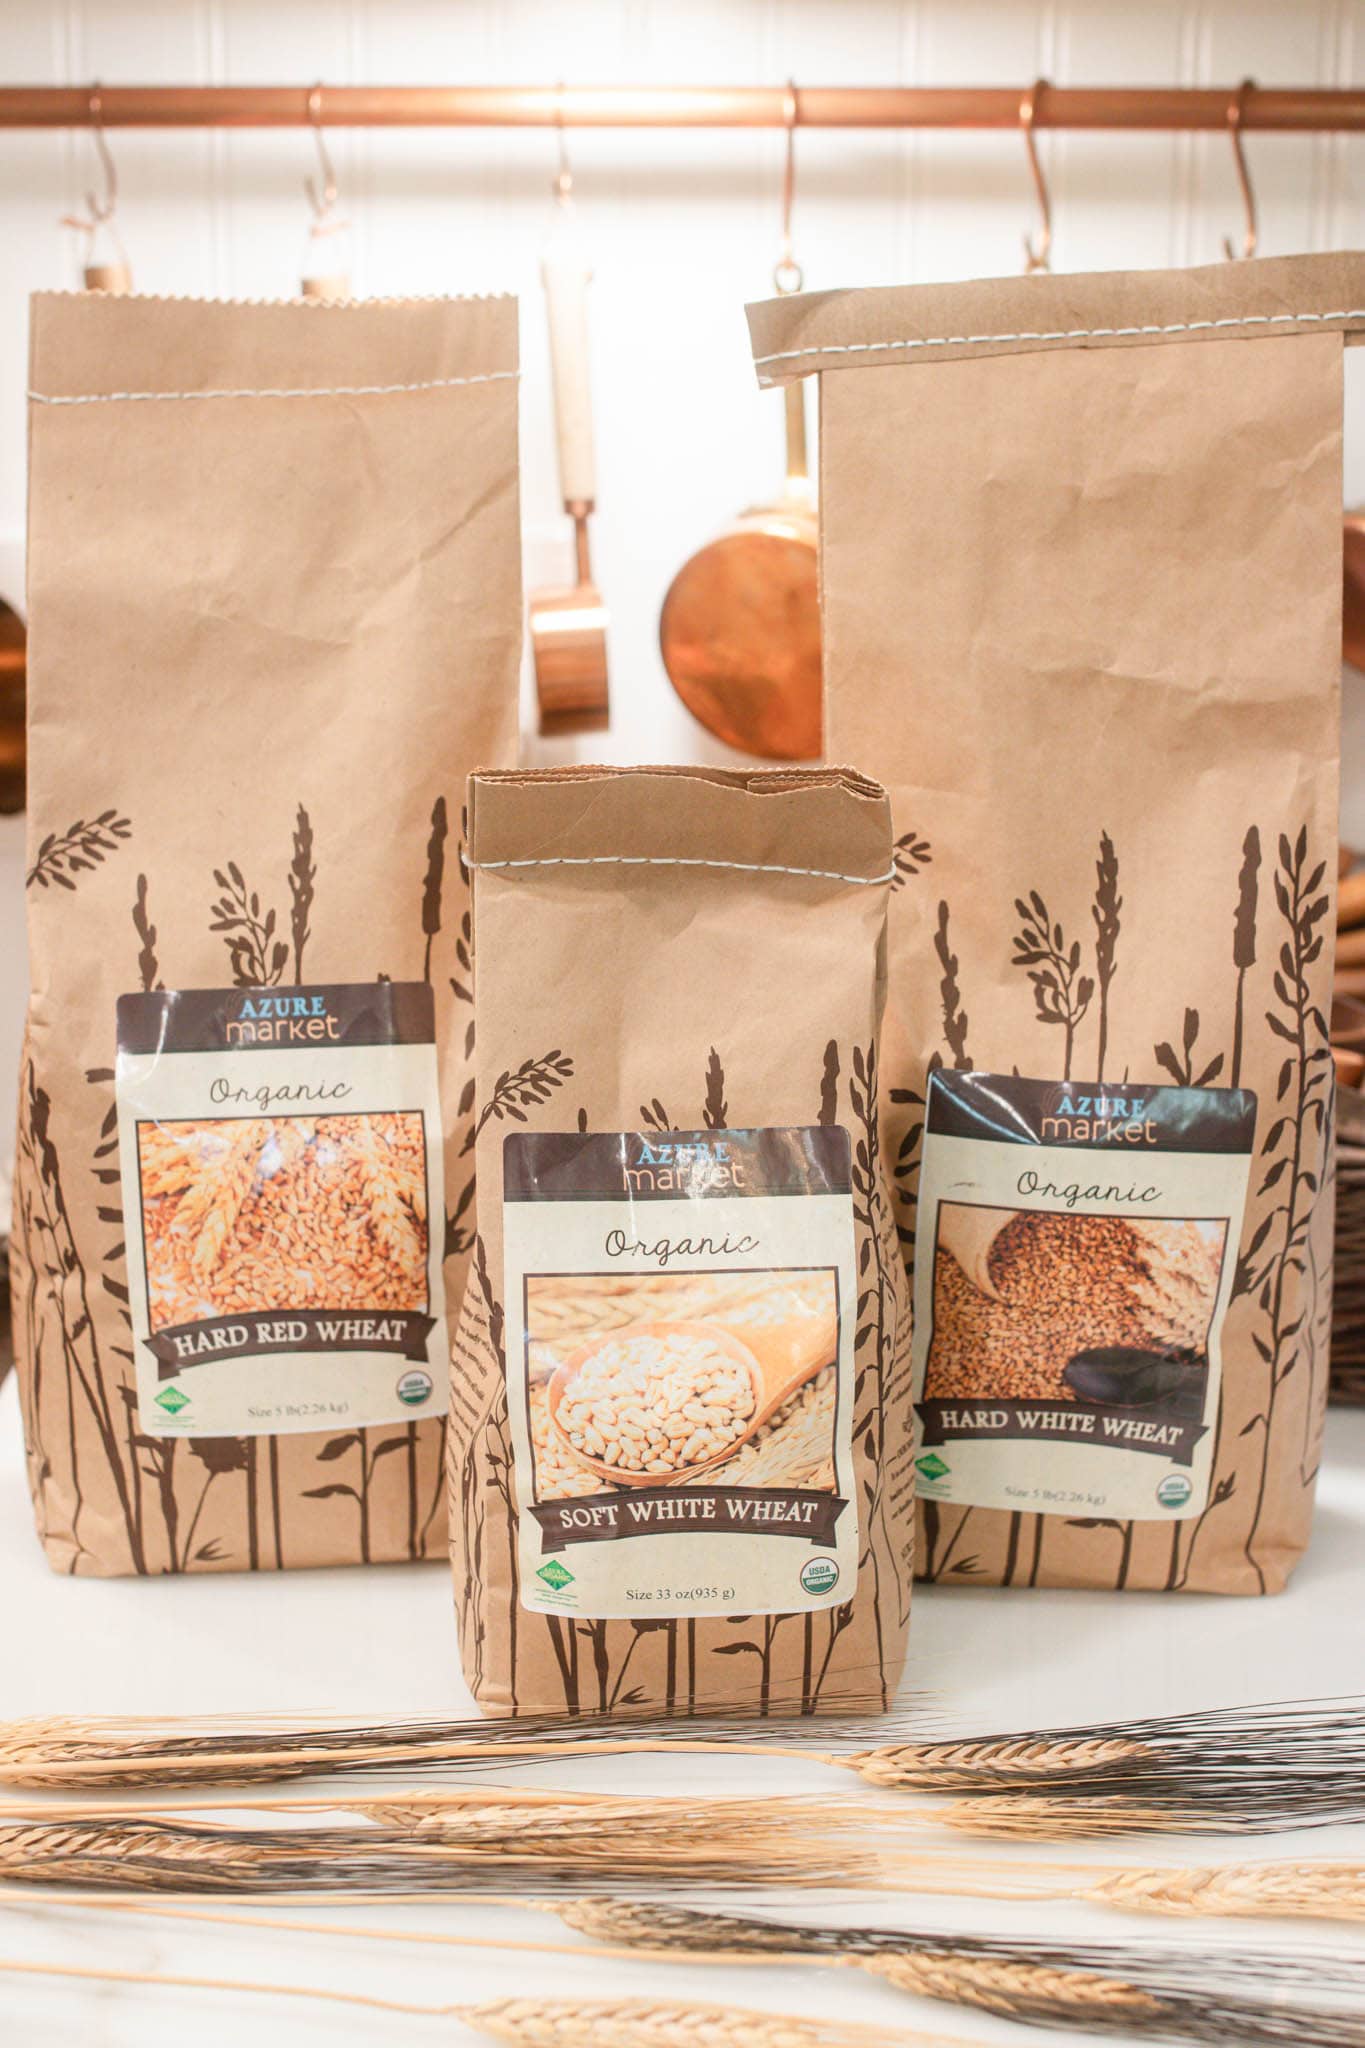
Hard white wheat – Mild, easy to work with, and perfect for everyday bread.
Hard red wheat – Fuller flavor, a little heartier, great for rustic loaves.
Soft white wheat – Lower protein, wonderful for cookies, muffins, and pancakes.
Ancient grains – Einkorn, spelt, emmer, Kamut, and rye each bring unique flavors once you are ready to branch out. These grains have a weaker gluten structure, so use 25–30% in breads that need lift. For recipes that do not require rise like cookies, pancakes, or quick breads, you can use 100%.
Note: Start with hard white and soft white. They will give you a solid foundation, and you can branch into other varieties once you are comfortable. For sourcing, see this post: Best Places to Buy Wheat Berries & Whole Grains.
03
Storage
Storing Your Whole Grains and Flour
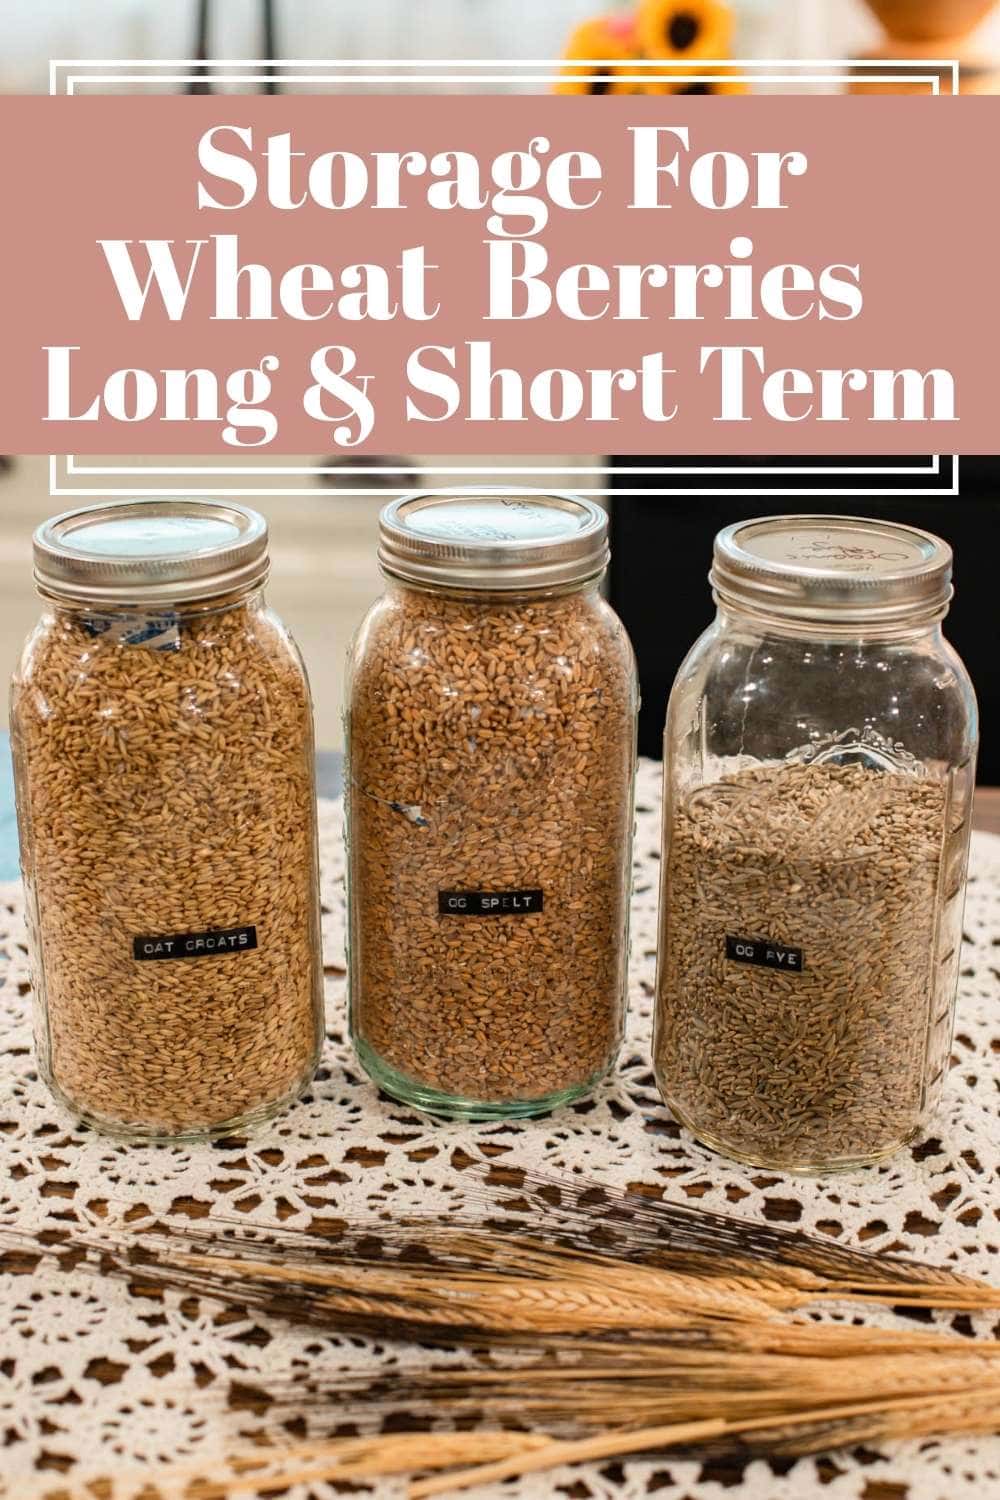
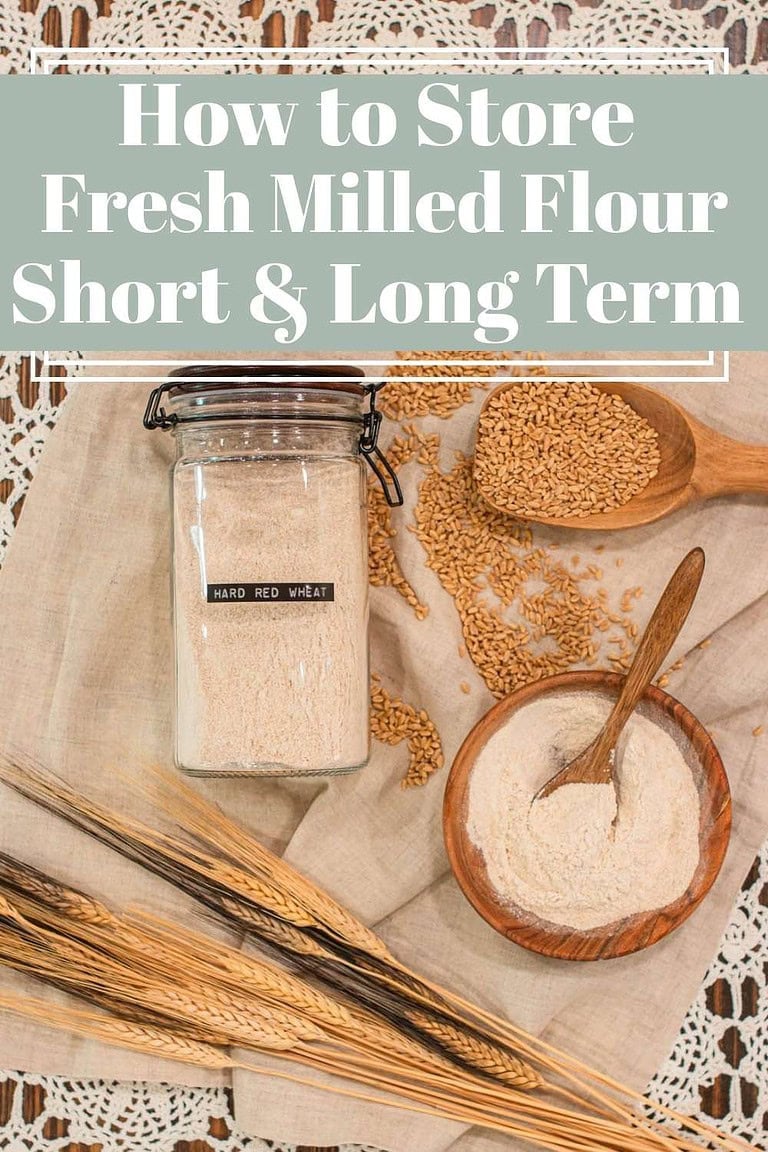
Wheat berries and whole grains should be stored in airtight jars or buckets in a cool, dry place.
For long-term storage, many bakers use plastic buckets with gamma lids and an oxygen absorber kept in a climate-controlled space. When stored well, whole grains can last for years. Heat and moisture are the biggest risks; too much of either can shorten shelf life or lead to spoilage.
- Fresh flour – Best used within 24–48 hours.
- Fresh flour for longer storage – Place in an airtight jar or a freezer-safe zip-top bag and store in the fridge or freezer until baking.
- A good habit – Always label and date your containers so you know exactly what is inside and how fresh it is.
For more details, read this guide: How To Store Wheat Berries for Long & Short Term
RELATED POST
Once your flour is milled, the next thing to understand is how it behaves in dough. Fresh flour absorbs water differently from refined commercial flour, fresh flour benefits from a short rest before kneading and ferments faster. This guide walks you through all of this and more: Baking with Freshly Milled Flour.
Tip: If you can, buy some freshly milled flour from a local miller or a friend who mills before investing in a grain mill. Try it first, see if you love the flavor, and then decide if it is worth the leap.

Instructions
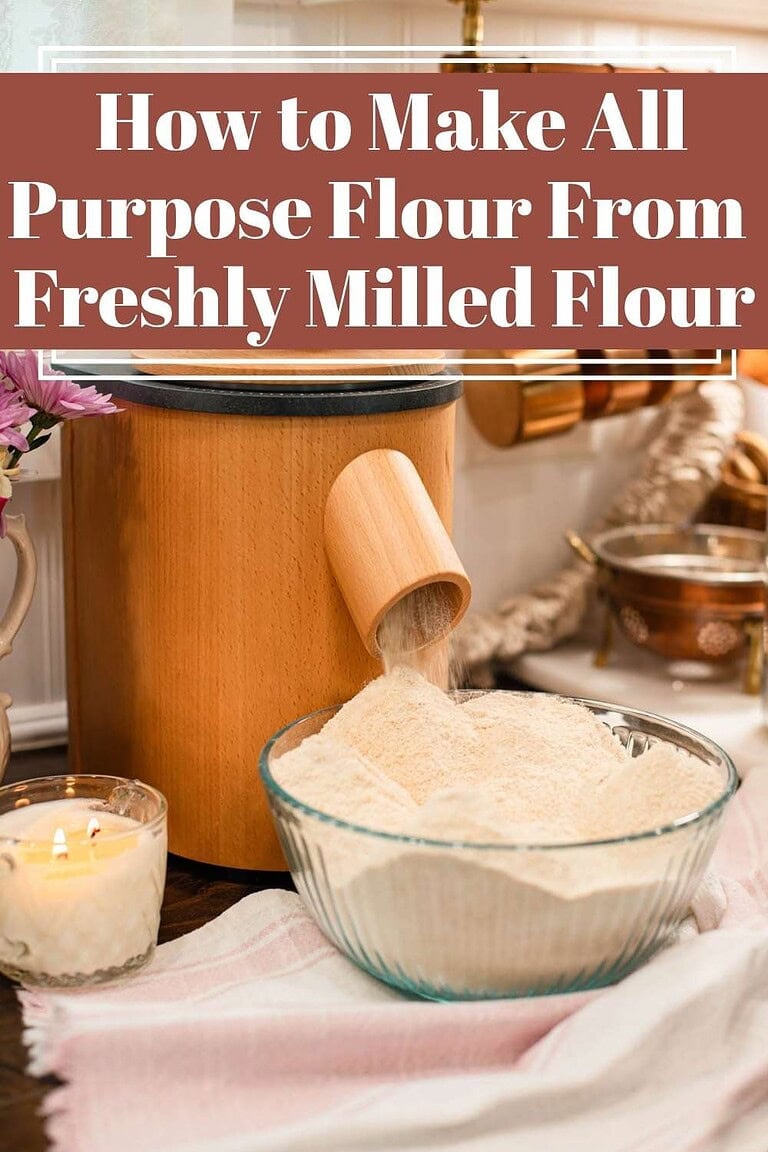
- Weigh or measure your grains – A kitchen scale is the most accurate tool because wheat berries vary in size and shape, but weight never changes. As a guide, 1 cup of wheat berries yields about 1¼–1½ cups of flour. If you use cups, scoop the way you normally do, then weigh it once and jot down that number for consistency.
- Choose your grind – Fine flour works well for bread and cakes, while coarse flour suits rustic loaves, crackers, or porridge. Think about your end recipe and adjust the mill accordingly — this is where you control the texture.
- Set your mill – Adjust the dial or knob to your chosen setting before milling. Every mill has its own instructions; please check your manual first. A good habit is to test with a small handful before grinding a full batch.
- Start the mill – Always turn the machine on first, then slowly pour clean, dry grain into the hopper. This prevents clogging and keeps the flour flowing smoothly. Place a bowl or container underneath to catch the flour.
- Check your setup – Some mills like the WonderMill and Nutrimill need the canister and filter seated properly. Others like the MockMill feed straight into a bowl. A quick check before milling saves spills and mess.
- Optional sift – Sifting can lighten the flour for softer breads or pastries. Different mesh sizes give different results: #40 mesh for hearty bread, #50 for everyday loaves, and #60 for cakes. See the full sifting guide here: Sifting Freshly Milled Flour | Why, When & How to Do It.
Did you know you can convert your recipes to freshly milled flour? Learn how to convert your recipes and more at The Cottage Mill.

The Cottage Mill: Freshly Milled Flour Guides, Recipes, and More Await!
Troubleshooting
Cottage Living Community
Join the Cozy Cottage Living Community
Sign up for The Modern Day Cottage Community newsletter to receive recipes. how-tos, exclusives, and more from my kitchen to your inbox every week.
FAQ
More Fresh Flour Guides from The Cottage

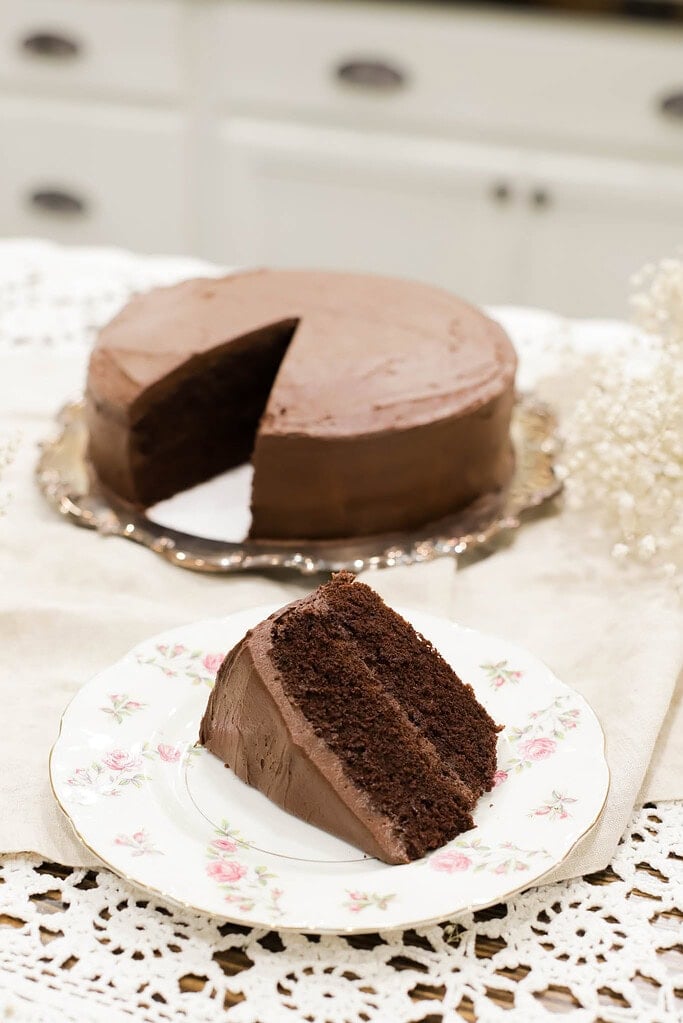
Beginner’s Fresh Milled Flour Sandwich Bread
Equipment
- 1 Large mixing bowl
- 1 Stand Mixer
- 2 1 lb Loaf Pans or 1 Pullman Loaf Pan
Ingredients
- 4 ½ cups Freshly Milled Flour *Use Hard White or Hard Red Wheat Berries 540 grams
- 1 ½ cups Warm water about 110°F 355 grams
- 3 tbsp Honey 63 grams
- ⅓ cup Neutral oil or melted butter 75 grams
- 1 tbsp Instant yeast 9 grams
- 1 ½ tsp Salt 9 grams
Instructions
- Mix liquids: Add the warm water, honey, and oil to the bowl of your stand mixer. Stir briefly to help the honey dissolve, making sure the water feels warm like a comfortable bath but not hot. This temperature helps the yeast activate properly.
- Add yeast: Sprinkle the instant yeast directly over the liquid mixture. If using active dry yeast instead, let it sit in the warm water and honey for 10 minutes until foamy, which confirms the yeast is alive.
- Add flour: Add the freshly milled flour slowly, about 1 cup at a time, mixing on low speed. Pause the mixer occasionally to scrape down the sides if needed. The dough should begin forming a soft, slightly sticky ball that clings to the bottom of the bowl but not the sides.
- Rest dough: Turn off the mixer and let the dough rest in the bowl for 30 minutes. This rest allows the freshly milled flour to fully hydrate, making the dough easier to work with and improving texture.
- Add salt: Sprinkle the salt evenly over the dough, then turn the mixer back on low. Mix until the salt disappears into the dough and everything is fully combined, 1–2 minutes.
- Knead the dough: Increase the mixer speed to medium-low and knead for 8 to 10 minutes. The dough will become smoother and more elastic as the gluten develops. To check readiness, stretch a small piece between your fingers. If it thins into a 1-inch square with a cloudy, speckled "window" and does not tear right away, the dough is ready.*Keep in mind that fresh milled flour dough does not always pass a classic windowpane test the way commercial white flour does. The bran and germ in freshly milled flour naturally interrupt the gluten strands, so a perfectly clear window is not always possible. I tend to go by feel more than by the windowpane itself, looking for dough that feels soft, supple, and stretchy without feeling slack. Good gluten development is still important here, because a strong, well-kneaded dough is what gives you a beautiful rise and keeps your loaf from baking up dense.
- First rise: Lightly oil a clean bowl and place the dough inside. Cover with a damp towel or plastic wrap and let rise 1–2 hours, or until doubled in size. The dough should look puffy and leave an indentation when gently poked.
- Shape dough: Turn the dough onto a lightly floured counter. Divide it into two equal pieces. Press each piece gently into a rectangle, then roll it up tightly like a jelly roll. Tuck the ends under and place each loaf seam-side-down into a greased loaf pan.
- Final rise: Cover the pans lightly and let the dough rise again until it is 1–2 inches above the pan rim or about 1 inch below the Pullman lid. This second rise gives you a taller, softer loaf.
- Bake bread: Preheat your oven to 350°F. Bake the loaves for about 30 minutes or until the internal temperature reaches 190–200°F. The tops should be golden brown. Let the bread cool completely for at least 1 hour before slicing so the crumb can set properly.
Notes
Was this guide helpful?
Please share this post with others if you found this guide helpful.

Emily Rider
Home miller since 1999 with fresh-milled flour & sourdough experience. Sharing from-scratch recipes and traditional kitchen skills, rooted in the seasons and inspired by everyday cottage living and seasonal rhythms.
Wonderful, wonderful site! So glad I found it before starting my journey with fresh milled flour. Thank you so much for sharing your knowledge.
Mary, thank you so much for the wonderful feedback! It truly means the world to hear that. I am so happy to be able to share everything I’ve learned along the way. Be sure to check out The Cottage Mill landing page for more guides to help you on your fresh milled flour journey, and if you ever have any questions, please don’t hesitate to reach out, I’m always here to help! Welcome to the cozy cottage community!