This post may contain affiliate links. Please read our disclosure policy.
You invested in whole grain milling, the mill, the wheat berries, maybe even a dedicated pantry shelf. The last thing you want is to open a bucket of wheat six months later and find something has gone wrong.
Storing wheat berries long-term is simpler than most people make it out to be, and short-term storage for everyday kitchen access is even easier. A mason jar on the counter, a gamma-lidded bucket in the pantry, the right container for the right purpose. Once your system is in place, your grain is always fresh and always ready to mill.
This guide covers both so you can build a storage setup that works for your kitchen, your space, and your baking rhythm.
When you are ready to go deeper, The Beginner’s Guide to Milling Flour at Home, Where to Buy Wheat Berries | Best Online and Local Sources, and Best Whole Grains to Mill at Home | Beginner’s Guide are all here whenever you need them.
Do you want to learn more about freshly milled flour? The Cottage Mill is filled with guides and resources to walk you through recipe conversions, flour blends, and techniques to help you bake with more consistency.

The Cottage Mill: Freshly Milled Flour Guides, Recipes, and More Await!
Wonderful, wonderful site! So glad I found it before starting my journey with fresh-milled flour. Thank you so much for sharing your knowledge. ~Mary
What You’ll Learn in This Guide
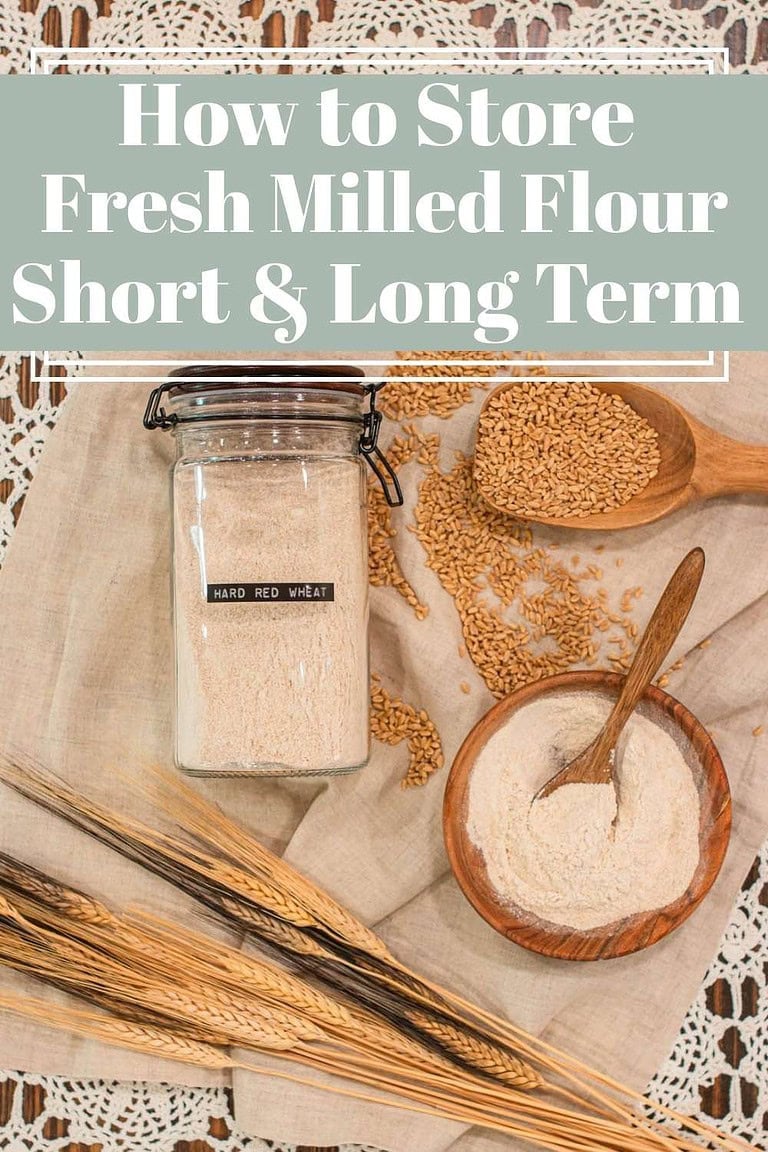
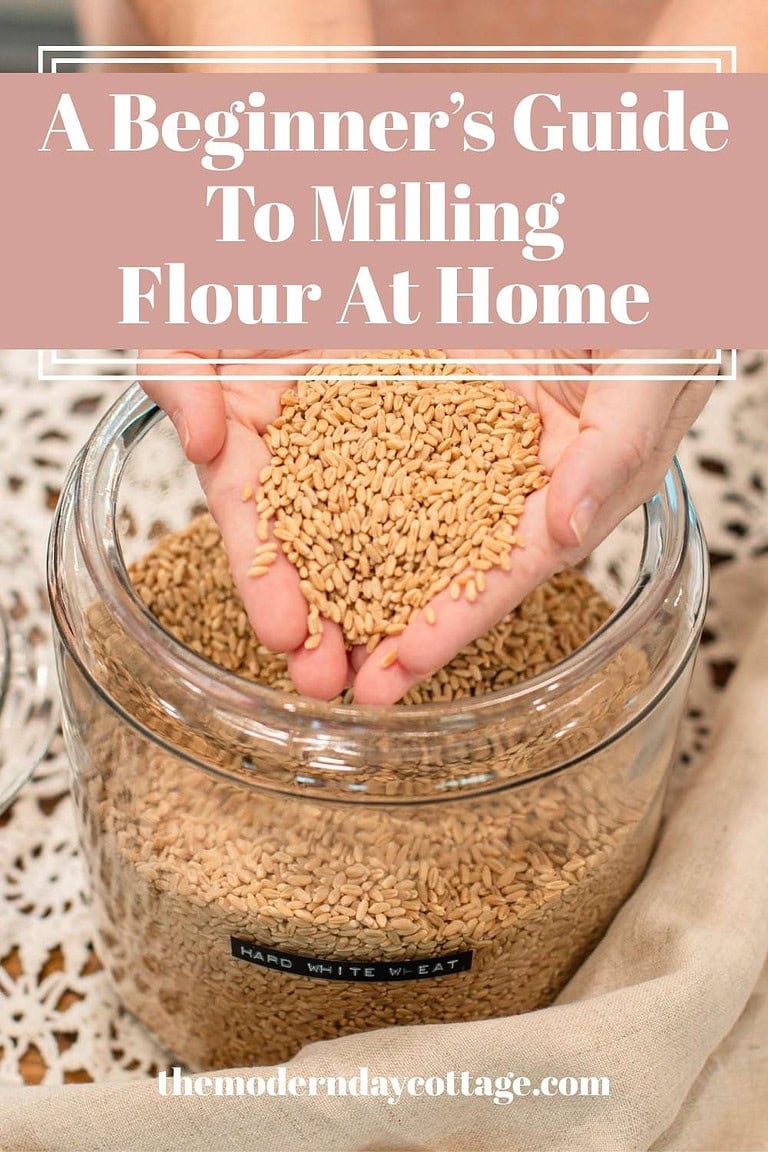
What are Wheat Berries?
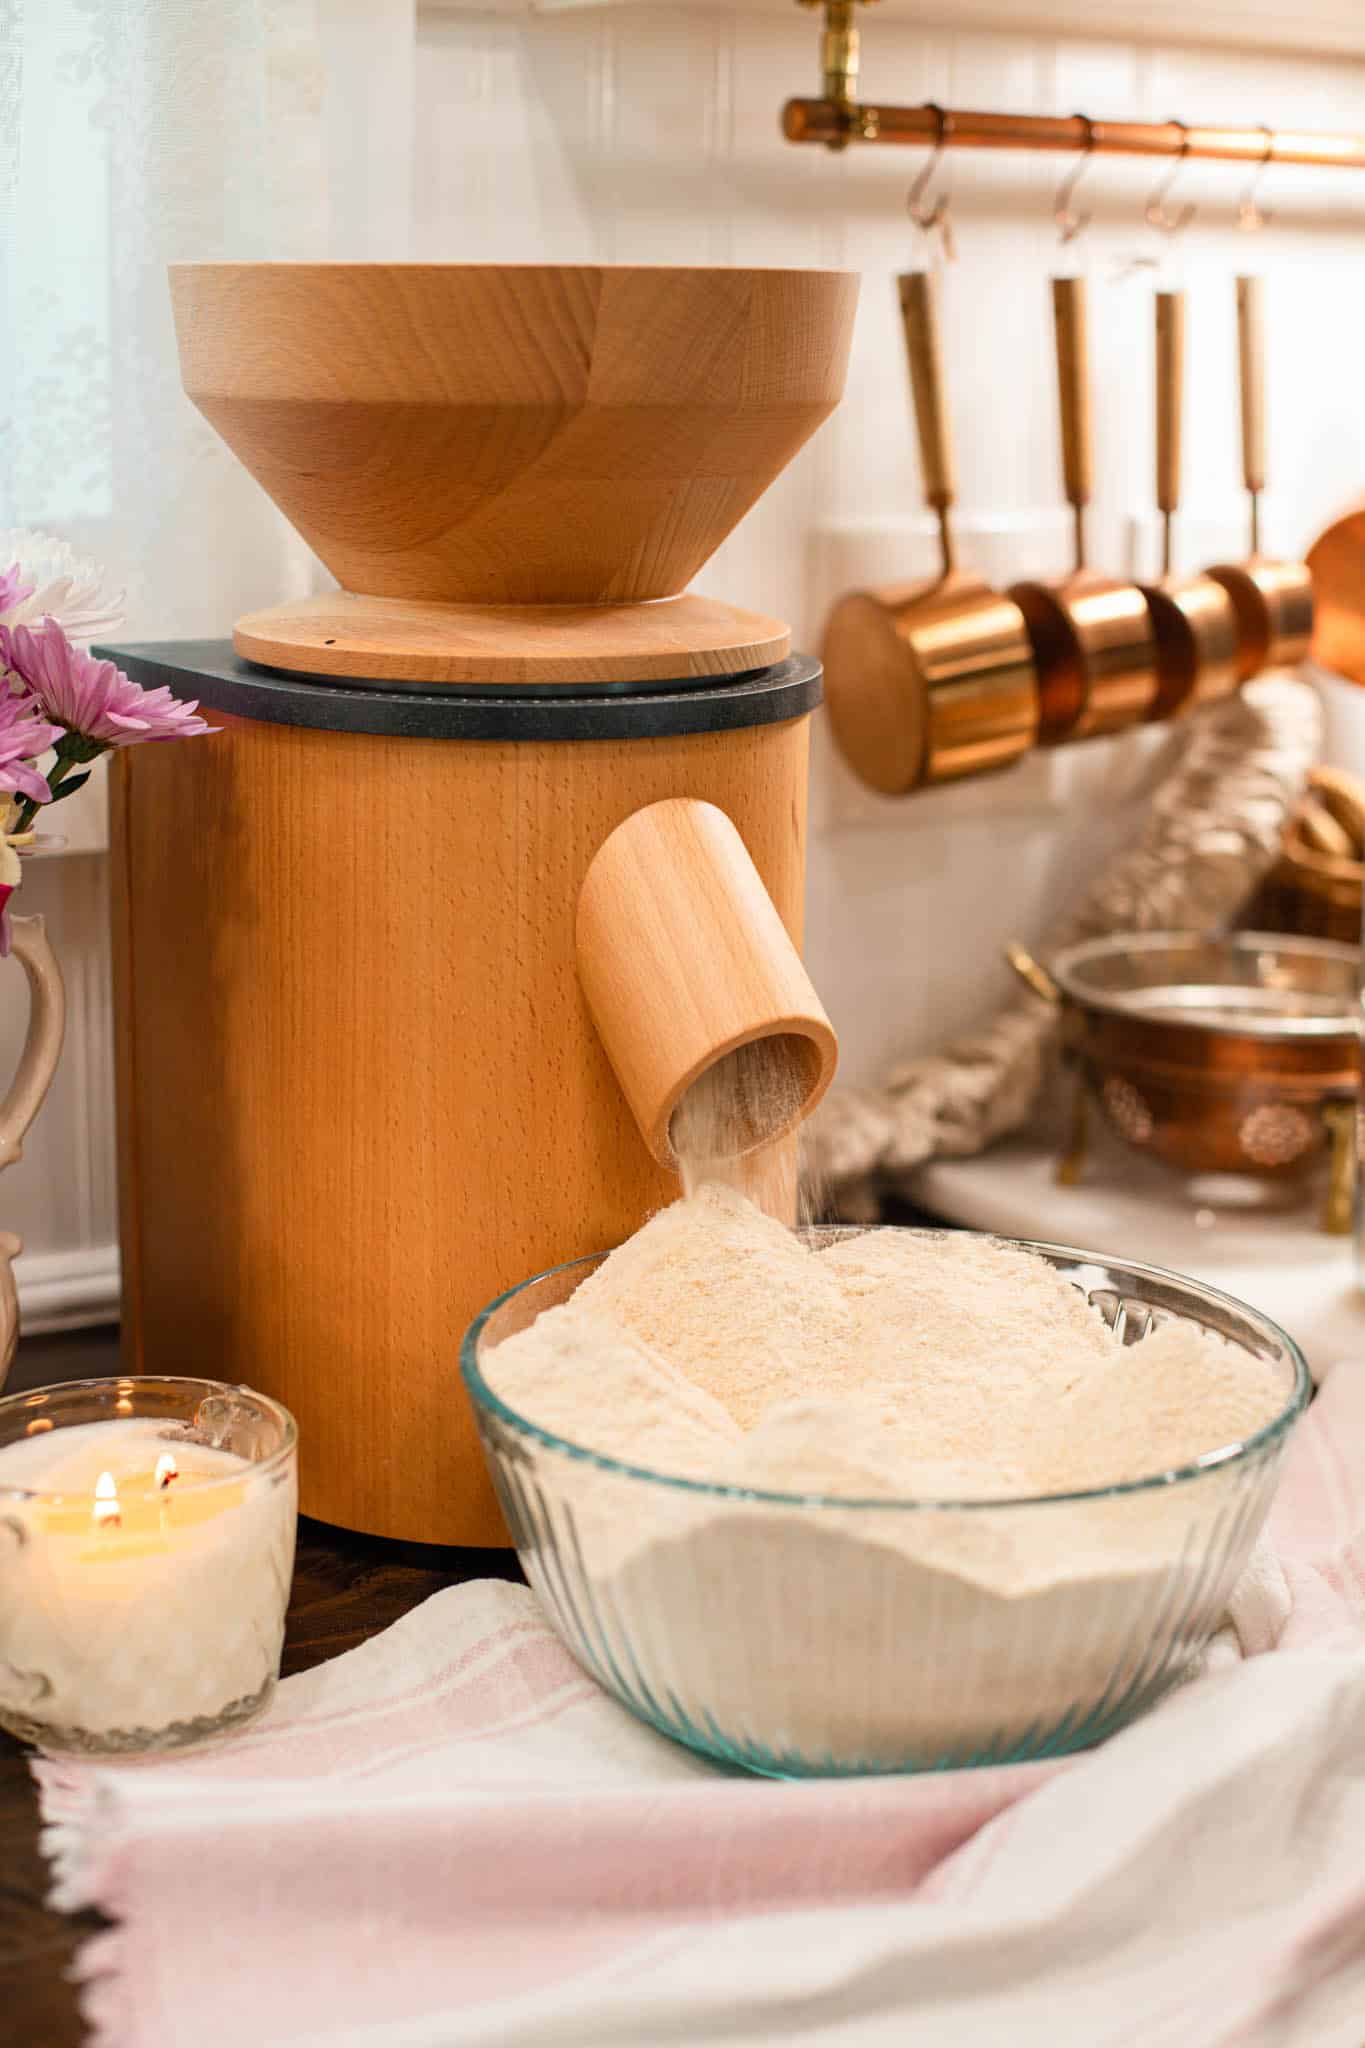
Wheat berries are whole wheat kernels exactly as they come from the field, nothing removed, nothing added. When you run them through the mill, the bran, germ, and endosperm become freshly milled flour.
This is exactly why storing wheat berries whole makes so much more sense than milling ahead and storing flour. Once the kernel is milled, the oils in the bran and germ are exposed to air, and the flour begins losing freshness within days.
The whole berry, sealed away from moisture and light, can last decades. Your flour should always be as fresh as your last milling session, which means your wheat berries are where your pantry investment really lives.
Should I Freeze Wheat Berries Before Storing Them?
This comes up often, and the answer is no.
The idea is to kill any insect eggs that might be present in the grain. It sounds reasonable, but freezing introduces moisture, and moisture is the one thing that causes the most damage in grain storage. Mold, off flavors, and unpredictable results at the mill all trace back to moisture getting in somewhere it should not have.
Farmers carefully monitor and dry wheat berries before they ever reach you. A home freezer disrupts that balance without reliably solving the pest problem, average freezer temperatures are not cold enough to kill eggs consistently anyway.
The real answer is sourcing. Buying from a reputable supplier like Azure Standard, Guardian Grains, or Bread Beckers means your grain arrives clean, inspected, and properly dried. A sealed container with a good oxygen absorber handles any remaining concern without introducing a drop of moisture.
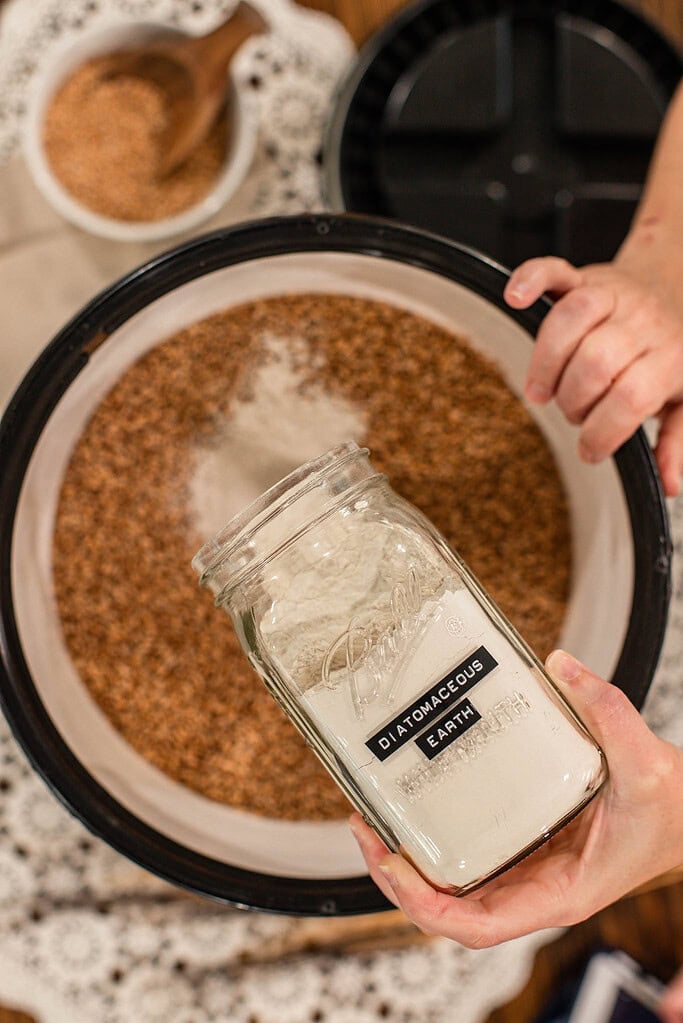
For extra peace of mind when sealing bulk long-term storage, I lightly sprinkle food-grade diatomaceous earth over my wheat berries before closing the lid. It is completely optional, food-safe, and a quiet layer of protection I have trusted in my cottage pantry for years.
Skip the freezer. Seal it, store it cool and dry, and trust your source.
A Cottage Milling Note
I grew up with the sound of a mill humming in my Grandmother Nub’s kitchen, flour-dusted aprons, and the simple rhythm of fresh sourdough bread being baked.
Those memories never left me. In 1999, a conversation with a neighbor about milling flour stopped me in my tracks, and it felt like coming home. That day I came home, bought a mill and some grains, and have never looked back. Now with more than 25 years of daily practice, I carry forward the same tradition my grandmother lived by, turning whole grains into flour for bread, sourdough, cakes, and everything in between.
My hope is that you feel confident knowing you are learning from someone who has walked this path for decades. If you ever feel stuck, please reach out. I will do my very best to help you.
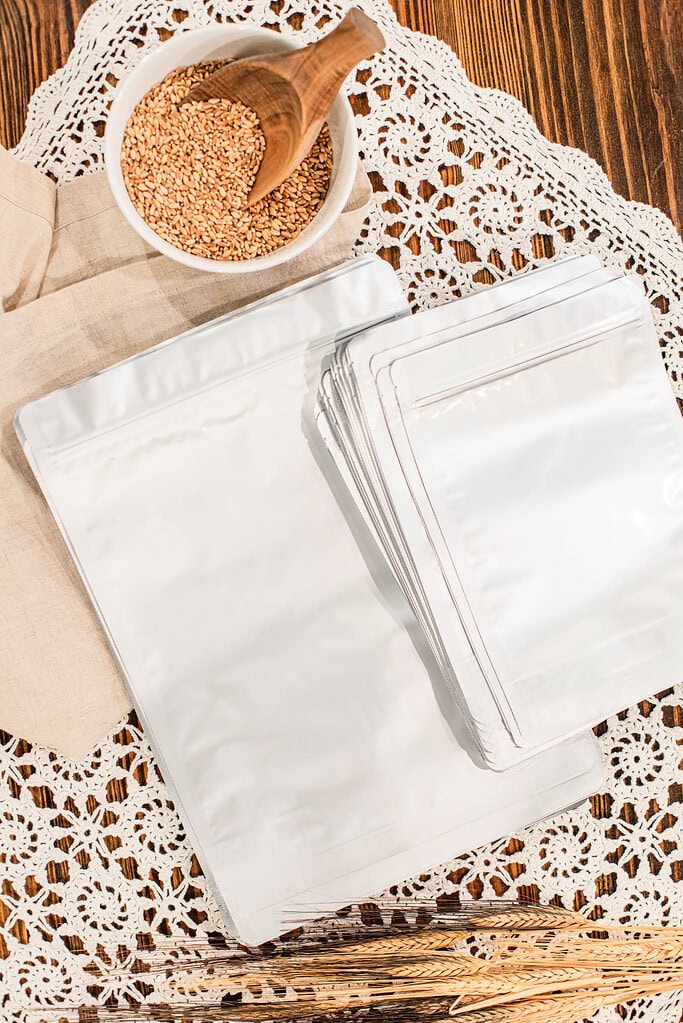
Tools & Supplies You Need for Short Term


Instructions for Storing Wheat Berries Short Term
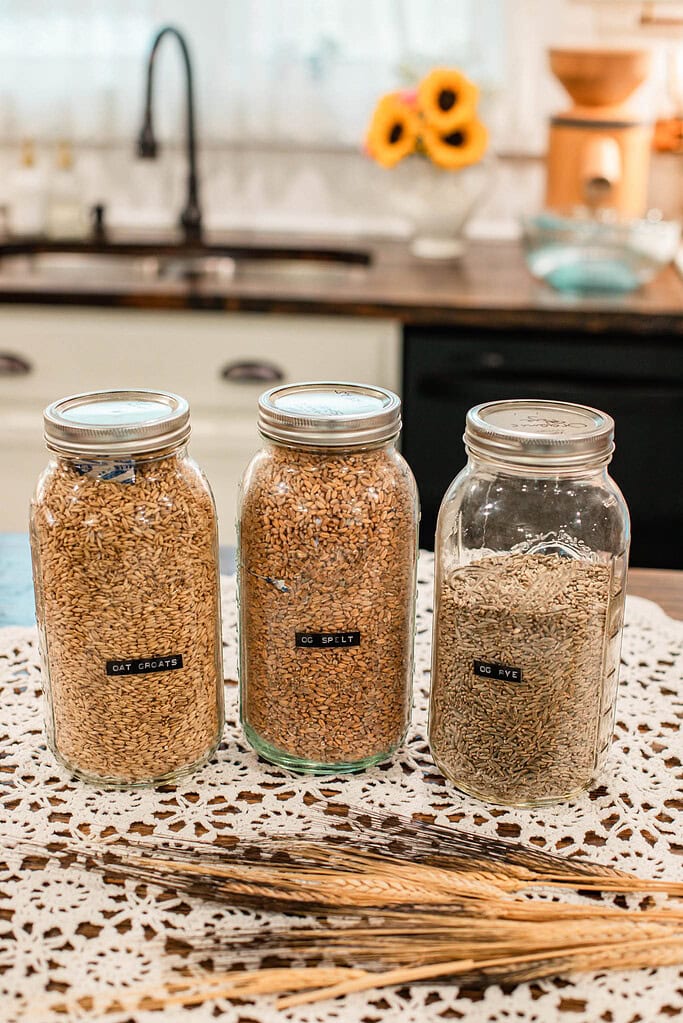
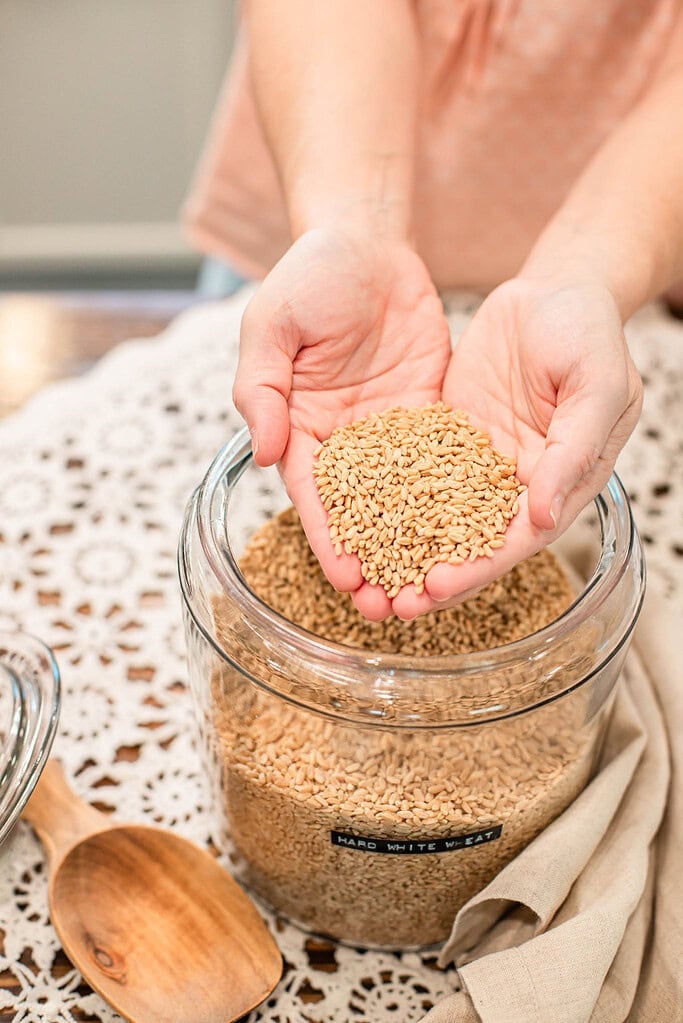
- Choose your jar – Half-gallon or quart mason jars work beautifully for smaller amounts. For larger quantities kept close at hand, Anchor Hocking gallon jars are sturdy, airtight, and lovely enough for open shelving.
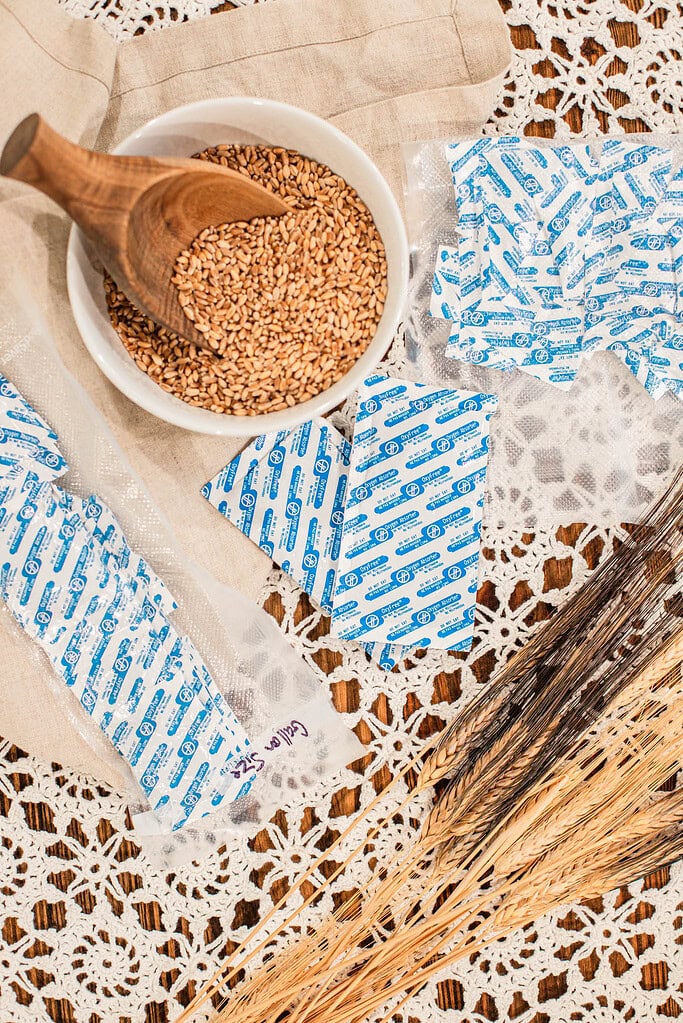
- Fill and protect – Pour wheat berries into the jar, leaving about an inch of headspace. Add a small oxygen absorber for an extra layer of freshness.
- Seal tightly – Use the jar’s standard airtight lid, or go a step further with a FoodSaver vacuum-seal attachment for extra freshness.
- Label clearly – Mark the grain type and the date you filled the jar. Jars have a way of all looking alike on the shelf, especially during a busy baking season.
- Store smart – Keep jars in a cool, dry pantry or cupboard away from direct sunlight. A stable, climate-controlled spot is ideal – even a kitchen cabinet works well if it stays relatively cool.
- Refill from bulk storage as needed – I pull straight from my Gamma-lidded buckets to refill kitchen jars. Only a small portion of grain is ever exposed at a time, which keeps everything fresher for longer.
- Optional: A pinch of food-grade diatomaceous earth added to your jar is a natural, food-safe way to guard against pests – completely optional but a good thing to have in your pantry toolkit.
- Rotate your supply – always use older grain first before refilling from a new bag. Pour new wheat berries into a separate bucket and work through the older stock first. This keeps quality consistent and prevents anything from sitting forgotten at the bottom.
Note: Short-term storage makes daily baking more convenient; your wheat berries are always at the mill and ready to go without digging into your bulk reserve.
Tools & Supplies You Need for Storing Wheat Berries Long Term

Instructions for Storing Wheat Berries Long Term
- Start with a clean, dry bucket – Any moisture left inside the container can cause mold or spoilage over time. Wipe it out and let it air dry completely before filling.
- Fill halfway – Pour roughly half your wheat berries into the bucket. If you are using food-grade diatomaceous earth, sprinkle 1–2 tablespoons evenly over the grain at this point.
- Finish filling – Add the remaining wheat berries, leaving 2–3 inches of headspace at the top. If using diatomaceous earth, sprinkle another 1–2 tablespoons over the surface before sealing.
- Add the oxygen absorber – Nestle it on top of the grain and work quickly – oxygen absorbers activate the moment they hit open air.
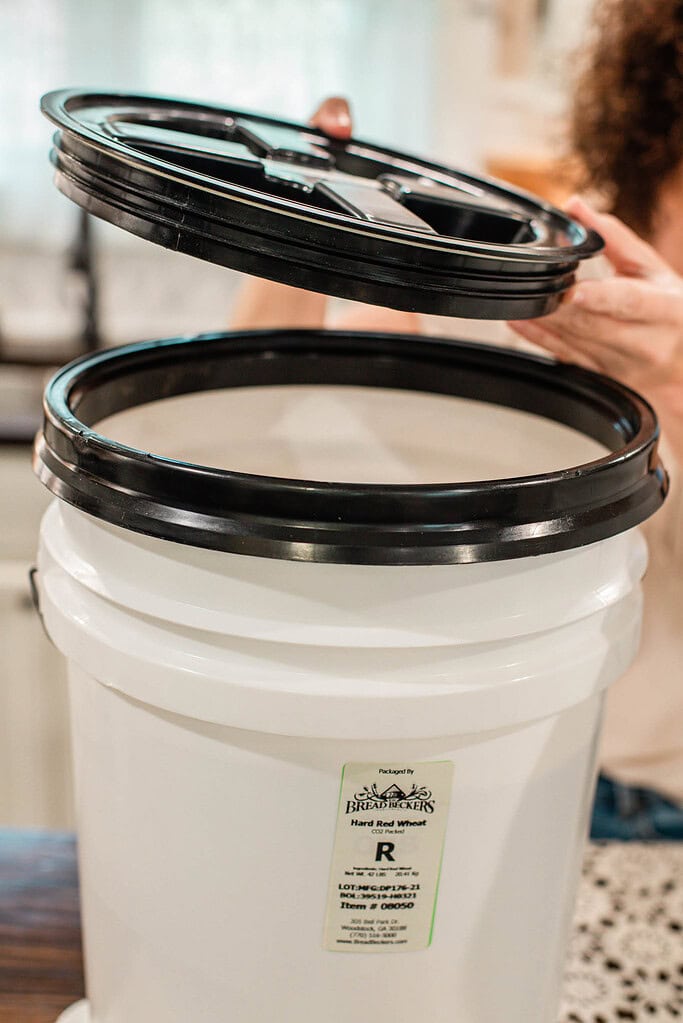
- Seal tightly – Twist the Gamma lid down firmly. If you are using a Mylar bag inside the bucket, heat-seal the bag first, then close the lid for double protection.
- Label clearly – Note the grain type, purchase date, and storage method. A thermal labeler or a plain Sharpie both work perfectly.
- Store in a cool, dry place – A basement, pantry, or climate-controlled space works well. Keep buckets off concrete floors by setting them on wood or cinder blocks to prevent moisture seepage.
- Optional: Food-grade diatomaceous earth is a natural, food-safe safeguard against pests. It is completely optional – if you choose to use it, the steps above show you exactly where it fits into the process.
- Rotate your supply – always use older grain first before refilling from a new bag. Pour new wheat berries into a separate bucket and work through the older stock first. This keeps quality consistent and prevents anything from sitting forgotten at the bottom.
Wheat Berries & Supplies
These are the suppliers I personally use here at the cottage for both my grains and storage supplies.
- Azure Standard – is my go-to for everything from wheat berries and glass jars to gamma lids, Mylar bags, oxygen absorbers, and food-grade buckets.
- Bread Beckers – is where I source long-term storage supplies and pre-sealed grain buckets.
- Guardian Grains – carries beautiful heritage wheat — use code “cottage” for 15% off.
- Amazon – is where I go for quick, last-minute buying when I am in need of something I ran out of .


How Long Do Wheat Berries Last in Storage?
Wheat berries are one of the most shelf-stable foods you can keep in a cottage pantry — but how long they last depends almost entirely on how you store them.
Sealed in a food-grade bucket with an oxygen absorber and a gamma lid, wheat berries can stay fresh for 25 to 30 years. In mylar bags with oxygen absorbers tucked inside a bucket, expect the same. In glass mason jars with an airtight lid, plan on 1 to 2 years for best quality. Once a container is opened and you are actively pulling from it, use that grain within 6 to 12 months.
Temperature matters more than most people realize. The ideal range for storing wheat berries long term is 40 to 60 degrees Fahrenheit, cool, stable, and away from heat sources. A basement, interior pantry, or climate-controlled closet all work well. Wide temperature swings, like those in a garage, are harder on grain than consistent warmth. Cool and steady always wins over cold and fluctuating.
Keep containers off concrete floors, away from direct light, and in the driest spot available to you. Those three things alone will take you most of the way there.
Best Containers for Storing Wheat Berries
You do not need a lot of fancy equipment to store wheat berries well, just the right container for your space and your season. Here are the ones I use and trust in my own cottage kitchen.
Glass Jars (Mason or Anchor Hocking) – Perfect for short-term, everyday use. Glass jars are airtight, let you see exactly what is inside, and add a quiet charm to open shelving. Half-gallon and quart mason jars work beautifully for smaller amounts, while Anchor Hocking gallon jars are sturdy enough for larger everyday quantities. Pair them with a FoodSaver vacuum-seal attachment for an extra layer of freshness if you like.
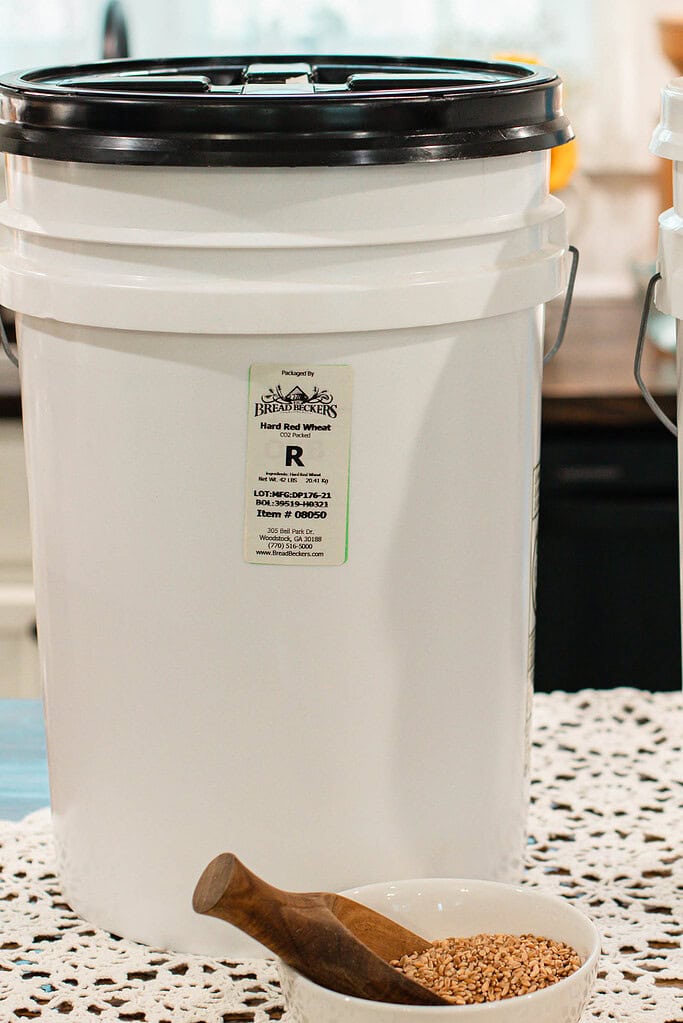
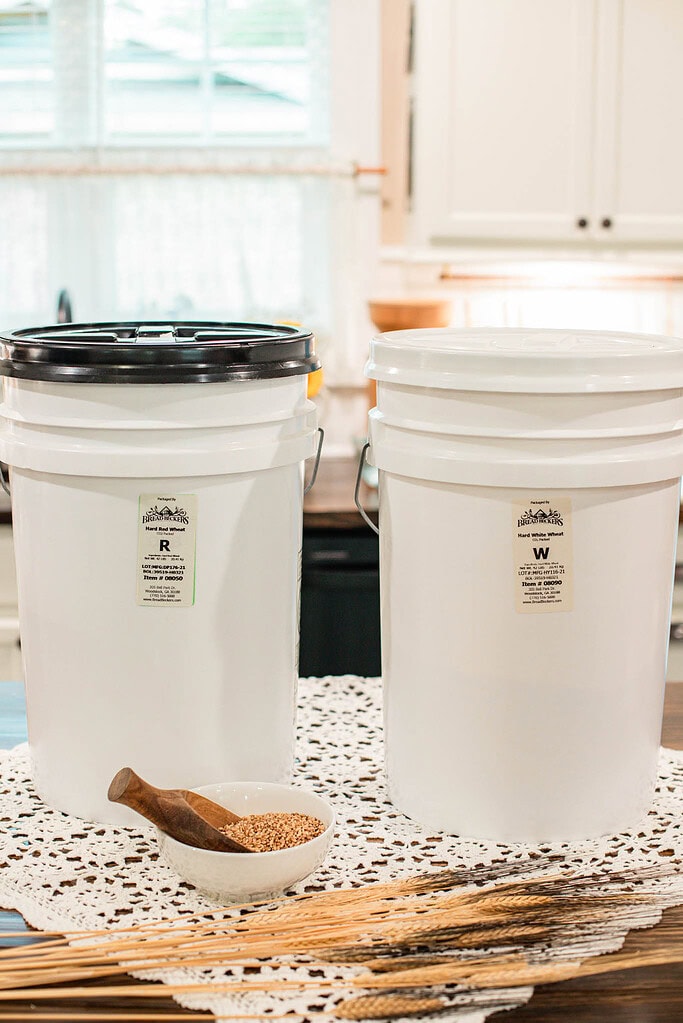
Food-Grade Buckets with Gamma Lids – The workhorse of bulk grain storage. A 5-gallon bucket holds roughly 35–40 pounds of wheat berries, while a 6-gallon bucket 5holds 45-50 lbs of wheat.
Gamma lids twist on and off with ease – no lid-prying frustration – and create a reliable airtight seal. Add an oxygen absorber inside and store in a cool, dark spot for long-term freshness measured in years.
Mylar Bags with Oxygen Absorbers – Ideal when you want flexible long-term storage without committing to another large bucket. Mylar creates a strong barrier against moisture and light, and you can use pint, quart, or gallon bags depending on how much you are storing. One important note – Mylar bags alone are not rodent-proof, so I always tuck mine inside a food-grade bucket for peace of mind.
Pre-Sealed Buckets – For a ready-made solution, pre-sealed buckets from suppliers like Bread Beckers arrive packed and sealed with CO₂ for long-term storage. Nothing to do until you are ready to open them – then reseal with a fresh oxygen absorber and a Gamma lid and carry on.
One thing worth knowing – a standard 5-gallon bucket holds roughly 30 to 35 pounds of wheat berries, not a full 50-pound bag. If you order in 50-pound quantities, keep an extra empty bucket on hand for the overflow. And a 6-gallon bucket holds 45-50 lbs of wheat.
Tip: No matter which container you choose, always label it clearly with the grain type and the date you stored it. I use a thermal labeler, a vintage Dymo emboss labeler, and Sharpies for my buckets and jars. You will thank yourself later during a busy baking season.
Troubleshooting
FAQ
A Pantry Note
Storing wheat berries is more than pantry prep.
Each jar you seal, each bucket you tuck away in a cool corner, is a quiet promise to yourself and your family that good bread, warm porridge, and baked goods are always within reach.
Whether you are starting with a single mason jar on the counter or building out a full grain reserve, know that every step forward is enough. Start where you are, use what you have, and let your system grow with you.
When you are ready to mill, How to Mill Flour at Home: A Complete Beginner’s Guide + Recipe is waiting. And when you are ready to bake, everything you need lives inside The Cottage Mill.
Cottage Living Community
Join the Cozy Cottage Living Community
Sign up for The Modern Day Cottage Community newsletter to receive recipes. how-tos, exclusives, and more from my kitchen to your inbox every week.
More Fresh Flour Guides from The Cottage
Was this guide helpful?
Please share this post with others if you found this guide helpful.

Emily Rider
Home miller since 1999 with fresh-milled flour & sourdough experience. Sharing from-scratch recipes and traditional kitchen skills, rooted in the seasons and inspired by everyday cottage living and seasonal rhythms.