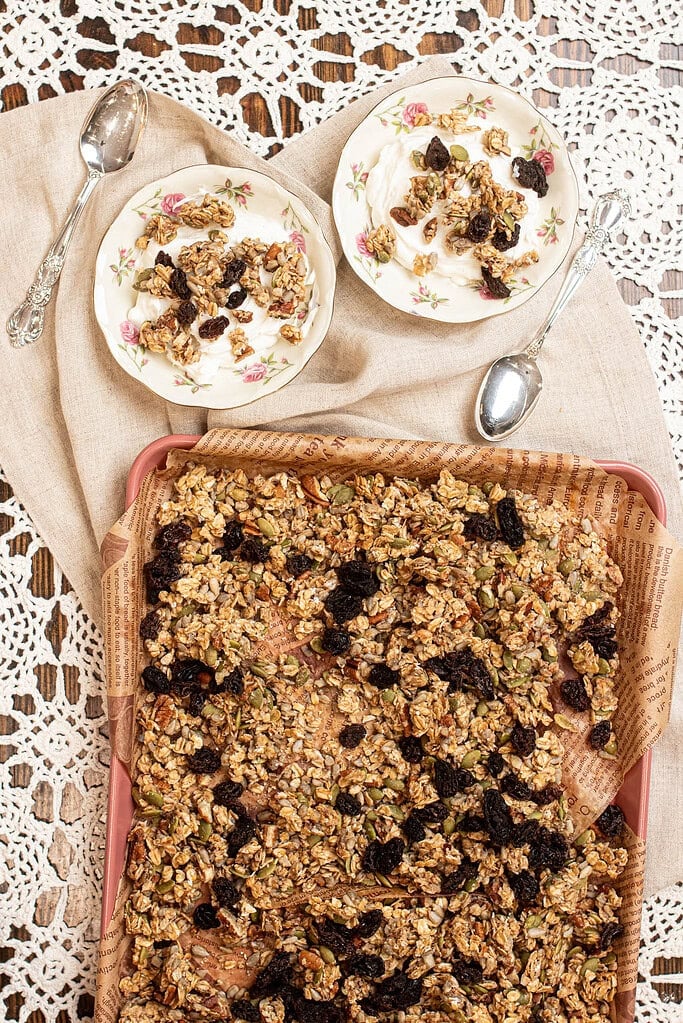
This sourdough granola bakes up crisp and golden with warm maple flavor, crunchy clusters, and a light tang from sourdough discard or active starter that gives it more depth than a standard granola recipe.
The whole batch comes together in one bowl in under 15 minutes, bakes at 325°F for 20 to 30 minutes, and stores well in an airtight jar for up to two weeks.
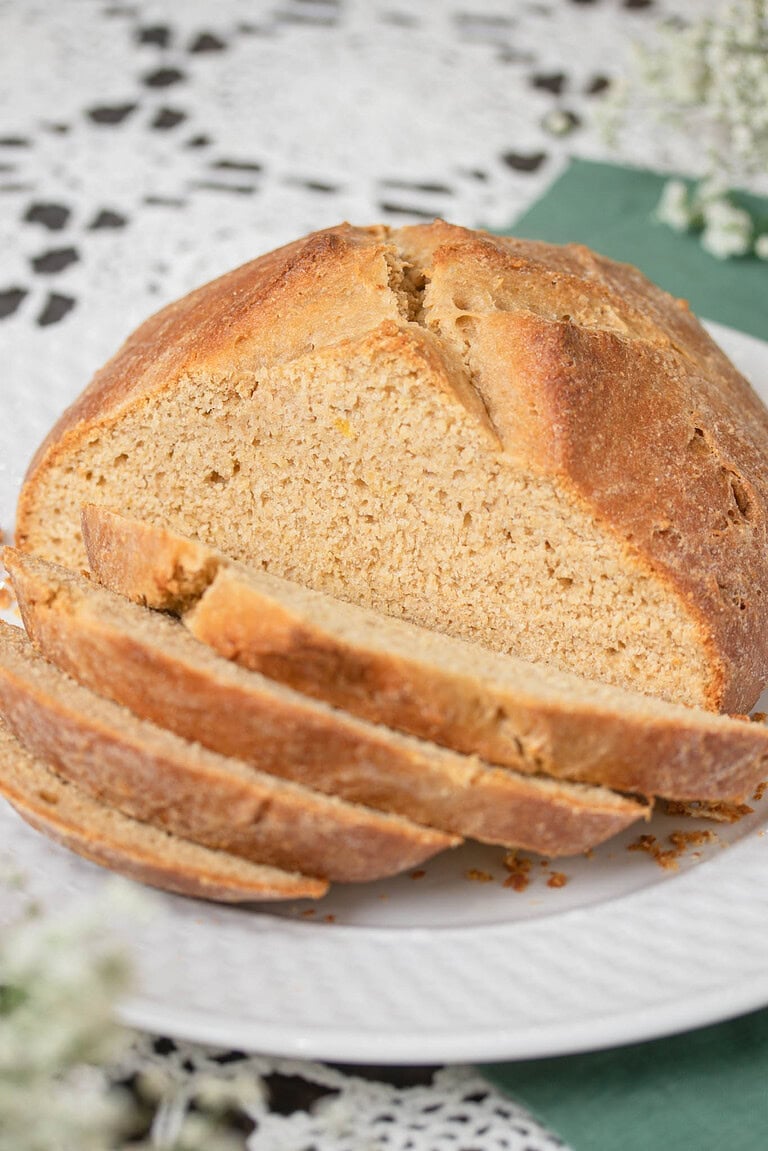
If you already bake with sourdough discard, here are some discard recipes: Sourdough Banana Nut Muffins and Sourdough Waffles and Pancakes | Discard or Starter.
A new favorite in our kitchen—thank you for this beautiful recipe! ~ Katie
Why You’ll Love This Recipe
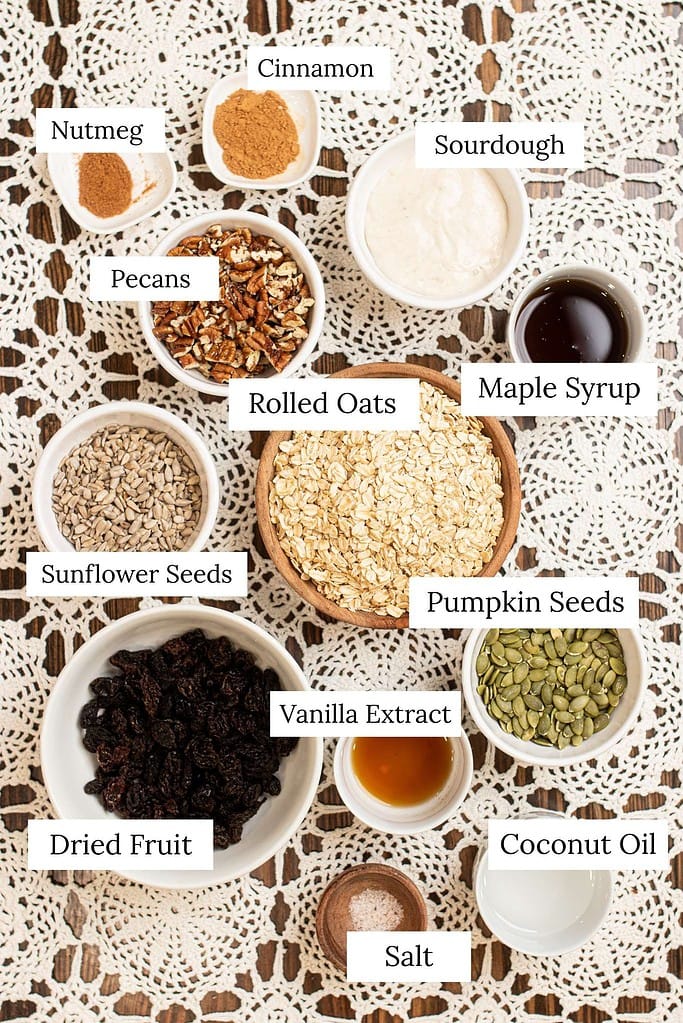
Ingredients
Variations & Add-Ins
Recipe Tips
Bake low and slow – A 325°F oven gives the granola time to dry out and crisp evenly without burning the edges before the center is done. Higher temperatures brown the outside too quickly and can leave clusters soft in the middle, even when they look golden on top.
Press the mixture before baking – After spreading the granola across the baking sheet, use the back of a spatula to press it down into a compact, even layer. This is what encourages larger, sturdier clusters during baking.
Flip carefully halfway through – Use a spatula to lift and turn sections of the granola at the halfway point rather than stirring, which breaks up clusters before they have had time to set.
Pull it before it looks fully done – Granola continues to crisp as it cools on the pan, so pull it when it looks just golden rather than deeply browned. If it looks perfectly done in the oven it will likely be overbaked by the time it cools.
Cool completely on the pan before storing – The clusters need time to firm up and set before they are moved. Storing warm granola traps steam in the container and softens the texture before it ever makes it to the breakfast table.
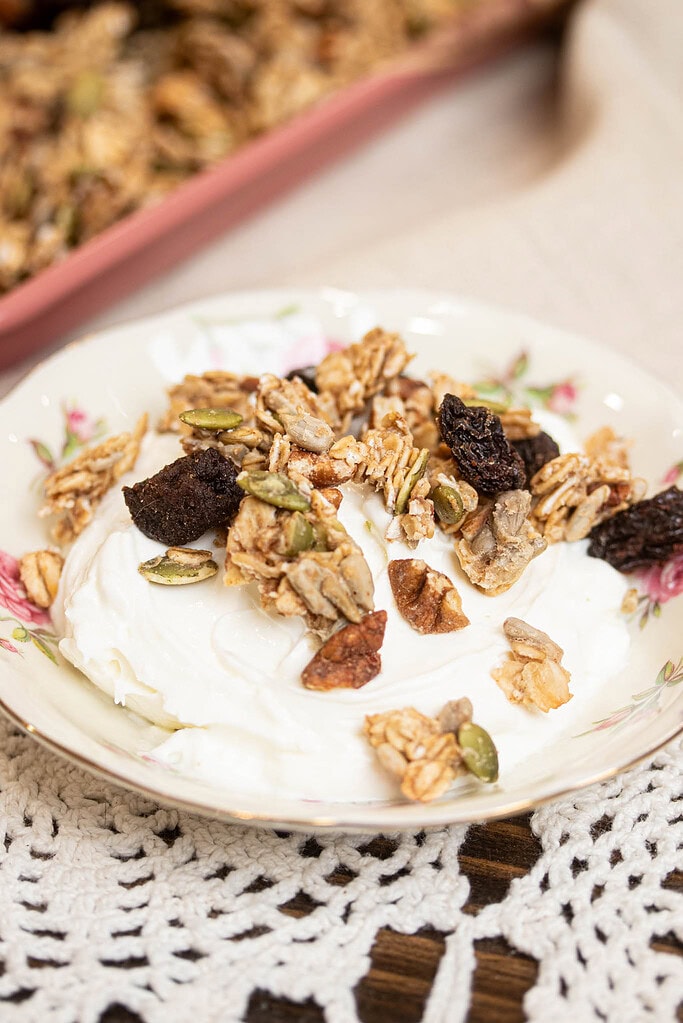
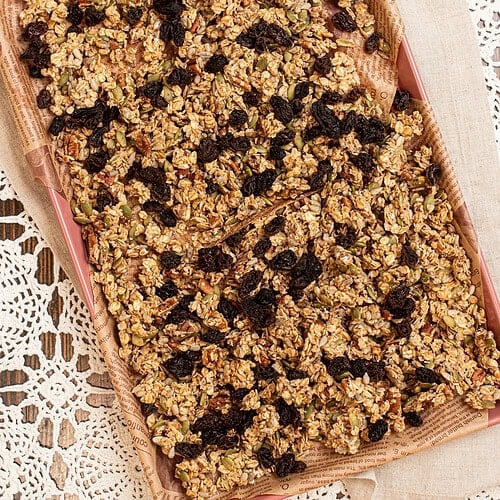
Add dried fruit after baking – Stir in raisins, cranberries, or dried cherries once the granola has cooled completely. Adding fruit before baking causes the sugars to scorch and the moisture in the fruit softens the surrounding clusters.


Instructions
- Preheat the oven – Set the oven to 325°F and line a large 15 by 21 inch baking sheet or two 9 by 13 inch baking sheets with parchment paper. Having the oven fully preheated before the granola goes in ensures even baking from the start.
- Melt the coconut oil – Warm the coconut oil in a small saucepan over low heat or in a microwave-safe bowl in 20 second intervals until fully liquid. Melted oil coats the oats and seeds evenly and promotes crisping throughout the batch.
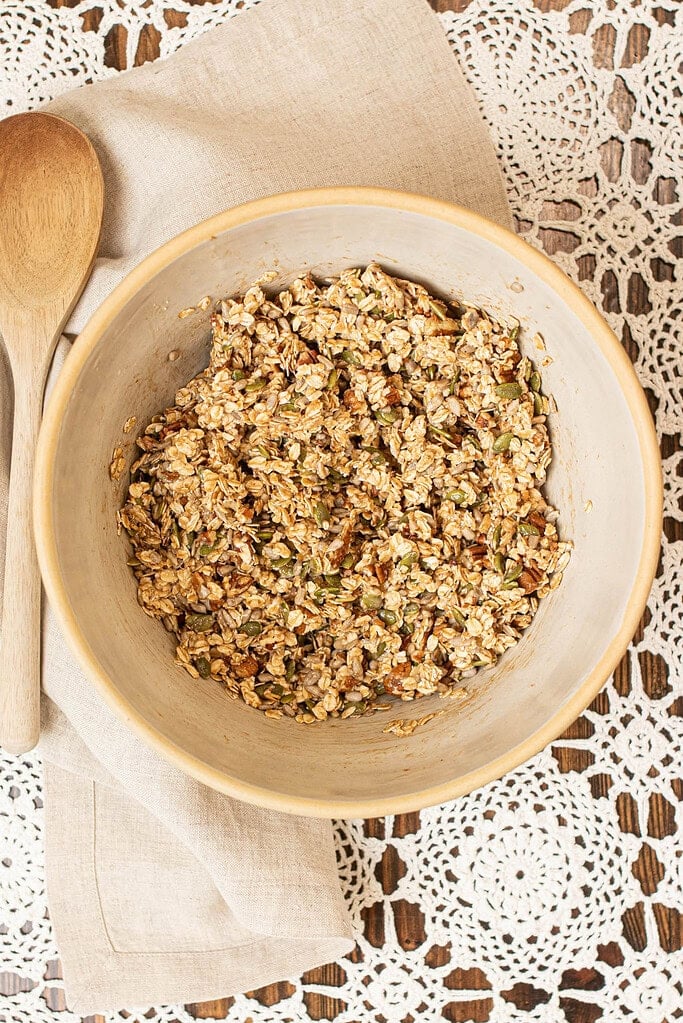
- Mix the wet ingredients – In a large mixing bowl, stir together the melted coconut oil, sourdough discard or active starter, maple syrup or honey, and vanilla extract until completely smooth and evenly combined.
- Add the dry ingredients – Add the rolled oats, chopped pecans, pumpkin seeds, sunflower seeds, ground cinnamon, ground nutmeg, and salt to the bowl. Stir thoroughly until all ingredients are evenly coated and no dry pockets remain.
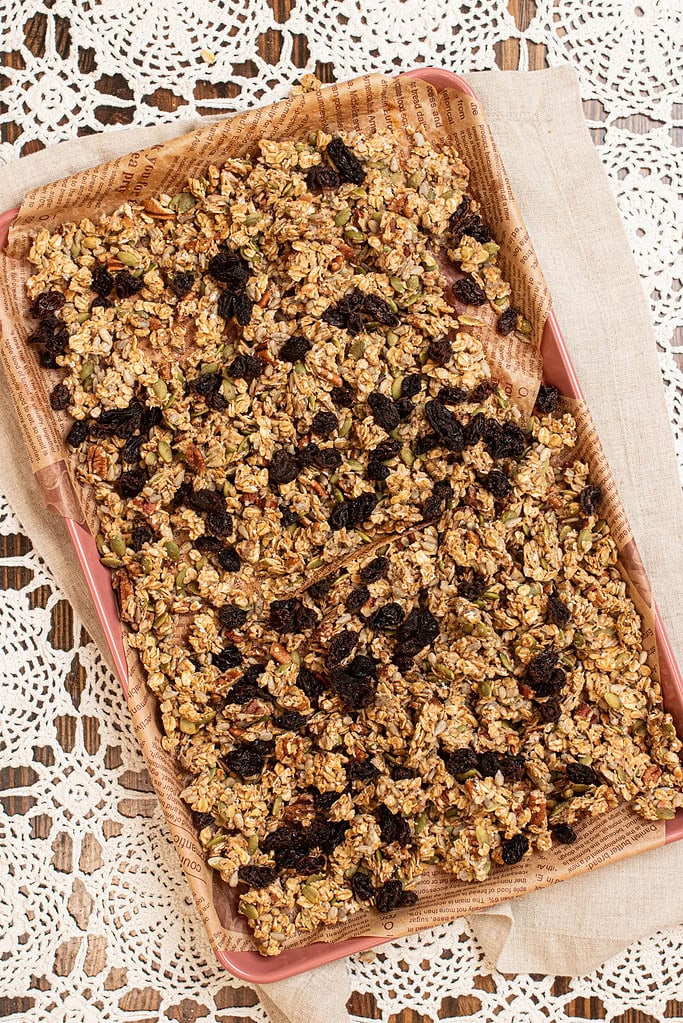
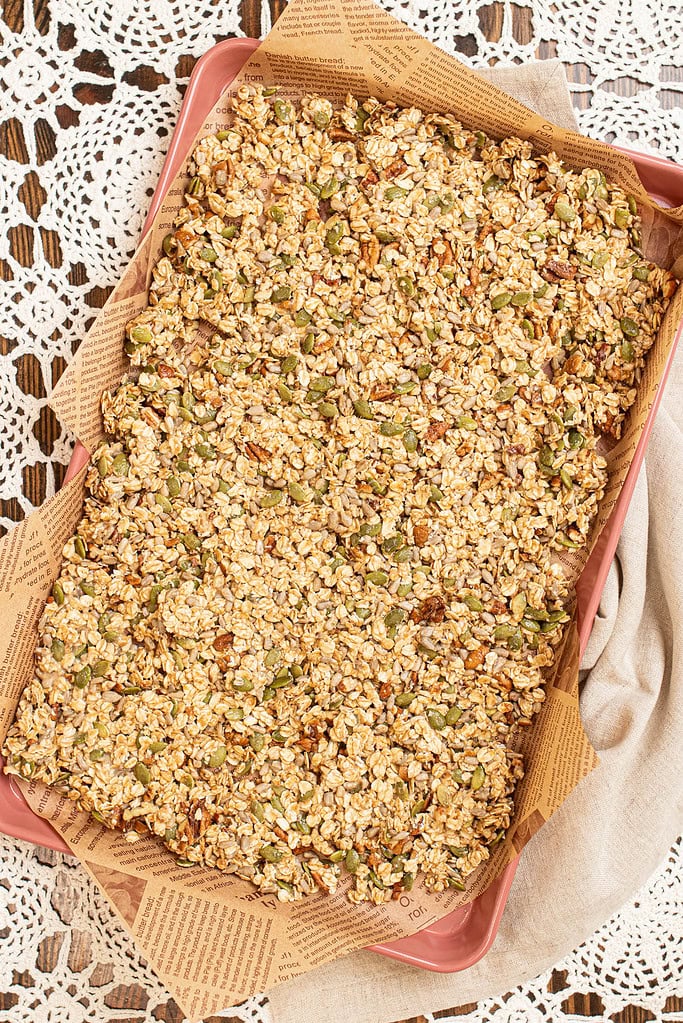
- Spread and press – Transfer the mixture to the prepared baking sheet and spread into an even layer across the entire pan. Use the back of a spatula to press the mixture down gently into a compact layer to encourage larger, sturdier clusters during baking.
- Bake – Place the pan in the preheated oven and bake for 20 to 30 minutes, rotating the pan halfway through. At the halfway point use a spatula to gently lift and flip sections of the granola for even browning without breaking up the clusters more than necessary.
- Check for doneness – The granola is ready when it looks just golden across the surface and smells warm and toasty. It will still feel slightly soft when it first comes out of the oven and that is exactly right. It firms up and crisps fully as it cools on the pan.
- Cool completely – Remove the pan from the oven and let the granola cool completely on the baking sheet without disturbing it. This allows the clusters to set and firm up properly before storing or serving.
- Add dried fruit and store – Once the granola is fully cooled, stir in the dried fruit until evenly distributed throughout. Transfer to an airtight container and store at room temperature for up to two weeks.
Gifting Ideas
Freezing & Storage
- Room temperature – Store fully cooled granola in an airtight container or sealed glass jar at room temperature for up to 2 weeks. Keep it in a cool, dry place away from direct sunlight or heat to prevent the clusters from softening too quickly.
- Freezer – Granola freezes well in a freezer-safe container or zip-top bag for up to 3 months. Thaw at room temperature for about 15 minutes before serving and it will taste just as crisp and fresh as the day it was made.
- Cool before storing – Let the granola cool completely on the pan before transferring to a container. Storing warm granola traps steam and softens the clusters before they have had time to set properly.
- Refreshing – If the granola softens over time, spread it in a single layer on a baking sheet and warm in a 300°F oven for 5 to 8 minutes. Let it cool completely on the pan before returning it to the container and it will crisp back up well.
FAQ
Join The Community
Want More Cozy Recipes & Seasonal Inspiration?
Get cozy, from-scratch recipes, seasonal cottage living tips, and slow living inspiration delivered straight to your inbox.
More Sourdough Recipes from the Cottage

Sourdough Granola | Discard or Starter
Equipment
- 1 Large mixing bowl
- 1 Wooden spoon
- 1 Large baking sheet (15×21 inches) or two 9×13 inch sheets
- 1 Parchment paper or oil for greasing
Ingredients
- 2 cups rolled oats old-fashioned, 200 grams
- 1 cup chopped pecans 114 grams
- ½ cup sourdough discard or active starter 100 grams
- ½ cup pumpkin seeds 82 grams
- ½ cup sunflower seeds 70 grams
- ¼ cup maple syrup or honey 80 grams
- 2 tablespoons coconut oil melted, 26 grams
- 2 teaspoons vanilla extract 8 grams
- 1 teaspoon ground cinnamon 4 grams
- ½ teaspoon ground nutmeg 2 grams
- ½ teaspoon salt 2 grams
- 1 cup dried fruit stirred in after baking, 160 grams
Instructions
- Preheat the oven – Set the oven to 325°F and line a large 15 by 21 inch baking sheet or two 9 by 13 inch baking sheets with parchment paper. Having the oven fully preheated before the granola goes in ensures even baking from the start.
- Melt the coconut oil – Warm the coconut oil in a small saucepan over low heat or in a microwave-safe bowl in 20 second intervals until fully liquid. Melted oil coats the oats and seeds evenly and promotes crisping throughout the batch.
- Mix the wet ingredients – In a large mixing bowl, stir together the melted coconut oil, sourdough discard or active starter, maple syrup or honey, and vanilla extract until completely smooth and evenly combined.
- Add the dry ingredients – Add the rolled oats, chopped pecans, pumpkin seeds, sunflower seeds, ground cinnamon, ground nutmeg, and salt to the bowl. Stir thoroughly until all ingredients are evenly coated and no dry pockets remain.
- Spread and press – Transfer the mixture to the prepared baking sheet and spread into an even layer across the entire pan. Use the back of a spatula to press the mixture down gently into a compact layer to encourage larger, sturdier clusters during baking.
- Bake – Place the pan in the preheated oven and bake for 20 to 30 minutes, rotating the pan halfway through. At the halfway point use a spatula to gently lift and flip sections of the granola for even browning without breaking up the clusters more than necessary.
- Check for doneness – The granola is ready when it looks just golden across the surface and smells warm and toasty. It will still feel slightly soft when it first comes out of the oven and that is exactly right. It firms up and crisps fully as it cools on the pan.
- Cool completely – Remove the pan from the oven and let the granola cool completely on the baking sheet without disturbing it. This allows the clusters to set and firm up properly before storing or serving.
- Add dried fruit and store – Once the granola is fully cooled, stir in the dried fruit until evenly distributed throughout. Transfer to an airtight container and store at room temperature for up to two weeks.
Video
Notes

Emily Rider
Home miller since 1999 with fresh-milled flour & sourdough experience. Sharing from-scratch recipes and traditional kitchen skills, rooted in the seasons and inspired by everyday cottage living and seasonal rhythms.


A new favorite in our kitchen—thank you for this beautiful recipe! I added shredded coconut and dried strawberries. Will be making it weekly.
Katie, your comment truly made my day—thank you!❤️ I love hearing how you made the granola your own. The addition of shredded coconut and dried strawberries sounds absolutely delightful—what a beautiful twist! I’ll definitely be trying that combo in my next batch. We always keep a jar in the pantry for snacking and topping yogurt—it’s such a versatile staple.
If you’re open to it, I’d love to share your version in the recipe’s “Variations” section, with credit to you, of course. I treasure feedback like this—it helps me shape recipes that truly serve this cozy community. Thank you again for being here and baking along with me!😊
I LOVE THIS RECIPE!! It was a slam dunk in our home and didn’t last long!
Question- If I wanted to make a chocolate version, do I just add cocoa powder pre bake and sub cinnamon for vanilla?
Hi Lily! I’m so glad y’all loved the recipe—it makes my day!
Yes, to make a chocolate version, you can add cocoa powder before baking and omit the cinnamon (keep the vanilla!). If you’d like to take it up a notch, feel free to fold in some mini or regular chocolate chips once it’s cooled—totally optional but so good!
Let me know how it turns out if you try it!
Hi ! I plan on making this today. I want to add raisins. Would I cook it with the raisins in it or add them after it’s done ? Thank you ! ☺️
Hi Linda! We would recommend adding the raisins after it’s done cooking. This way, they’ll stay plump and sweet rather than getting too hard after the cooking process. Let me know how it turns out—enjoy! 🥰🍇