
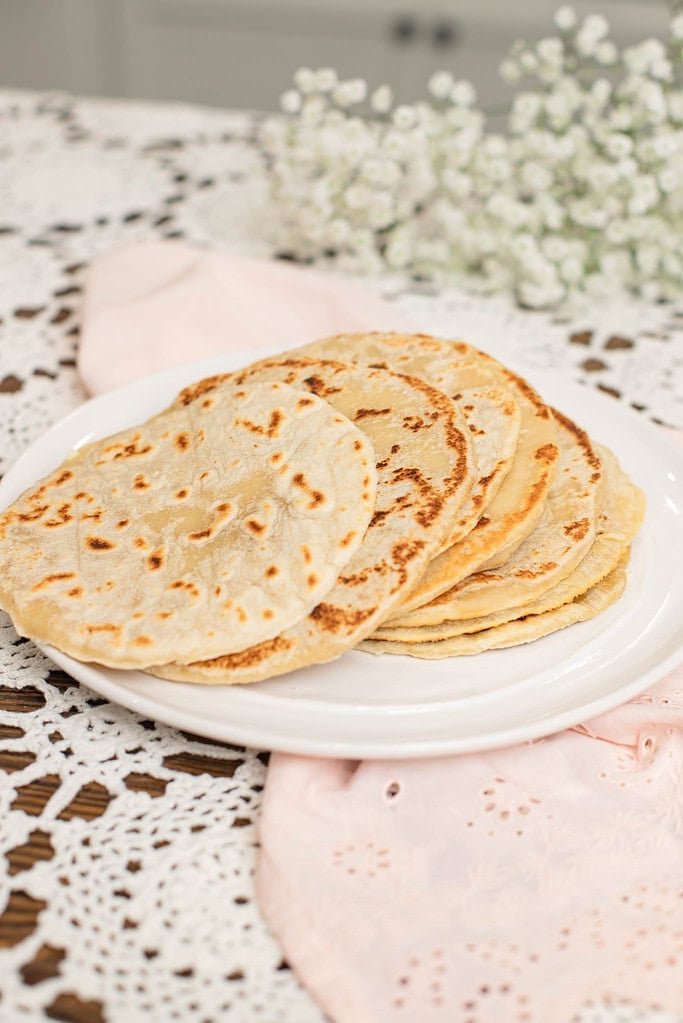
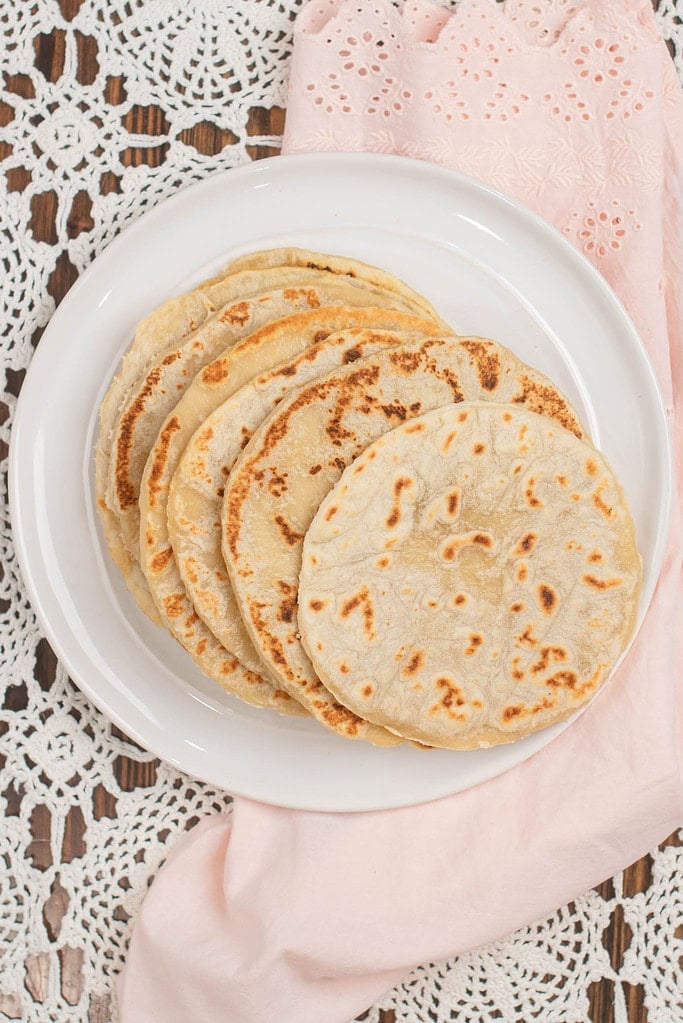
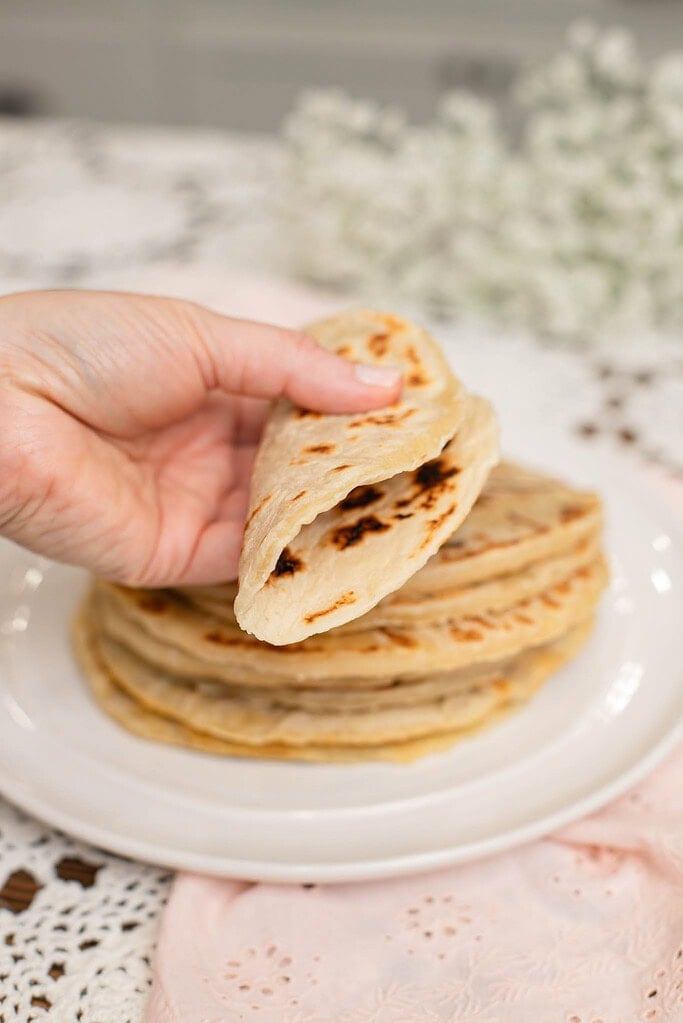
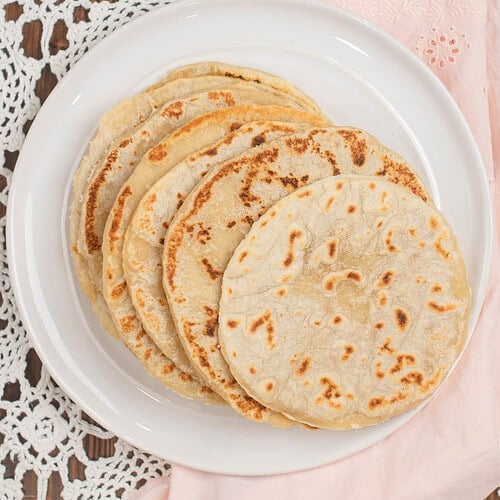
These sourdough tortillas come out soft, pliable, and full of flavor that pairs naturally with tacos, fajitas, burritos, and wraps.
They work with sourdough discard or active starter, come together in one bowl, and rest before rolling so the finished tortilla folds cleanly around any filling without cracking or tearing. At the cottage we love to use these alongside Authentic Beef Fajitas Recipe for dinner.
For more cozy from-scratch dinners, you might also enjoy Cast Iron Sourdough Discard Pizza, Einkorn Pasta Recipe.
Did you know you can convert your favorite recipes to freshly milled flour? Learn how to convert recipes and find more fresh flour guides at The Cottage Mill.
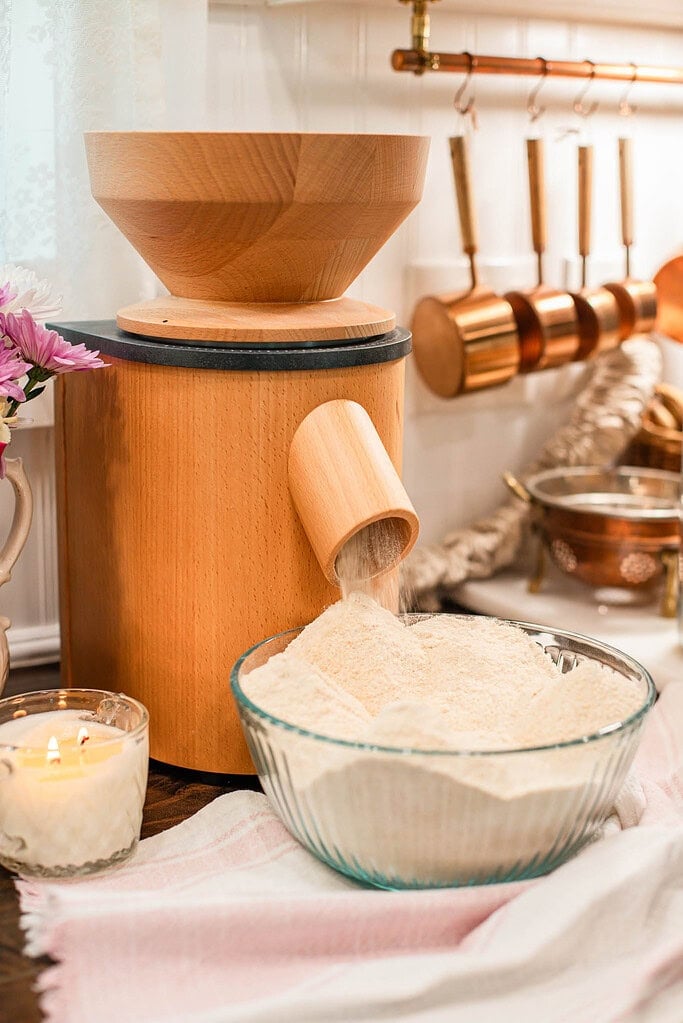
The Cottage Mill | Freshly Milled Flour Guides, Recipes, and More Await!
Why You’ll Love This Recipe
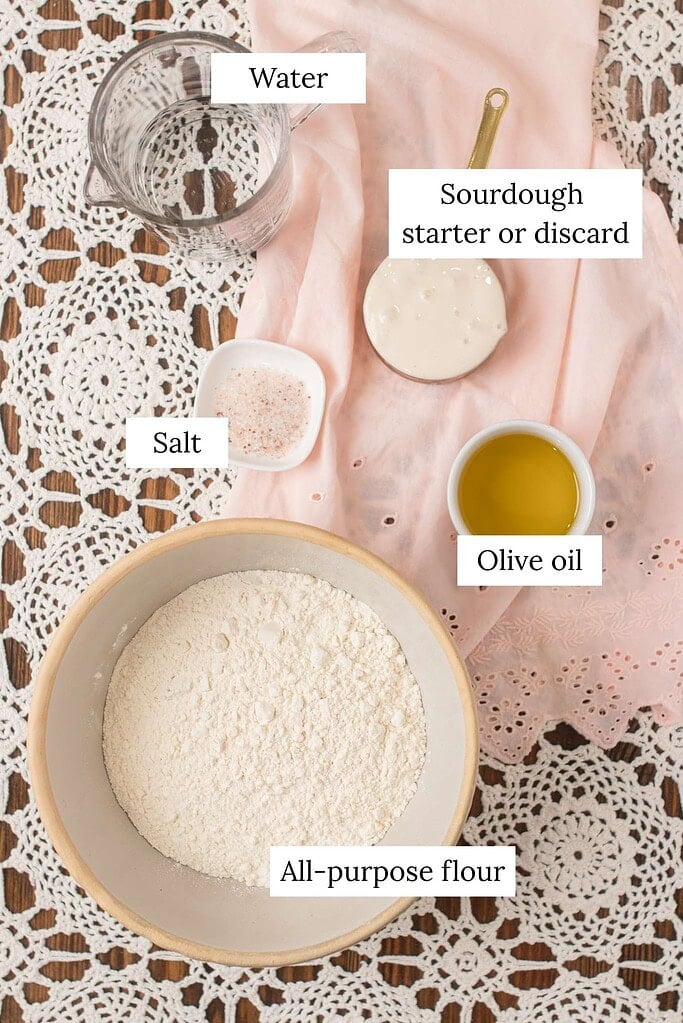
Ingredients
Variations & Add-Ins
Recipe Tips
Let the dough rest before rolling – After mixing, the dough needs at least 30 minutes to rest at room temperature. This relaxes the gluten and makes each ball of dough roll out thin and smooth without springing back.
Divide the dough evenly – Divide into 8 equal portions and roll each into a smooth ball before pressing or rolling. Even portions mean consistent size and thickness across the whole batch.
Roll as thin as you can – The thinner the tortilla the softer and more pliable it will be once cooked. Aim for about ⅛ inch thick, thin enough to see light through if you hold it up. If the tortilla is not as thin as you would like after pressing, roll it out further with a rolling pin to reach your preferred thickness.
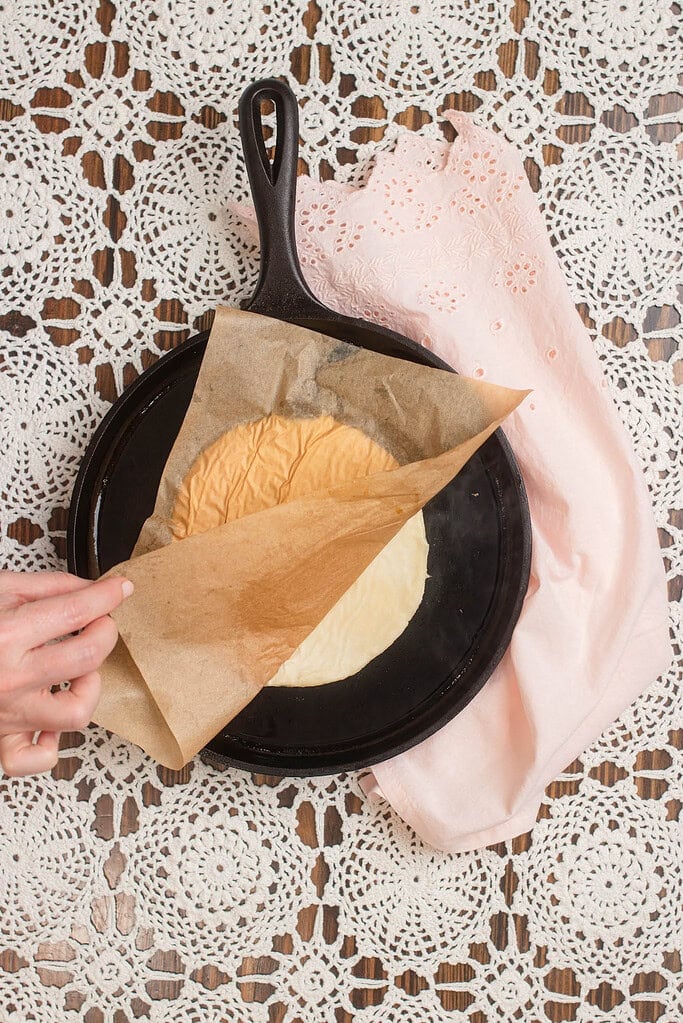
Cook on a very hot pan – The cast iron skillet needs to be fully preheated before the first tortilla goes in. A hot pan gives the tortillas their characteristic brown spots and keeps them from drying out or turning stiff.
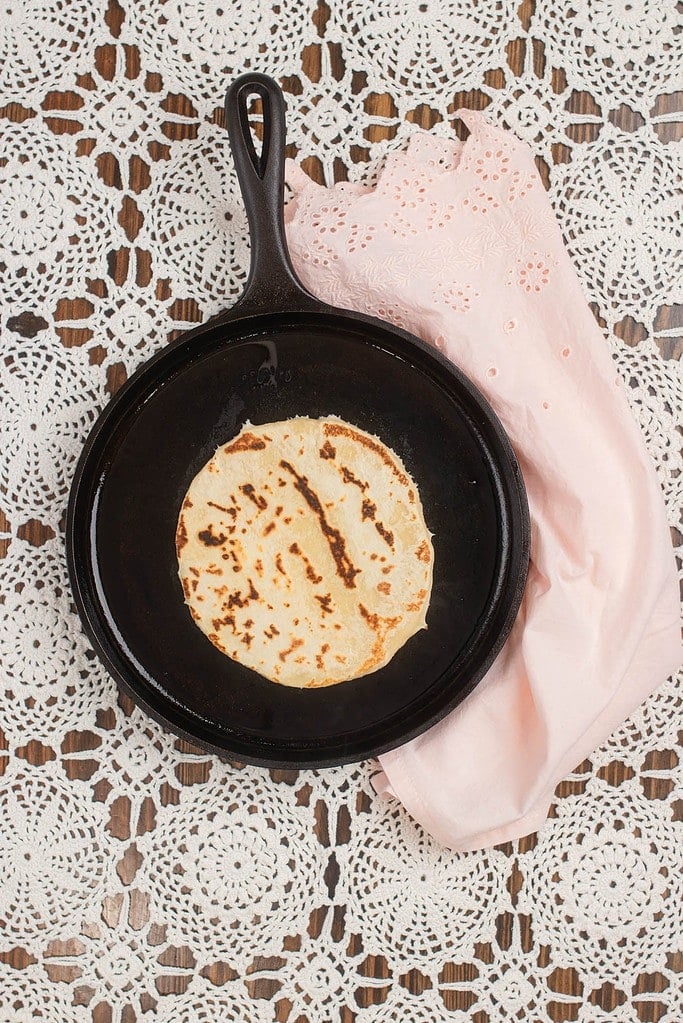
Watch for bubbles and brown spots – The tortilla is ready to flip when bubbles start forming on the surface and the underside has light golden brown spots. This takes about 1 to 2 minutes per side depending on your pan temperature.
Keep cooked tortillas covered – Stack cooked tortillas and wrap them in a clean kitchen towel or place them in a tortilla warmer immediately after coming off the pan. The steam trapped inside keeps them soft and pliable until serving.
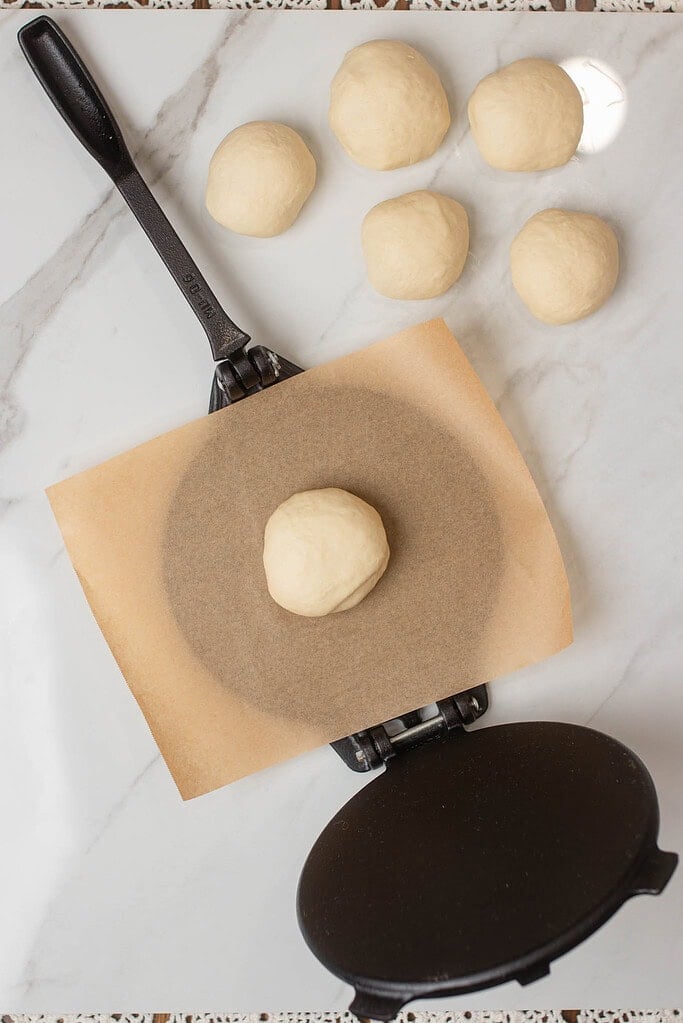
Use parchment for easy transfer – Place a sheet of parchment paper on top and bottom when pressing or rolling each tortilla. It prevents sticking and makes transferring to the hot pan much cleaner without tearing.
Size is flexible – This recipe makes 8 tortillas at about 12 inches each. Press or roll them smaller for street taco size or larger for burritos depending on what you are making.
Instructions
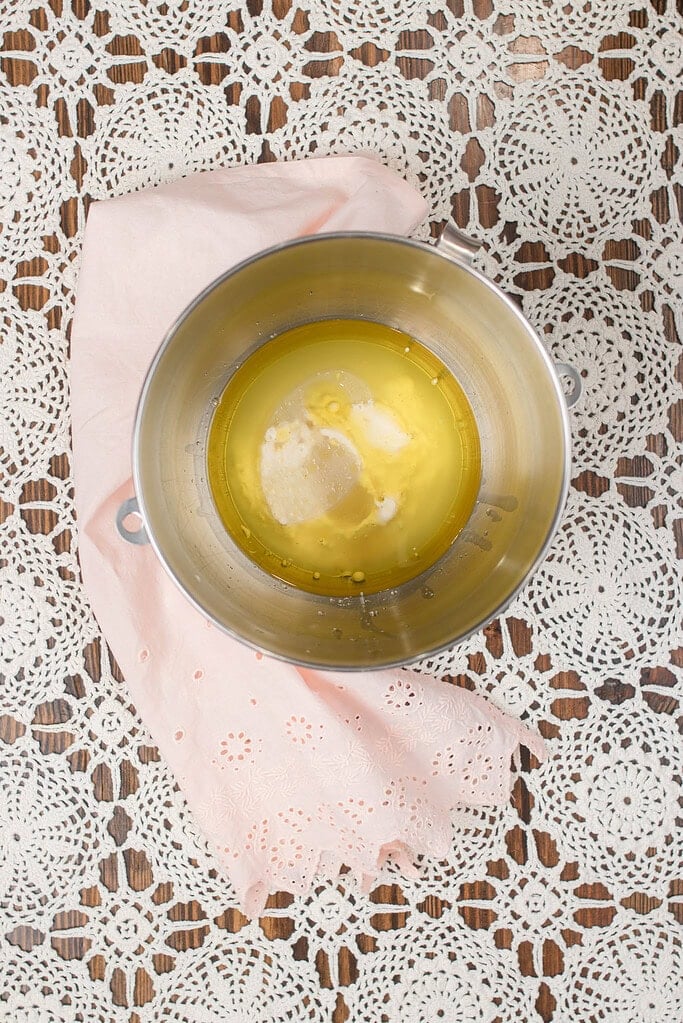
- Mix the dough – In a large mixing bowl or stand mixer, combine the sourdough starter or discard, salt, warm water, and olive oil and stir until combined.
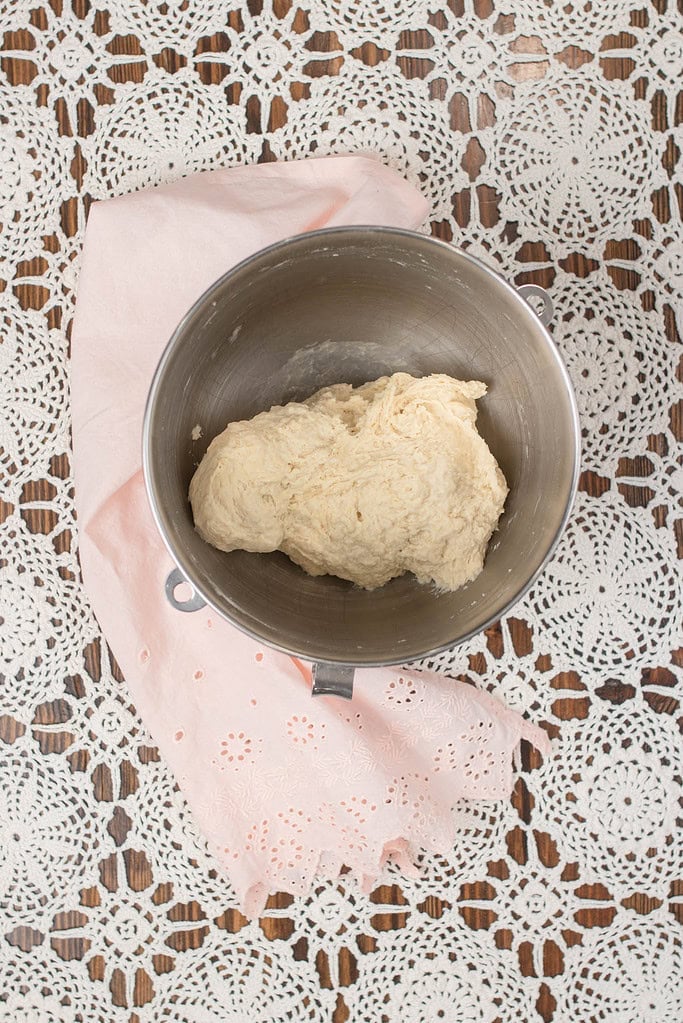
- Add the flour – Gradually add the all-purpose flour and stir until a shaggy dough forms. The dough will look rough at this stage — that is expected.
- Rest the dough – Cover the bowl with a clean kitchen towel or plastic wrap and let the dough rest at room temperature for 30 minutes. This rest period relaxes the gluten and makes the dough much easier to roll thin.
- Knead until smooth – After resting, choose your method: knead by hand on a lightly floured surface for 8 to 10 minutes until smooth and elastic, use a stand mixer with a dough hook on medium speed for 2 to 3 minutes, perform 2 sets of stretch and folds by hand spaced 15 minutes apart, or use a bread machine on the dough setting.
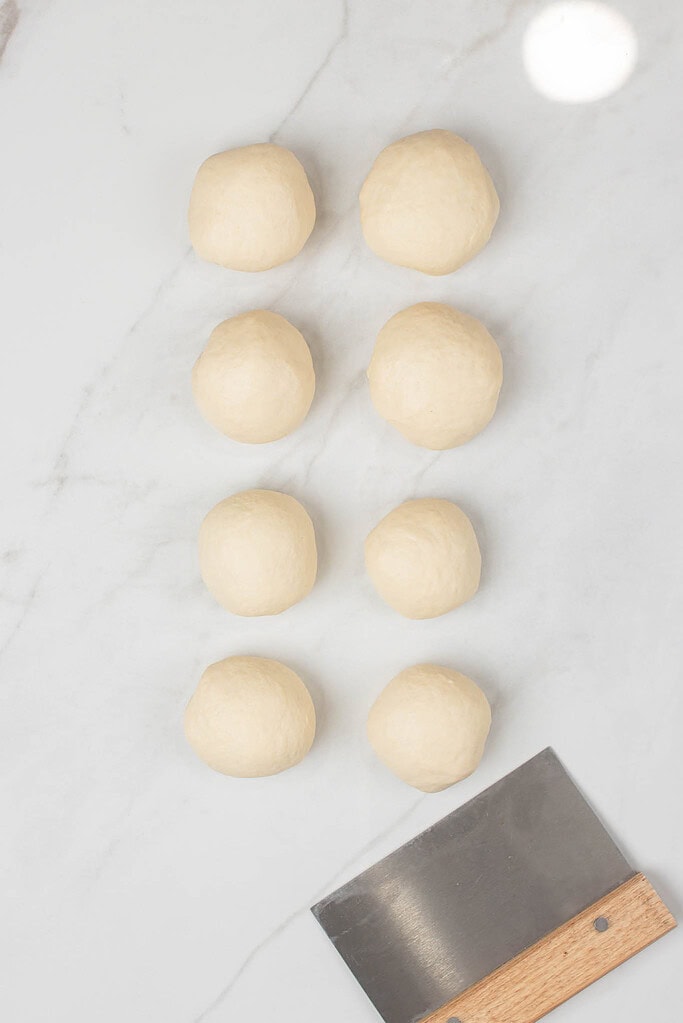
- Divide and ball – Divide the dough into 8 equal portions and roll each one into a smooth ball. Keep the balls covered with a kitchen towel while you work so they do not dry out.
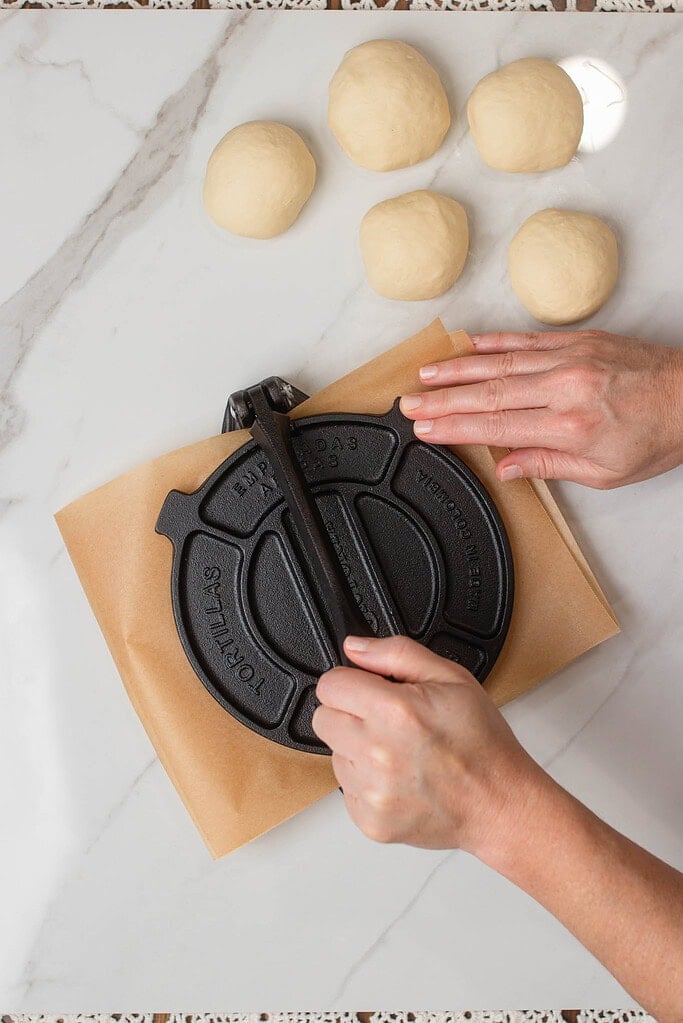
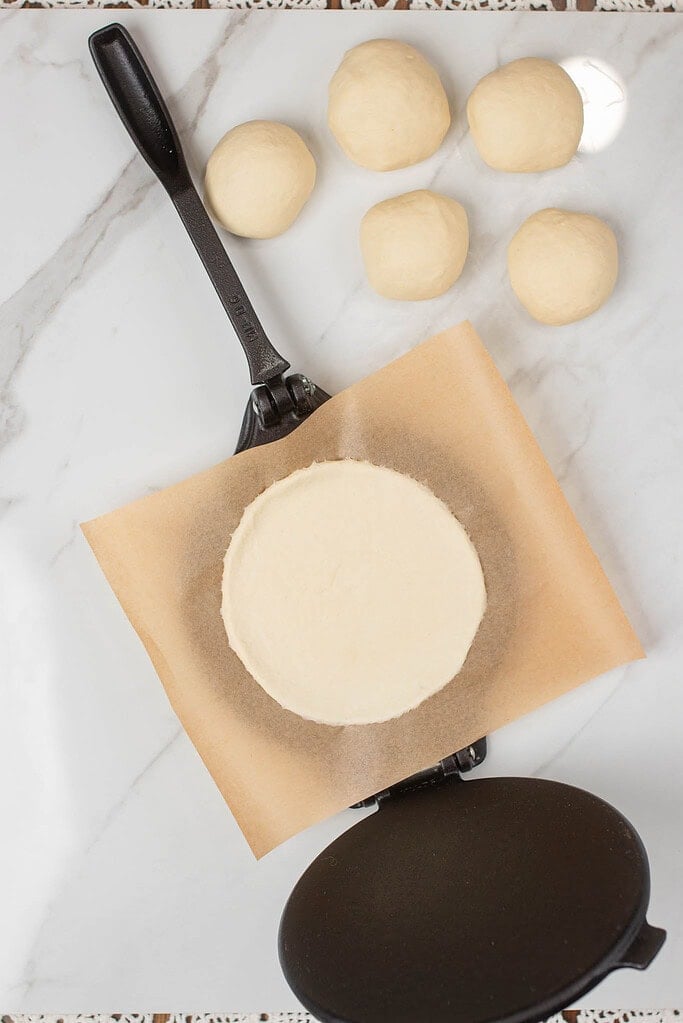
- Roll out the tortillas – Working one ball at a time, place the dough between two sheets of parchment paper and press with a tortilla press or roll with a rolling pin to about ⅛ inch thick, rotating as you go for an even circle. If the tortilla is not as thin as you would like after pressing, roll it out further with a rolling pin to reach your preferred thickness.
- Preheat the pan – Heat a cast iron skillet over medium-high heat until fully preheated. The pan should be hot enough that a drop of water evaporates on contact before the first tortilla goes in.
- Cook the tortillas – Peel the parchment from one side of the tortilla and place it parchment-side up in the hot pan. Peel the remaining parchment away as it cooks. Cook for 1 to 2 minutes until bubbles form on the surface and the underside has light golden brown spots, then flip and cook for another 1 to 2 minutes.
- Keep warm and serve – Transfer each cooked tortilla to a clean kitchen towel or tortilla warmer to keep warm and pliable. Serve with Authentic Beef Fajitas Recipe, quesadillas, or wraps.
Freezing and Storage
- Room temperature storage – Store cooled tortillas in an airtight container or zip bag at room temperature for up to 2 days. Keep them stacked with a small sheet of parchment between each one to prevent sticking.
- Refrigerate for longer storage – Tortillas keep well in the refrigerator in an airtight container for up to 5 days. Let them come to room temperature before serving or warm briefly in a dry skillet before using.
- Freeze for up to 3 months – Stack cooled tortillas with parchment paper between each one and place in a freezer-safe bag or container. Freeze for up to 3 months and thaw overnight in the refrigerator or at room temperature for about 30 minutes before using.
- Reheat from frozen – Wrap a frozen tortilla in a damp paper towel and microwave for 20 to 30 seconds, or warm directly in a dry skillet over medium heat for about 1 minute per side until soft and pliable again.
FAQ
Join The Community
Want More Cozy Recipes & Seasonal Inspiration?
Get cozy, from-scratch recipes, seasonal cottage living tips, and slow living inspiration delivered straight to your inbox.
More Sourdough Discard Recipes from the Cottage
⭐️ Rate This Recipe
Made this recipe? Leave a star ⭐️ rating below, it means the world to me and helps my recipes get found by more people like you. Tag me on Instagram @themoderndaycottage

Sourdough Tortillas Recipe
 Prep:5 minutes Cook:4 minutes Additional Time:30 minutes Total:39 minutes
 Equipment
- 1 Large mixing bowl or stand mixer with dough hook
- 1 rolling pin or tortilla press
- 1 Cast iron skillet
- 1 kitchen towel
- 2 sheets parchment paper
Ingredients
- ½ cup sourdough starter or discard 120 grams
- 3 cups unbleached all-purpose flour 360 grams
- ⅓ cup olive oil 72 grams
- 2 teaspoons salt about 12 grams
- ¾ cup warm water 180 grams
Instructions
- Mix the dough – In a large mixing bowl or stand mixer, combine the sourdough starter or discard, salt, warm water, and olive oil and stir until combined.
- Add the flour – Gradually add the all-purpose flour and stir until a shaggy dough forms. The dough will look rough at this stage — that is expected.
- Rest the dough – Cover the bowl with a clean kitchen towel or plastic wrap and let the dough rest at room temperature for 30 minutes.
- Knead until smooth – After resting, choose your method: knead by hand on a lightly floured surface for 8 to 10 minutes until smooth and elastic, use a stand mixer with a dough hook on medium speed for 2 to 3 minutes, perform 2 sets of stretch and folds by hand spaced 15 minutes apart, or use a bread machine on the dough setting.
- Divide and ball – Divide the dough into 8 equal portions and roll each one into a smooth ball. Keep covered with a kitchen towel while you work.
- Roll out the tortillas – Place each dough ball between two sheets of parchment paper and press with a tortilla press or roll with a rolling pin to about ⅛ inch thick, rotating as you go for an even circle. If the tortilla is not as thin as you would like after pressing, roll it out further with a rolling pin to reach your preferred thickness.
- Preheat the pan – Heat a cast iron skillet over medium-high heat until fully preheated before the first tortilla goes in.
- Cook the tortillas – Peel the parchment from one side and place parchment-side up in the hot pan. Peel away the remaining parchment as it cooks. Cook for 1 to 2 minutes until bubbles form and the underside has light golden brown spots, then flip and cook for another 1 to 2 minutes.
- Keep warm and serve – Transfer each cooked tortilla to a clean kitchen towel and wrap loosely to keep warm and pliable. Serve with tacos, fajitas, quesadillas, or wraps.
Video
Notes

Emily Rider
Home miller since 1999 with fresh-milled flour & sourdough experience. Sharing from-scratch recipes and traditional kitchen skills, rooted in the seasons and inspired by everyday cottage living and seasonal rhythms.