
This post may contain affiliate links. Please read our disclosure policy.
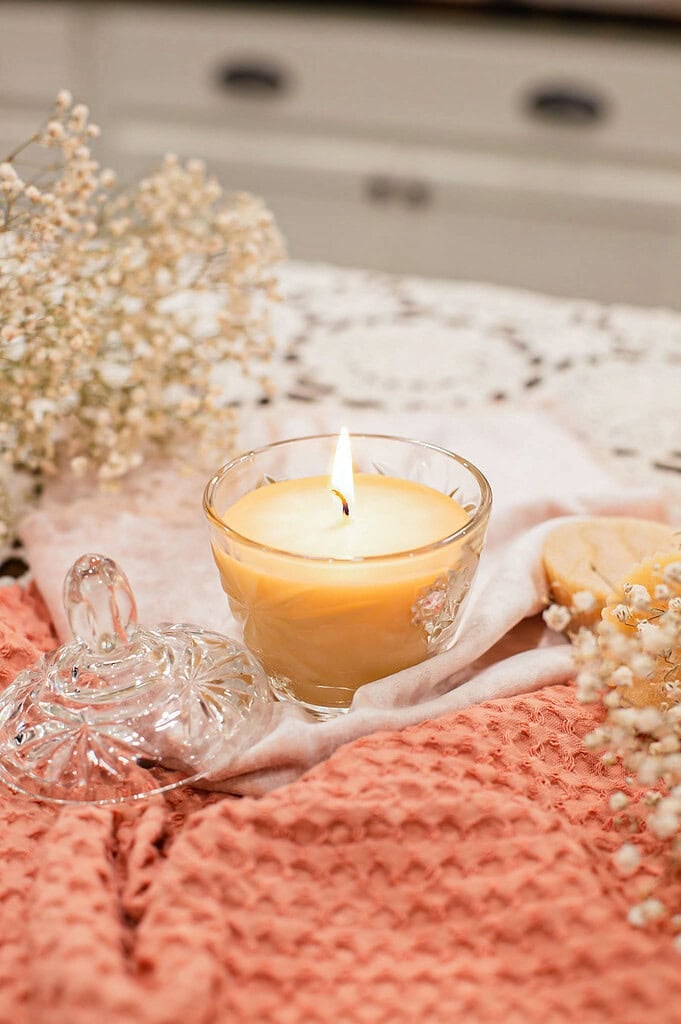
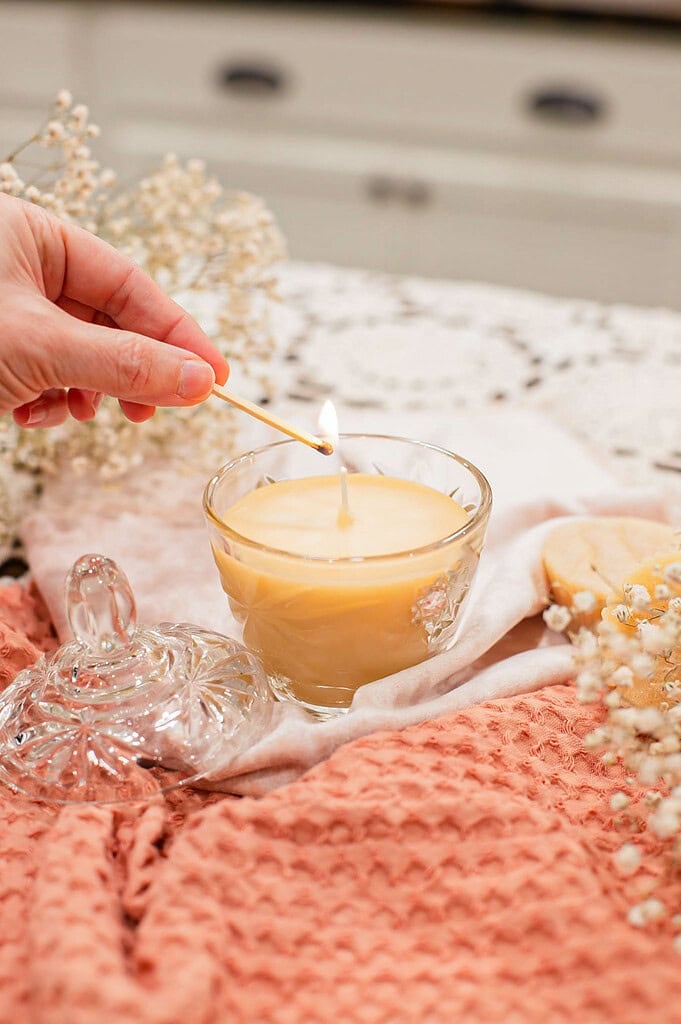
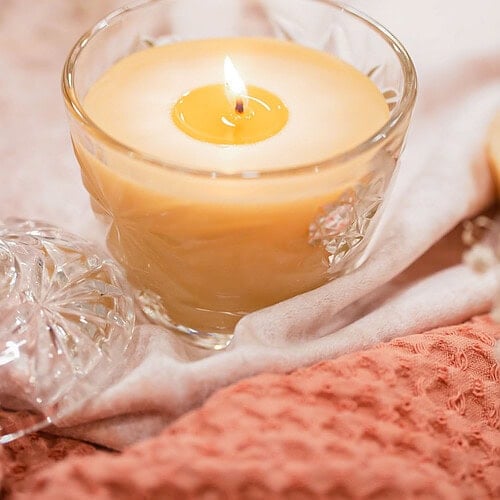
These DIY beeswax candles are made by pouring melted beeswax into a vintage glass jar or sturdy teacup, giving you a simple homemade candle without dipping, rolling, or using a mold. Making beeswax candles at home is easier than you might think.
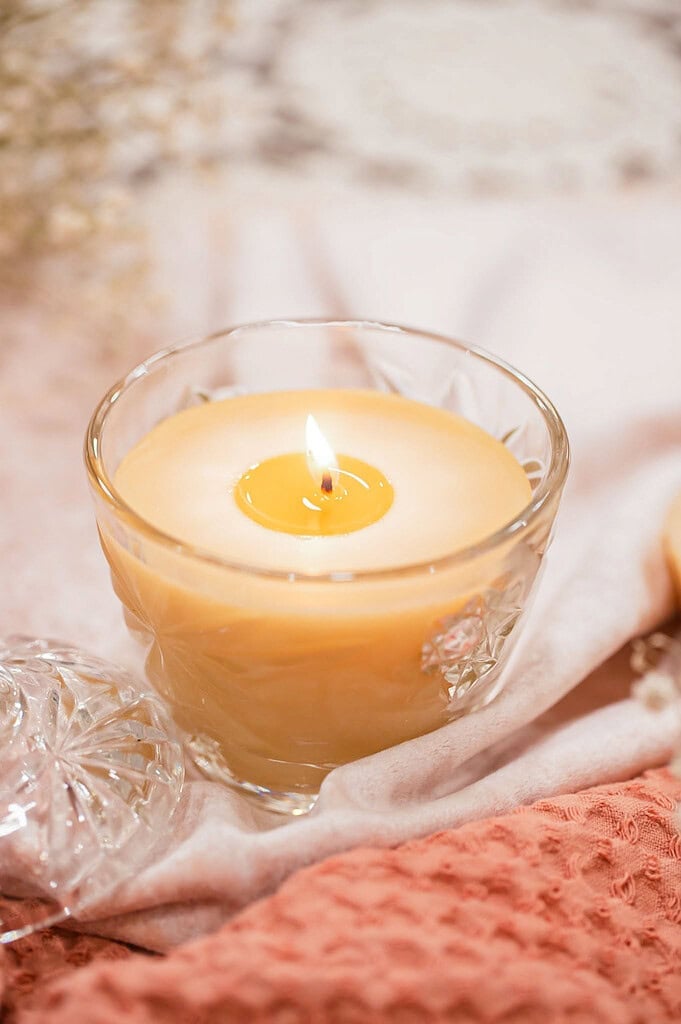
I made mine with locally rendered beeswax and a vintage glass sugar jar I found while thrifting. You can use beeswax blocks or pellets and choose a container you love, which makes each beeswax jar candle a little different.
Once you’ve made your candle, bring it out with your Cozy Cottage Fall Tablescape or use it to add a warm handmade touch to your Cozy Cottage Christmas Table Setting.
Why You’ll Love This Project
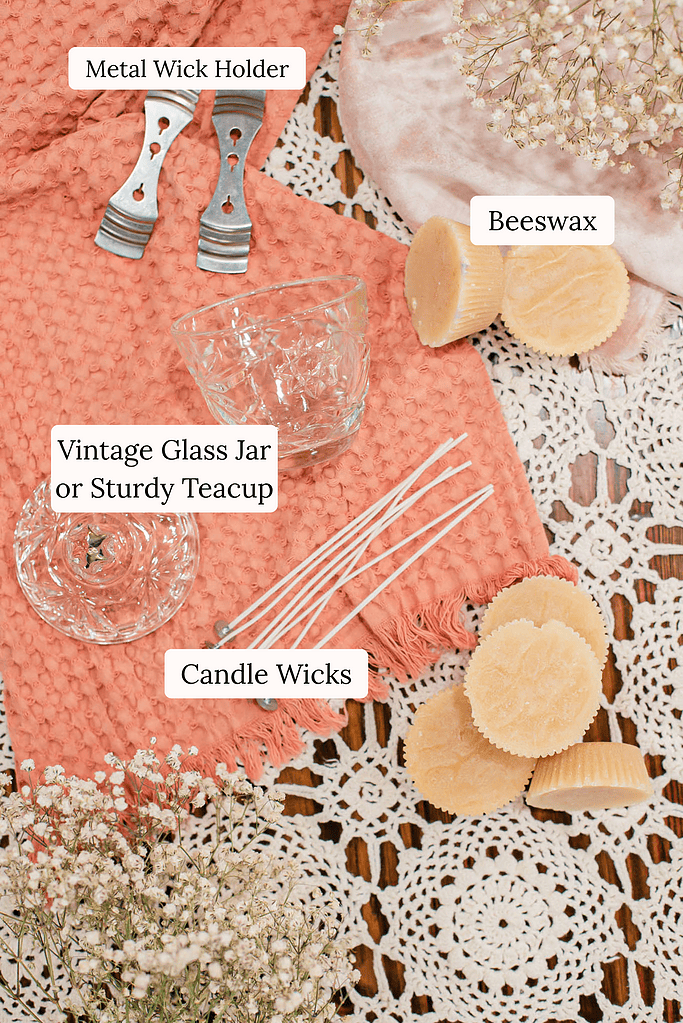
Supplies To Make This Beeswax Candle
Project Variations
Emily’s Project Tips
- Choose your wick for the container – Wick size matters with beeswax candles, especially when you’re using thrifted containers that can vary quite a bit in diameter. Check the wick manufacturer’s sizing recommendations for the jar or teacup you’re using rather than assuming one wick will work for every candle.
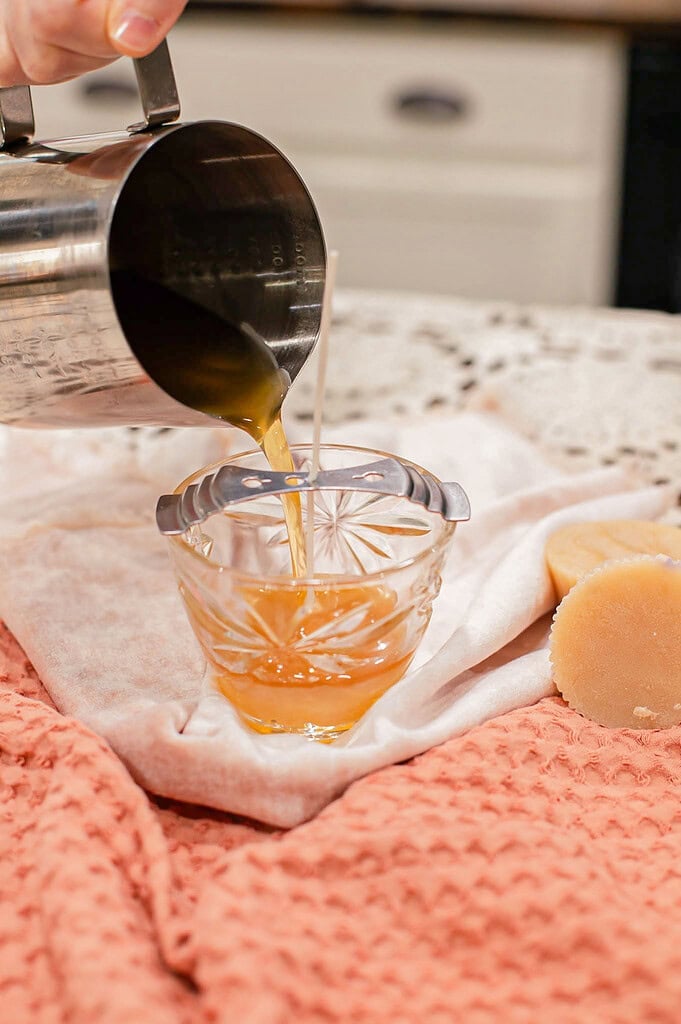
- Get the wick centered before you pour – I’ve used both a bamboo skewer and a metal wick holder, and I prefer the metal holder because it keeps the wick more securely in place. Check it again after you pour the wax and make any adjustments before the beeswax starts to harden.
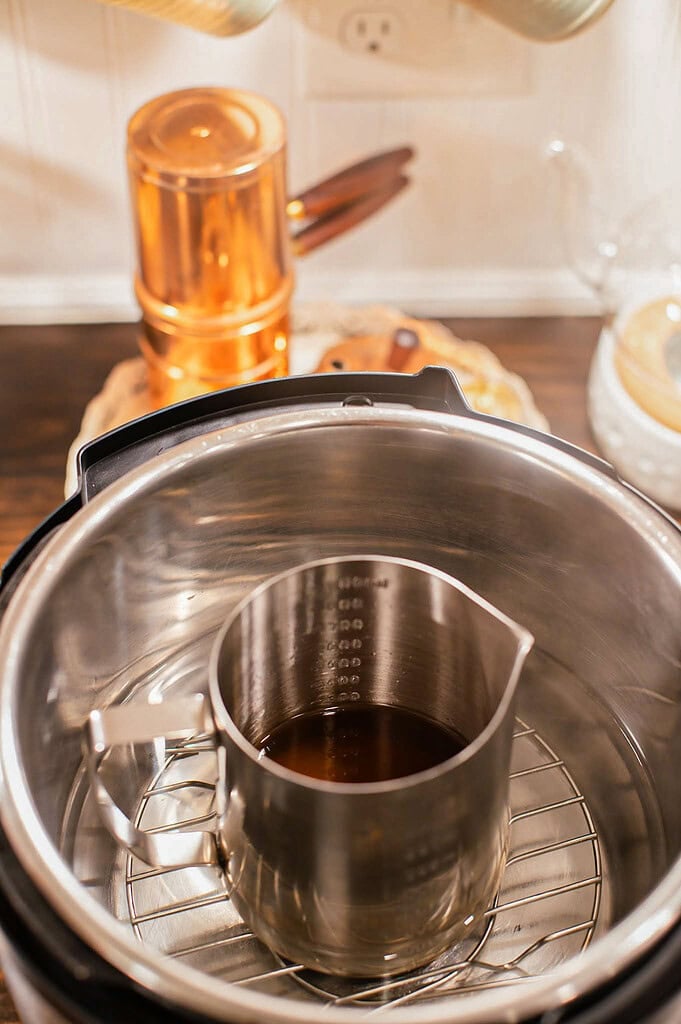
- Melt the beeswax gently – I use a double boiler setup rather than putting the melting pot directly over high heat. You can do this on the stovetop or use my Instant Pot method below.
- Have your container ready first – Clean and completely dry your jar or teacup and secure the wick before you start pouring. Once the beeswax is melted, everything is ready to go.
- Let the candle harden before trimming – Give the beeswax about 30–45 minutes to cool, depending on the size of your container. I wait until the wax is completely firm before removing the wick holder and trimming the wick.
How To Make DIY Beeswax Candles
- Prepare your container – Clean and completely dry your vintage glass jar or sturdy teacup. Place it on a protected work surface so it’s ready before you begin melting the beeswax.
- Melt the beeswax – Add the beeswax to a stainless steel wax melting pot. For my Instant Pot method, I place a wire rack inside the Instant Pot, add 3 cups of water, then set the melting pot on the rack. Use the Sauté function on low or medium heat and stir occasionally with a wooden skewer while the beeswax melts. You can also gently melt the beeswax using a double boiler on the stovetop.
- Secure the wick – Attach the wick to the bottom center of your container with a wick sticker or a small amount of melted beeswax. Use a metal wick holder, bamboo skewer, or chopstick across the top to hold the wick upright and centered.
- Pour the beeswax – Once the beeswax is completely melted, carefully pour it into your prepared container, leaving about ½ inch of space at the top. Take another look at your wick after pouring and adjust it while the wax is still liquid if it has shifted off center.
- Let the candle harden – Leave the candle sitting undisturbed for about 30–45 minutes, depending on the size of your container. Don’t remove the wick holder until the beeswax is completely firm.
- Trim the wick – Once the candle has completely hardened, remove the wick holder and trim the wick to approximately ½ inch. Your homemade beeswax candle is ready.
Storage Suggestions
Ways To Use DIY Beeswax Candles
DIY Beeswax Candles FAQs
More Projects from the Cottage
Join the Cozy Cottage Community Today!
Get from-scratch recipes, seasonal cottage living tips, and cozy cottage living inspiration delivered straight to your inbox.
⭐️ Rate This Project
Made this Project? Leave a star ⭐️ rating below, it means the world to me and helps my projects get found by more people like you. Tag me on Instagram @themoderndaycottage

If you made this project, please leave a comment or question below! I’d love to hear how it turned out and am always happy to help troubleshoot.
Want more from The Cottage? Subscribe here for freshly milled flour, sourdough, and from-scratch recipes, plus slow living inspiration from my cottage straight to your inbox.


DIY Beeswax Candles in Vintage Glass Jars
 Prep:15 minutes Resting Time:15 minutes Cooling:30 minutes Total:1 hour
 Supplies
- Protective covering or newspaper
- Stainless steel wax melting pot or heat-safe glass bowl
- Instant Pot or double boiler
- Stockpot, if using a stovetop double boiler
- Metal wick holder, wooden skewer, or chopstick
- Wooden skewer, for stirring
Elements
- Beeswax pellets or blocks of beeswax
- Candle wick appropriately sized for the chosen container
- Thrifted glass jar or teacup
- Wick sticker or a small amount of melted beeswax
- Essential oils optional
Instructions
- Prepare your container – Clean and completely dry your vintage glass jar or sturdy teacup. Place it on a protected work surface so it's ready before you begin melting the beeswax.
- Melt the beeswax – Add the beeswax to a stainless steel wax melting pot. For my Instant Pot method, I place a wire rack inside the Instant Pot, add 3 cups of water, then set the melting pot on the rack. Use the Sauté function on low or medium heat and stir occasionally with a wooden skewer while the beeswax melts. You can also gently melt the beeswax using a double boiler on the stovetop.
- Secure the wick – Attach the wick to the bottom center of your container with a wick sticker or a small amount of melted beeswax. Use a metal wick holder, bamboo skewer, or chopstick across the top to hold the wick upright and centered.
- Pour the beeswax – Once the beeswax is completely melted, carefully pour it into your prepared container, leaving about ½ inch of space at the top. Take another look at your wick after pouring and adjust it while the wax is still liquid if it has shifted off center.
- Let the candle harden – Leave the candle sitting undisturbed for about 30–45 minutes, depending on the size of your container. Don't remove the wick holder until the beeswax is completely firm.
- Trim the wick – Once the candle has completely hardened, remove the wick holder and trim the wick to approximately ½ inch. Your homemade beeswax candle is ready.
Notes

Emily Rider
Home miller since 1999 with fresh-milled flour & sourdough experience. Sharing from-scratch recipes and traditional kitchen skills, rooted in the seasons and inspired by everyday cottage living and seasonal rhythms.