Roasted Pumpkin Seeds

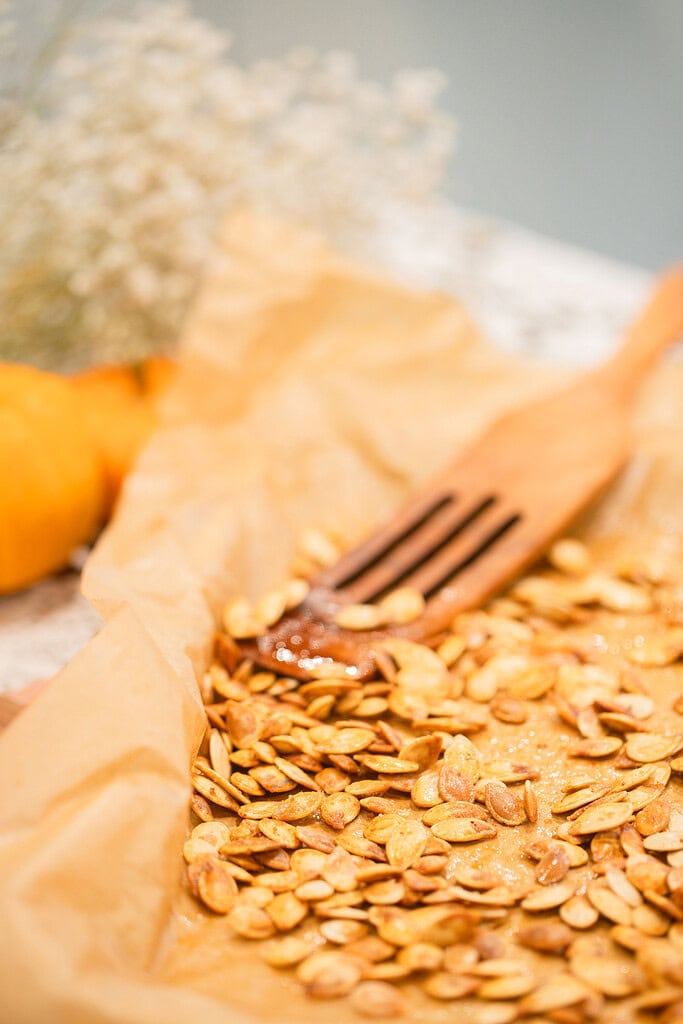
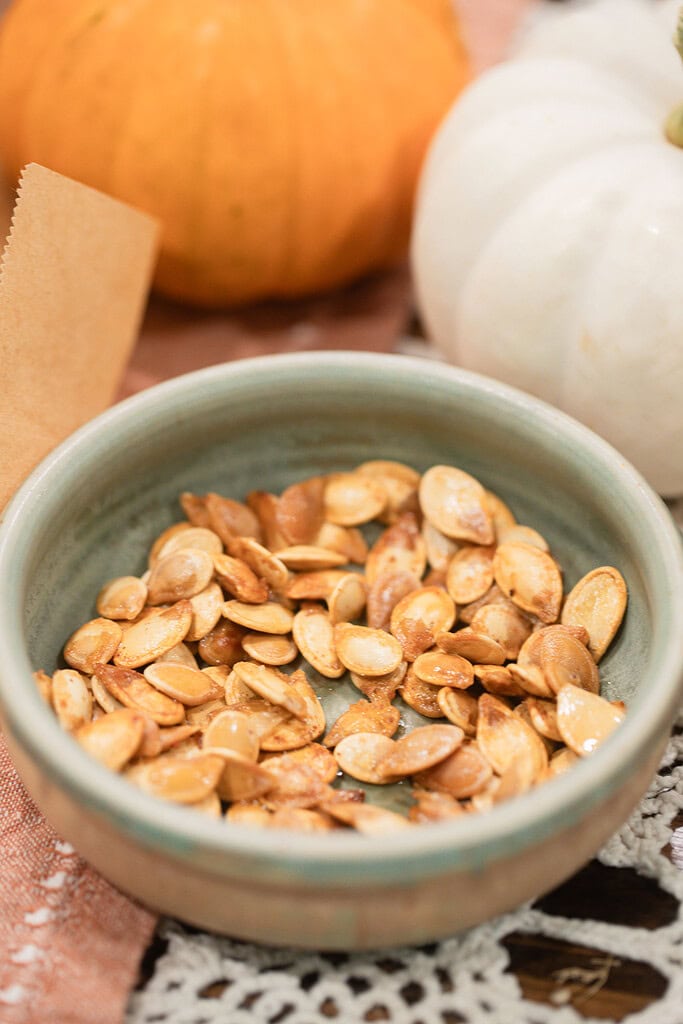
This roasted pumpkin seeds recipe turns the seeds from your carving pumpkin or pie pumpkin into a golden, crispy fall snack with salted butter and your choice of seasoning.

Butter coats every seed in a rich, slightly nutty fat that gives the finished seeds a deeper golden color and a flavor worth saving every last seed for.

Keep a batch on the counter all fall alongside Easy Homemade Pumpkin Pie Spice Recipe and serve them with Sourdough Pumpkin French Toast Recipe for a full cottage kitchen autumn morning.

Close-up of golden roasted pumpkin seeds spread on parchment paper with a wooden slotted spoon, styled with a mini pumpkin and dried baby's breath in the background.

Why You’ll Love This Recipe

  • Salted butter instead of oil – Butter coats every seed in a rich, slightly nutty fat that produces a deeper golden color and a more satisfying flavor than olive or avocado oil. A small swap that makes a noticeable difference in the finished seed.
  • Six flavor variations from one base – Sweet cinnamon, savory herb, spicy cajun, smoky paprika, honey maple, and classic salted. One simple method, six completely different snacks.
  • Nothing goes to waste – Every pumpkin you carve or cook produces a cup or more of seeds. This recipe makes the most of every seed from every pumpkin.
  • The kitchen smells like fall – Butter and warm spices roasting in a hot oven is one of the best autumn scents the cottage kitchen produces all season.
A hand scooping freshly roasted pumpkin seeds from a parchment-lined baking sheet into a small sage green ceramic bowl using a wooden slotted spoon.

Ingredients

  • Fresh pumpkin seeds – Seeds scooped directly from a carving pumpkin, pie pumpkin, sugar pumpkin, or any winter squash. Larger seeds from carving pumpkins have a thicker shell and a heartier crunch; smaller seeds from pie pumpkins are more tender. Both roast beautifully using this method.
  • Salted butter – Two tablespoons of melted salted butter coats the seeds evenly and produces a golden, slightly crisp exterior that oil alone cannot replicate. The salt in the butter also seasons the seeds from the inside out as they roast. Use unsalted if you prefer to control the salt level separately.
  • Fine sea salt – A pinch added to the butter toss before roasting. Adjust to taste depending on whether you are using salted or unsalted butter.
  • Seasoning of your choice – See the Variations section for six complete flavor profiles. The base recipe is classic salted butter and sea salt – every other variation builds from there.
Two hands cupping a sage green ceramic bowl filled with golden roasted pumpkin seeds, with more seeds visible on a parchment-lined baking sheet below.

Variations & Add-Ins

  • Classic salted butter – Melted salted butter and a generous pinch of fine sea salt. Clean, simple, and the version that disappears fastest in the cottage kitchen.
  • Sweet cinnamon sugar – Add 1 teaspoon of ground cinnamon and 1 tablespoon of brown sugar to the melted butter before tossing. For the most aromatic result use your own Easy Homemade Pumpkin Pie Spice Recipe in place of plain cinnamon.
  • Savory herb – Add ½ teaspoon each of garlic powder, dried thyme, and dried rosemary to the butter along with a generous pinch of black pepper. Rich, herby, and excellent scattered over a bowl of soup.
  • Spicy cajun – Add ½ teaspoon chili powder, ¼ teaspoon smoked paprika, ¼ teaspoon cumin, and a pinch of cayenne to the melted butter. Bold, warm, and deeply spiced.
  • Smoky paprika – Add 1 teaspoon of smoked paprika, ½ teaspoon garlic powder, and ½ teaspoon onion powder to the butter. Deeply smoky and savory with a beautiful rust-colored finish.
  • Honey maple – Add 1 tablespoon of pure maple syrup and ½ teaspoon of cinnamon to the butter before tossing. The maple caramelizes slightly in the oven and gives the seeds a lightly sticky, deeply sweet finish.

Recipe Tips

Dry the seeds completely before roasting – This is the most important step. Any moisture left on the seeds will steam rather than roast in the oven, producing a soft, chewy seed rather than a crispy one. Pat them thoroughly dry with a kitchen towel after rinsing and let them air dry on the towel for 20 to 30 minutes if time allows.

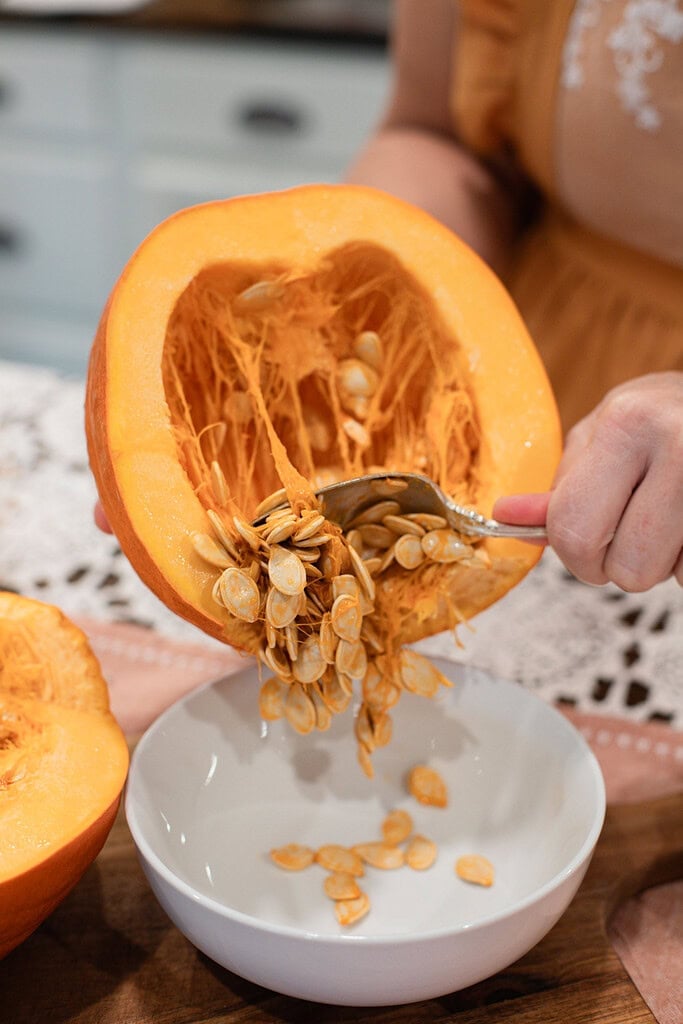
Clean them in cold water – Place the scooped seeds in a bowl of cold water and swish them around. The seeds float and the pumpkin flesh and stringy bits sink. Use a fine mesh strainer to catch the clean seeds and rinse under running water until no pumpkin pulp remains.

Spread in a single layer – Seeds piled on top of each other steam rather than roast. Spread them in one even layer on the parchment-lined pan with space between each seed for the heat to circulate.

Stir every 10 minutes – Stirring ensures every seed gets exposed to the hot pan surface evenly. Seeds that sit in one position the entire bake will brown unevenly and the ones on the edges will finish before the ones in the center.

Watch them closely in the last 5 minutes – Seeds go from golden to burnt quickly at the end of the baking time. Every oven runs differently and smaller seeds from pie pumpkins will finish before larger seeds from carving pumpkins. Start checking at the 20-minute mark.Cool completely before storing – Hot seeds trapped in a container will steam themselves soft. Let them cool on the pan until completely room temperature before transferring to an airtight jar.

Instructions

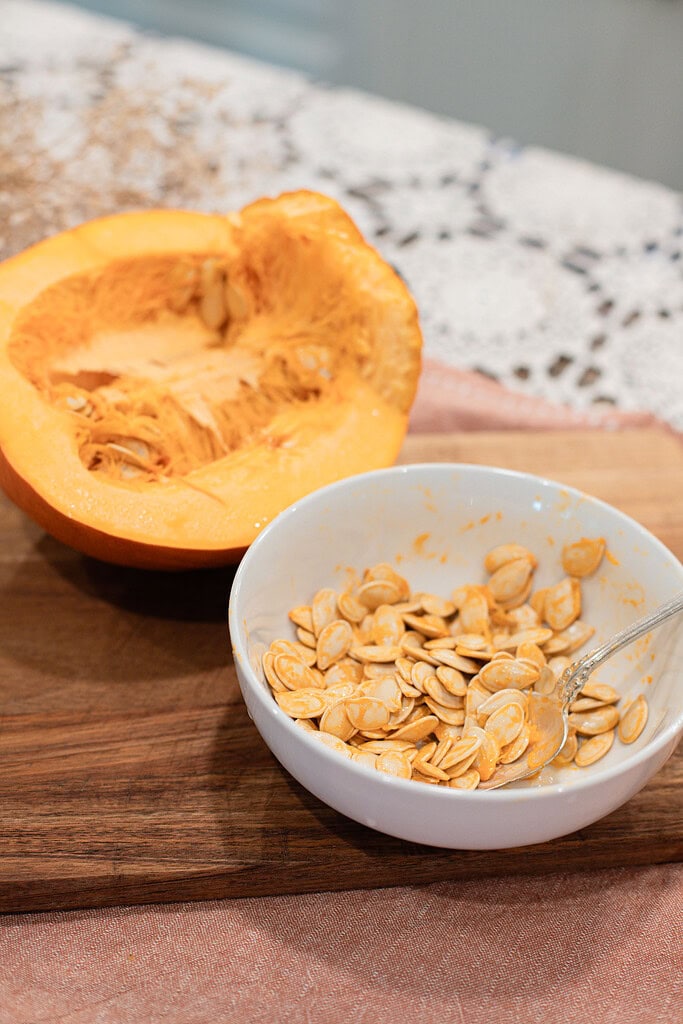
  1. Clean the seeds – Place the scooped seeds in a large bowl of cold water. Swish to loosen the pumpkin flesh and stringy bits. The seeds will float and the debris will sink. Use a fine mesh strainer to catch the clean seeds and rinse under cold running water until clear.
  2. Dry the seeds – Transfer the clean seeds to a kitchen towel and pat thoroughly dry. Spread them on the towel and let them air dry for 20 to 30 minutes if time allows. Completely dry seeds are essential for a crispy result.
  3. Preheat the oven – Preheat the oven to 350°F and line a sheet pan with parchment paper.
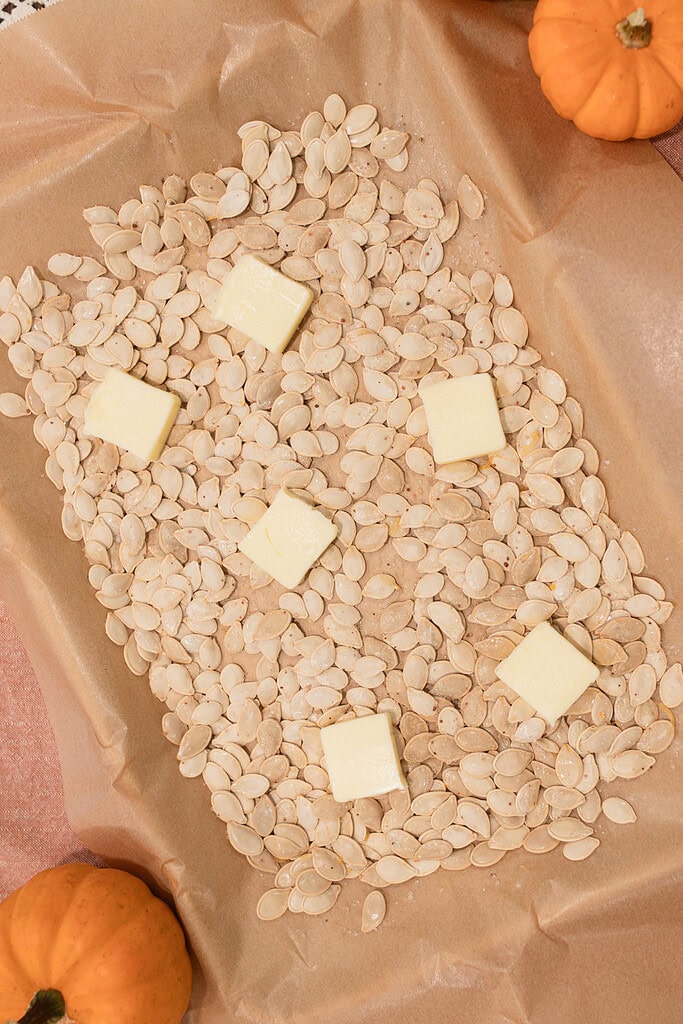
  4. Season the seeds – Transfer the dry seeds to a large bowl. Add the melted salted butter and your chosen seasoning and toss until every seed is evenly coated.
  5. Spread on the pan – Pour the seasoned seeds onto the prepared pan and spread into a single even layer with no overlapping.
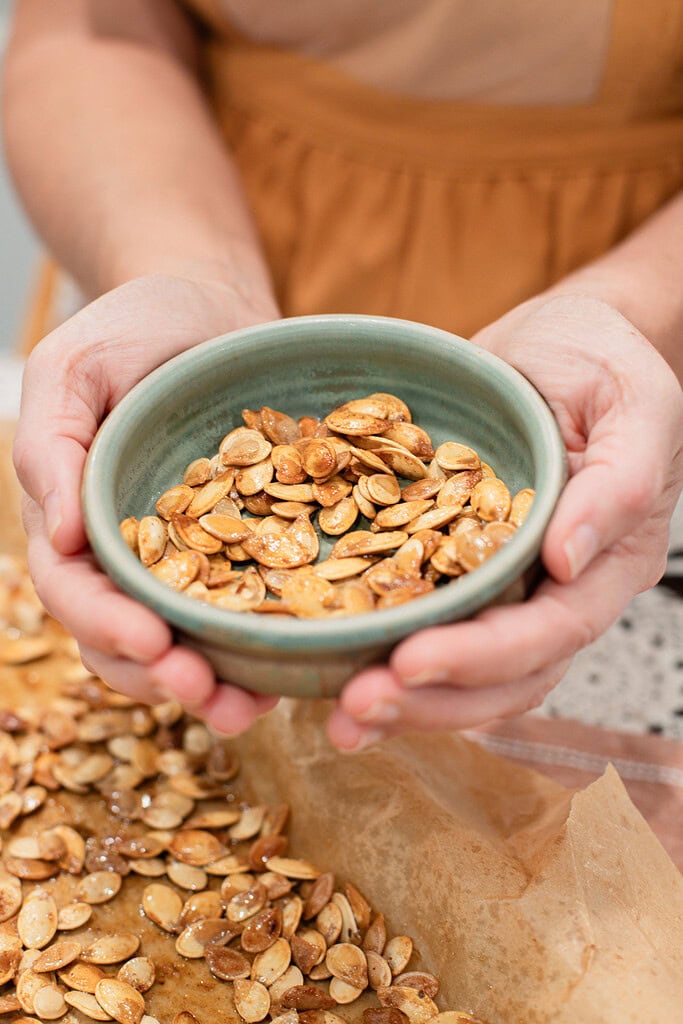
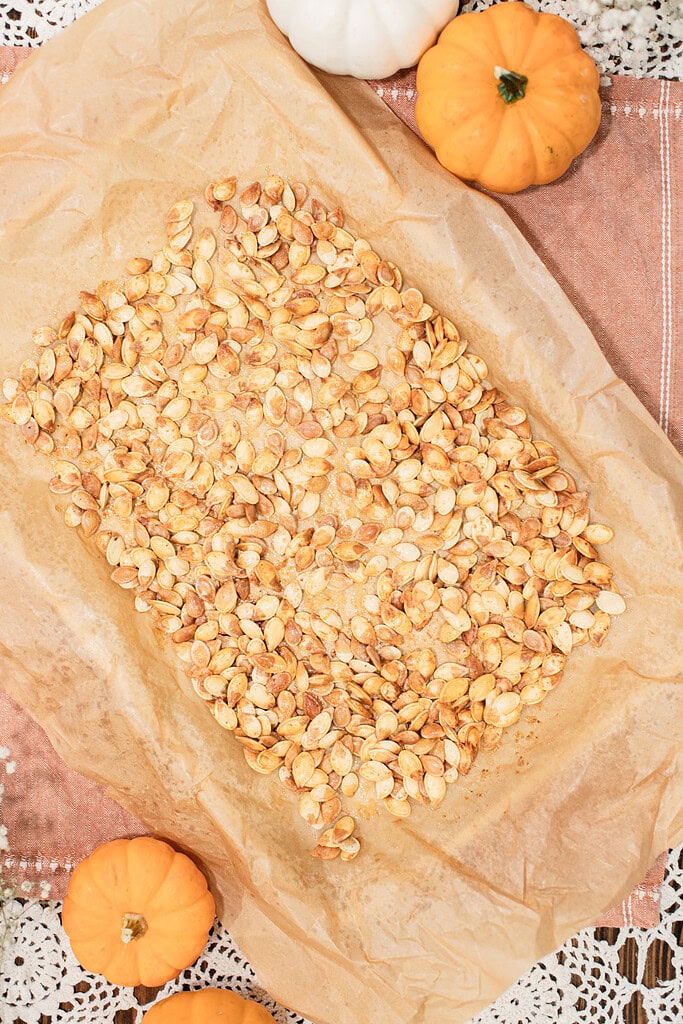
  6. Roast – Roast at 350°F for 20 to 30 minutes, stirring every 10 minutes. The seeds are done when they are deep golden brown and sound slightly hollow when stirred. Smaller seeds may finish closer to 20 minutes. Larger seeds may need the full 30.
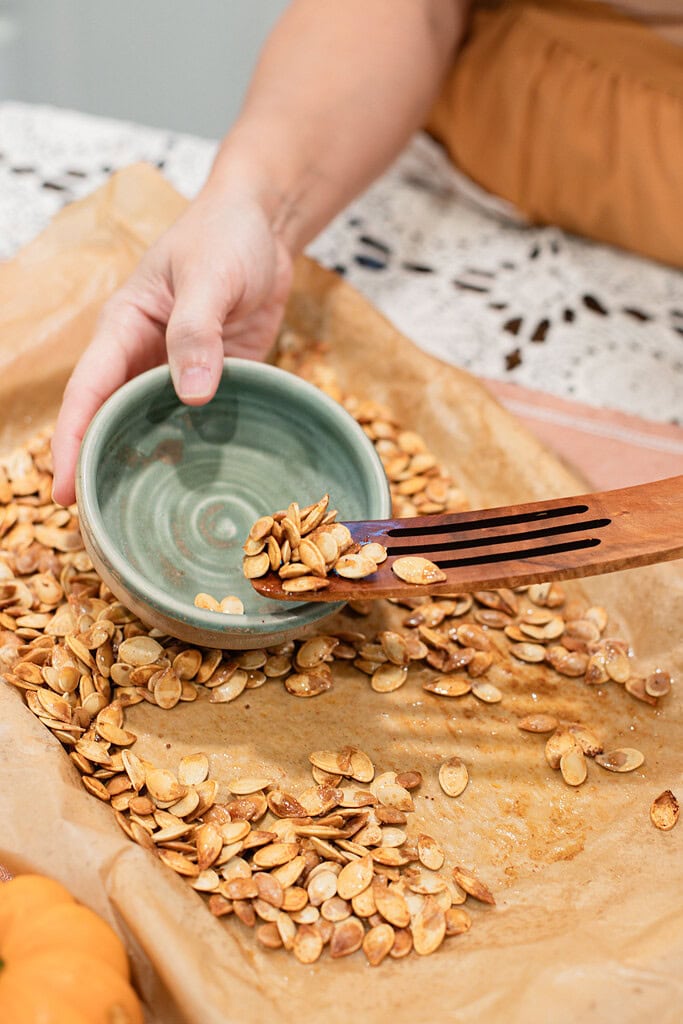
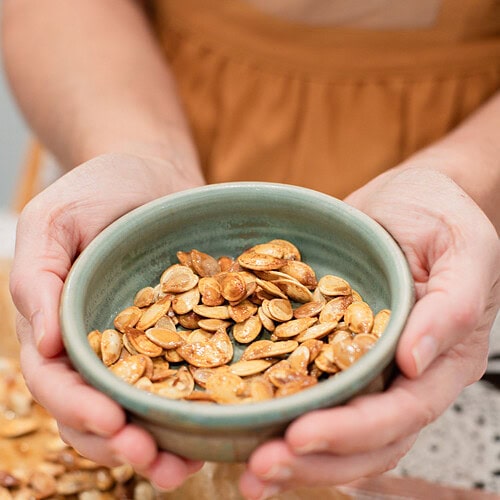
  7. Cool and serve – Remove from the oven and let cool completely on the pan before serving or storing.
A sage green ceramic bowl filled with golden roasted pumpkin seeds, styled with an orange and a white pumpkin softly blurred in the background on a dusty rose linen.

Freezing and Storage

  • Room temperature – Store cooled roasted pumpkin seeds in an airtight container or glass jar at room temperature for up to 1 week. Make sure they are completely cool before sealing – any residual warmth will cause condensation and soften the seeds.
  • Refrigerator – Store in a sealed airtight container in the refrigerator for up to 3 weeks for the best flavor and crunch.Freezer – Freeze cooled seeds in a freezer-safe bag for up to 2 months. Spread on a pan and warm in a 300°F oven for 5 minutes after thawing to restore the crunch.

FAQ

Yes – completely dry seeds are the difference between a crispy roasted seed and a chewy, steamed one. Any moisture left on the surface of the seed will turn to steam in the oven rather than allowing the seed to roast and crisp. Pat them thoroughly dry with a kitchen towel after rinsing, then let them air dry on the towel for 20 to 30 minutes before seasoning and roasting for the best result.

350°F produces the most consistently golden, evenly crisped result. Lower temperatures require longer roasting times and produce a drier, less golden seed. Higher temperatures speed up the process but increase the risk of uneven browning or burning, especially with butter which has a lower smoke point than oil. 350°F for 20 to 30 minutes with stirring every 10 minutes is the most reliable method.

20 to 30 minutes at 350°F depending on the size of the seeds. Smaller seeds from pie pumpkins will be done closer to 20 minutes. Larger seeds from carving pumpkins need closer to 25 to 30 minutes. Stir every 10 minutes and start checking at 20 minutes. The seeds are done when they are deep golden brown and sound slightly hollow when stirred.

Yes. Seeds from carving pumpkins, pie pumpkins, sugar pumpkins, butternut squash, and most other winter squash all roast using this same method. Seed size varies between varieties which affects roasting time – smaller seeds finish faster than larger ones – but the method and temperature are the same regardless of the pumpkin type.

Both work but butter produces a noticeably richer, more golden result with a deeper flavor. The milk solids in butter contribute to browning and give the seeds a slightly nutty finish that oil cannot replicate. For sweet variations like cinnamon sugar or honey maple, butter is especially worth using. For savory or spicy variations, either works well.

Join The Community


Want More Cozy Recipes & Seasonal Inspiration?

Get cozy, from-scratch recipes, seasonal cottage living tips, and slow living inspiration delivered straight to your inbox.

More [Topic] Recipes from the Cottage

⭐️ Rate This Recipe

Made this recipe? Leave a star ⭐️ rating below, it means the world to me and helps my recipes get found by more people like you.

Two hands cupping a sage green ceramic bowl filled with golden roasted pumpkin seeds, with more seeds visible on a parchment-lined baking sheet below.
5 from 2 votes

Roasted Pumpkin Seeds Recipe

Author: Emily Rider
This roasted pumpkin seeds recipe uses salted butter and your choice of seasoning for a golden, crispy fall snack. Six flavor variations from sweet cinnamon to smoky paprika so every batch from every pumpkin tastes like something worth making again.
Prep:5 minutes
Cook:30 minutes
Total:35 minutes
Course: Snack
Cuisine: American
Servings: 1 cup

Ingredients

  • 1 cup pumpkin seeds 140 grams (fresh from pumpkin, cleaned and completely dry)
  • 2 tablespoons salted butter 28 grams (melted)
  • 1 pinch fine sea salt 1 gram (adjust to taste)

Instructions

  1. Clean the seeds – Place scooped seeds in a bowl of cold water, swish to loosen debris, then drain through a fine mesh strainer. Rinse under cold water until clear.
  2. Dry completely – Pat dry with a kitchen towel and let air dry for 20 to 30 minutes. Seeds must be completely dry before seasoning.
  3. Preheat – Preheat the oven to 350°F and line a sheet pan with parchment paper.
  4. Season – Toss dry seeds with melted butter and chosen seasoning in a large bowl until every seed is evenly coated.
  5. Spread – Pour onto the prepared pan in a single even layer with no overlapping.
  6. Roast – Roast at 350°F for 20 to 30 minutes, stirring every 10 minutes, until deep golden brown. Start checking at 20 minutes.
  7. Cool – Let cool completely on the pan before serving or storing.

Notes

Dry the seeds completely – Any moisture produces steam rather than crispiness in the oven. This step is non-negotiable for a crunchy result.
Single layer only – Overlapping seeds steam rather than roast. One even layer with space between seeds is essential.
Watch the last 5 minutes – Seeds go from golden to burnt quickly. Every oven is different and smaller seeds finish faster than larger ones.
Cool before storing – Hot seeds sealed in a container will steam themselves soft. Cool completely before transferring to an airtight jar.

Nutrition

Serving: 6g, Calories: 559kcal, Carbohydrates: 7g, Protein: 20g, Fat: 54g, Saturated Fat: 20g, Polyunsaturated Fat: 14g, Monounsaturated Fat: 16g, Trans Fat: 1g, Cholesterol: 60mg, Sodium: 46mg, Potassium: 524mg, Fiber: 4g, Sugar: 1g, Vitamin A: 710IU, Vitamin C: 1mg, Calcium: 36mg, Iron: 6mg

Did you make this recipe?

Rate it 5 “⭐️” below.

If you liked this recipe, I’d be so grateful if you would share it with others. Use the buttons below to share, comment, or connect.

Close-up of a woman in a peach blouse smiling and leaning against a kitchen counter, with fresh flour and wheat berries visible beside her.

Emily Rider

Home miller since 1999 with fresh-milled flour & sourdough experience. Sharing from-scratch recipes and traditional kitchen skills, rooted in the seasons and inspired by everyday cottage living and seasonal rhythms.

More From The Cottage...

Leave a Reply

Your email address will not be published. Required fields are marked *

Rate This Recipe


This site uses Akismet to reduce spam. Learn how your comment data is processed.