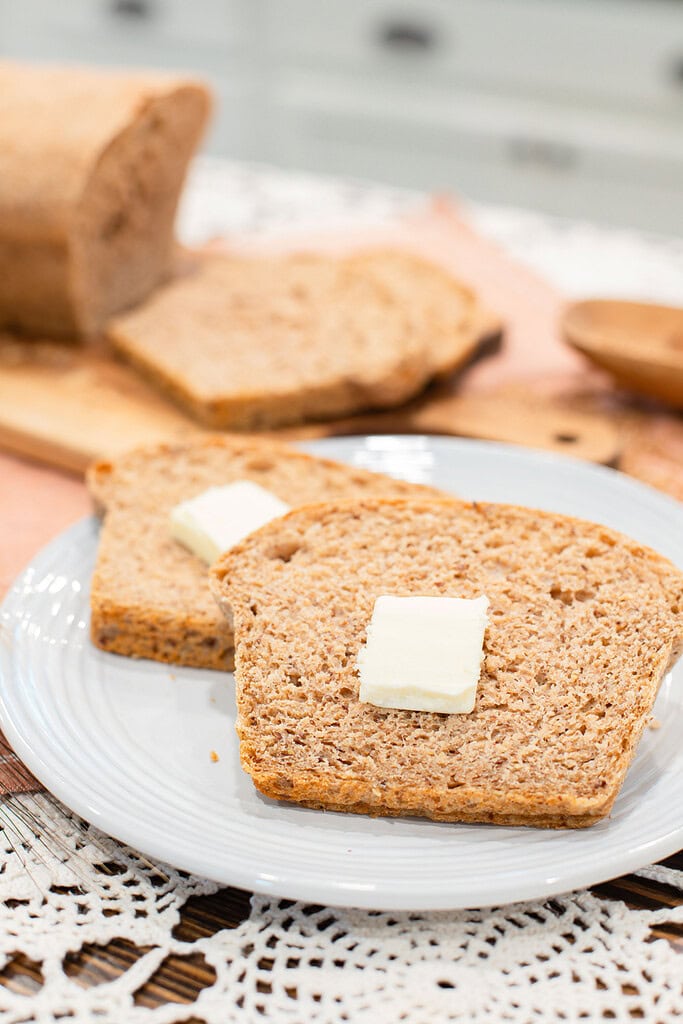
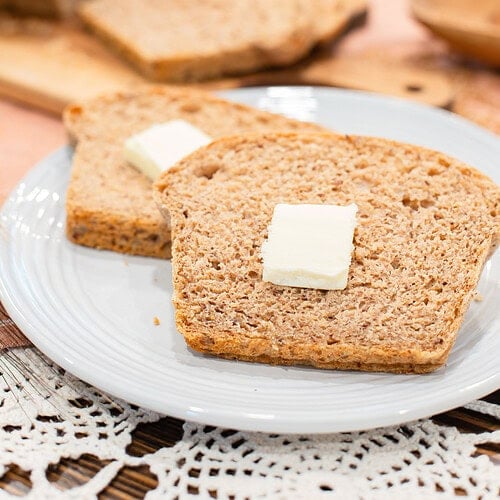
This fresh milled sourdough sandwich bread is a soft, enriched loaf made with a blend of hard red and hard white wheat berries, warm milk, egg, and optional seeds. No vital wheat gluten or additives needed.
The dough comes together through a simple stretch-and-fold process (or use a stand mixer), a long bulk ferment, and a second rise in the loaf pan, which gives the crumb its tender, open texture and seeds distributed evenly through every slice.
If you love baking with freshly milled flour, Baking Sourdough with Freshly Milled Flour is a great place to go deeper on technique, and for the plain enriched version of this same dough, Fresh Milled Sourdough Sandwich Bread is the companion recipe this one was built alongside.
Did you know you can convert your recipes to freshly milled flour? I share how to convert your recipes and more at The Cottage Mill.
Step into The Cottage Mill: Freshly Milled Flour Guides, Recipes, and More Await!
Why You’ll Love This Recipe
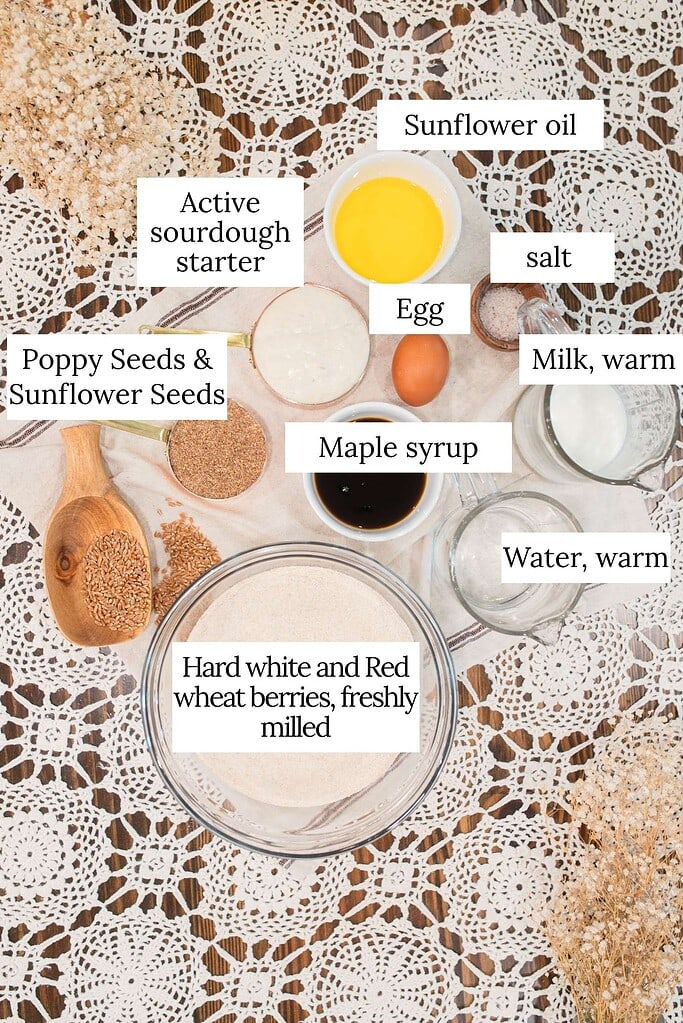
Ingredients
Variations & Add-Ins
Recipe Tips
Fold seeds in after the final stretch and fold – Adding seeds too early tears the gluten network before it has time to build. Fold the seeds in gently after the last stretch and fold set when the dough is strong enough to hold them without breaking down. This keeps the crumb structure intact and distributes the seeds evenly.
Keep your hands damp throughout – Fresh milled dough is naturally stickier than commercial flour dough and seeds make it even more so. Damp hands during every stretch and fold set let you work the dough without adding extra flour that would tighten the crumb around the seeds.
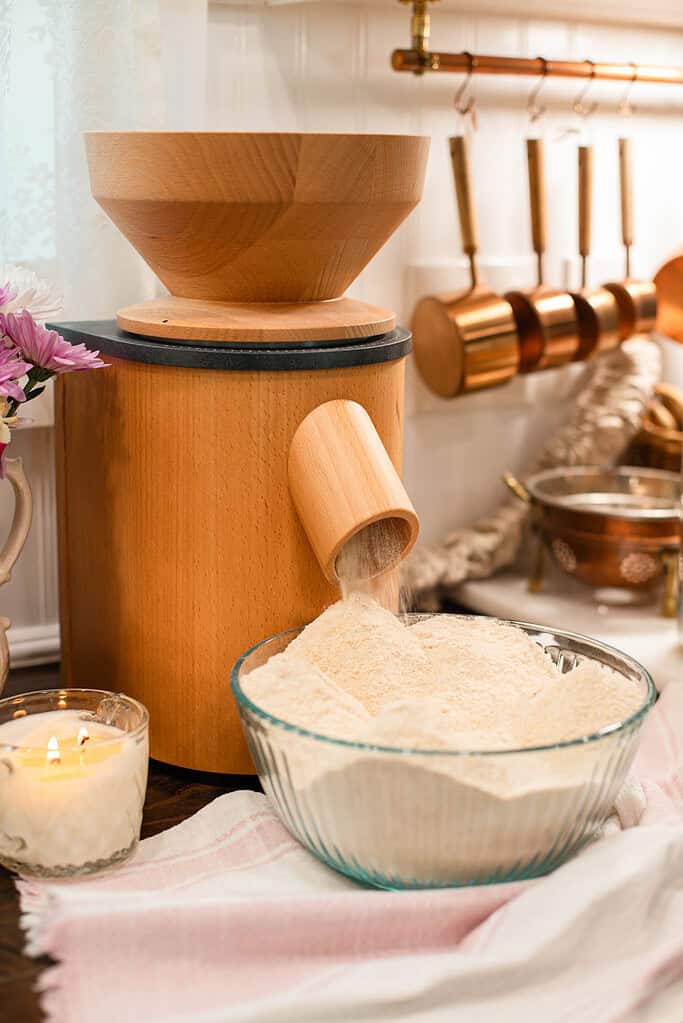
Mill and use the flour immediately – Fresh milled hard white wheat is most active in the first few hours after milling. The live enzymes in fresh flour affect how the dough hydrates and ferments, so milling right before you mix gives the best result. For tips on storing any leftover flour, How to Store Freshly Milled Flour has everything you need.
Watch the bulk ferment, not the clock – Fresh milled flour ferments faster than commercial flour because the live enzymes are still active. The dough is ready to shape when it has grown visibly, shows bubbles on the surface, and holds a rough shape when you turn it out. Relying on time alone with fresh milled flour leads to overproofing.
Toast the seeds for deeper flavor – Spread the sunflower seeds on a dry skillet over medium heat and toast for 3 to 5 minutes until fragrant and lightly golden before folding them in. Toasted seeds add a deeper, nuttier flavor to the finished loaf that raw seeds do not have.
Lean the loaf on its side to cool – Fresh milled sandwich bread is prone to collapsing slightly as it cools if left upright. Transfer the baked loaf to a wire rack and lean it on its side for the first 15 minutes before standing it upright. This prevents the sides from caving as the crumb sets.
Check internal temperature before pulling – The crust of a fresh milled loaf can look golden before the interior is fully set. Pull the loaf when an instant-read thermometer reads 190°F to 195°F at the center for a fully baked crumb that slices cleanly without gumming.

Instructions
- Mill your flour – Grind 270 grams of hard white wheat berries and 270 grams of hard red wheat berries on the finest setting of your grain mill. You will need 540 grams total, 1⅓ cups of each variety. Mill directly into your mixing bowl or a separate container and use immediately for the best fermentation and hydration results.
- Heat and cool your milk – Pour 300 grams of milk into a small saucepan and heat to 180°F, then set aside to cool to 110°F before using. Heating the milk deactivates proteins that can interfere with gluten development and gives the finished loaf a softer, more tender crumb.
- Mix the wet ingredients – Combine the active sourdough starter, cooled milk, olive oil, honey or maple syrup, and room temperature egg in a large mixing bowl. Stir until fully incorporated with no streaks of egg visible.
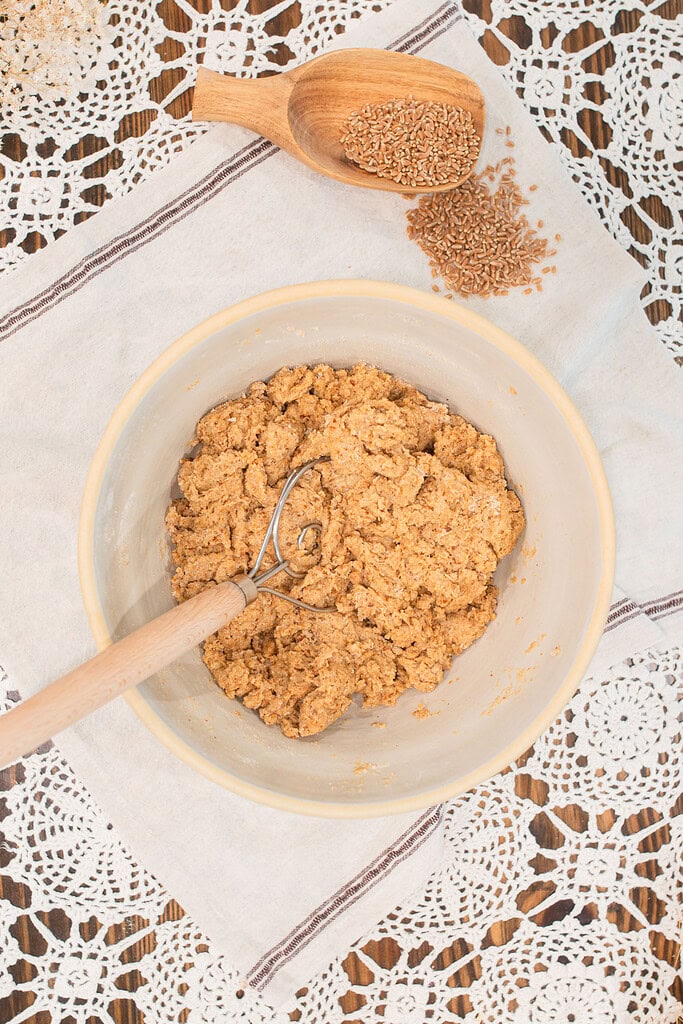
- Add the flour and salt – Add both freshly milled flours to the wet ingredients and mix with a Danish whisk or wooden spoon until a shaggy dough forms with no dry flour at the bottom of the bowl. Add the salt and mix again until evenly distributed. *Some people prefer to hold the salt and add after intial reasting period and that works, but I tend to forget and add it here in this step.
- Rest the dough – Cover the bowl and let the dough rest for 30 minutes to 1 hour. This rest period allows the fresh milled flour to fully hydrate and makes the dough significantly easier to work with during the stretch and fold sets. After the rest, check your dough before moving on. Depending on your wheat and the season, you may need a little extra water or none at all. If the dough feels stiff or is not coming together smoothly, add water 1 tablespoon at a time, working it in gently before adding more. Most bakes need anywhere from no extra water up to ½ cup additional, so let the dough tell you what it needs rather than adding water automatically.
- Perform stretch and folds – With damp hands, perform 4 sets of stretch and folds 45 minutes apart. For each set, grab one side of the dough, stretch it upward as far as it will go without tearing, and fold it over the center. Rotate the bowl a quarter turn and repeat all four sides. Cover the bowl between each set.
- Fold in the seeds – After the final stretch and fold, scatter the sunflower seeds and poppy seeds over the surface of the dough. Use your hands to gently fold and press the seeds into the dough until evenly distributed. Cover and proceed to bulk fermentation.
- Bulk ferment – Cover the bowl and let the dough bulk ferment at room temperature for 4 to 6 hours until it has grown visibly and shows bubbles on the surface. For a tangier loaf, refrigerate after 4 hours and continue overnight for 8 to 12 hours.
- Shape the loaf – Turn the dough out onto a lightly oiled surface. For a sandwich loaf, flatten it into a rough rectangle, fold the sides in, and roll it tightly toward you. Tuck the ends under for a clean finish and place seam side down into a greased loaf pan. For a boule, shape it into a tight round and place the seam side up into a floured banneton.
- Second rise – Cover the shaped loaf with a clean towel or plastic wrap and let rise at room temperature for 1 to 4 hours until the dough has risen 1 to 2 inches above the rim of the pan. For the boule, refrigerate overnight after the first hour of room temperature proofing.
- Preheat and brush – Preheat your oven to 350°F for the sandwich loaf or 450°F for the boule. Brush the top of the sandwich loaf with egg wash or heavy cream for a golden, glossy crust. For the boule, dust lightly with flour and score with a sharp knife or lame.
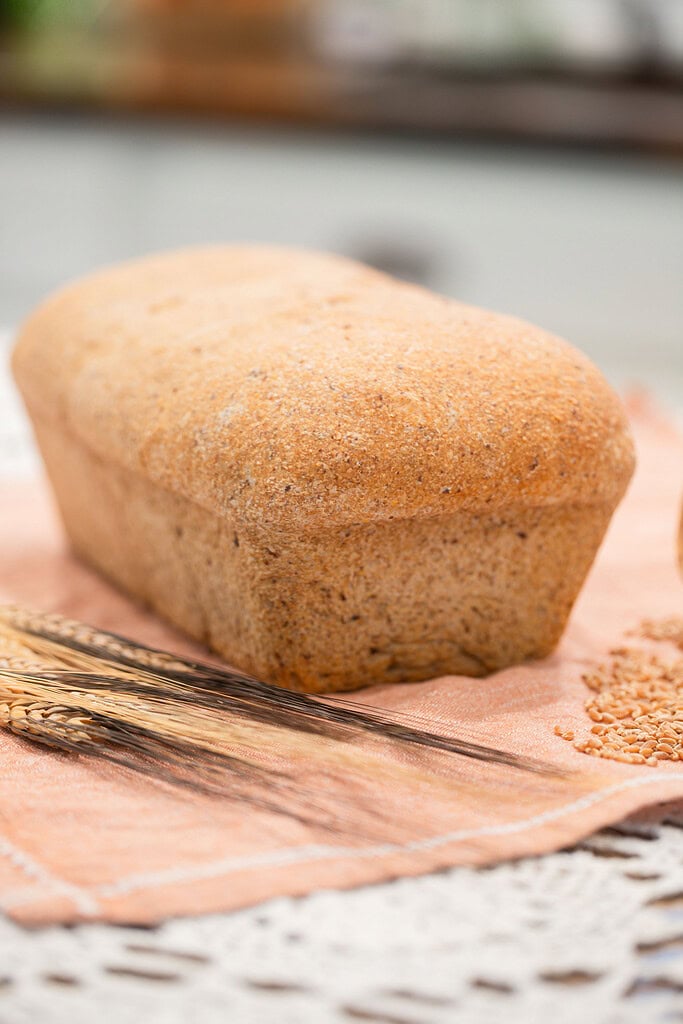
- Bake until set – Bake the sandwich loaf for 30 to 35 minutes until deep golden brown and an instant-read thermometer reads 190°F to 195°F at the center. For the boule bake covered in a Dutch oven for 20 minutes, then uncovered for 15 to 20 minutes until deeply golden.
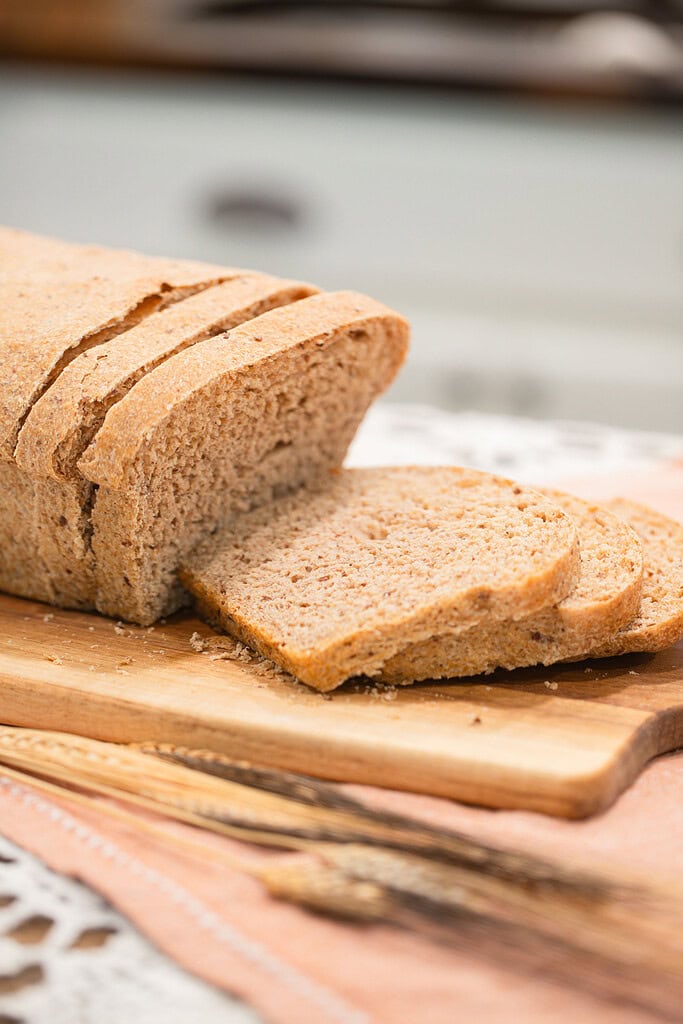
- Cool before slicing – Remove the loaf from the pan immediately and transfer to a wire rack. Lean on its side for the first 15 minutes, then stand upright and cool completely for at least 1 hour before slicing. Slicing early results in a gummy crumb that does not recover.
Freezing and Storage
- Room temperature – Store the cooled loaf in an airtight bag or bread box at room temperature for up to 2 days. Freshly milled seeded bread is best in the first 48 hours when the crumb is at its softest, and the seeds are still at their crunchiest.
- Refrigerator – Wrap tightly and refrigerate for up to 5 days. Bring slices to room temperature or toast before eating for the best texture. The seeds toast beautifully and add even more flavor when the slices hit a warm pan.
- Freezer – Slice the fully cooled loaf, layer parchment paper between the slices, and store in a freezer-safe bag for up to 3 months. Pull individual slices as needed and toast from frozen.
- Freeze the whole loaf – Wrap the fully cooled, unsliced loaf tightly in plastic wrap, then in foil, and freeze for up to 3 months. Thaw overnight at room temperature, still wrapped, to prevent condensation from making the crust soggy.
FAQ
Join The Community
Want More Cozy Recipes & Seasonal Inspiration?
Get cozy, from-scratch recipes, seasonal cottage living tips, and slow living inspiration delivered straight to your inbox.
More Cozy Recipes from the Cottage
A Cottage Milling Note
I grew up with the sound of a mill humming in my Grandmother Nub’s kitchen, flour-dusted aprons, and the simple rhythm of fresh sourdough bread being baked.
Those memories never left me. In 1999, a conversation with a neighbor about milling flour stopped me in my tracks, and it felt like coming home. That day I came home, bought a mill and some grains, and have never looked back. Now with more than 25 years of daily practice, I carry forward the same tradition my grandmother lived by, turning whole grains into flour for bread, sourdough, cakes, and everything in between.
My hope is that you feel confident knowing you are learning from someone who has walked this path for decades. If you ever feel stuck, please reach out. I will do my very best to help you.
Step into The Cottage Mill: Freshly Milled Flour Guides, Recipes, and More Await!
⭐️ Rate This Recipe
Made this recipe? Leave a star ⭐️ rating below, it means the world to me and helps my recipes get found by more people like you.

Fresh Milled Multigrain Seeded Sourdough Sandwich Bread
Equipment
- 1 Grain Mill
- 1 9×5 inch loaf pan
- 1 Large mixing bowl
- 1 Danish whisk
- 1 Kitchen scale
- 1 Instant read thermometer
Ingredients
- 1¼ cups scaled milk 300 grams (heat to 180°F and cool to 110°F)
- ⅓ cup olive oil 73 grams
- ⅓ cup honey or maple syrup 113 grams
- 2 teaspoons fine sea salt 12 grams
- 1 large egg 50 grams (room temperature)
- 1⅓ cups freshly milled hard white wheat flour 270 grams
- 1⅓ cups freshly milled hard red wheat flour 270 grams
- ½ cup sourdough starter 125 grams (active and bubbly)
- 1 tablespoon poppy seeds 9 grams (optional)
- 2 tablespoons sunflower seeds 18 grams (optional)
- up to ½ cup water up to 118 grams (see note)*
*Note: Extra water may or may not be needed depending on your wheat and the season. Do not add it upfront. Add after the initial rest period only if the dough feels stiff, 1-2 tablespoons at a time.
Instructions
- Mill your flour – Grind 270 grams of hard white wheat berries and 270 grams of hard red wheat berries on the finest setting of your grain mill. You will need 540 grams total, 1⅓ cups of each variety. Mill directly into your mixing bowl or a separate container and use immediately for the best fermentation and hydration results.
- Heat and cool your milk – Pour 300 grams of milk into a small saucepan and heat to 180°F, then set aside to cool to 110°F before using. Heating the milk deactivates proteins that can interfere with gluten development and gives the finished loaf a softer, more tender crumb.
- Mix the wet ingredients – Combine the active sourdough starter, cooled milk, olive oil, honey, and room temperature egg in a large mixing bowl. Stir until fully incorporated with no streaks of egg visible.
- Add the flour and salt – Add both freshly milled flours to the wet ingredients and mix with a Danish whisk or wooden spoon until a shaggy dough forms with no dry flour at the bottom of the bowl. Add the salt and mix again until evenly distributed. *Some people prefer to hold the salt and add after intial reasting period and that works, but I tend to forget and add it here in this step.
- Rest the dough – Cover the bowl and let the dough rest for 30 minutes to 1 hour. This rest period allows the fresh milled flour to fully hydrate and makes the dough significantly easier to work during the stretch and fold sets. After the rest, check your dough before moving on. Depending on your wheat and the season, you may need a little extra water or none at all. If the dough feels stiff or is not coming together smoothly, add water 1 tablespoon at a time, working it in gently before adding more. Most bakes need anywhere from no extra water up to ½ cup additional, so let the dough tell you what it needs rather than adding water automatically.
- Perform stretch and folds – With damp hands perform 4 sets of stretch and folds 45 minutes apart. For each set grab one side of the dough, stretch it upward as far as it will go without tearing, and fold it over the center. Rotate the bowl a quarter turn and repeat all four sides. Cover the bowl between each set.
- Fold in the seeds – After the final stretch and fold, scatter the sunflower seeds and poppy seeds over the surface of the dough. Use your hands to gently fold and press the seeds into the dough until evenly distributed. Cover and proceed to bulk fermentation.
- Bulk ferment – Cover the bowl and let the dough bulk ferment at room temperature for 4 to 6 hours until it has grown visibly and shows bubbles on the surface. For a tangier loaf refrigerate after 4 hours and continue overnight for 8 to 12 hours.
- Shape the loaf – Turn the dough out onto a lightly oiled surface. For a sandwich loaf, flatten into a rough rectangle, fold the sides in, and roll it tightly toward you. Tuck the ends under for a clean finish and place seam side down into a greased loaf pan. For a boule, shape into a tight round and place seam side up into a floured banneton.
- Second rise – Cover the shaped loaf with a clean towel or plastic wrap and let rise at room temperature for 1 to 4 hours until the dough has risen 1 to 2 inches above the rim of the pan. For the boule, refrigerate overnight after the first hour of room temperature proofing.
- Preheat and brush – Preheat your oven to 350°F for the sandwich loaf or 450°F for the boule. Brush the top of the sandwich loaf with egg wash or heavy cream for a golden, glossy crust. For the boule dust lightly with flour and score with a sharp knife or lame.
- Bake until set – Bake the sandwich loaf for 30 to 35 minutes until deep golden brown and an instant-read thermometer reads 190°F to 195°F at the center. For the boule bake covered in a Dutch oven for 20 minutes then uncovered for 15 to 20 minutes until deeply golden.
- Cool before slicing – Remove the loaf from the pan immediately and transfer to a wire rack. Lean on its side for the first 15 minutes then stand upright and cool completely for at least 1 hour before slicing. Slicing early results in a gummy crumb that does not recover.
Notes

Emily Rider
Home miller since 1999 with fresh-milled flour & sourdough experience. Sharing from-scratch recipes and traditional kitchen skills, rooted in the seasons and inspired by everyday cottage living and seasonal rhythms.


I’m looking forward to testing this recipe out soon. Can I substitute olive or coconut oil for the sunflower oil ?
Hi Ann,
I’m so glad you’re planning to make this one — it’s such a cozy loaf. Yes, olive oil is a perfect swap for the sunflower oil and won’t affect your rise at all.
Coconut oil is the only one I wouldn’t use here. It has those natural antibacterial properties (which I love in other baking), but it works against sourdough and can keep the dough from fermenting properly. I learned that lesson the hard way years ago.
Olive oil will treat this dough just fine. Let me know how your loaf turns out — I’m excited for you to try it.
Happy Sourdough Baking,
Emily
P.S. I hope you love the recipe:)!