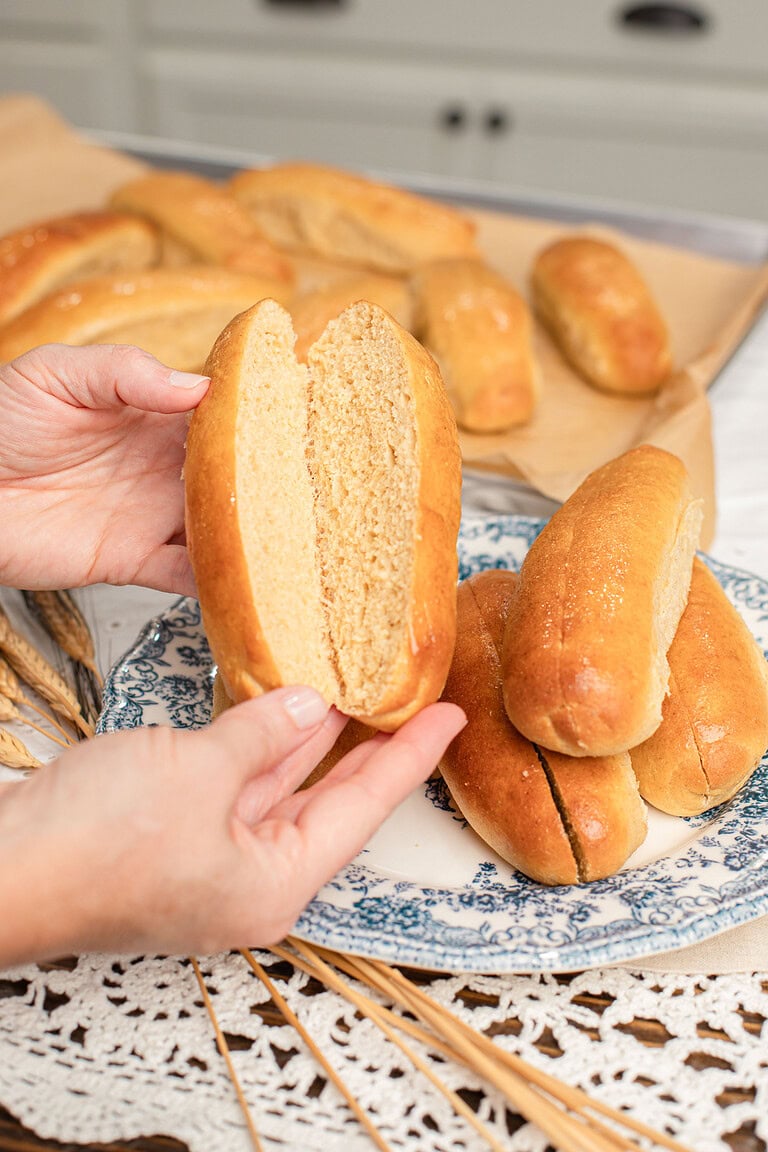

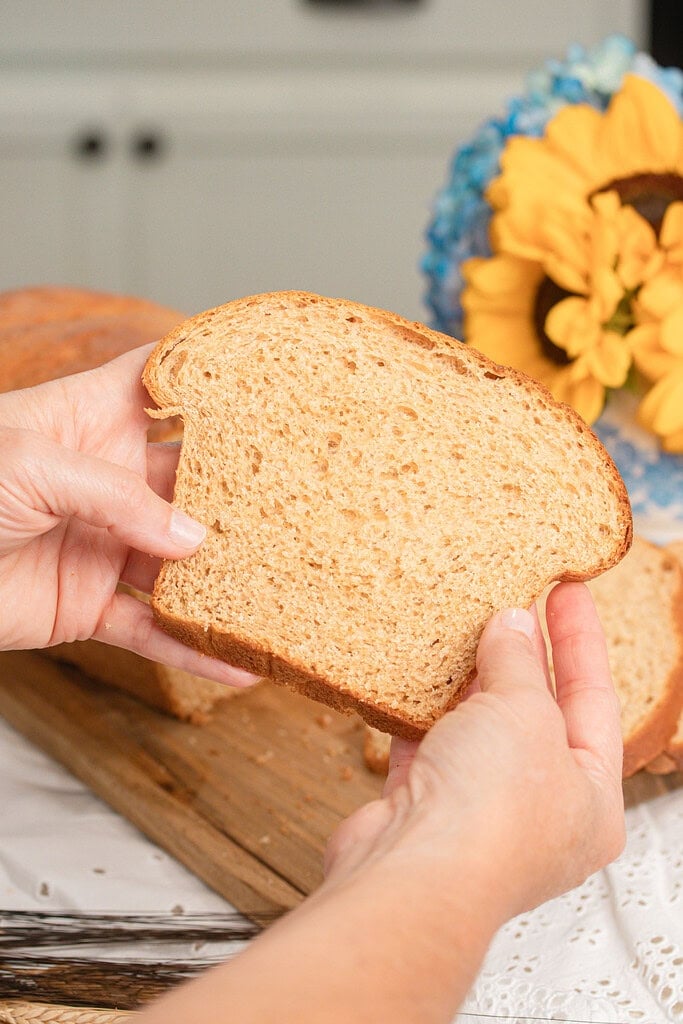
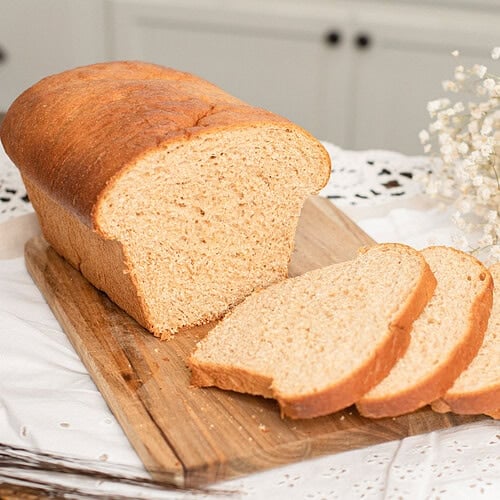
This sandwich bread with freshly milled flour is the everyday loaf I bake most often in my cottage kitchen. Made with just seven simple ingredients, it bakes into a soft, tender loaf that’s perfect for morning toast, sandwiches, French toast, croutons, and just about anything else you need throughout the week.
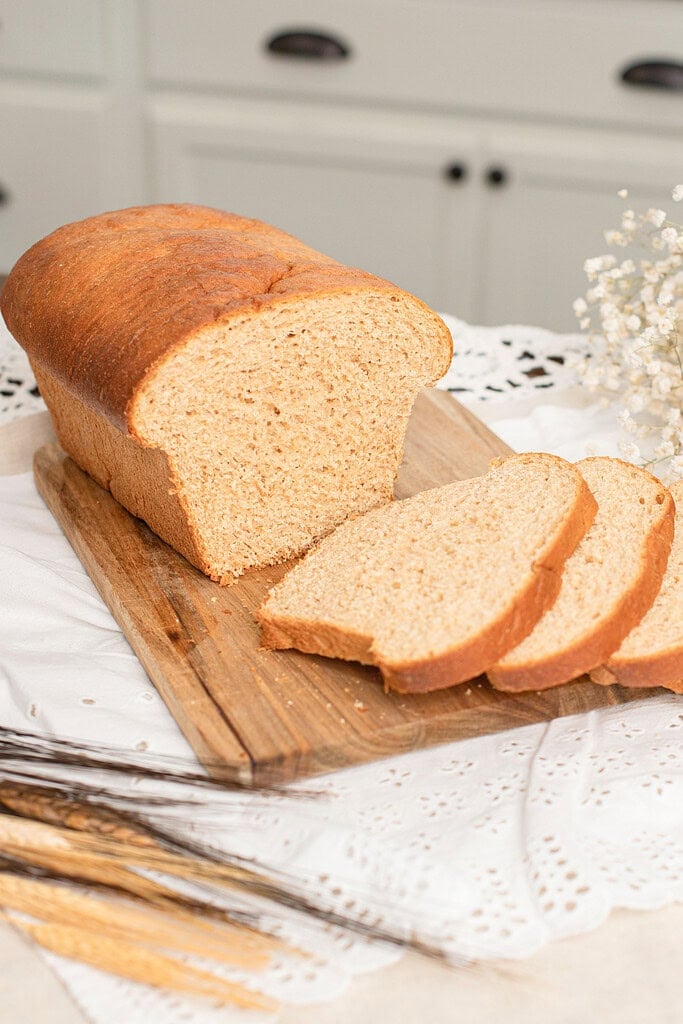
What makes this recipe different is a few simple techniques that help freshly milled flour shine. Scalding the milk before cooling it to 110°F helps denature the milk proteins, creating a softer, more stable dough and a finer crumb.
An egg adds richness and tenderness without relying on specialty ingredients like sunflower lecithin, making this a recipe built from everyday pantry staples while still producing bakery-quality results. If you prefer, you can substitute warm water for the milk, though the finished loaf won’t stay soft quite as long.
If you’re learning to bake with fresh flour, I also recommend reading What Is Fresh Milled Flour?, How to Bake with Freshly Milled Flour, and Best Whole Grains to Mill at Home | Beginner’s Guide. They’re excellent resources for building confidence before tackling more advanced recipes.
Did you know you can convert your recipes to freshly milled flour? I share how to convert your recipes and more at The Cottage Mill.
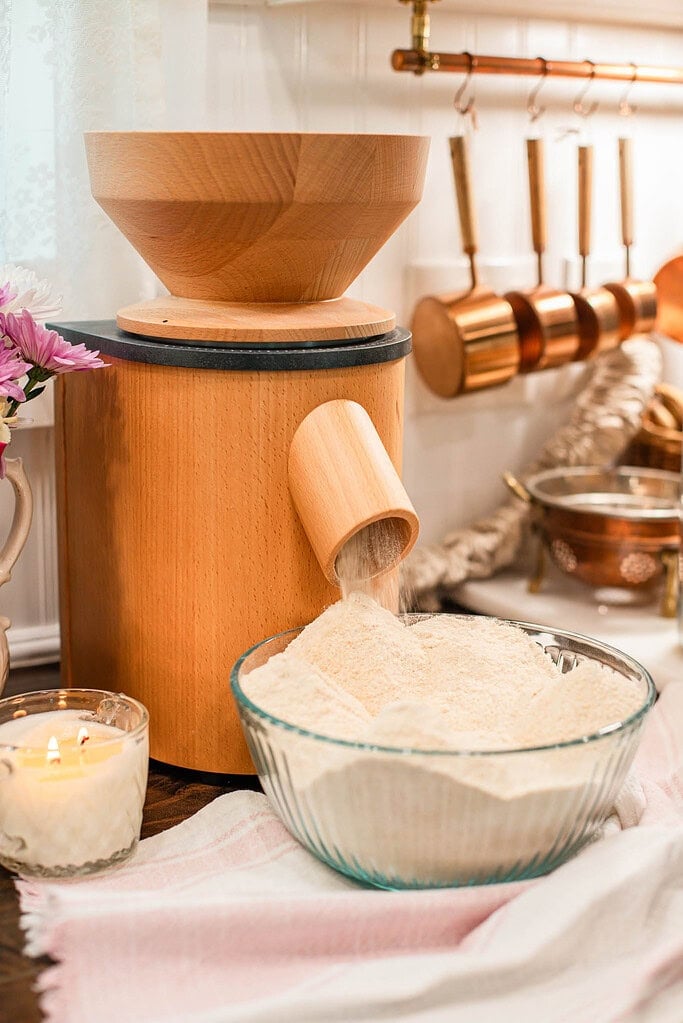
The Cottage Mill: Freshly Milled Flour Guides, Recipes, and More Await!
Why You’ll Love This Recipe
Ingredients
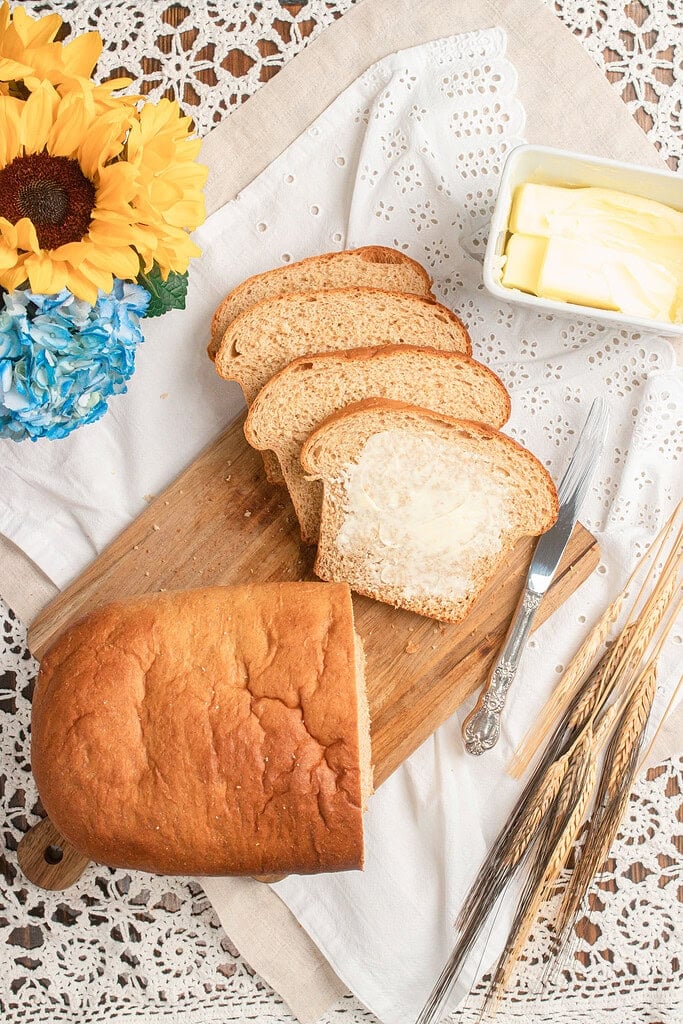
Variations & Add-Ins
Recipe Tips
Scald the milk before mixing the dough – Heating the milk to about 180°F changes the whey proteins so they no longer interfere with gluten development. Once the milk has cooled to 110°F, it’s ready to use. This extra step only takes a few minutes but helps create a softer crumb and a loaf that stays tender longer.
Give the flour time to hydrate – Freshly milled flour absorbs liquid much more slowly than store-bought flour because the bran and germ are still present. The 30-minute rest before adding the salt allows the flour to fully absorb the milk, making the dough easier to knead and helping create a lighter loaf. If you’re new to baking with fresh flour, Baking with Freshly Milled Flour explains why hydration is one of the biggest differences.
Don’t judge the dough too quickly – Resist the urge to add extra flour while the dough is mixing. Freshly milled flour continues absorbing moisture throughout the hydration rest, so what feels sticky at first often becomes perfectly manageable after resting.
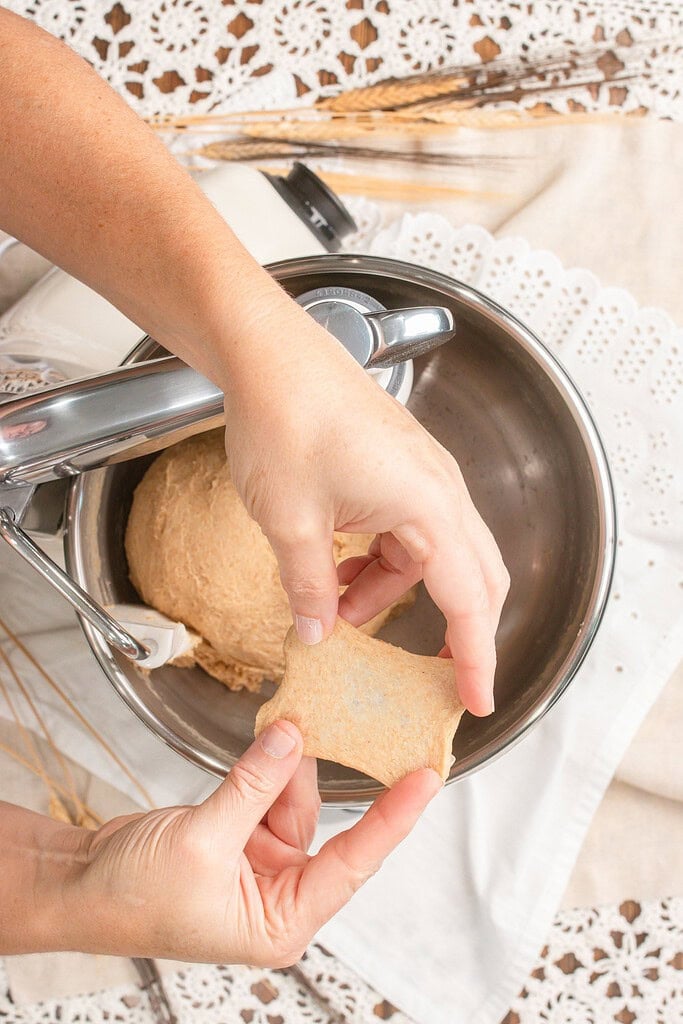
Knead until the dough feels soft and elastic – Freshly milled flour doesn’t always produce a perfectly clear windowpane because the bran naturally interrupts the gluten strands. Instead of chasing a perfectly transparent stretch, look for dough that feels smooth, supple, and stretches without tearing immediately.
Watch the dough, not the clock – Rising times will vary depending on the temperature of your kitchen. The dough is ready when it has doubled in size and slowly springs back after a gentle poke. Proper fermentation creates a lighter loaf with better flavor.
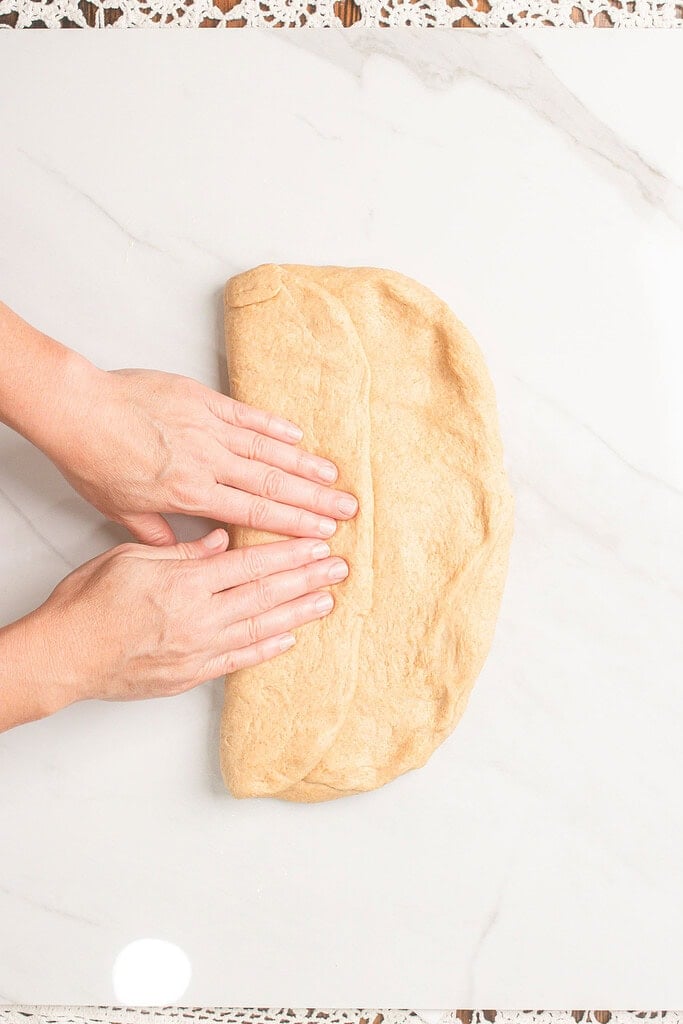
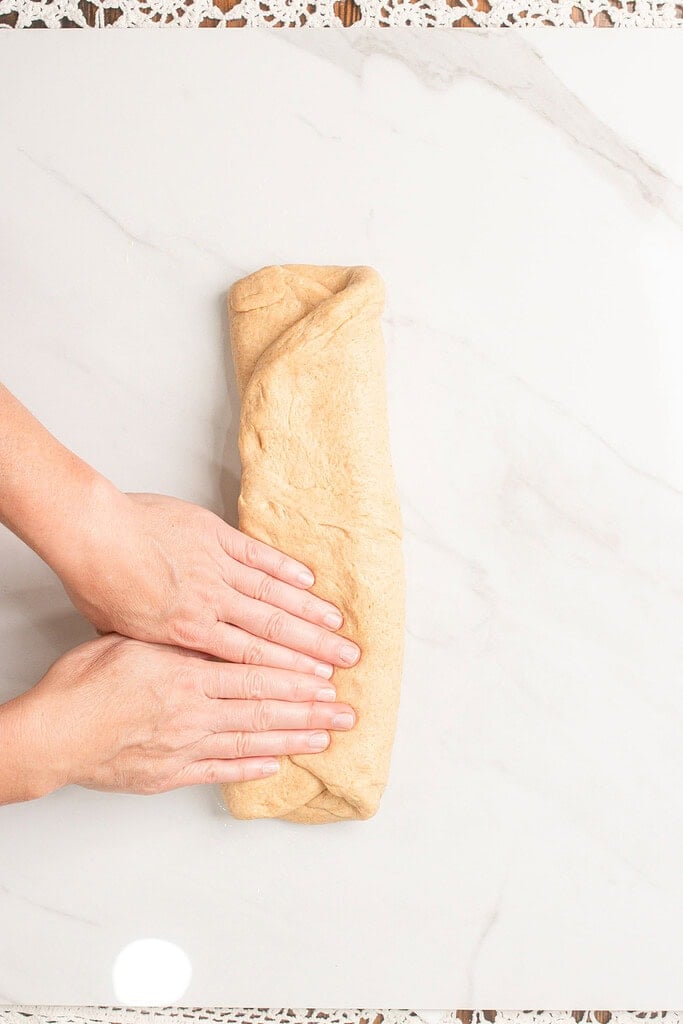
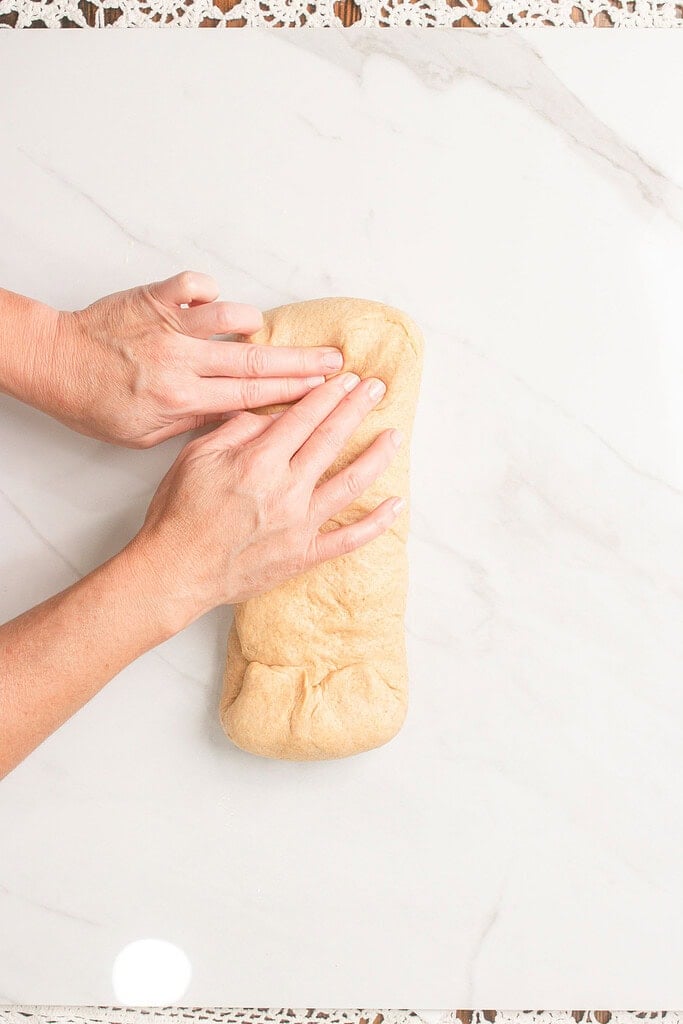
Shape the dough tightly – Rolling each loaf into a firm cylinder helps create an even crumb and prevents large tunnels from forming inside the bread. Taking an extra minute during shaping makes a noticeable difference once the loaf is sliced.
Using a Pullman loaf pan – For square sandwich bread, let the dough rise until it’s about 1 inch below the lid before sliding the lid into place. This gives the dough enough room to finish rising during the first part of baking while creating the classic square shape that’s perfect for sandwiches.
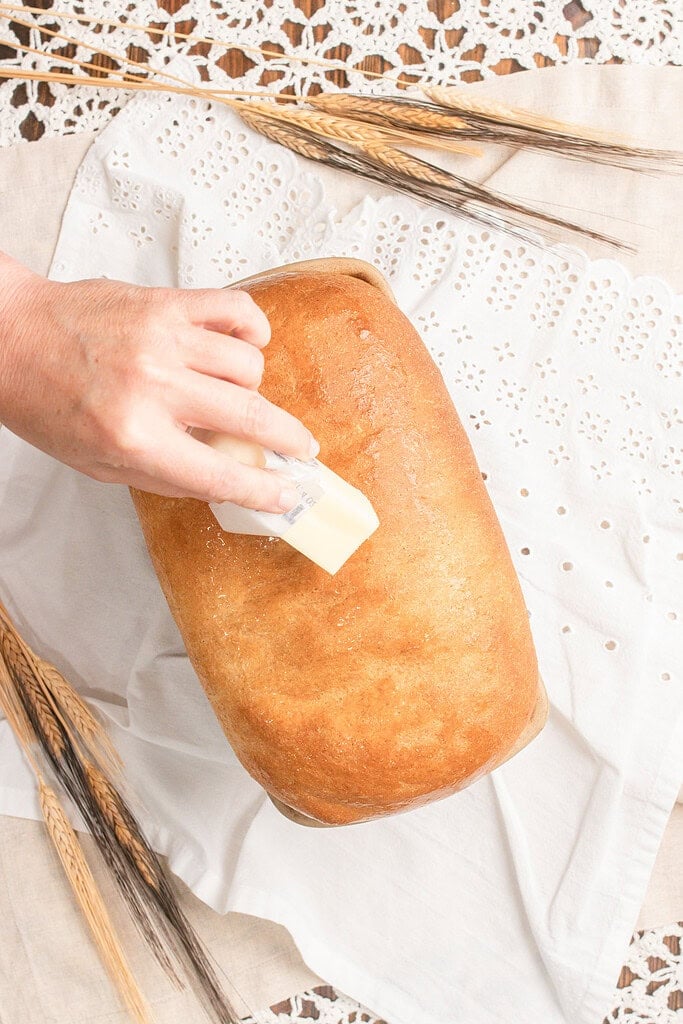
Brush with butter – As soon as the bread comes out of the oven, remove it from the pan and brush the top with melted butter. This keeps the crust soft, adds rich flavor, and gives the loaf a beautiful finish before cooling on a wire rack.
Let the bread cool completely – Fresh bread continues cooking internally after it comes out of the oven. Waiting at least one hour before slicing allows the crumb to finish setting, giving you clean slices instead of a gummy center.

Instructions
- Mill the wheat berries – Mill the hard white or hard red wheat berries on the finest setting of your grain mill until you have 540 grams (about 4½ cups) of freshly milled flour. If the flour feels warm from milling, let it rest for about 5 minutes before mixing the dough.
- Scald the milk – Heat the milk to about 180°F, then remove it from the heat and allow it to cool to approximately 110°F before mixing the dough. Scalding the milk helps create a softer loaf with a finer crumb.
- Mix the wet ingredients – Add the cooled milk, honey (or sugar), melted butter (or oil), and egg to the bowl of a stand mixer. Mix until well combined.
- Add the yeast – Sprinkle the instant yeast over the wet ingredients. If using active dry yeast, follow the instructions in the notes below before continuing.
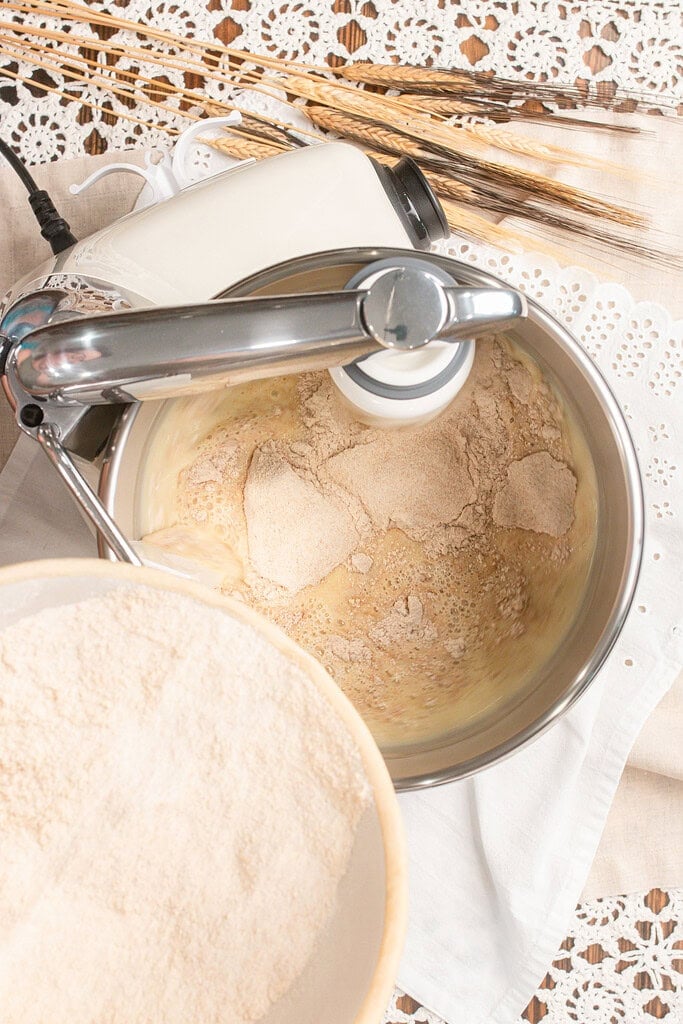
- Mix in the flour – Add the freshly milled flour one cup at a time while mixing on low speed until a soft, slightly tacky dough forms. The dough should clear the sides of the bowl while remaining lightly tacky on the bottom.
- Rest the dough – Turn off the mixer and let the dough rest for 30 minutes. This hydration rest allows the freshly milled flour to fully absorb the liquid, making the dough easier to knead and improving the finished texture.
- Add the salt – Sprinkle the salt evenly over the dough and mix on low speed for 1–2 minutes until fully incorporated.
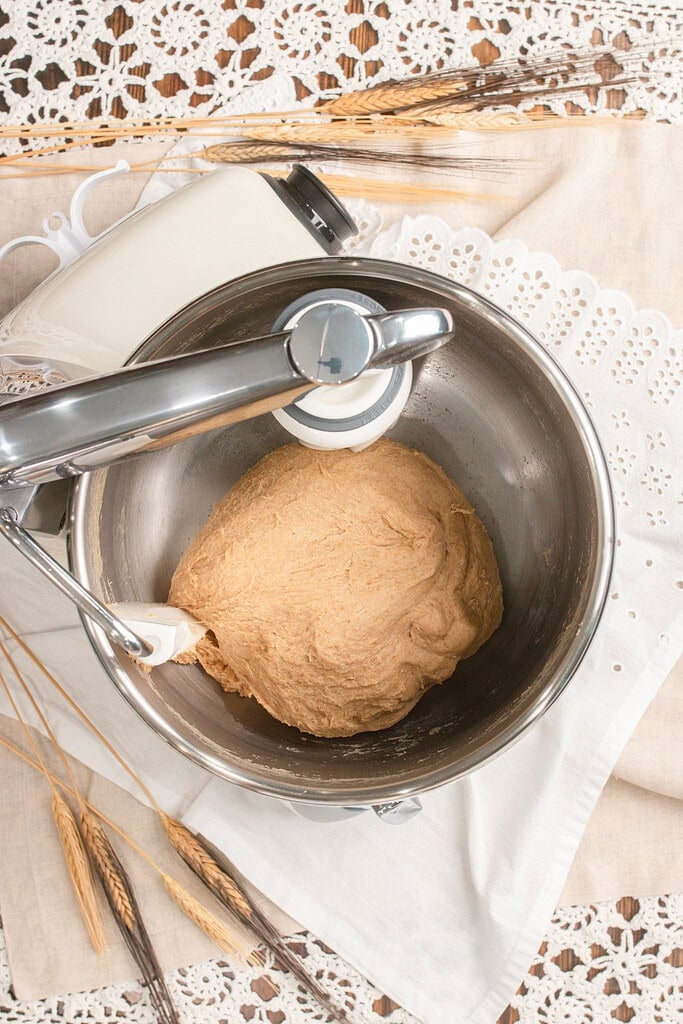
- Knead the dough – Increase the mixer to medium-low speed and knead for 8–10 minutes until the dough is smooth, soft, and elastic. Freshly milled dough may not produce a perfectly clear windowpane, but it should stretch well without tearing immediately.
- First rise – Transfer the dough to a lightly greased bowl, cover, and let rise for 1–2 hours, or until doubled in size.
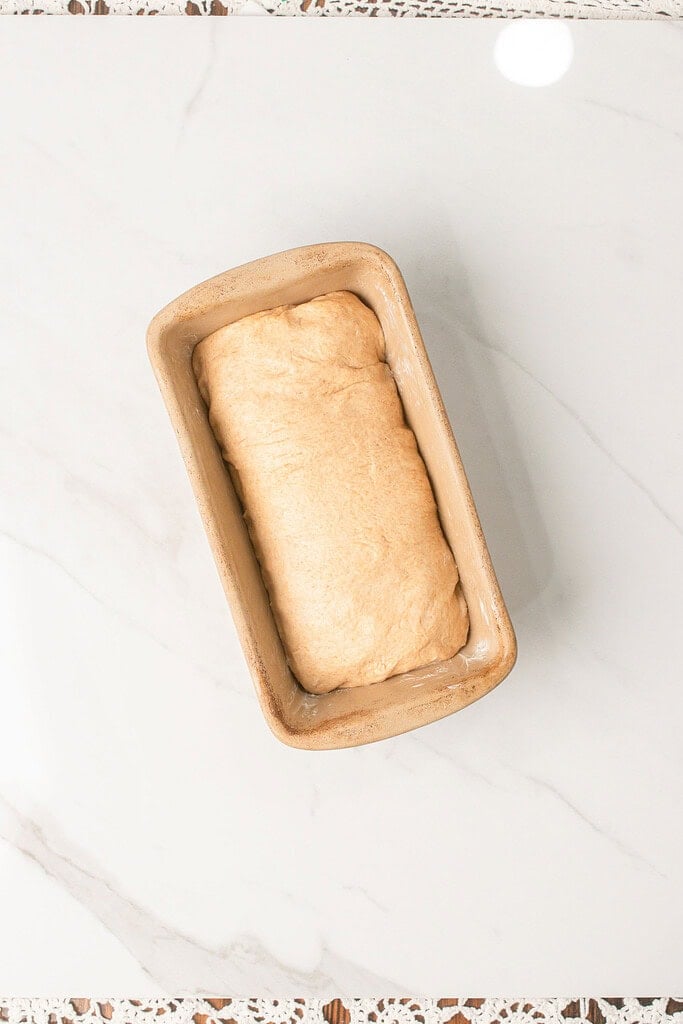
- Prepare the pan – Lightly grease a 2-pound loaf pan (or two 1-pound loaf pans) with butter or oil before placing the shaped dough inside.
- Shape the loaf – Turn the dough onto a lightly floured surface and shape into one large loaf or divide into two equal portions for smaller loaves. Roll each loaf tightly and place seam-side down into the prepared pan.
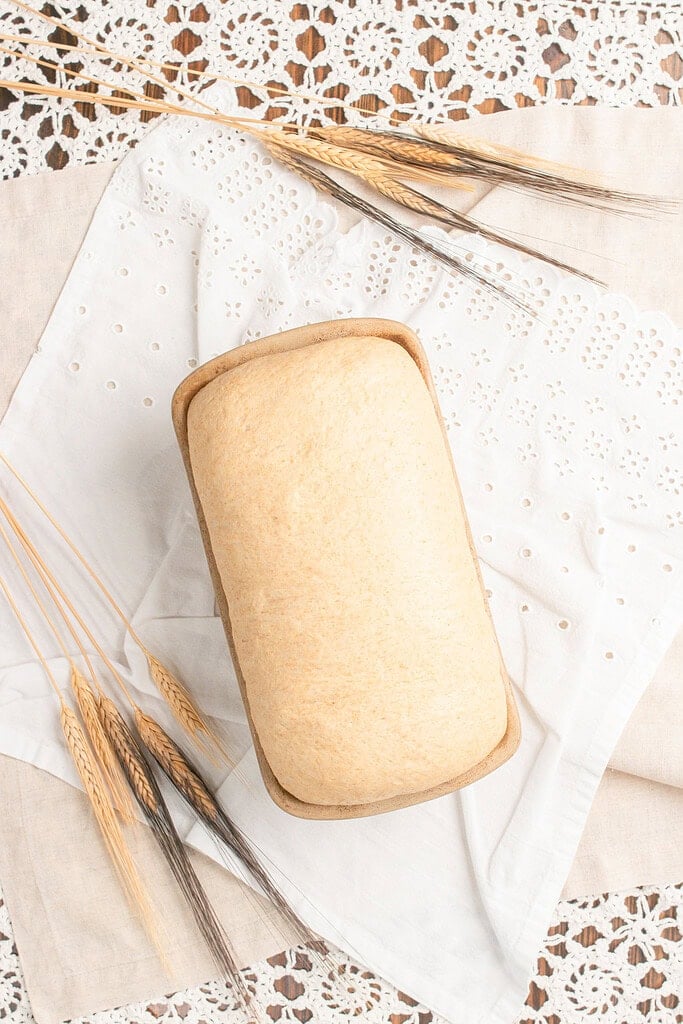
- Final rise – Cover and let the dough rise until it is about 1–2 inches above the rim of the loaf pan.
- Bake – Preheat the oven to 350°F. Bake for about 30 minutes, or until the loaf is golden brown and the internal temperature reaches 190–200°F.
- Brush with butter – As soon as the bread comes out of the oven, remove it from the pan and brush the top with melted butter. This keeps the crust soft, adds rich flavor, and gives the loaf a beautiful finish before cooling on a wire rack.
- Cool completely – Cool on a wire rack for at least 1 hour before slicing. This allows the crumb to finish setting for the best texture.
Freezing and Storage
- Room Temperature – Store the completely cooled loaf in an airtight bread bag or container for up to 3 days. Bread made with milk and egg is at its best during the first few days. If you mamke it with water and oil it will last 5-7 days at room temperature.
- Refrigerator – Refrigeration isn’t recommended because it speeds up staling and can dry out the crumb.
- Freezer – Slice the cooled loaf and freeze it in a freezer-safe bag for up to 3 months. Freezing individual slices makes it easy to remove only what you need.
- To Reheat – Toast slices directly from frozen, or thaw the whole loaf at room temperature while still wrapped to help retain moisture.
FAQ
Join The Community
Want More Cozy Recipes & Seasonal Inspiration?
Get cozy, from-scratch recipes, seasonal cottage living tips, and slow living inspiration delivered straight to your inbox.
More Freshly Milled Flour Bread Recipes from the Cottage
⭐️ Rate This Recipe
Made this recipe? Leave a star ⭐️ rating below, it means the world to me and helps my recipes get found by more people like you.

Sandwich Bread with Freshly Milled Flour
Equipment
- Grain Mill
- Kitchen scale
- Small saucepan
- Stand mixer with dough hook
- Measuring Cups and Spoons
- Large mixing bowl
- Dough scraper
- 2-pound loaf pan or two 1-pound loaf pans
- Cooling rack
Ingredients
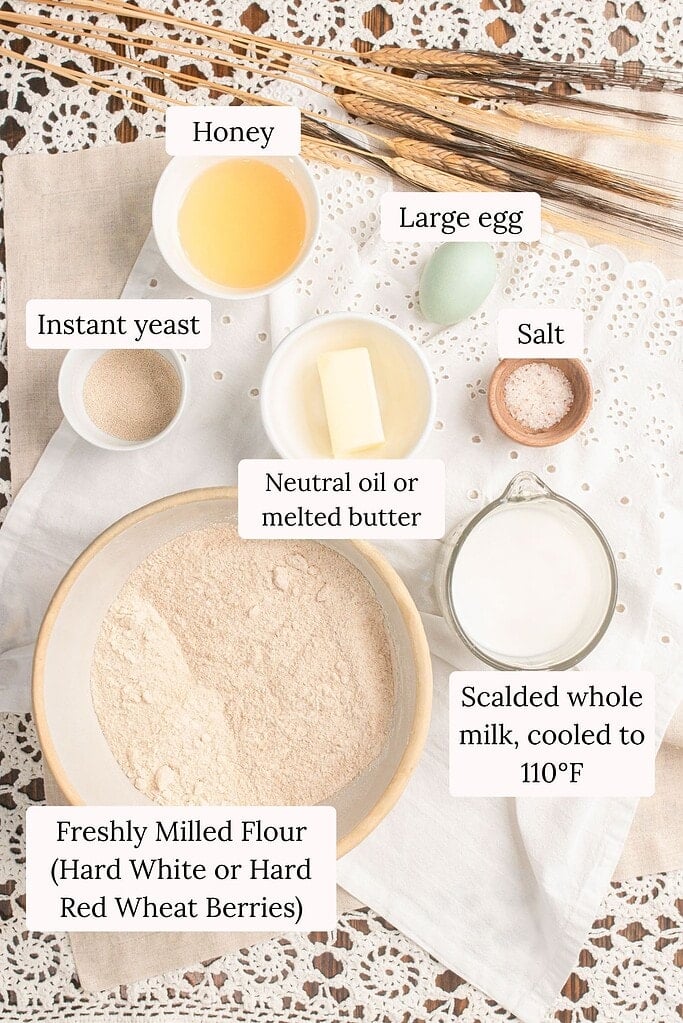
- 4½ cups freshly milled hard white or hard red wheat flour 540 grams
- 1½ cups whole milk scalded then cooled to 110°F
- 3 tablespoons honey or granulated sugar about 63 grams honey or 36 grams sugar
- ⅓ cup butter melted and cooled, or neutral oil, 76 grams butter or about 73 grams oil
- 1 large egg
- 2½ teaspoons instant yeast
- 1½ teaspoons salt 9 grams
Instructions
- Mill the wheat berries – Mill the hard white or hard red wheat berries on the finest setting of your grain mill until you have 540 grams (about 4½ cups) of freshly milled flour. If the flour feels warm from milling, let it rest for about 5 minutes before mixing the dough.
- Scald the milk – Heat the milk to about 180°F, then remove it from the heat and allow it to cool to approximately 110°F before mixing the dough. Scalding the milk helps create a softer loaf with a finer crumb.
- Mix the wet ingredients – Add the cooled milk, honey (or sugar), melted butter (or oil), and egg to the bowl of a stand mixer. Mix until well combined.
- Add the yeast – Sprinkle the instant yeast over the wet ingredients. If using active dry yeast, follow the instructions in the notes below before continuing.
- Mix in the flour – Add the freshly milled flour one cup at a time while mixing on low speed until a soft, slightly tacky dough forms. The dough should clear the sides of the bowl while remaining lightly tacky on the bottom.
- Rest the dough – Turn off the mixer and let the dough rest for 30 minutes. This hydration rest allows the freshly milled flour to fully absorb the liquid, making the dough easier to knead and improving the finished texture.
- Add the salt – Sprinkle the salt evenly over the dough and mix on low speed for 1–2 minutes until fully incorporated.
- Knead the dough – Increase the mixer to medium-low speed and knead for 8–10 minutes until the dough is smooth, soft, and elastic. Freshly milled dough may not produce a perfectly clear windowpane, but it should stretch well without tearing immediately.
- First rise – Transfer the dough to a lightly greased bowl, cover, and let rise for 1–2 hours, or until doubled in size.
- Prepare the pan – Lightly grease a 2-pound loaf pan (or two 1-pound loaf pans) with butter or oil before placing the shaped dough inside.
- Shape the loaf – Turn the dough onto a lightly floured surface and shape into one large loaf or divide into two equal portions for smaller loaves. Roll each loaf tightly and place seam-side down into the prepared pan.
- Final rise – Cover and let the dough rise until it is about 1–2 inches above the rim of the loaf pan.
- Bake – Preheat the oven to 350°F. Bake for about 30 minutes, or until the loaf is golden brown and the internal temperature reaches 190–200°F.
- Brush with butter – As soon as the bread comes out of the oven, remove it from the pan and brush the top with melted butter. This keeps the crust soft, adds rich flavor, and gives the loaf a beautiful finish before cooling on a wire rack.
- Cool completely – Cool on a wire rack for at least 1 hour before slicing. This allows the crumb to finish setting for the best texture.
Notes
Nutrition

Emily Rider
Home miller since 1999 with fresh-milled flour & sourdough experience. Sharing from-scratch recipes and traditional kitchen skills, rooted in the seasons and inspired by everyday cottage living and seasonal rhythms.