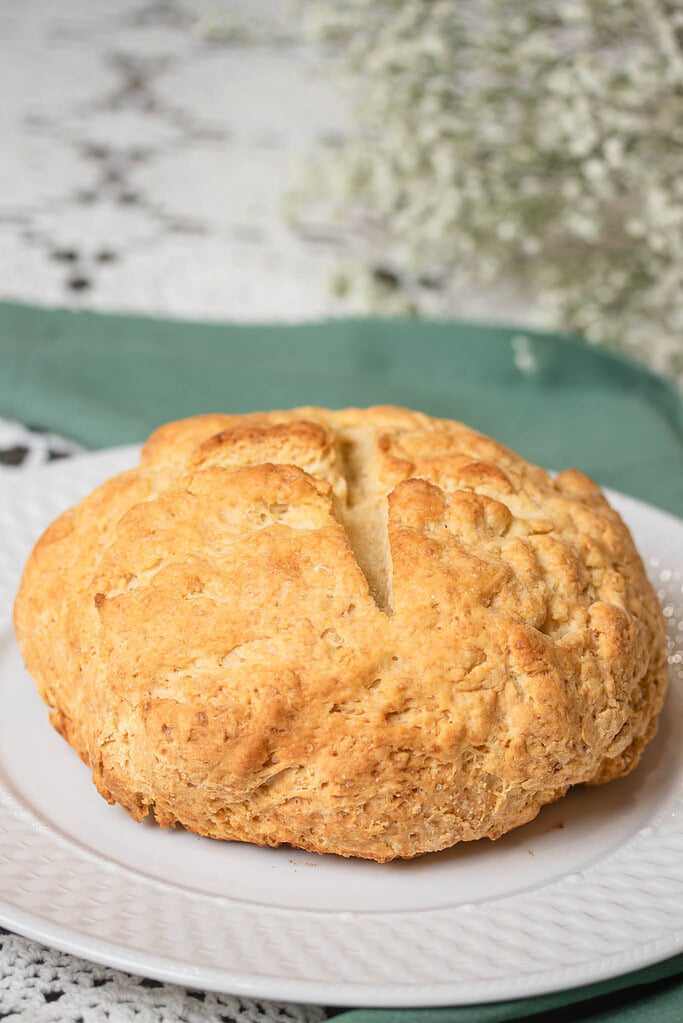
This traditional Irish soda bread recipe uses buttermilk, all-purpose flour, cake flour, and cream of tartar for a crust that crackles and a crumb that stays soft all the way through.
The dough mixes in one bowl and goes straight into the oven with no yeast, no rise time, and no waiting.
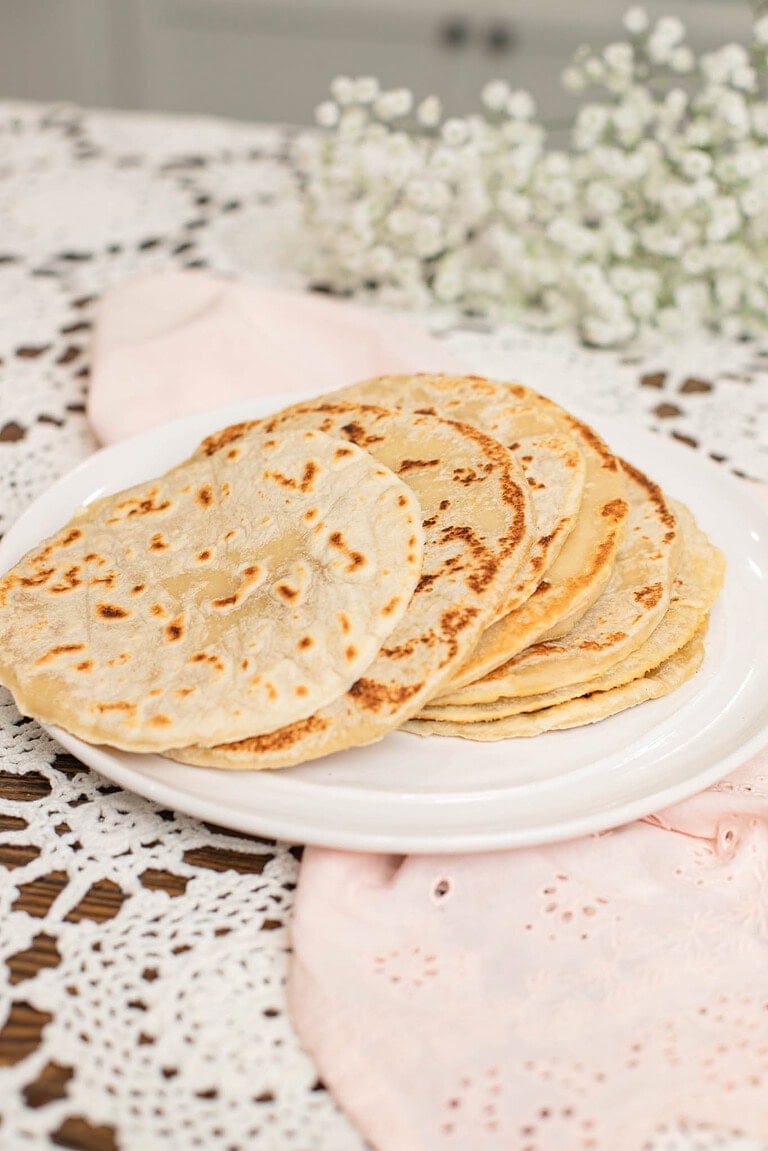
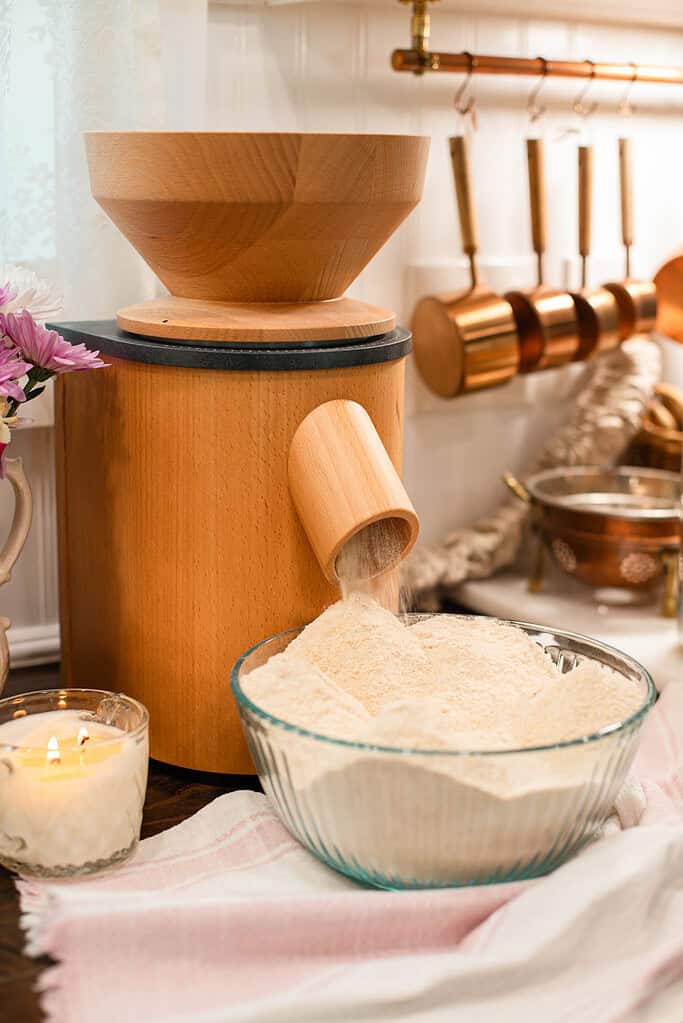
If you love rustic breads from scratch, try Freshly Milled Flour Sourdough Irish Soda Bread, Rosemary Sourdough Bread, and Whole Wheat Baguette with freshly milled flour.
Did you know you can convert your recipes to freshly milled flour? I share how to convert your recipes and more at The Cottage Mill.
Step into The Cottage Mill: Freshly Milled Flour Guides, Recipes, and More Await!
Why You’ll Love This Recipe
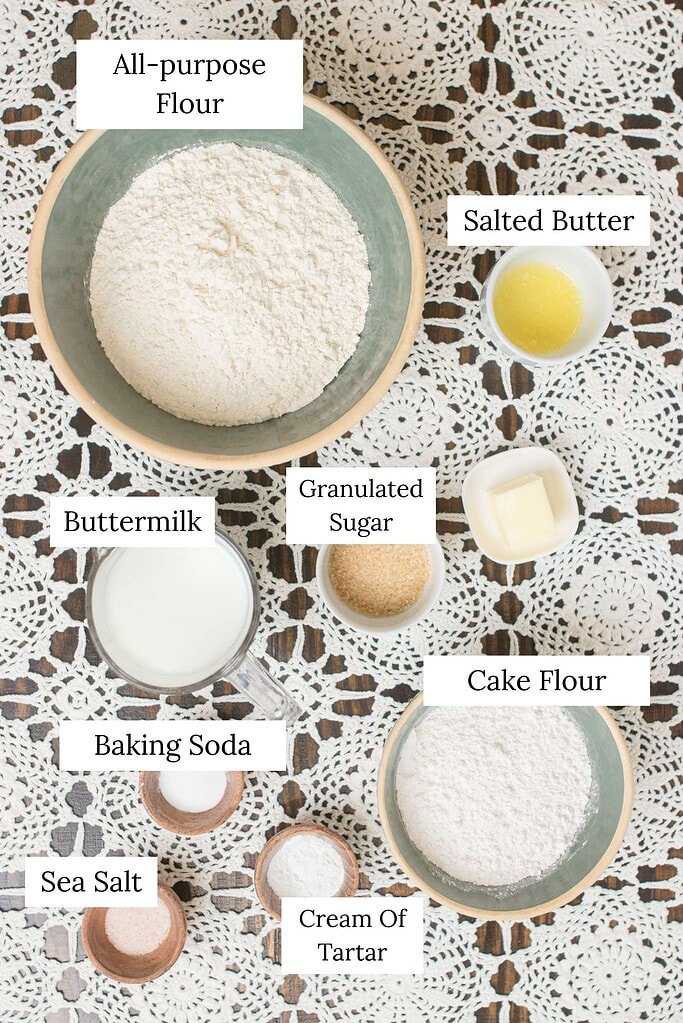
Ingredients
Variations & Add-Ins
Recipe Tips
Use fresh baking soda – Drop a small amount into warm water before you start. If it doesn’t bubble actively, replace it. Old baking soda means a flat, dense loaf with no recovery.
Expect shaggy, not sticky – This dough comes together rough and shaggy. If it feels wet or clings to your hands, dust the surface lightly before turning out.
Don’t overwork it – Four to five gentle turns on the floured surface is all it needs. Overworking develops gluten and toughens the crumb.
Weigh your flour – 360 grams all-purpose, 120 grams cake flour. Scooping compacts the flour and throws off the ratio every time.
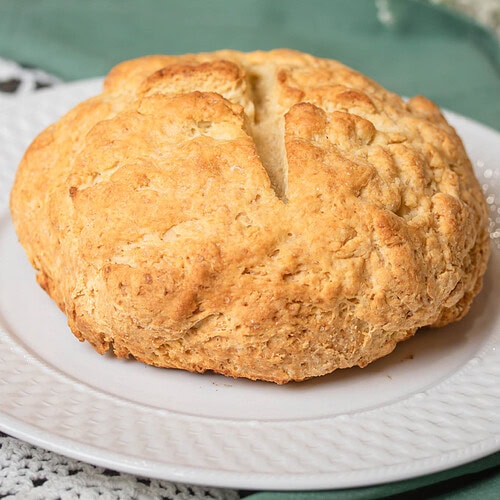
Score deeply enough – The cross needs to go about ¼ inch deep and extend nearly to the edges. A shallow score closes up and the center won’t bake through evenly.
Tent with foil at 20 minutes – Loosely tent the loaf with foil and drop the oven to 375°F. This keeps the crust from over-darkening before the inside is fully baked.
Check doneness properly – A skewer through the center should come out clean, the bottom should sound hollow, and the internal temperature should read 190°F.
Butter it the moment it comes out – Brush melted butter over the hot crust immediately for a deep golden finish and a slightly softened crust.
Rest before you slice – 30 to 40 minutes minimum. Slicing too soon releases the steam and leaves the inside gummy.
Instructions
- Heat the oven – Set it to 400°F and move the rack to the upper-middle position. This is where the crust builds that deep golden color without burning the bottom.
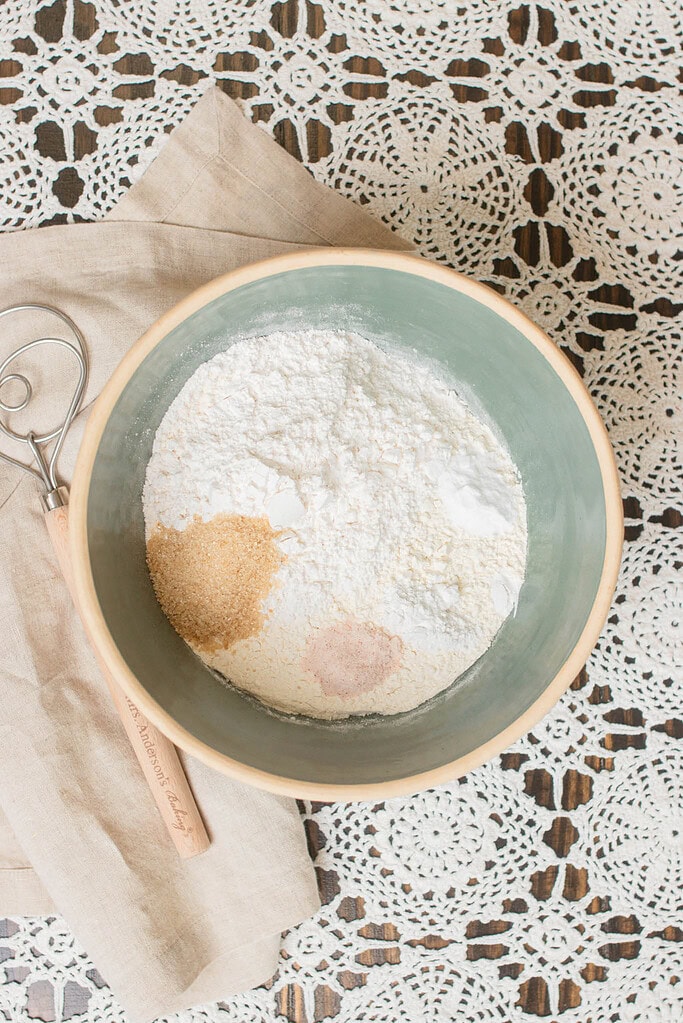
- Mix the dry ingredients – Whisk the all-purpose flour, cake flour, granulated sugar, baking soda, cream of tartar, and salt together in a large mixing bowl until evenly combined.
- Work in the butter – Drop in the 2 tablespoons of softened butter and work it in with a fork or pastry cutter until the mixture looks like coarse, uneven crumbs. You want it to look a little shaggy, and if you can still see large chunks of butter, keep working it another minute.
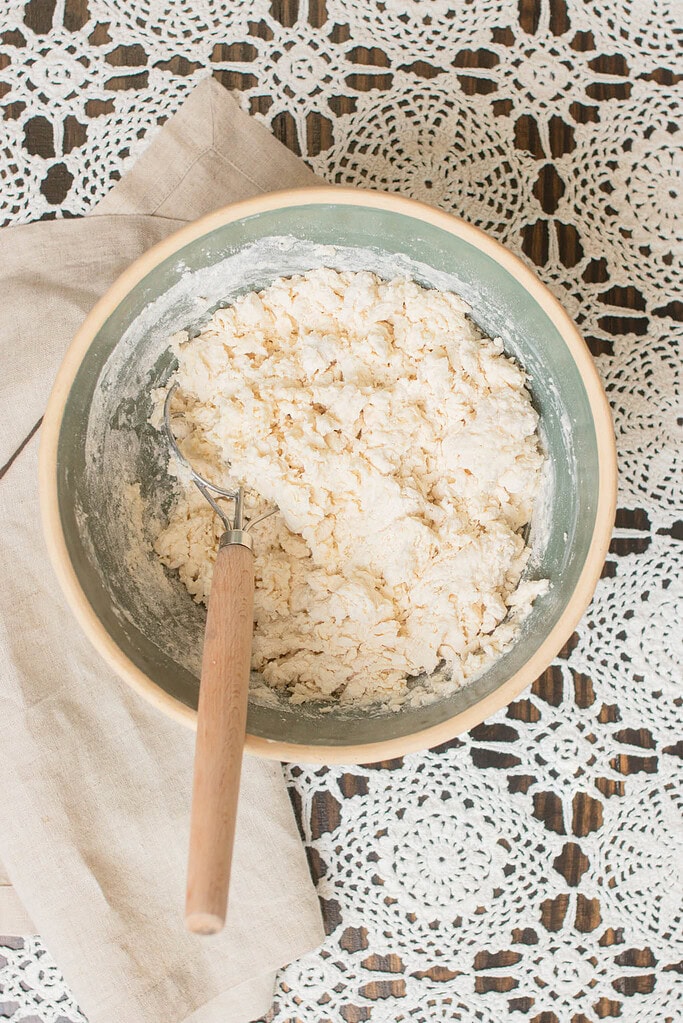
- Add the buttermilk – Pour it in and stir with a fork until the dough pulls together into a shaggy mass. Stop the moment no dry flour remains, it looks rough and that’s exactly right.
- Turn and knead gently – Turn the dough onto a lightly floured surface and knead just 4 to 5 times until it holds together. Stop there, overworking it toughens the crumb and you’ve worked too hard to let that happen now.
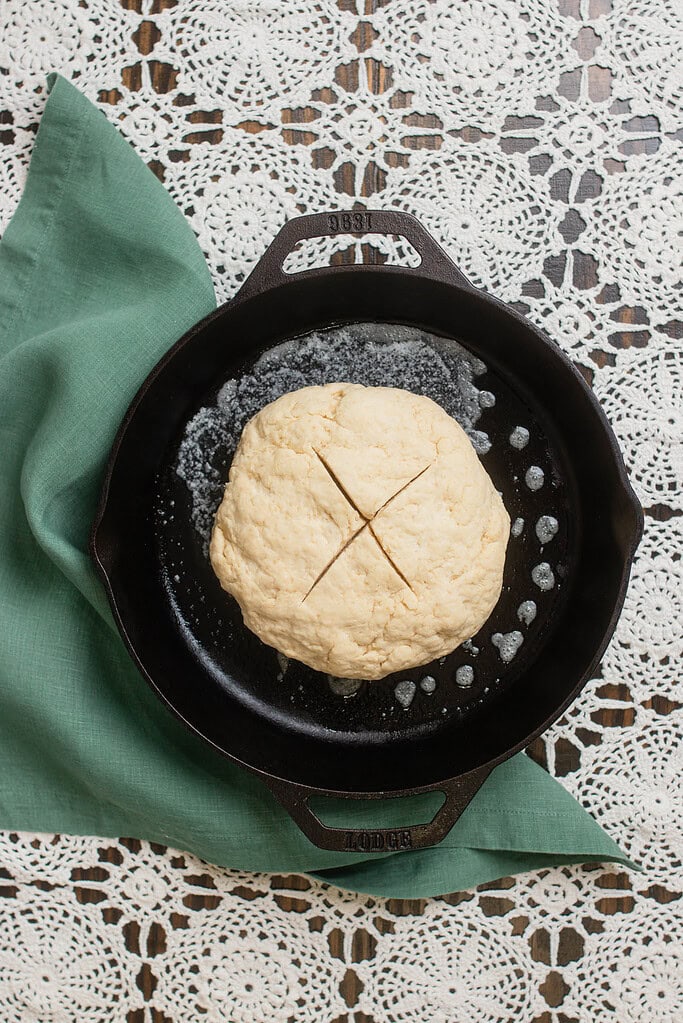
- Shape the loaf – Pat the dough into a round about 6 inches across and 2 inches high. Keep the thickness even, that’s what bakes the center and edges at the same rate.
- Score and set up – Set the loaf on a parchment-lined baking sheet or into a greased cast iron skillet. Cut a cross about ¼ inch deep across the top, running nearly to the edges.
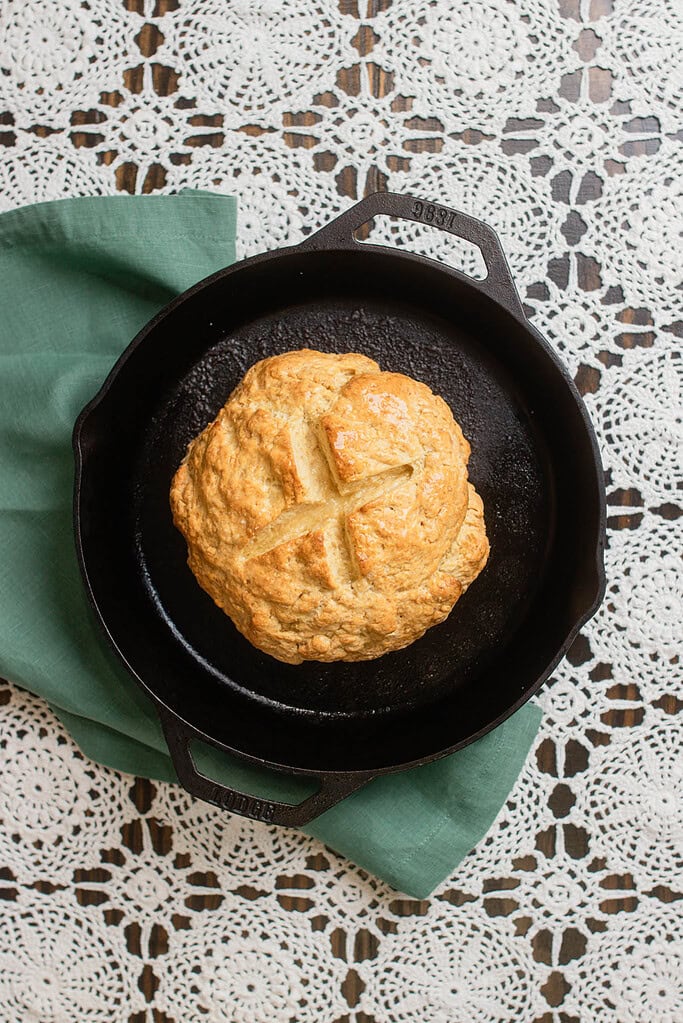
- Bake and tent at 20 minutes – Bake at 400°F for 20 minutes. Tent loosely with foil, drop the oven to 375°F, and bake another 20 to 25 minutes until deep golden brown.
- Check for doneness – Push a skewer through the center, it should come out clean. Tap the bottom, it should sound hollow. Check the thermometer, it should read 190°F. All three together and you’re done.
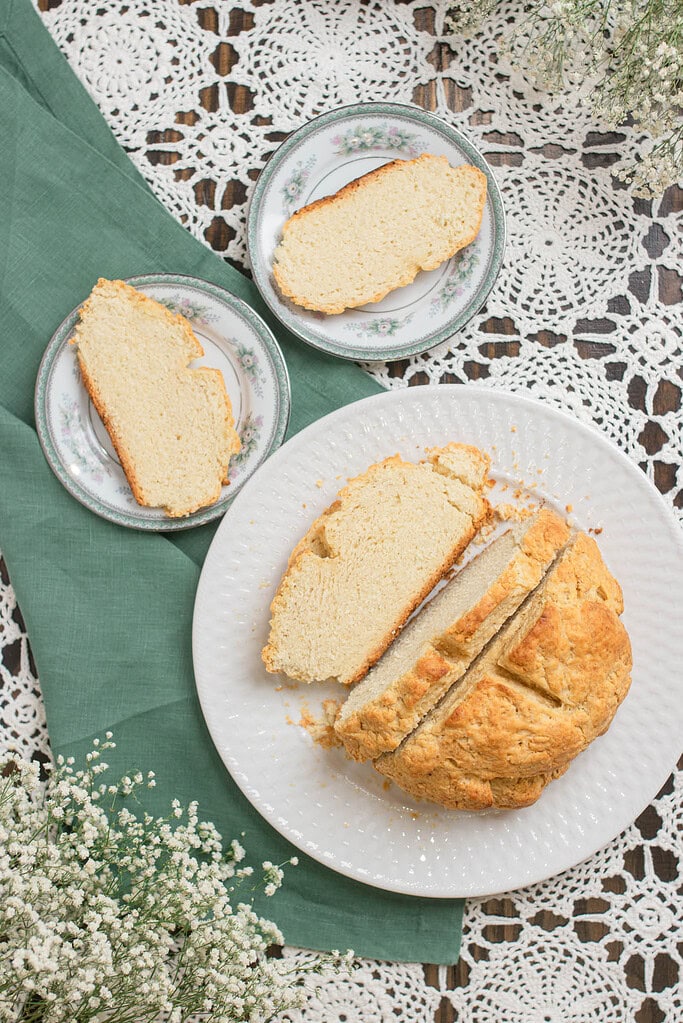
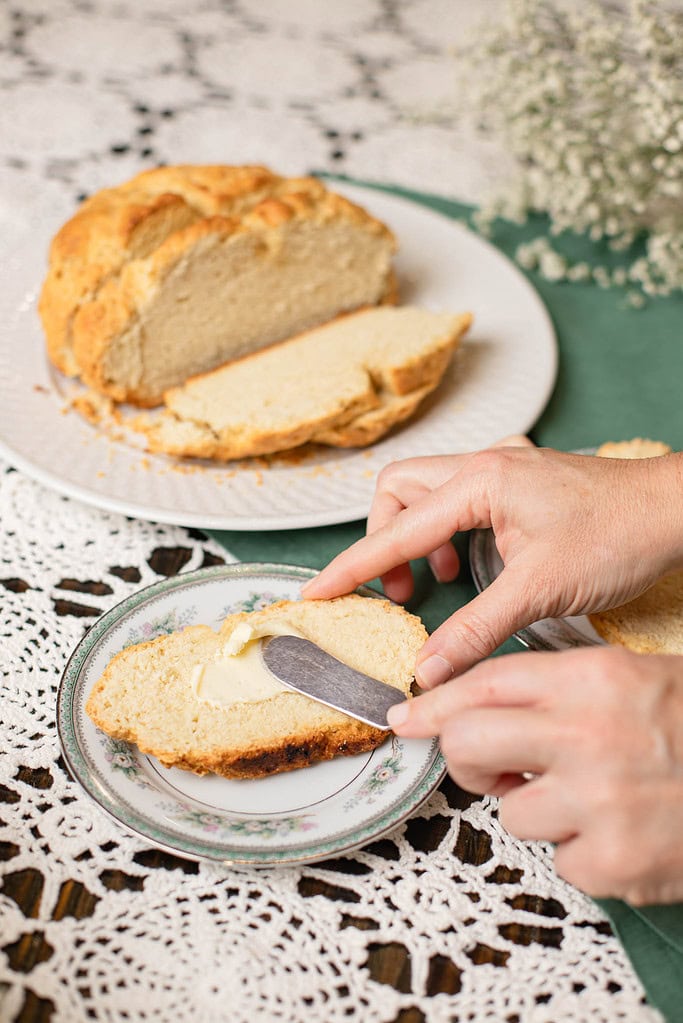
- Brush, rest, and serve – Brush the hot crust immediately with the remaining tablespoon of melted butter, move to a wire rack, and rest 30 to 40 minutes before slicing. Serve warm with salted butter alongside Irish stew, or toast thick slices the next morning with jam.
Gifting Ideas
Freezing & Storage
- Room temperature – Wrap the fully cooled loaf in a clean tea towel or beeswax wrap and store on the counter for up to 2 days. Avoid plastic wrap the first day, it traps moisture and softens the crust.
- Airtight after day one – Move remaining bread into an airtight container or zip-top bag for up to 3 days total at room temperature.
- Refrigerator – Store in an airtight container for up to one week. Warm slices in a 300°F oven or toaster before serving.
- Freeze in slices – Layer parchment between slices and store in a freezer-safe bag for up to 2 months. Frozen slices go straight into the toaster, no thawing needed.
- Freeze the whole loaf – Wrap tightly in plastic wrap then foil and freeze for up to 2 months. Thaw at room temperature still wrapped, then warm at 300°F for 10 to 12 minutes.
FAQ
Join The Community
Want More Cozy Recipes & Seasonal Inspiration?
Get cozy, from-scratch recipes, seasonal cottage living tips, and slow living inspiration delivered straight to your inbox.
More Recipes from the Cottage

Traditional Irish Soda Bread Recipe
Equipment
- 1 Large mixing bowl
- 1 Whisk
- 1 Fork
- 1 Cast iron skillet
- 1 Sharp knife
- 1 Pastry brush
- 1 Wire rack
- 1 Instant read thermometer
Ingredients
- 3 cups all-purpose flour (spooned and leveled) 360 grams
- 1 cup cake flour 120 grams
- 2 tablespoons granulated sugar 25 grams
- 1½ teaspoons baking soda 7 grams
- 1½ teaspoons cream of tartar 5 grams
- 1½ teaspoons salt 9 grams
- 3 tablespoons salted butter (2 tablespoons softened for dough, 1 tablespoon melted for brushing ontop after baking) 42 grams
- 1½ cups buttermilk (full-fat) 360 grams
Instructions
- Heat the oven – Set it to 400°F and move the rack to the upper-middle position. This is where the crust builds that deep golden color without burning the bottom.
- Mix the dry ingredients – Whisk the all-purpose flour, cake flour, granulated sugar, baking soda, cream of tartar, and salt together in a large mixing bowl until evenly combined.
- Work in the butter – Drop in the 2 tablespoons of softened butter and work it in with a fork or your fingertips until the mixture looks like coarse, uneven crumbs. You want it to look a little shaggy, and if you can still see large chunks of butter, keep working it another minute.
- Add the buttermilk – Pour it in and stir with a fork until the dough pulls together into a shaggy mass. Stop the moment no dry flour remains, it looks rough and that's exactly right.
- Turn and knead gently – Turn the dough onto a lightly floured surface and knead 4 to 5 times until it holds together. Stop there, overworking it toughens the crumb.
- Shape the loaf – Pat the dough into a round about 6 inches across and 2 inches high. Keep the thickness even, that's what bakes the center and edges at the same rate.
- Score and set up – Set the loaf on a parchment-lined baking sheet or into a greased cast iron skillet. Cut a cross about ¼ inch deep across the top, running nearly to the edges.
- Bake and tent at 20 minutes – Bake at 400°F for 20 minutes. Tent loosely with foil, drop the oven to 375°F, and bake another 20 to 25 minutes until deep golden brown.
- Check for doneness – Push a skewer through the center, it should come out clean. Tap the bottom, it should sound hollow. Check the thermometer, it should read 190°F. All three together and you're done.
- Brush, rest, and serve – Brush the hot crust immediately with the remaining tablespoon of melted butter, move to a wire rack, and rest 30 to 40 minutes before slicing. Serve warm with salted butter alongside Irish stew, or toast thick slices the next morning with jam.
Video
Notes
Did you make this recipe?
Rate it 5 “⭐️” below.
If you liked this recipe, I’d be so grateful if you would share it with others. Use the buttons below to share, comment, or connect.

Emily Rider
Home miller since 1999 with fresh-milled flour & sourdough experience. Sharing from-scratch recipes and traditional kitchen skills, rooted in the seasons and inspired by everyday cottage living and seasonal rhythms.