
Hamburger Buns with Fresh Milled Flour are soft enough for juicy burgers, sturdy enough to hold all your favorite toppings, and simple enough to bake at home with everyday pantry ingredients. Whether you’re planning a backyard cookout, making pulled pork sandwiches, or preparing breakfast sandwiches for the freezer, these homemade buns have a tender crumb and a mild whole wheat flavor that pairs well with just about anything.
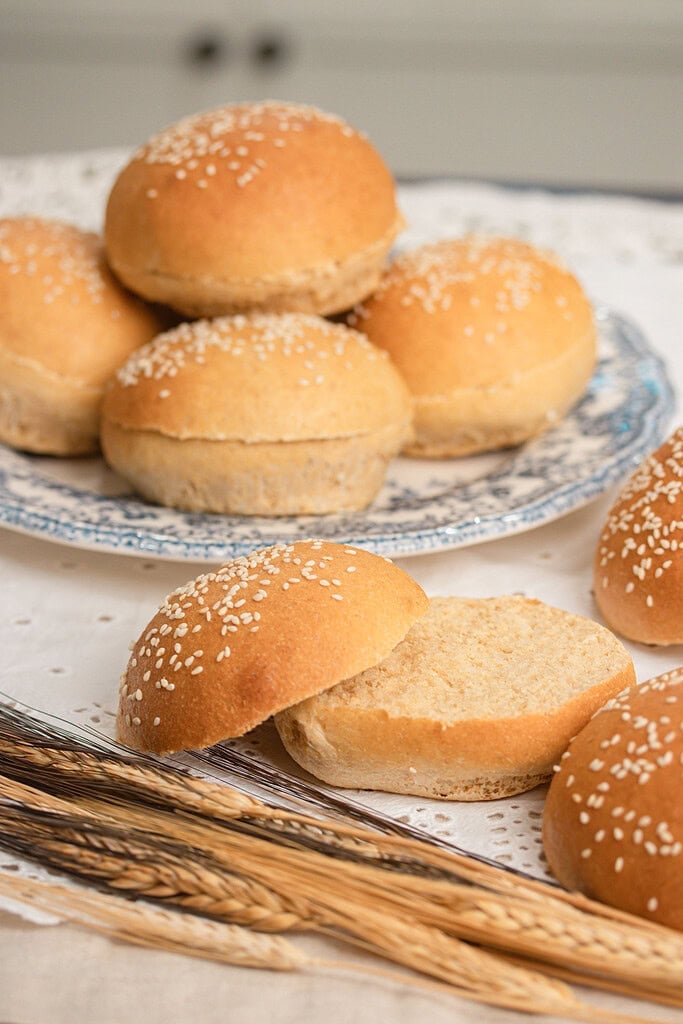
What makes this recipe different is the focus on dough development instead of relying on extra yeast. Scalding the milk creates a softer crumb, lemon juice helps strengthen the gluten, and allowing the dough to fully develop produces beautifully soft buns with excellent structure. Freshly milled flour behaves differently than store-bought flour, but once you understand a few simple techniques, you’ll be baking homemade buns with confidence.
If you’re new to baking with fresh flour, I recommend reading What is Fresh Milled Flour | A Beginner’s Guide, How to Bake with Freshly Milled Flour, and Best Whole Grains to Mill at Home | Beginner’s Guide. They answer many of the common questions about milling, hydration, and working with whole grain flour before you begin.
Did you know you can convert your recipes to freshly milled flour? I share how to convert your recipes and more at The Cottage Mill.
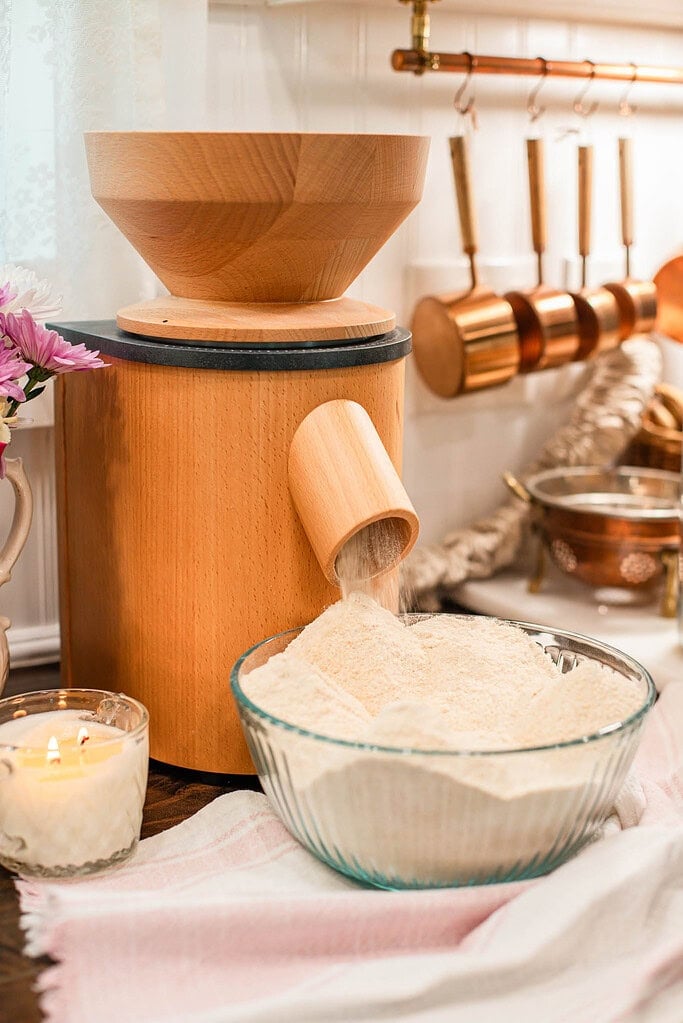
The Cottage Mill: Freshly Milled Flour Guides, Recipes, and More Await!
Why You’ll Love This Recipe
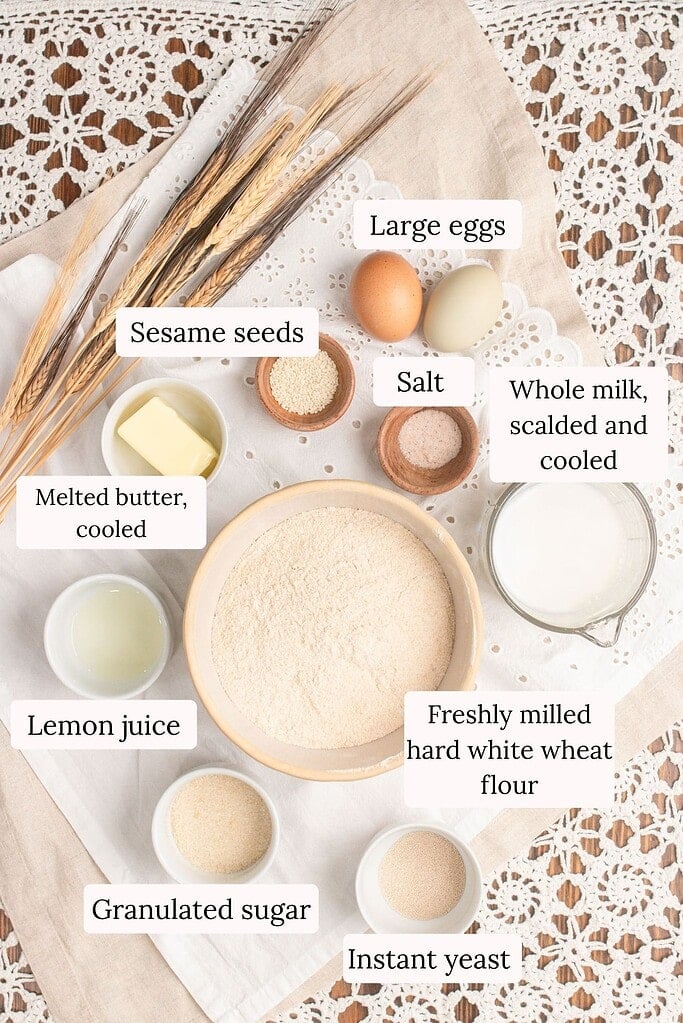
Ingredients
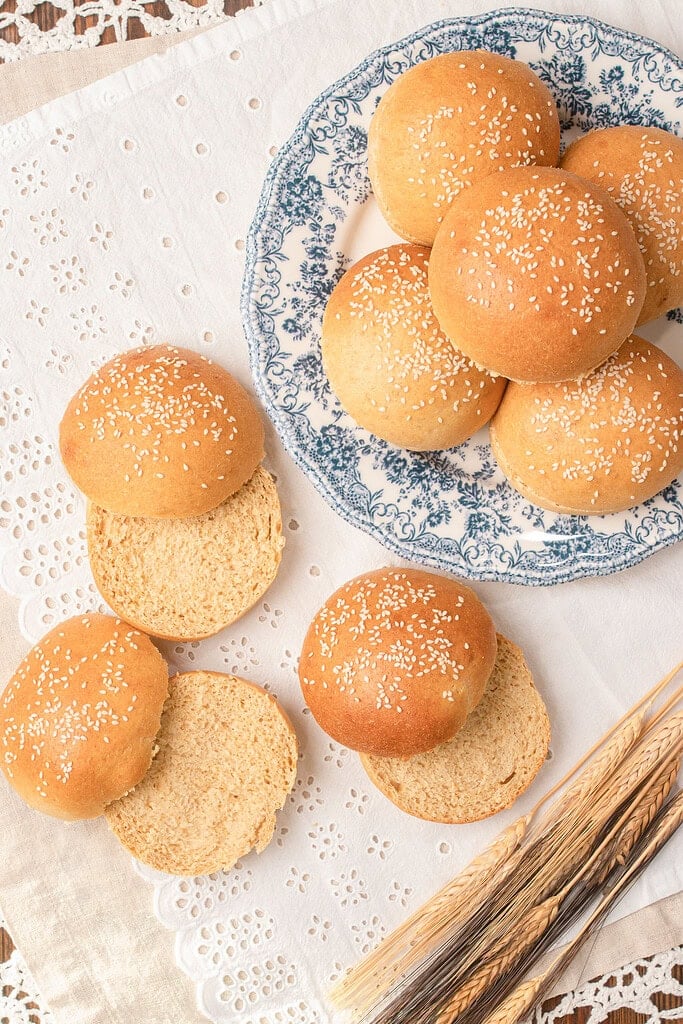
Variations & Add-Ins
Recipe Tips
Scald the milk for a softer crumb – Heating the milk to 180°F changes the whey proteins, helping create a softer crumb and stronger dough. Once the milk has cooled to 105 to 110°F, it’s ready to use. If you prefer, warm water works well too, though the buns won’t be quite as soft or stay fresh as long.
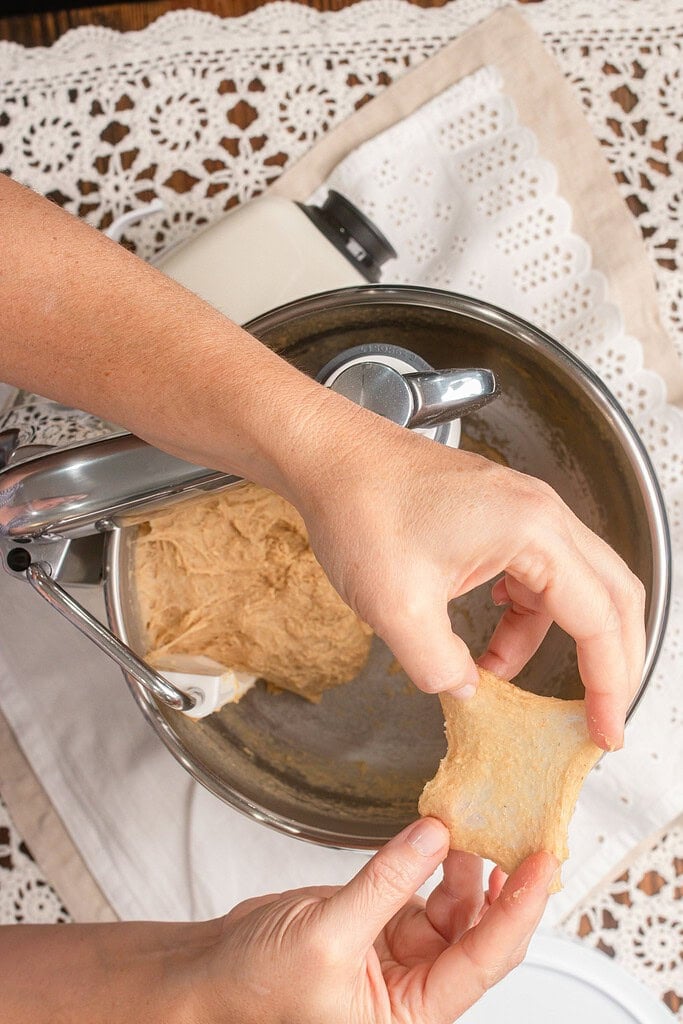
Mill a little extra flour before you begin – This recipe starts with 420 grams of freshly milled hard white wheat flour, but I recommend milling up to 500 grams. Freshly milled flour can vary depending on the wheat variety, growing conditions, humidity, milling fineness, and even the size of your eggs. Let the dough mix and absorb the liquid before deciding it needs more flour. If it still feels overly wet after several minutes of kneading, add additional flour about 30 grams at a time until the dough is soft and slightly tacky. Freshly milled dough should never feel dry or stiff.
Don’t skip the lemon juice – You won’t taste it in the finished buns. The small amount of acid helps improve gluten development when working with freshly milled flour, creating a softer crumb and stronger dough without changing the flavor.
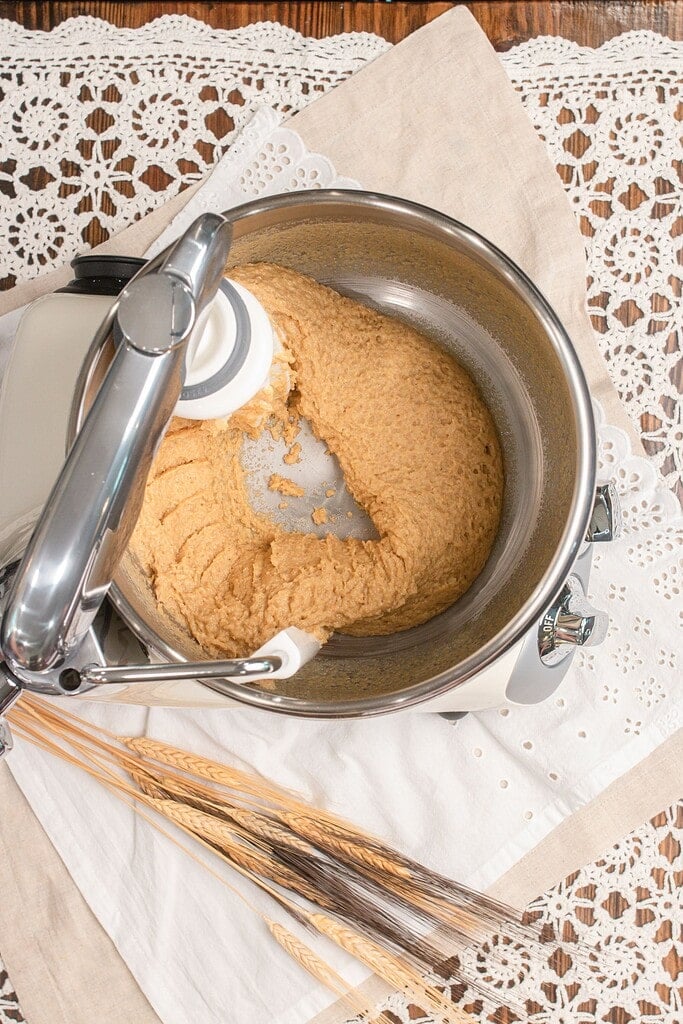
Good dough development is more important than extra yeast – You may notice this recipe uses less yeast than many hamburger bun recipes. Through testing, I found that 2 teaspoons of instant yeast provides excellent rise when the dough is properly kneaded and allowed to fully ferment. Instead of relying on more yeast, focus on developing the gluten and giving the dough enough time to rise.
Watch the dough, not the clock – Every kitchen is different. Temperature, humidity, and freshly milled flour all affect how quickly dough rises. Rather than following exact times, look for dough that has doubled in size and feels light and airy. Learning to recognize properly proofed dough will improve every loaf and bun you bake.
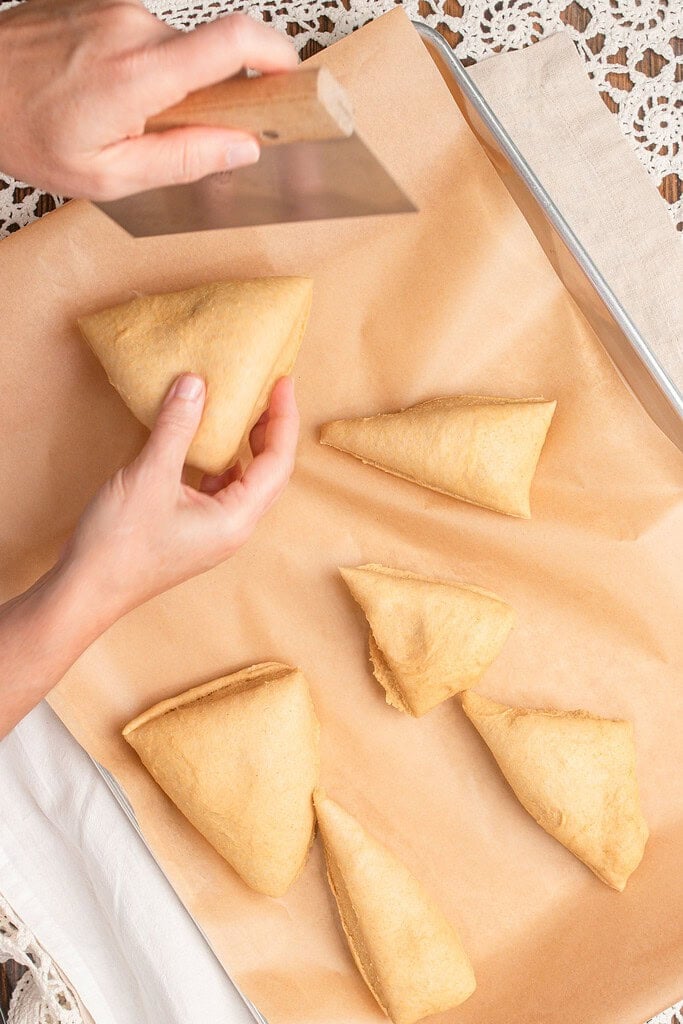
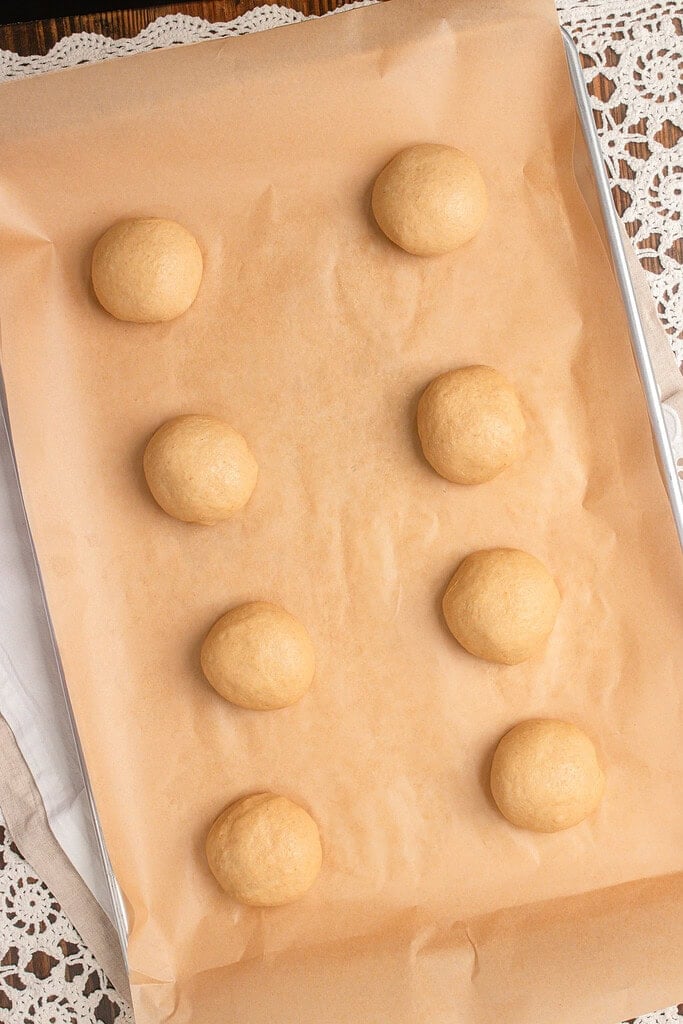
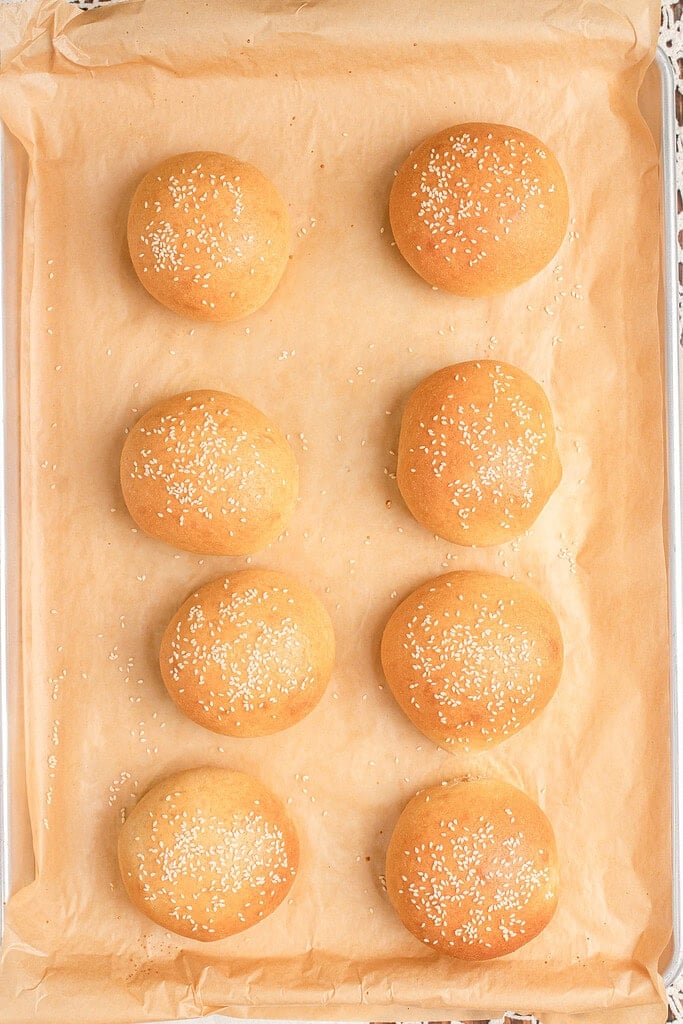
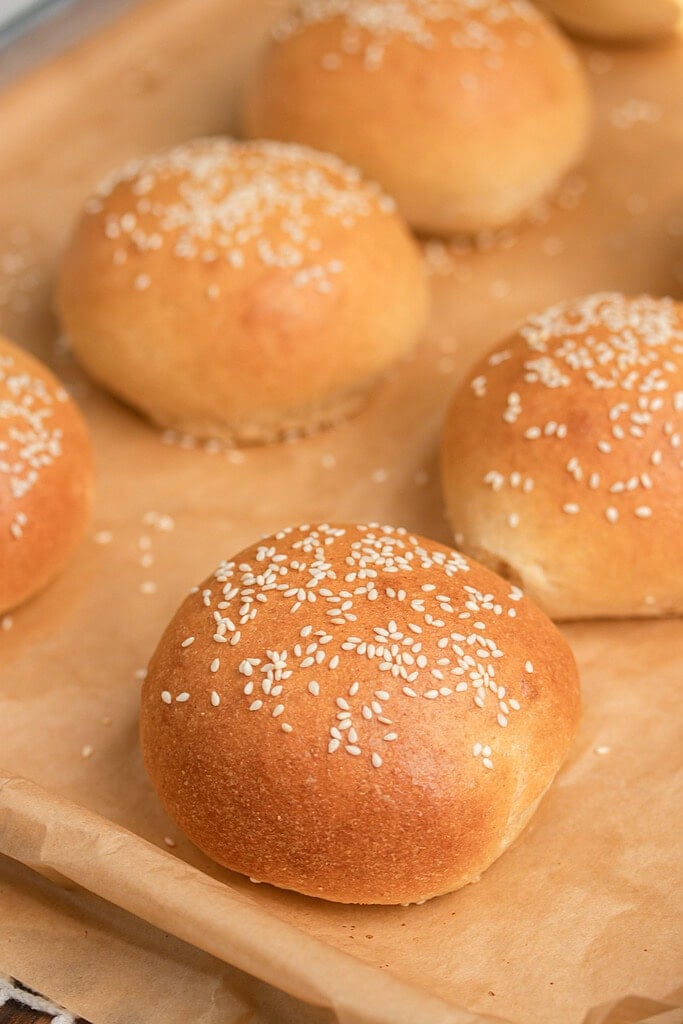
Shape with surface tension – Gently tucking the edges underneath each bun creates surface tension, encouraging the buns to rise upward instead of spreading too much. After shaping, lightly flatten each bun to about ½ inch thick for a classic hamburger bun shape.
Freshly milled flour browns faster – Begin checking the buns around the 15-minute mark. If they’re browning more quickly than you’d like, loosely tent them with aluminum foil while they finish baking.
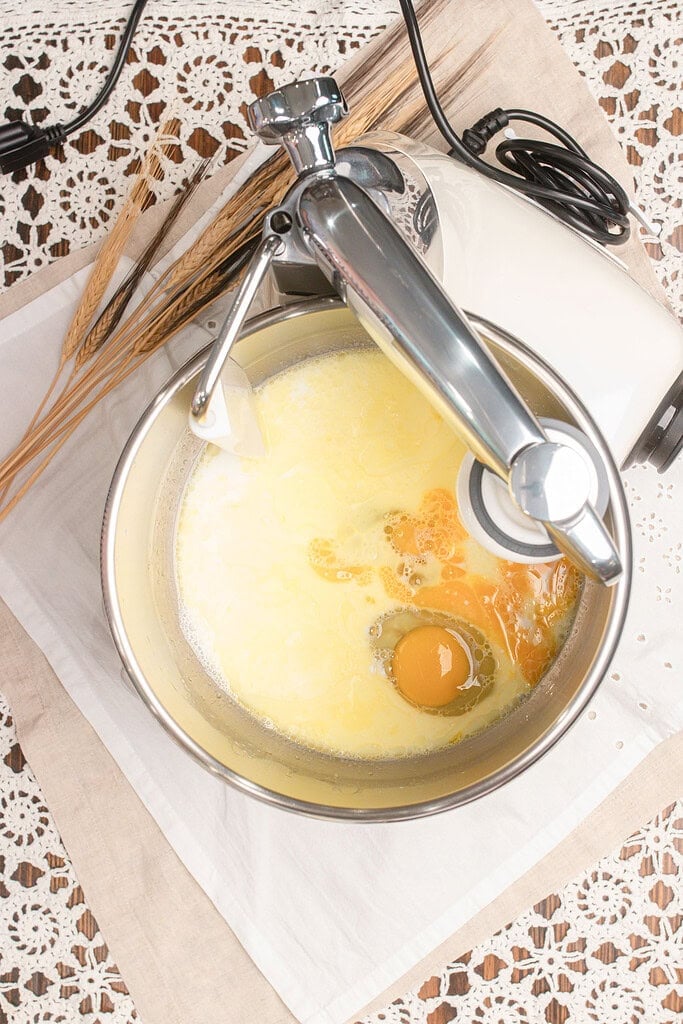
Instructions
- Mill the flour – Mill enough hard white wheat berries to produce 420 grams of freshly milled flour. I recommend milling up to 500 grams so you have extra available if your dough needs a little more during mixing.
- Scald the milk – Heat the whole milk to 180°F, then remove it from the heat and allow it to cool to 105 to 110°F. If using water instead, simply warm it to the same temperature.
- Prepare the yeast – If using active dry yeast, stir it into the warm milk with the sugar and let it sit for about 10 minutes, or until foamy. If using instant yeast, skip this step and add it with the dry ingredients in Step 5.
- Mix the wet ingredients – In the bowl of a stand mixer fitted with the dough hook, combine the cooled milk, 1 egg, cooled melted butter (or oil), and lemon juice. If you bloomed active dry yeast, add it now.
- Add the dry ingredients – Add the 420 grams of freshly milled flour, sugar, salt, and instant yeast (if using). Mix on low speed until a shaggy dough forms.
- Knead the dough – Knead on low speed for 6 to 8 minutes, or until the dough is soft, elastic, and slightly tacky. Freshly milled dough won’t feel exactly like dough made with store-bought flour, so resist adding extra flour too quickly. If needed, add additional flour about 30 grams at a time after several minutes of mixing.
- First rise – Lightly oil a clean bowl, place the dough inside, and turn it once to coat. Cover and let the dough rise until doubled in size. Depending on your kitchen, this usually takes about 25 minutes, but always watch the dough instead of the clock.
- Prepare the baking sheet – Line a baking sheet with parchment paper.
- Divide and shape – Turn the dough onto a lightly floured surface and gently press out any large air bubbles. Weigh the dough, divide it into 8 equal portions, and shape each piece into a smooth ball by tucking the edges underneath. Gently flatten each ball to about ½ inch thick.
- Second rise – Arrange the buns on the prepared baking sheet, leaving space between each one. Cover loosely and let them rise until noticeably puffy and nearly doubled.
- Prepare the egg wash – Beat the remaining egg with 2 tablespoons of milk. Brush the tops of the buns with the egg wash and sprinkle with sesame seeds if desired.
- Bake – Bake in a preheated 350°F oven for 15 to 20 minutes, or until the tops are golden brown. If they’re browning too quickly, loosely tent them with aluminum foil.
- Cool – Let the buns cool on the baking sheet for several minutes before transferring them to a wire rack. Cool completely before slicing.
Freezing and Storage
- Room Temperature: Store completely cooled buns in an airtight bread bag or container for up to 3 days.
- Refrigerator: While you can refrigerate the buns for up to 5 days, refrigeration speeds up staling. For the best texture, I recommend freezing any buns you won’t use within a few days.
- Freezer: Once the buns have cooled completely, wrap them individually or place them in a freezer-safe bag and freeze for up to 3 months. Individual wrapping makes it easy to thaw only what you need.
- To Reheat: Let frozen buns thaw at room temperature, or warm them in a 300°F oven for 5 to 10 minutes until soft and heated through.
- Perfect for Meal Prep: I love keeping a batch of these buns in the freezer so homemade burgers, pulled pork sandwiches, and breakfast sandwiches are always just minutes away.
FAQ
Join The Community
Want More Cozy Recipes & Seasonal Inspiration?
Get cozy, from-scratch recipes, seasonal cottage living tips, and slow living inspiration delivered straight to your inbox.
More Recipes from the Cottage
⭐️ Rate This Recipe
Made this recipe? Leave a star ⭐️ rating below, it means the world to me and helps my recipes get found by more people like you.

Hamburger Buns with Freshly Milled Flour
 Prep:40 minutes Cook:15 minutes Rising Time and Autolyse Time:30 minutes Total:3 hours 30 minutes
 Equipment
- Grain Mill
- Kitchen scale
- Small saucepan
- Stand mixer with dough hook
- Mixing bowls
- Measuring Cups and Spoons
- Bench scraper
- Baking sheet
- Parchment Paper
- Pastry brush
- Cooling rack
Ingredients
For the Dough
- 540 grams freshly milled hard white wheat flour
- 1 cup whole milk scalded and cooled to 105–110°F, 240 grams
- 2 large eggs
- 4½ tablespoons granulated sugar 56 grams
- 4 tablespoons butter melted and cooled, 57 grams
- 1 tablespoon lemon juice 15 grams
- 1 tablespoon instant yeast 9 grams
- 2 teaspoons salt 12 grams
For the Egg Wash
- 1 large egg
- 1 tablespoon milk 15 grams
Optional Topping
- 1 teaspoon sesame seeds 3 grams
Instructions
- Mill the flour – Mill enough hard white wheat berries to produce 540 grams of freshly milled flour. If the flour feels warm after milling, let it cool for about 5 minutes before mixing.
- Scald the milk – Heat the milk to 180°F, then allow it to cool to 105–110°F. If using warm water instead, warm it to the same temperature.
- Prepare the yeast – If using active dry yeast, combine it with the warm milk and sugar. Let it sit for about 10 minutes until foamy. If using instant yeast, skip this step.
- Mix the wet ingredients – In the bowl of a stand mixer, whisk together the cooled milk, melted butter, sugar, lemon juice, and 2 eggs until well combined. If using active dry yeast, add the bloomed yeast mixture now.
- Add the dry ingredients – Add the freshly milled flour, instant yeast (if using), and salt. Mix on low speed until no dry flour remains and a shaggy dough forms.
- Rest the dough – Cover the bowl and let the dough rest for 30–45 minutes. This hydration rest allows the freshly milled flour to absorb the liquid and softens the bran.
- Knead the dough – Knead on medium-low speed for 8–10 minutes, or until the dough is smooth, elastic, and stretches into a slightly cloudy windowpane. Freshly milled dough won't produce the same clear windowpane as dough made with white flour.
- First rise – Transfer the dough to a lightly oiled bowl, cover, and let rise until doubled in size, about 1–2 hours.
- Divide and shape – Turn the dough onto a lightly oiled work surface. Divide the dough into 8 equal portions and shape each into a smooth ball by tucking the edges underneath. Gently flatten each bun to about ½ inch thick and place them on a parchment-lined baking sheet.
- Second rise – Cover loosely and let the buns rise until noticeably puffy and nearly doubled.
- Prepare the egg wash – Whisk together the remaining egg and 1 tablespoon of milk. Brush the tops of the buns evenly and sprinkle with sesame seeds, if desired.
- Bake – Bake in a preheated 350°F oven for 15–20 minutes, or until the buns are golden brown. If they're browning too quickly, loosely tent them with aluminum foil.
- Brush with butter – Remove the buns from the oven and immediately brush the tops with melted butter for an extra soft, flavorful crust.
- Cool – Let the buns cool on the baking sheet for 5 minutes before transferring them to a wire rack to cool completely.
Notes
Nutrition

Emily Rider
Home miller since 1999 with fresh-milled flour & sourdough experience. Sharing from-scratch recipes and traditional kitchen skills, rooted in the seasons and inspired by everyday cottage living and seasonal rhythms.