
These tortillas made with freshly milled flour are soft, flexible, and surprisingly simple to make at home. I use hard white wheat for a mild flavor, then give the dough plenty of time to rest so it rolls out easily and cooks into soft tortillas perfect for tacos, burritos, quesadillas, and wraps.
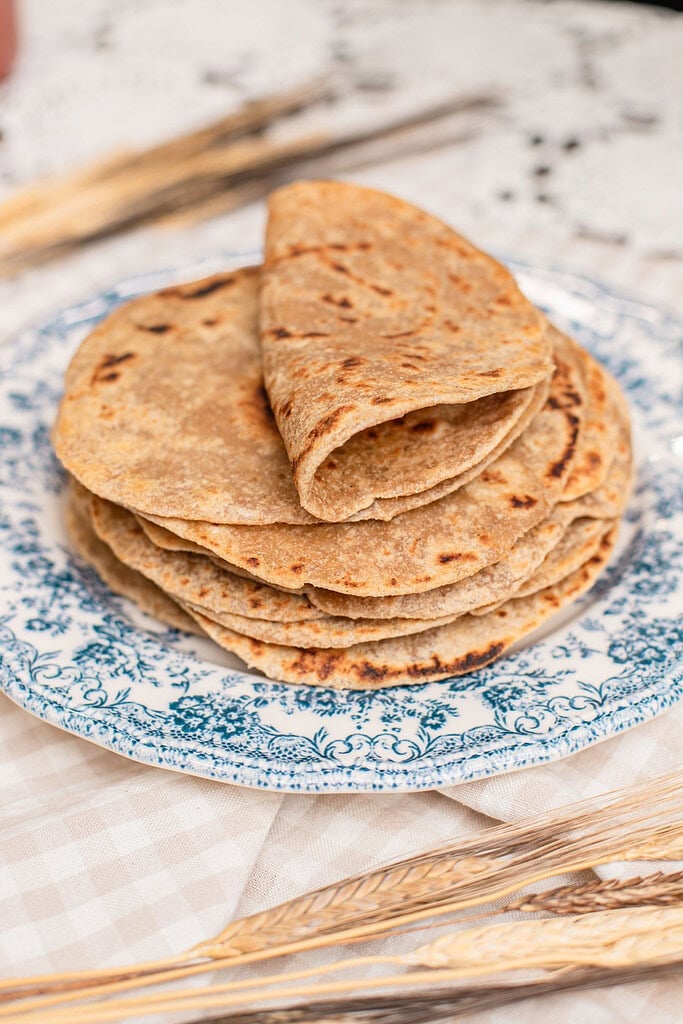
The biggest difference when working with freshly milled flour is giving it enough water and time to hydrate. I let the dough rest for 20 minutes before kneading, then rest the individual dough balls before rolling. It takes a little extra time, but most of that is hands-off, and it makes the dough much easier to work with.
If you’re in the mood for a sourdough version, try these Sourdough Tortillas. To complete a full mill using your homemade tortillas, get this recipe Authentic Beef Skirt Fajitas Recipe.
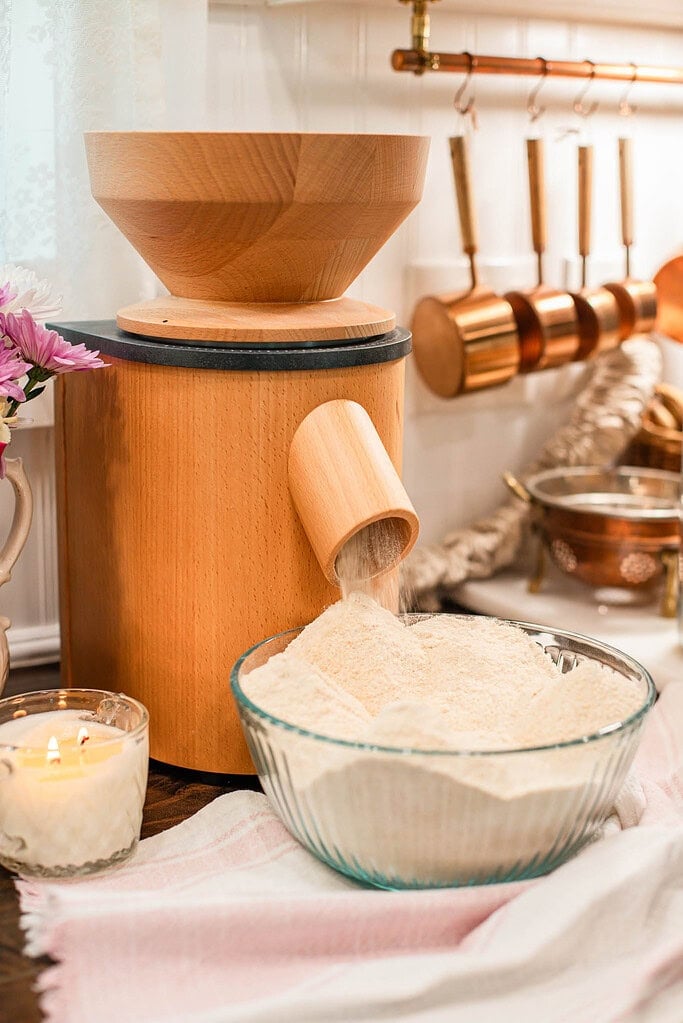
New to milling wheat berries? Start with How to Mill Flour at Home, then visit Baking with Freshly Milled Flour for more help working with fresh flour.
Did you know you can convert many of your favorite recipes to freshly milled flour? I walk you through the process, with practical tips and step-by-step instructions, in my How to Convert Recipes to Freshly Milled Flour guide.
Why You’ll Love This Recipe
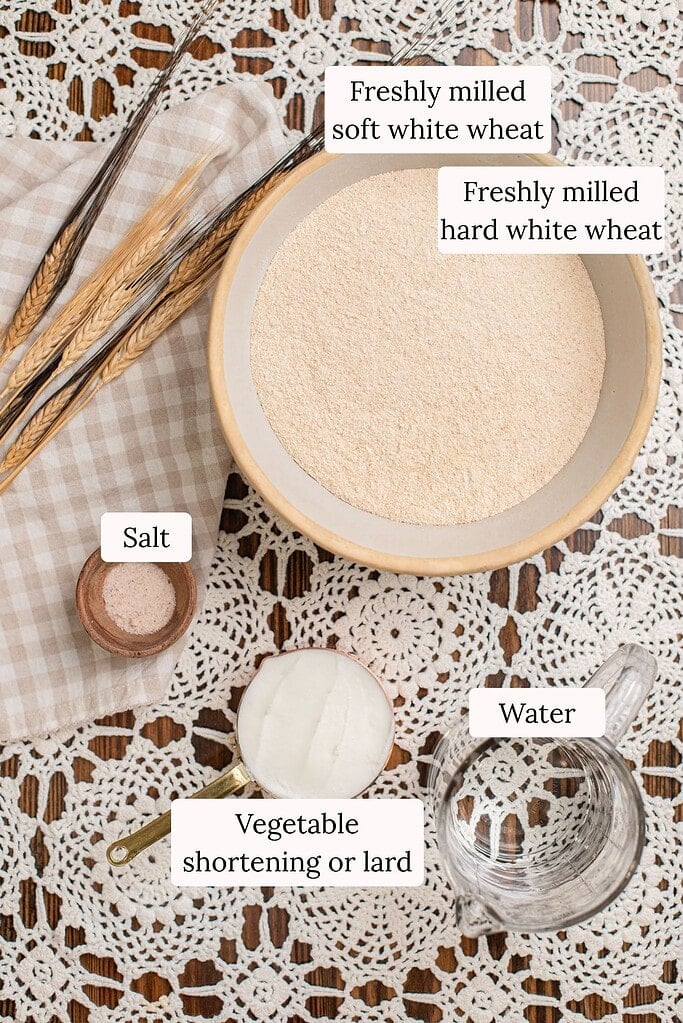
Ingredients
Variations & Add-Ins
Recipe Tips
Give the flour time to hydrate – Cover the dough and let it rest for 20 minutes before kneading. This gives the freshly milled flour time to absorb the water and makes the dough much easier to work with.
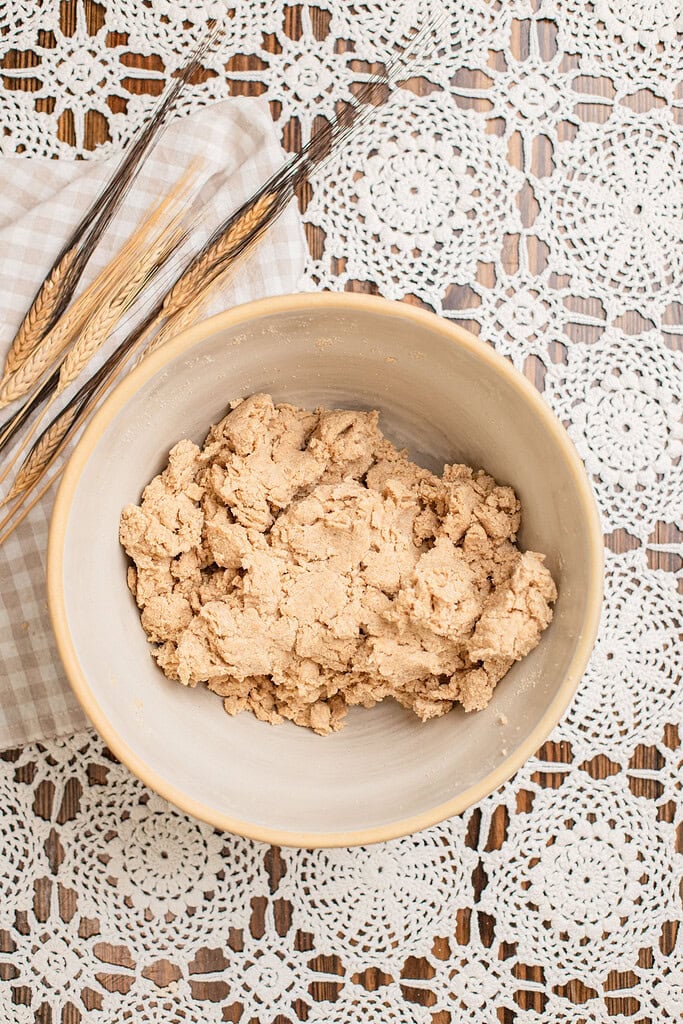
Check the dough by feel – After kneading, the dough should be smooth and elastic and feel similar to soft modeling clay. It shouldn’t be extra sticky or super stiff. If it feels dry, add warm water 1 tablespoon at a time, kneading briefly before adding more.
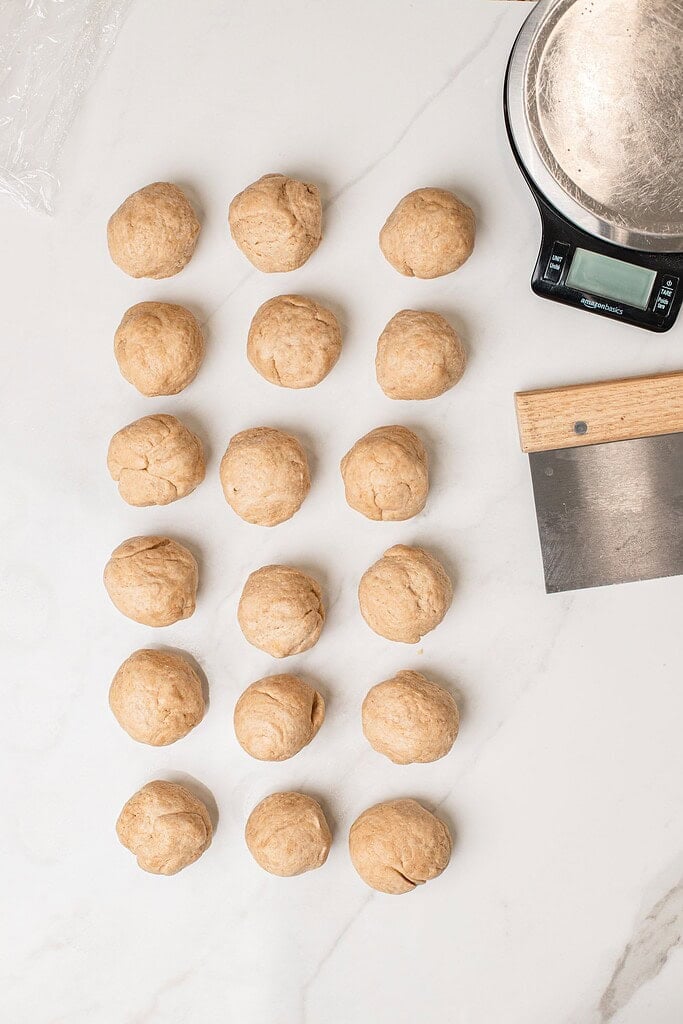
Keep the dough balls covered – After dividing the dough, cover the balls with plastic wrap or a damp kitchen towel while they rest for 45–60 minutes. Don’t leave them exposed or the surface can dry out and form a skin, which can lead to cracking when you press and roll the tortillas.
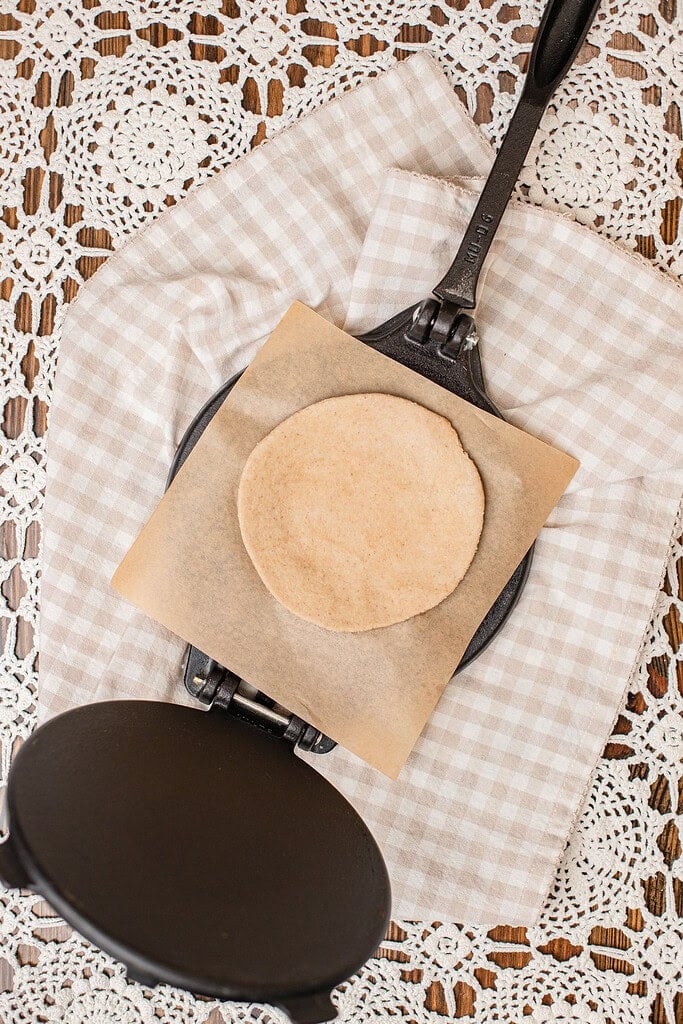
Press first, then roll – I place each dough ball between two pieces of parchment paper and flatten it with a cast-iron tortilla press. I leave the parchment in place and finish thinning the tortilla with a rolling pin. This makes it much easier to get a thin, even tortilla without fighting the dough.
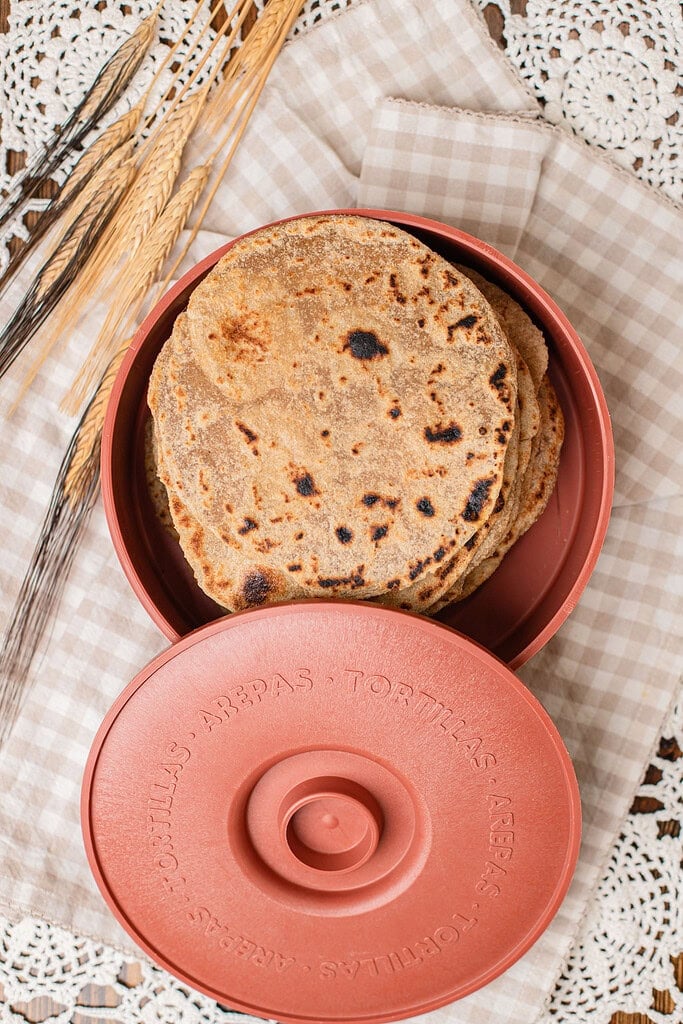
Keep the cooked tortillas covered – Transfer each tortilla directly from the hot griddle to a tortilla warmer or clean kitchen towel. Keeping the stack covered traps a little steam and helps the tortillas stay soft and pliable.
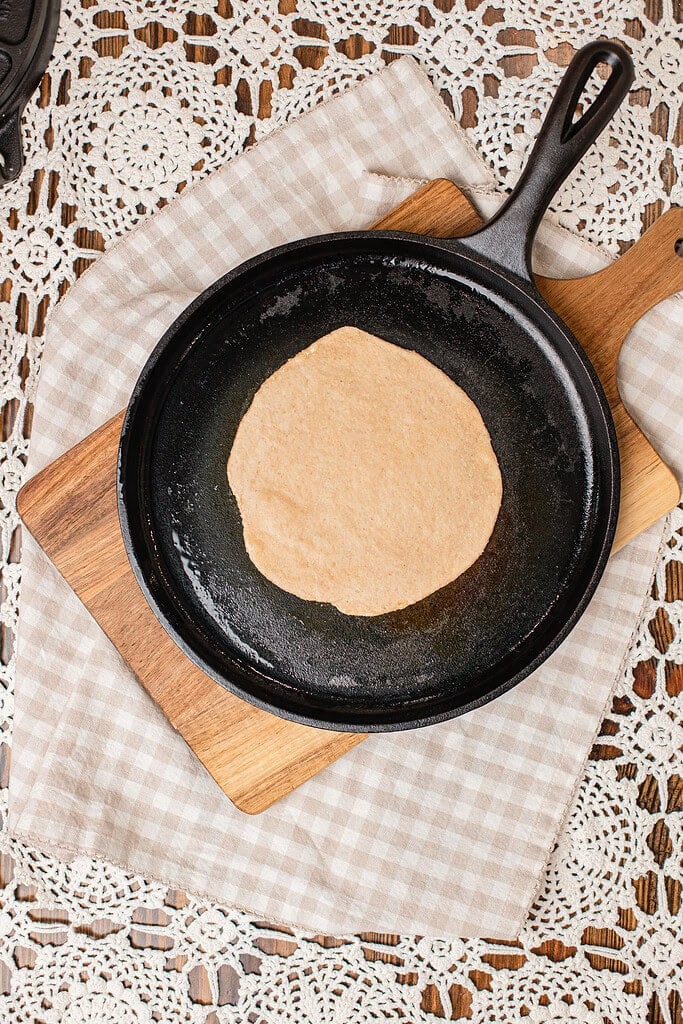
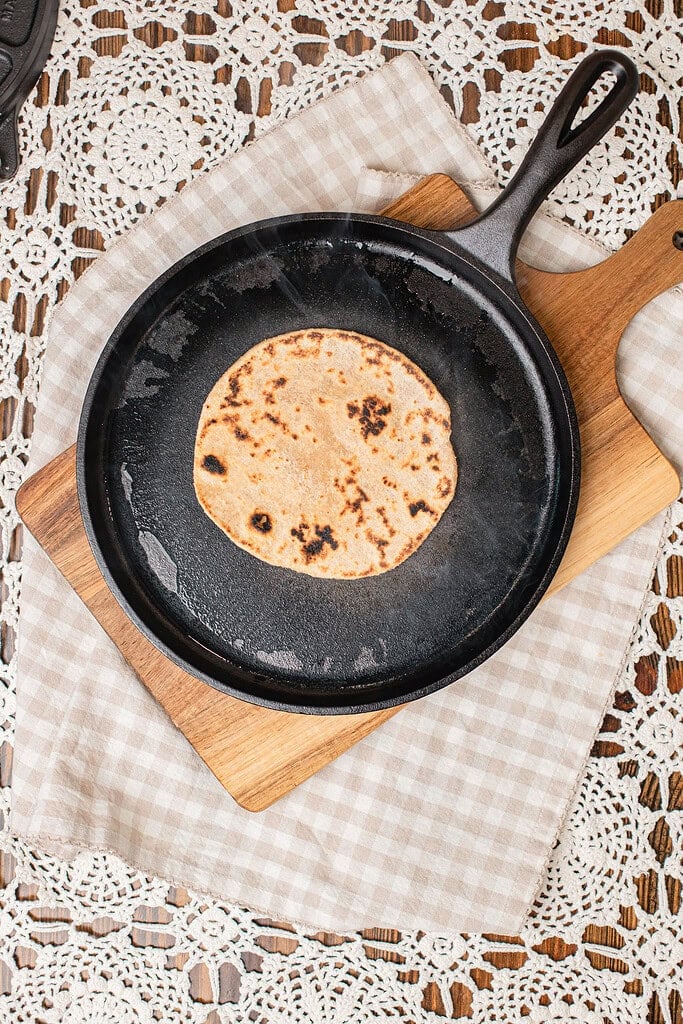
How To Make Tortillas Made with Freshly Milled Flour
- Mill the flour – Mill 680 grams of hard white wheat berries on the finest setting. I use the freshly milled flour whole and unsifted. If you prefer to sift out some of the bran, mill about 30–40% more wheat berries, then weigh 680 grams of flour after sifting.
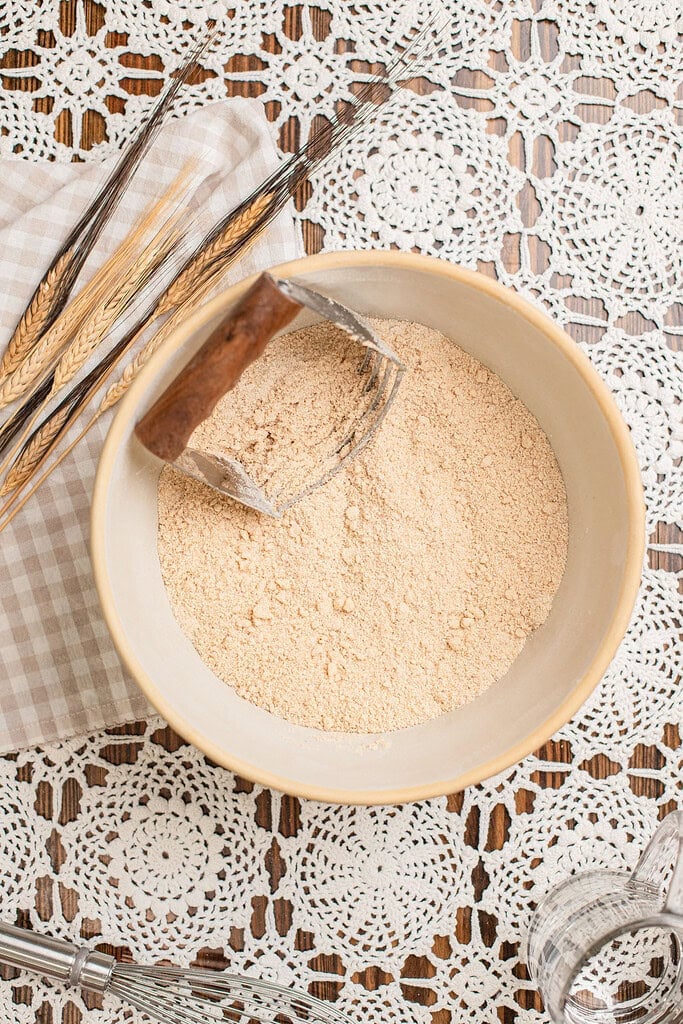
- Mix the dough – Add the freshly milled flour and salt to the bowl of a stand mixer. Add the lard or shortening and mix until the mixture resembles coarse crumbs. Gradually pour in 300 grams (1¼ cups) of warm water, mixing until no dry flour remains. Add additional water, 1 tablespoon at a time, as needed, up to 350 grams (approximately 1½ cups) total. The dough should be soft and pliable, but not overly sticky.
- Rest the dough – Cover the bowl and let the dough rest for 20 minutes. This gives the freshly milled flour time to absorb the water before kneading.
- Knead – Knead in the stand mixer for 5–7 minutes, or until the dough is smooth and elastic. It should feel similar to soft modeling clay, not sticky or stiff. If it feels dry, add warm water 1 tablespoon at a time, kneading briefly between additions.
- Divide and rest – Divide the dough into 18 equal pieces and shape them into smooth balls. Cover tightly with plastic wrap or a damp kitchen towel so they don’t dry out. Let the dough balls rest for 45–60 minutes.
- Press the tortillas – Place one dough ball between two pieces of parchment paper and flatten it with a tortilla press. Leave the parchment attached and use a rolling pin to gently roll the tortilla a little thinner, to about 6–7 inches across.
- Remove the parchment – Peel away the bottom piece of parchment first, then flip the tortilla onto the hot griddle with the remaining parchment still on top. Gently peel away the top piece once the tortilla is on the griddle. I’ve found this helps the tortilla hold its shape instead of shrinking before it reaches the hot pan to cook.
- Cook – Cook on a dry cast-iron griddle or skillet over medium heat for about 30–40 seconds, until bubbles begin to form and light brown spots appear. Flip and cook for another 30–40 seconds, until lightly browned and puffed in places. Don’t overcook or the tortillas can become crisp.
- Keep the cooked tortillas covered – Transfer each tortilla directly from the hot griddle to a tortilla warmer or clean kitchen towel. Keeping the stack covered traps a little steam and helps the tortillas stay soft and pliable.
Freezing and Storage
- Room Temperature – Let the tortillas cool completely, then store them in an airtight container or bag at room temperature for up to 2 days.
- Refrigerator – Store cooled tortillas in an airtight container or bag in the refrigerator for up to 5 days.
- Freezer – Place parchment paper between the tortillas and freeze in a freezer-safe bag or airtight container for up to 3 months. Thaw overnight in the refrigerator or at room temperature before reheating.
- Reheating – Warm the tortillas one at a time in a hot, dry skillet for a few seconds on each side, just until soft and flexible. Keep them wrapped in a clean kitchen towel as you reheat the remaining tortillas so they stay warm and soft.
Did you know you can convert your favorite recipes to freshly milled flour? Learn how to convert recipes and find more fresh flour guides at The Cottage Mill.
The Cottage Mill | Freshly Milled Flour Guides, Recipes, and More Await!
FAQ
Join The Community
Want More Cozy Recipes & Seasonal Inspiration?
Get cozy, from-scratch recipes, seasonal cottage living tips, and slow living inspiration delivered straight to your inbox.
More Recipes from the Cottage
⭐️ Rate This Recipe
Made this recipe? Leave a star ⭐️ rating below, it means the world to me and helps my recipes get found by more people like you. Tag me on Instagram @themoderndaycottage

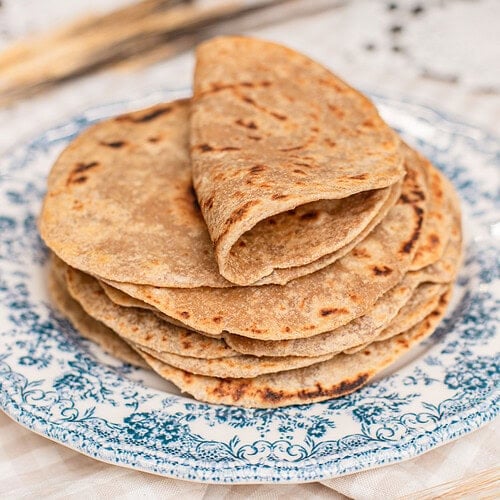
Tortillas Made with Freshly Milled Flour
 Prep:20 minutes Cook:20 minutes Rest Time:1 hour 5 minutes Total:1 hour 45 minutes
 Equipment
- Kitchen towel or tortilla warmer
- 10-inch cast-iron griddle or skillet
- 8-inch cast-iron tortilla press or rolling pin
Ingredients
Freshly Milled Flour
- 5 ⅔ cups Hard white wheat berries, finely milled 680 grams
Dough
- 2 tsp Kosher salt 12 grams
- ¾ cup plus 1 TBSP of Lard or vegetable shortening 180 grams
- 1 ¼ – 1 ½ cups Warm water 300–350 grams warm water, added gradually
Instructions
- Mill the flour – Mill 680 grams of hard white wheat berries on the finest setting. I use the freshly milled flour whole and unsifted. If you prefer to sift out some of the bran, mill about 30–40% more wheat berries, then weigh 680 grams of flour after sifting.
- Mix the dough – Add the freshly milled flour and salt to the bowl of a stand mixer. Add the lard or shortening and mix until the mixture resembles coarse crumbs. Gradually pour in 300 grams (1¼ cups) of warm water, mixing until no dry flour remains. Add additional water, 1 tablespoon at a time, as needed, up to 350 grams (approximately 1½ cups) total. The dough should be soft and pliable, but not overly sticky.
- Rest the dough – Cover the bowl and let the dough rest for 20 minutes. This gives the freshly milled flour time to absorb the water before kneading.
- Knead – Knead in the stand mixer for 5–7 minutes, or until the dough is smooth and elastic. It should feel similar to soft modeling clay, not sticky or stiff. If it feels dry, add warm water 1 tablespoon at a time, kneading briefly between additions.
- Divide and rest – Divide the dough into 18 equal pieces and shape them into smooth balls. Cover tightly with plastic wrap or a damp kitchen towel so they don't dry out. Let the dough balls rest for 45–60 minutes.
- Press the tortillas – Place one dough ball between two pieces of parchment paper and flatten it with a tortilla press. Leave the parchment attached and use a rolling pin to gently roll the tortilla a little thinner, to about 6–7 inches across.
- Remove the parchment – Peel away the bottom piece of parchment first, then flip the tortilla onto the hot griddle with the remaining parchment still on top. Gently peel away the top piece once the tortilla is on the griddle. I've found this helps the tortilla hold its shape instead of shrinking before it reaches the hot pan to cook.
- Cook – Cook on a dry cast-iron griddle or skillet over medium heat for about 30–40 seconds, until bubbles begin to form and light brown spots appear. Flip and cook for another 30–40 seconds, until lightly browned and puffed in places. Don't overcook or the tortillas can become crisp.
- Keep the cooked tortillas covered – Transfer each tortilla directly from the hot griddle to a tortilla warmer or clean kitchen towel. Keeping the stack covered traps a little steam and helps the tortillas stay soft and pliable.
Notes

Emily Rider
Home miller since 1999 with fresh-milled flour & sourdough experience. Sharing from-scratch recipes and traditional kitchen skills, rooted in the seasons and inspired by everyday cottage living and seasonal rhythms.