Recipe Index
Browse by


Sourdough


Sourdough Discard


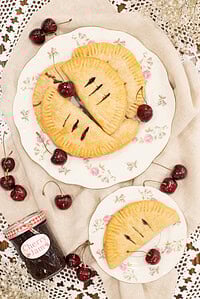


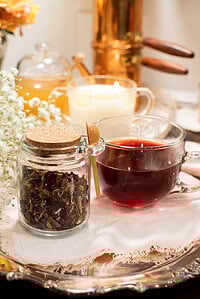


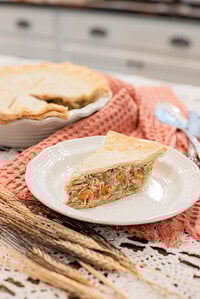


The Latest Recipes

Emily Rider
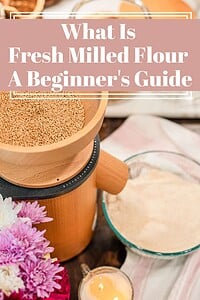
Home miller since 1999 with fresh-milled flour & sourdough experience. Sharing from-scratch recipes and traditional kitchen skills, rooted in the seasons and inspired by everyday cottage living and seasonal rhythms.